
Making Gravel and Asphalt Roads
Gerry LeoneModel road layouts add interest and realism to a model railroad. Just like in real life, roads can almost always be found near a railroad track. In this video, Gerry Leone, National Model Railroad Association’s Master Model Railroader gives his tips for creating model train roads. Leone starts by building a gravel road. His gravel roads are made from 60 grit sandpaper which is coarse and textured. The base is black foam core which has thicker pieces of paper on either side of the foam. 24 scale feet is what Leone typically uses for his model road layouts.

To cut the foam core, he takes an initial light pass with an exacto knife to score the paper and avoid shredding it. A heavy coating of spray adhesive is applied on the back of the sandpaper and the foam core is laid down after the adhesive has settled for a minute. When dry, he uses old kitchen shears to cut the excess sandpaper. He uses old shears because cutting the sandpaper will ruin scissors. A matte gray spray paint is then applied.
After being let to dry over a couple of days, a mix of one teaspoon india ink and a half pint of 91% isopropyl alcohol is dripped on. The ink will sink into lower areas of the sandpaper to highlight its grit. The surface is then dry-brushed with white paint to add a highlight of stones or light on the gravel model road layout.
Asphalt model road layouts are similar to gravel in their creation. Black foam core is used again and sprayed with gray paint at distance. Spraying with a light hand and in stages creates texture. A clear coat of spray paint is applied using the same technique. A good material for weathering asphalt model road layouts is black and white pastel chalk.
Leone powders them and smears them on the road using a finger. The texture from the paint will pick up chalk in some places and not others. Black marker can be used to further paint in cracks and holes to enhance their depth. After adding details like signs and vehicles, the model road layouts are complete. Check out the Model Railroad Academy website for more help designing your layout.
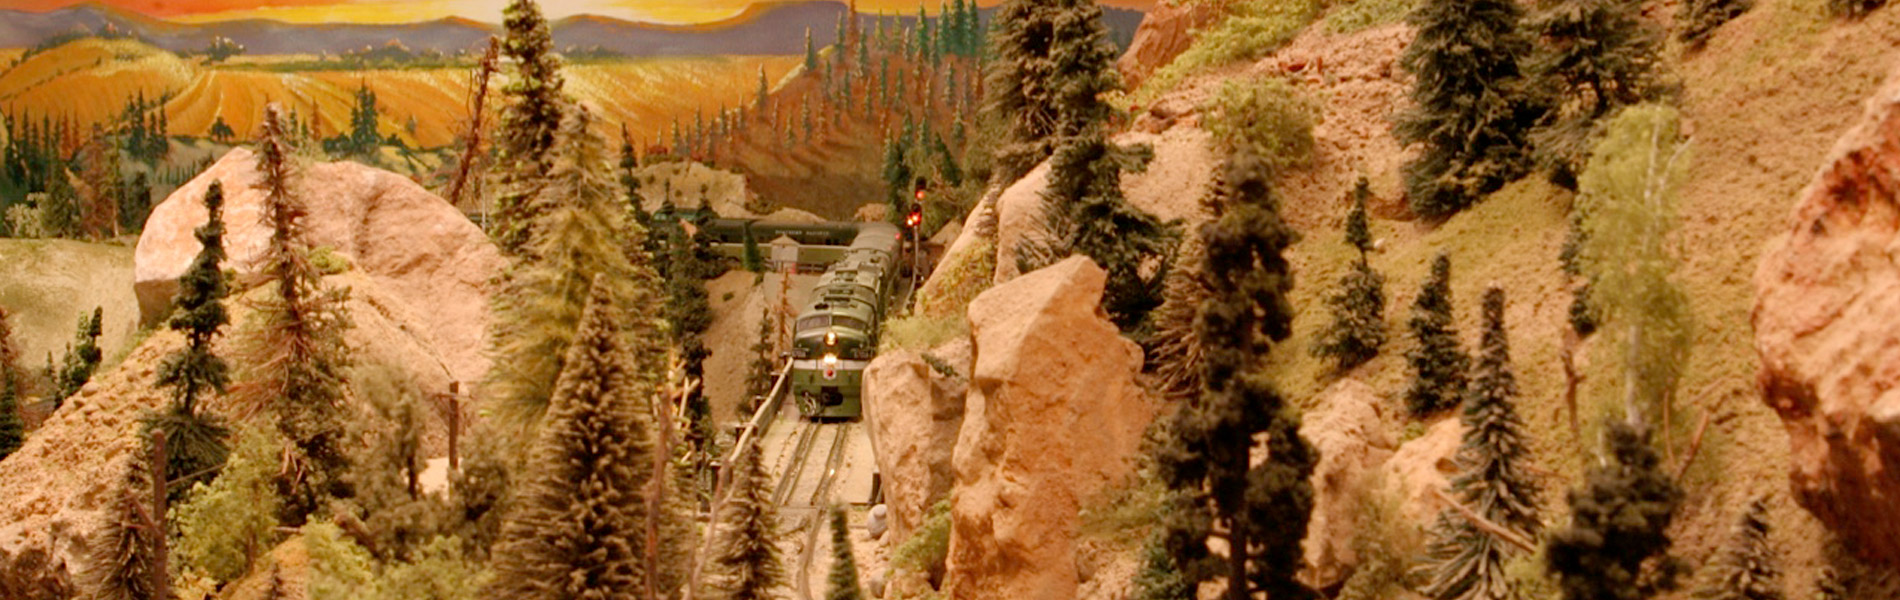
[Upbeat Guitar Music] You know from the real world that where there are a railroad tracks there's usually a road fairly close to it. Adding a road next to your tracks really adds another dimension to your layout. And it's easy to build a concrete road, an asphalt road, or a gravel road. We're going to be building an asphalt road and a gravel road today. And it's pretty easy to do.
We'll start with the gravel road. Gravel road is going to be made out of some 60 grit sandpaper. This is sandpaper that is very coarse and when it gets painted, you'll really be able to see the texture in it. But we'll be building it on a base of foam core. Foam core is a piece of foam that has thicker paper on both sides, it comes in white and black.
I prefer using black for the roads but you can use white. You need to determine what the width of your road is going to be. In this case, I've chosen 24 scale feet. Normal roads are usually a little bit wider than that, but again, it depends on the proportions of your layout at that point. So you can choose whatever size road looks good.
To cut foam core; you simply just mark it, and I'll mark a 24 scale foot piece here, and then... take a light pass at first with a very sharp X-Acto knife and just score the paper a little bit. You don't want to go too fast or you don't want to go too deep right away because you'll wind up by shredding the paper. And once that X-Acto blade has gone through the foam, through the top layer of paper, you can bear down a little bit and eventually after three or four passes you'll get a nice piece of foam core that has a nice clean edge to it. Once you've got your foam core ready to go you want to take your piece of 60 grit sandpaper and give it a really good dousing with a spray adhesive.
I'm not going to do it here because really you should do it outside or in some well ventilated area. But you'll really want to douse the backside of this and get it moist. And let it sit for about a minute just for the adhesive to start to settle. Then you'll lay your piece of foam core into that adhesive and bear down on it and make sure that there's good adhesion. In fact, you're smart if you even put some weight on top of it and let it set for awhile, but you got to make sure that the adhesive is pretty much dry.
When you're done, when the adhesive is dry, you can come along. I use a pair of really old kitchen sheers to cut the sandpaper. There's nothing like sandpaper to dull a pair of sheers. So you want to use the same ones over and over. And again, it's as simple as just lapping the sandpaper off with your sheers on all four sides.
When that's done, you'll bring your foam core coated with sandpaper to your spray booth or out in the garage again, where there's a nicely well ventilated area and spray it gray. I have used some cheap, what's called rattle can, gray paint for this. In this particular case I used some model gray paint. But you'll want to spray this very thoroughly and make sure that the paint has no gloss on it whatsoever because any gloss will kill the the whole idea of the gravel road. Once you've got that dried, and that needs to be thoroughly dried probably over a couple of days just to make sure that the next step doesn't harm the the color of the surface, we'll want to take a mixture of India ink and alcohol.
And in this case, I'm using a very, very dark mixture. This is one teaspoon of India ink in a half a pint of alcohol. And in this case, again, you want to use, if you can, use 91% isopropyl alcohol. The reason is it has less water in it. So it's less apt to curl the sandpaper that's on there.
So you'll mix this up, get an eyedropper, and literally just start dropping- dripping the India ink mixture onto your sandpaper. You want to get it on there so that it's- you'll see it spreads itself out fairly well by itself. Make sure you get all the areas covered but don't go too heavy with the stuff because it will start to then cover up the grit of the sandpaper. Once you've got that done, set this in a nice level surface. The reason being; if you start to tip it the India ink will start to pool on one side or the other and you want to try to get as even a coat as you can.
When you're- when that is dry it will turn out looking something like this. And you can see on this, that the India ink has sunk into all of the lower areas of the sandpaper and it gives the sandpaper a nice visual grit look to it. It's something that you can really see, and you can obviously feel it because of this sandpaper. The last step is to dry brush this with some white paint. And again, dry brushing is a technique where you're going to put some paint on a brush and I'm using a fairly wide brush here but it's good to use a fairly flat brush because what we're going to be doing is dragging this almost horizontally over the surface of the sand paper.
So to dry brush it, you get some paint on your brush and then take most of the paint off of it. So that you've just got a little coating on that brush left. And as parallel as you can, and as lightly as you can, simply just dry brush this white paint over the surface of the sandpaper. And make sure you go parallel to the road not perpendicular and not at an angle. And again, you can see I have hardly any paint on this brush but if I bear down a little bit more, it will- the grit in the sandpaper will pick up the paint.
And make sure you do it from both sides so that you get both viewing angles of that road with a little bit of highlight. And what that does is add a nice white highlight to it. It kind of looks like stones. It kind of gives it the impression that there's some light hitting it. And when you're done; mount that onto your layout and you've got a nice gravel road that will look like it's out in the country.
And it has a lot of texture and visual interest. Building an asphalt road for your layout isn't much different. The techniques are slightly different but the principles are all the same. And again, with an asphalt road, just like with a gravel road, you'll probably want to lay your road down on your scenery first and build the scenery up to it- the ground up to it. To build an asphalt road we'll start with another piece of foam core.
Again, this is the same kind of foam core. I'm using black here. And what you'll want to do is spray it with gray paint but the trick on this is to spray it from a good distance away. So that by the time the droplets of paint hit the foam core, they're virtually dry and they'll create a nice texture of- texture you can feel on the foam core. So the trick is again, spray it from a distance, spray it lightly, let it dry, spray it lightly, let it dry, spray it lightly, let it dry.
You can do that four and five times. And again, the texture is what's so important here When that has completely dried. You can come along with some clear coat and again, from a far distance away, spray it- don't flood it- but spray it lightly and spray it three and four times very lightly to the point where you get a very nice texture on it. This is a piece that I've already done with both the clear coat and the paint, and you can see- you can already see that it has a certain amount of texture to it. To get the weathering effect on the asphalt, we'll be using some pastel chalks.
I'm using black and white. And you can buy these chalks from an art store. And it's easy enough to just powder them by using the side of an X-Acto knife- not the blade side, but the other side. And literally just scraping them down into a little bowl or a container. And you'll wind up with some nice powder.
Do that for both the black and the white. And now the fun and messy part. You get to smear this stuff on. And the best tool that I've found for putting the chalk on the roads is your finger. So literally take a finger full of chalk and start spreading it on the road.
And you'll find that as you spread it- and you can kind of bear down on this a little bit because the texture of the paint that you sprayed on it before will start to pick up some of the chalk and it won't adhere in other places. And you can do this all along the length of the road with black, come on with some white. If you kind of look at a real asphalt road you'll notice that there are darker and lighter areas. Sometimes the darker areas are in the center where the oil pans may have dripped from cars. Sometimes the darker areas are where the tire marks are.
But again, you just want to work this a little bit. The trick on using black and white chalks is not to work it too far, because obviously black and white you're going to wind up with gray and you're going to wind up by starting at the beginning again, because you won't have any texture but you can just rub this. Best to rub it parallel with the road. If you wanted to add stripes to your road now would be the time to do it. You can buy decals for diesel engines that are stripes and cut those to size, lay those on here, let those dry.
And then of course go over them with a little bit of the chalk to just dull them down. And once you've got that to the point where you like it, and you've got it nice and smeared and blended, you can take a sharp black magic marker and start drawing in some of the patches and some of the cracks in the roadway. And again, you'll want to come along with some of the chalks and smooth that over to make sure that the ink of the black magic marker isn't too dark. Then at that point, you're virtually all set. All you need to do is add a couple of signs, for details, maybe a vehicle or two.
And you've suddenly got a very nice road that adds some interest to your model layout.
Share tips, start a discussion or ask other students a question. If you have a question for an expert, please click here.
Already a member? Sign in
No Responses to “Making Gravel and Asphalt Roads”