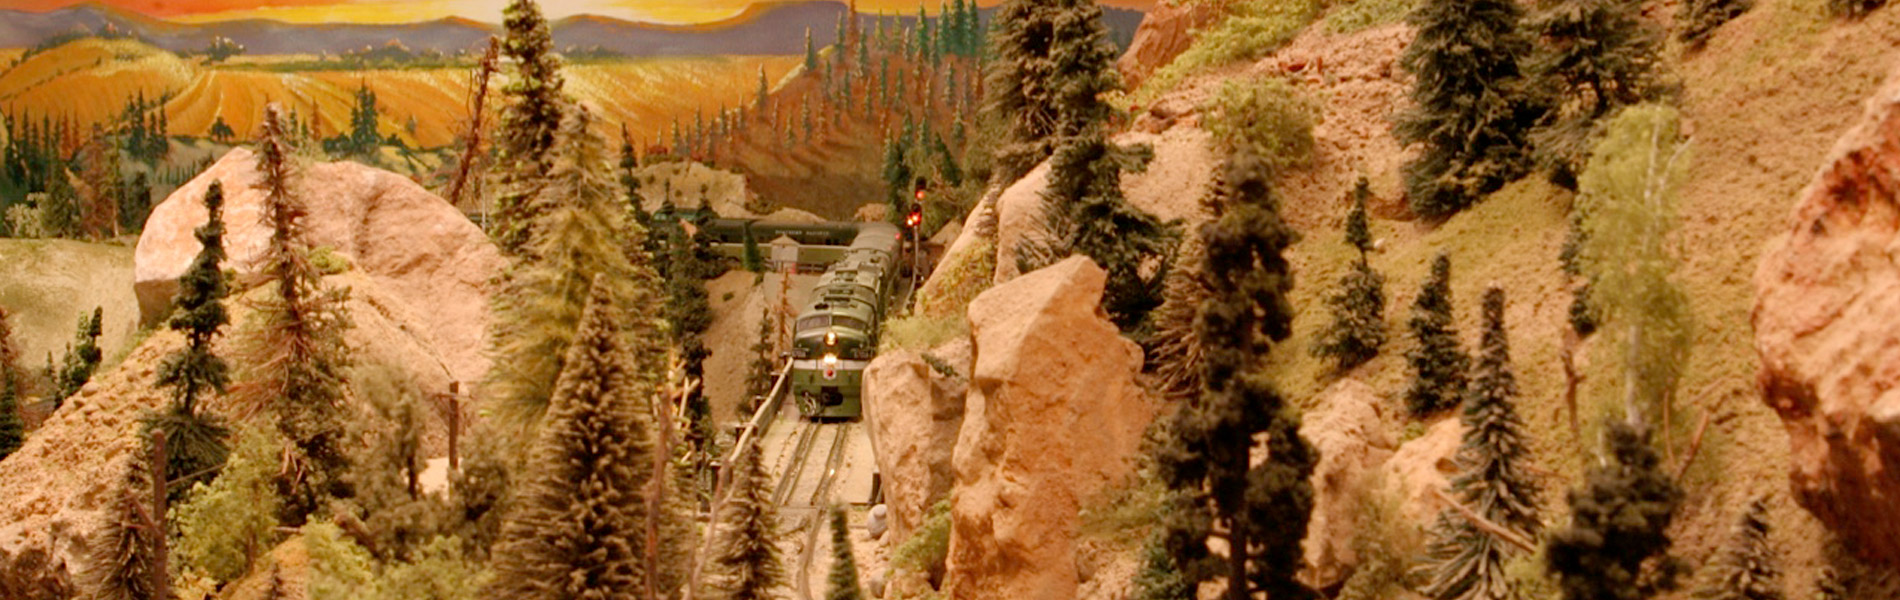
In this session you will learn how to apply and color rocks and other ground texture to your scenery base in preparation for scenic details. You will learn about a variety of materials and methods for making scenic rocks. You will also see a demonstration of how to mold, install, and color your own plaster rocks. You will learn about choosing the right color for painting your earth areas. Finally, will see a demonstration of applying basic ground textures for earth and undergrowth.
Techniques for Spectacular Scenery 2: Rocks, Texture, and Color
Share tips, start a discussion or ask other students a question. If you have a question for an expert, please click here.
Already a member?
You did not mention cleaning out the scenery glue sprayer to keep it from clogging. Does it matter?? Thank you.
Great video, Ron...thanks! Do you have any suggested colours for the mineral content of rock other than iron ore? Suggestions might be really useful for me and for others.
I watched this session earlier, but forgot to leave a comment so I watched it again to refresh what it was about. This session is very helpful in creating the rock formation and coloring the rock. I also enjoyed the coloring process on the rest of the ground cover. Thank you very much for the free classes on the spectacular scenery class.
Scenery2 was incredibly detailed and helpful. I am working on a shelf layout right now. Only one question: Those spray bottles …where can I find those specific ones??? Mine were awful. Too big a spray size and they all broke after a short time!
Sessions 1 & 2 were very informative and gave me some great ideas and techniques to start my first layout. Ron is a very fine instructor that covers the details that are necessary. Looking forward to the future sessions!