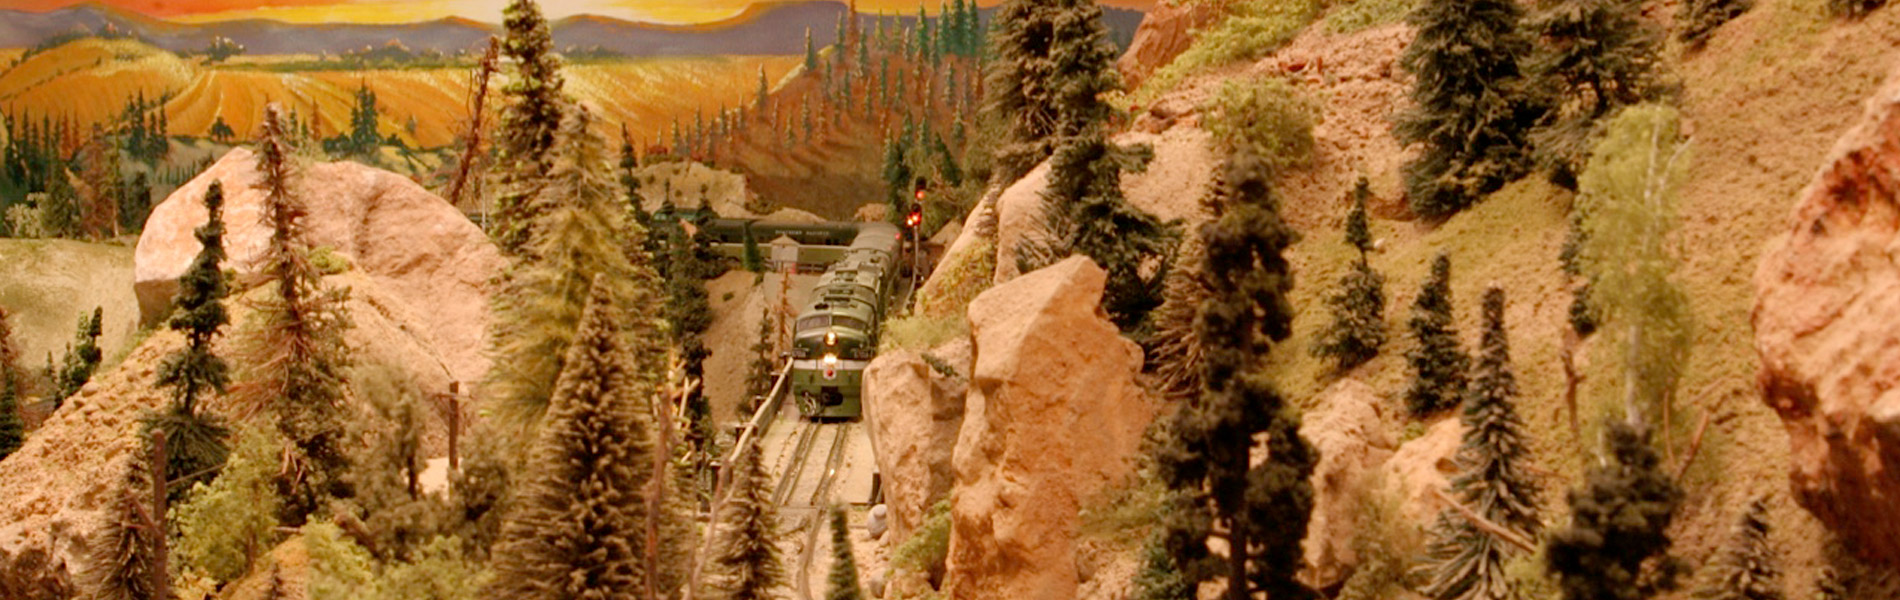
Making Plowed Fields with Cliff Powers
Cliff PowersThe first step in creating a field for a model railroad layout is to create a sub-base, according to modeler Cliff Powers. In Cliff’s case, he has created the subbase out of sculpt-a-mould, for a more natural looking ground. From cardboard, he wants to pull out the middle corrugated section.
The first step in doing this is to soak the cardboard in warm water for 30 seconds to a minute. Once the cardboard is softened, the layers can easily be pulled apart. The corrugated section is a great way to help create the peaks and troughs of the field. Full strength Elmer's white glue is a great adhesive for the wet cardboard. Cliff liberally applies the glue on the model to ensure a secure bond and with a wet brush, brushes out the glue and sets down the cardboard.
After this has dried overnight, it is time to apply the dirt. Another liberal application of glue is added on top of the cardboard and brushed out with a wet brush. The wet brush helps to dilute the glue for an even layer. The dirt is sprinkled over with a spoon and lightly padded down into the glue with a hand.
After again letting dry overnight, the crop lines in the field are added in. Cliff uses the full strength white glue to create the lines of the crop, following the lines of corrugation in the cardboard as a guide. For the crop, Cliff uses Woodland Scenics coarse turf. Cliff adds a thick layer of the turf and presses it into the glue with a lighter hand and removes the excess. The finishing touch is adding weeds and turf to the surrounding areas.
For more videos like this, like learning how to create plowed fields with Gary Hoover, visit the Model Railroad Academy archives and watch more from Allen Keller’s Great Model Railroad series.