
For a number of years, Walthers has offered its large buildings in a version that fits nicely against a backdrop for layouts with limited space. I built the full-size version of this furniture building for my Bluff City Southern more than 20 years ago, so why would I need to read the directions? Well, I was wrong about that. Curt Goff, a friend, and a regular operator on the BCS asked me to build a series of these buildings for his railroad. So, I decided to start with the furniture company.
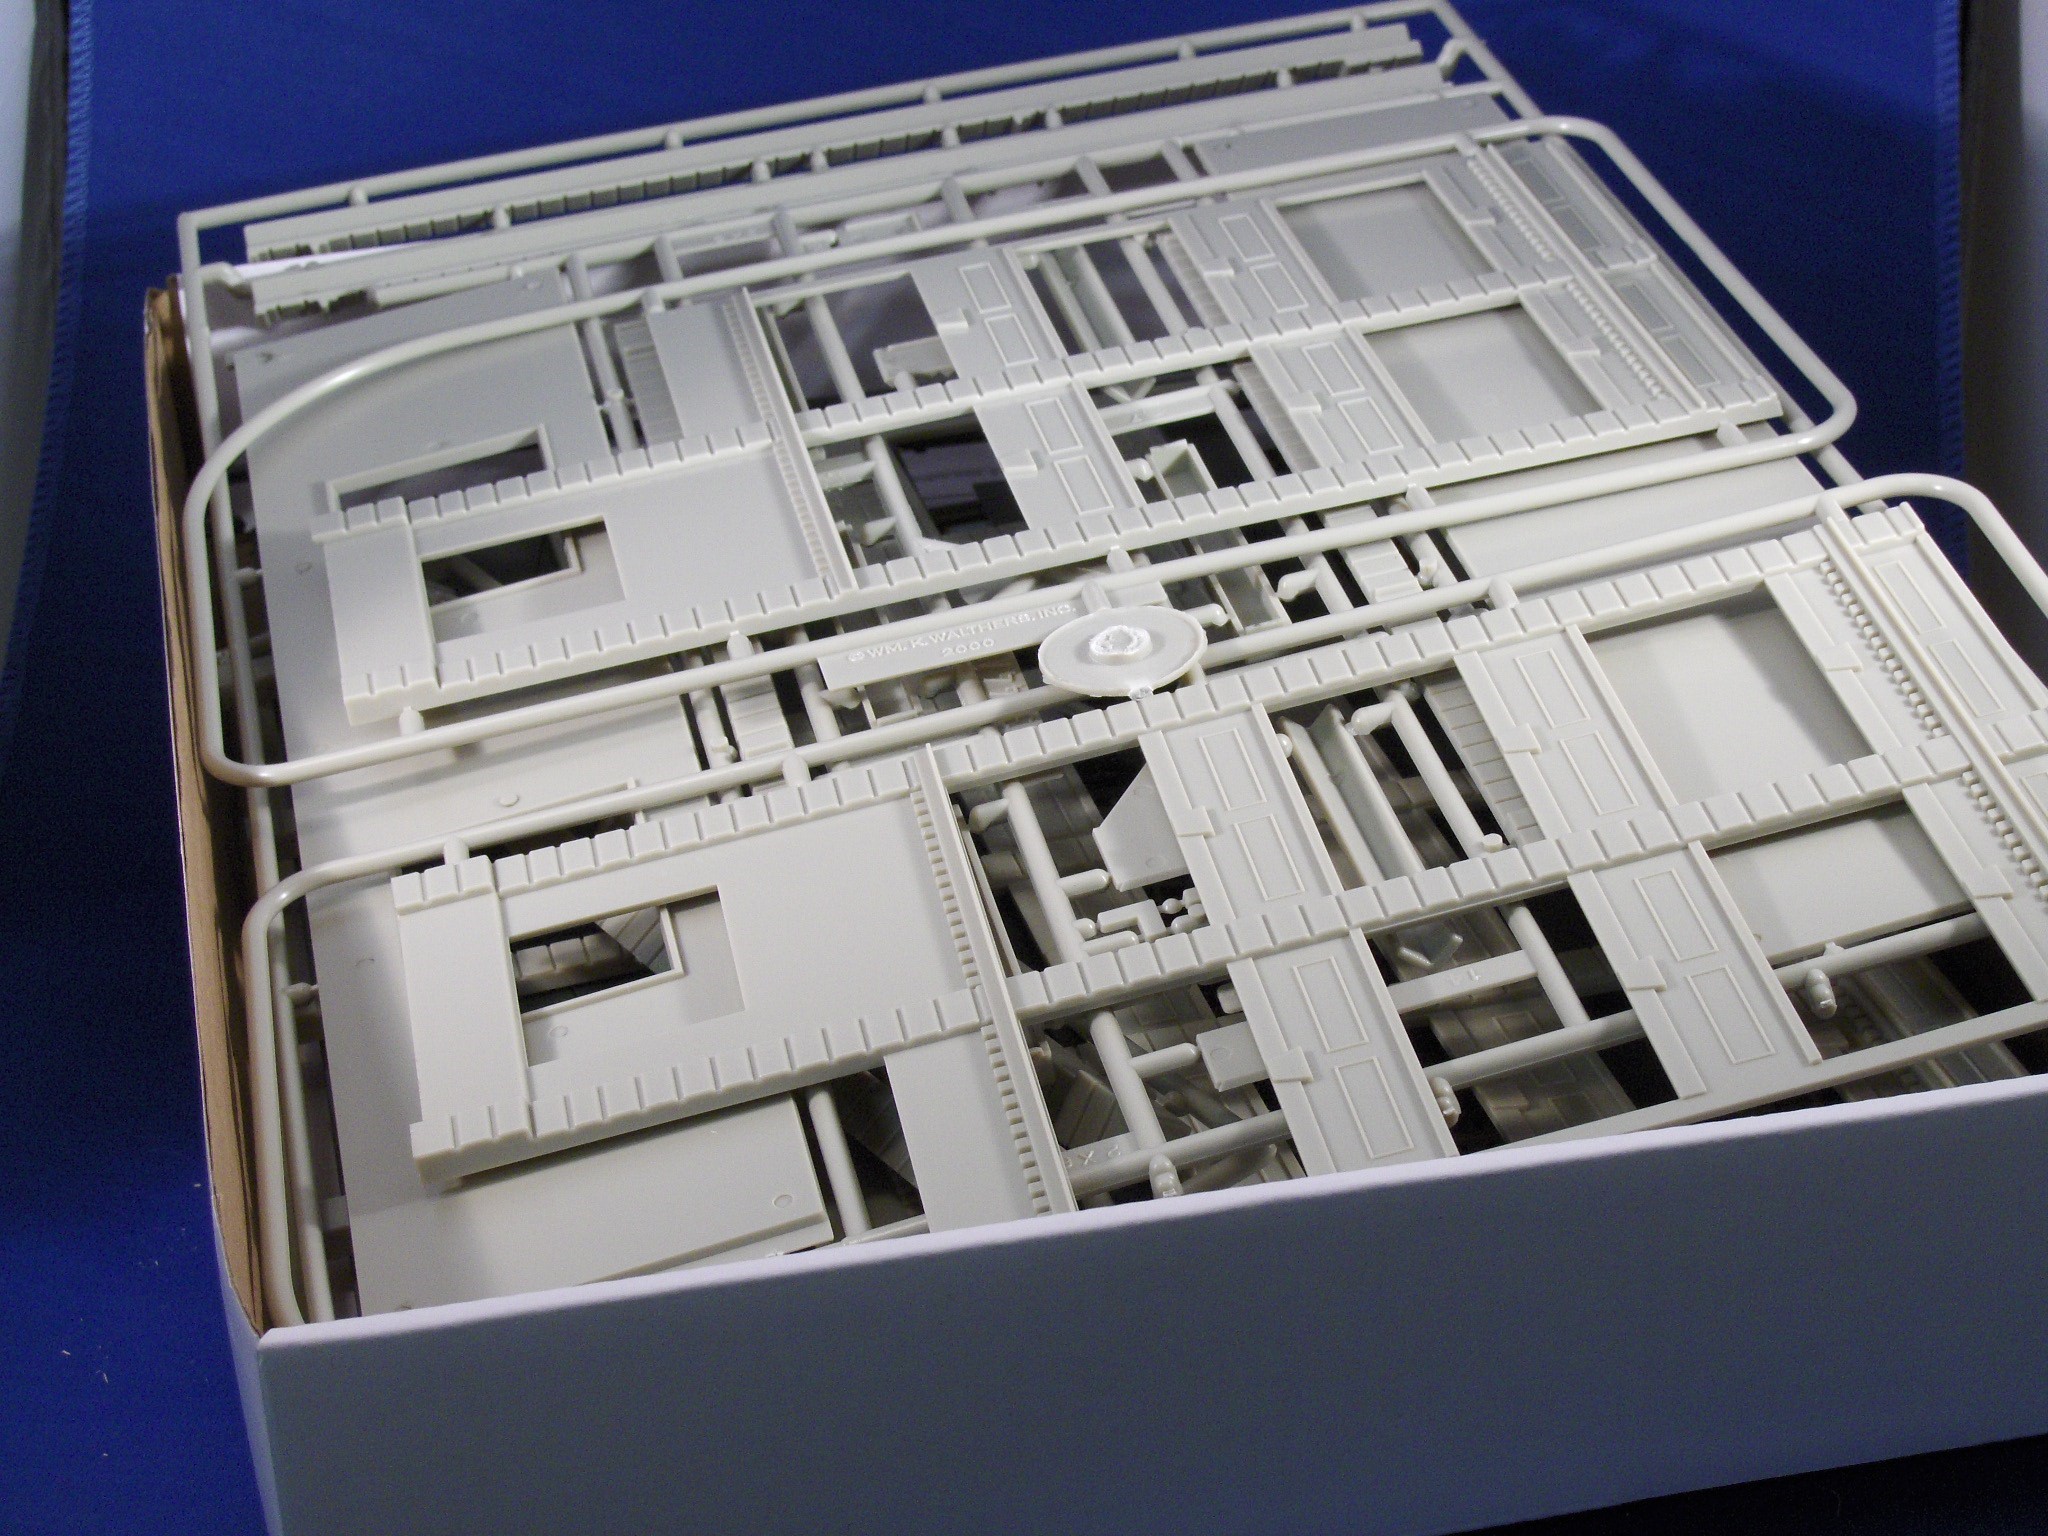
I did at least check the box for all the right parts. There are extra windows and pilasters because the molds are used for both the full-size version and this abbreviated version. I always save any extra parts for use later. You never know when something will come in handy.
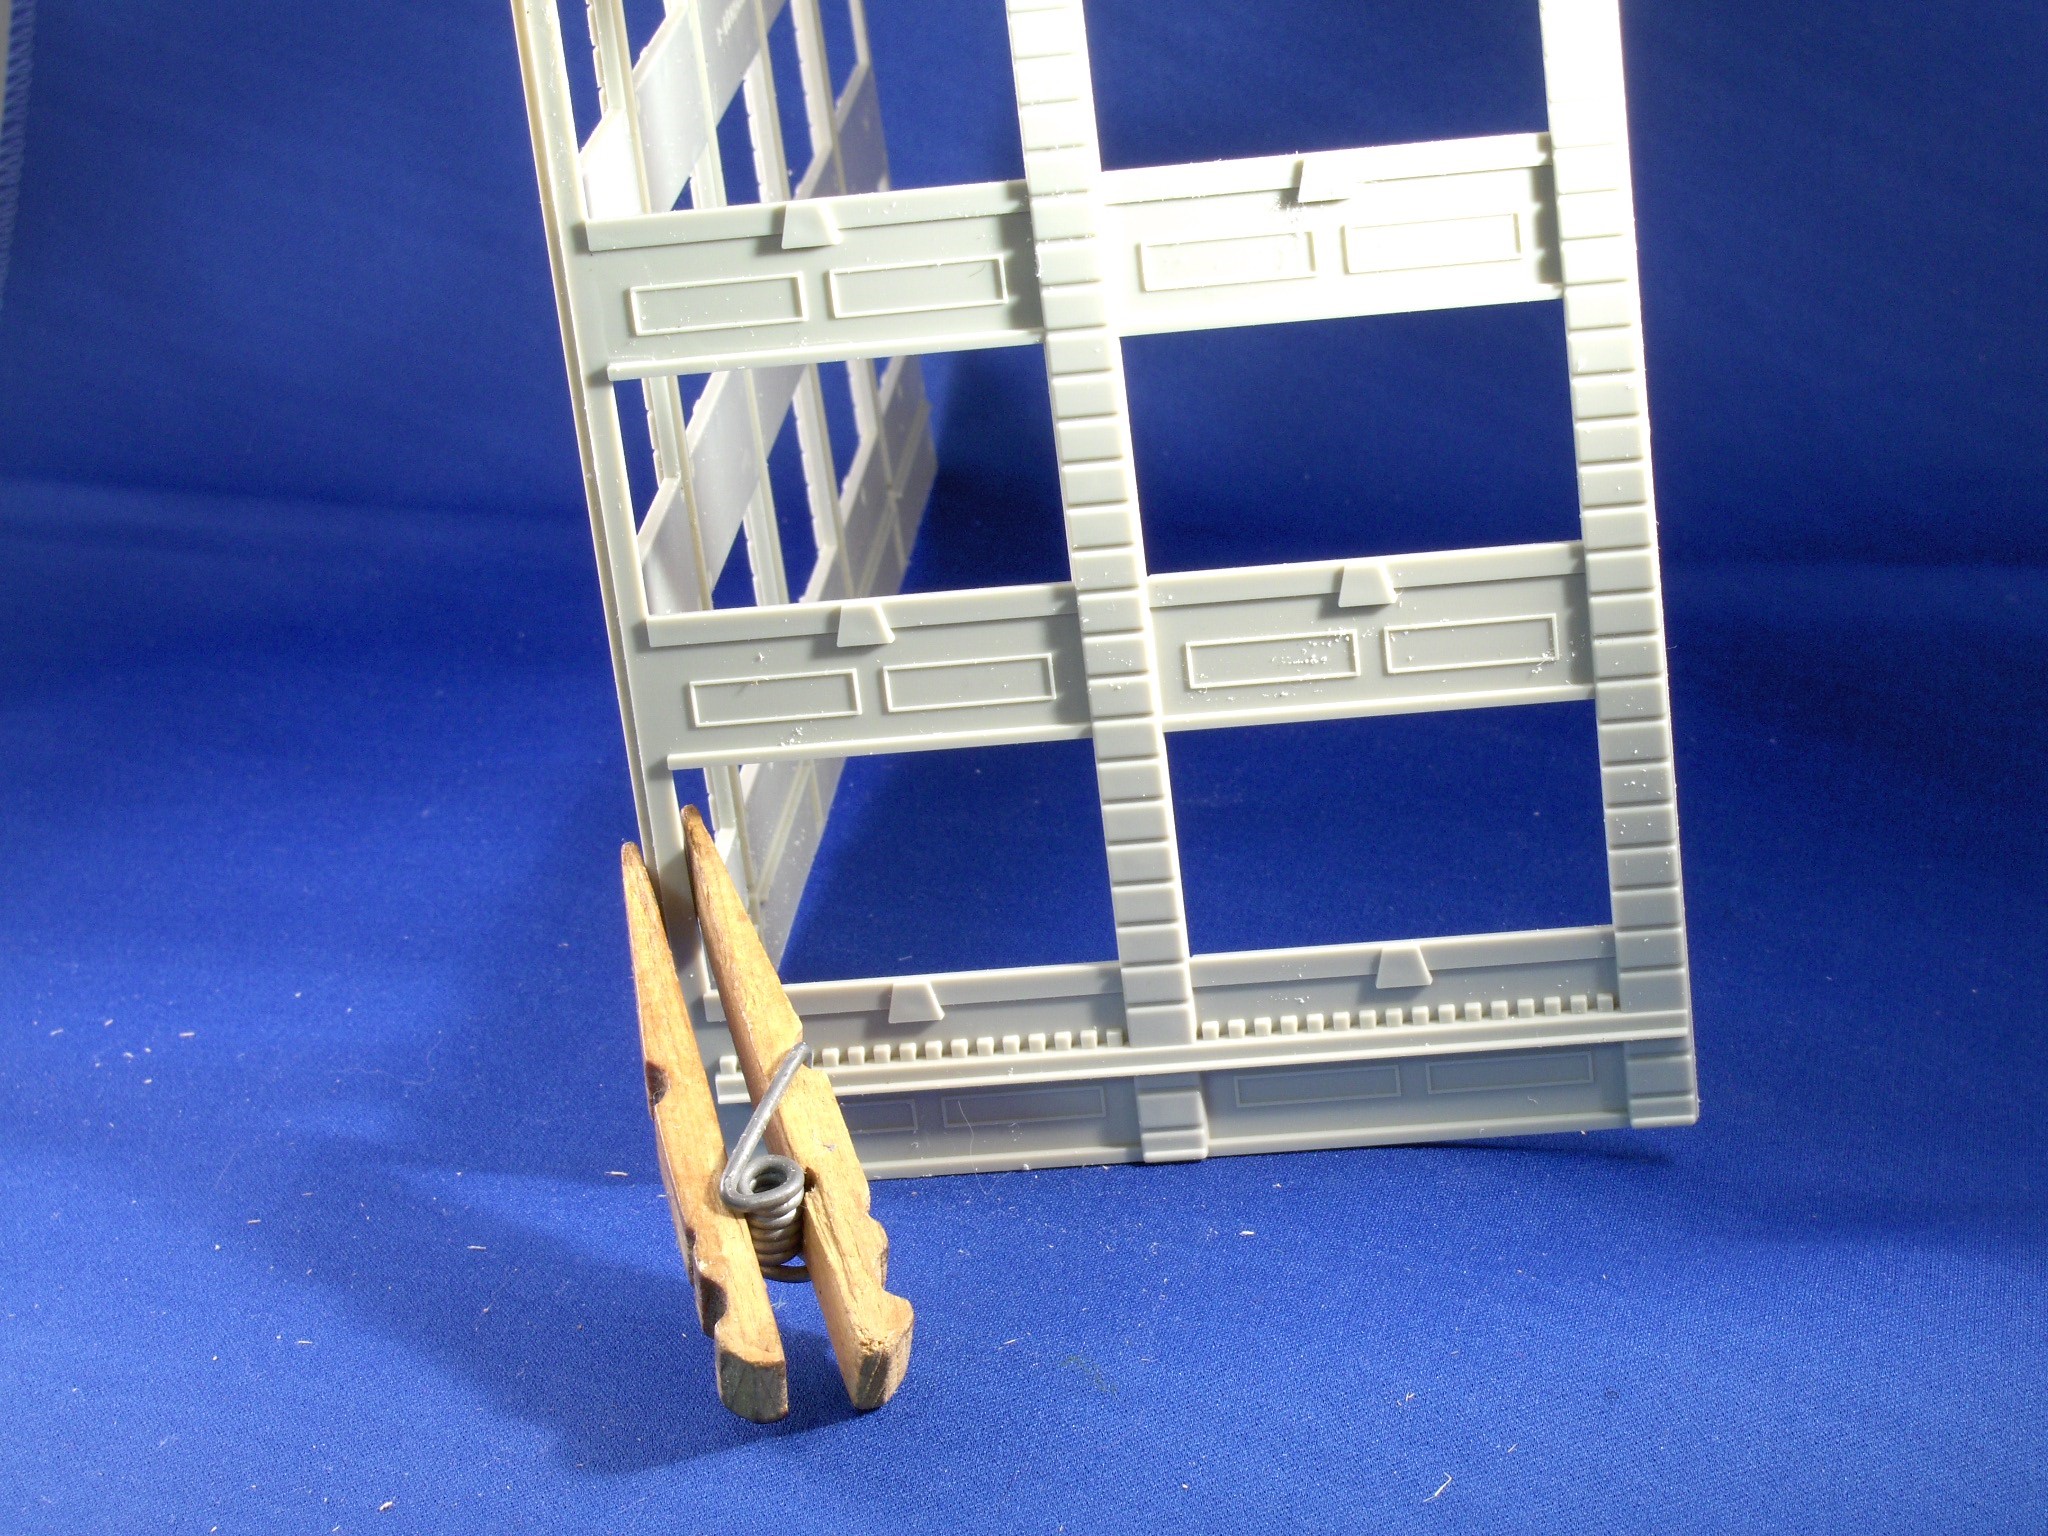
Rather than glue the walls to the base that came with the kit as the instructions indicate, I decided the I would glue them together without the help that would have come from the base. I discovered it was hard to tell how the side walls fit against the front. Did they go behind the main front wall or ahead of it? I compromised and made the joint halfway between the two positions. It’s a good idea to use clamps to hold the joint while the glue dries. This is simply a clothespin with the wooden pieces reversed. I have a number of these clamps that often come in very handy.

By gluing the walls as I did, I learned that I had to trim about 1/8” off the sub roof seen here, as well as the base itself and the main roof. It just made extra work for me, but I managed to make it all work out.
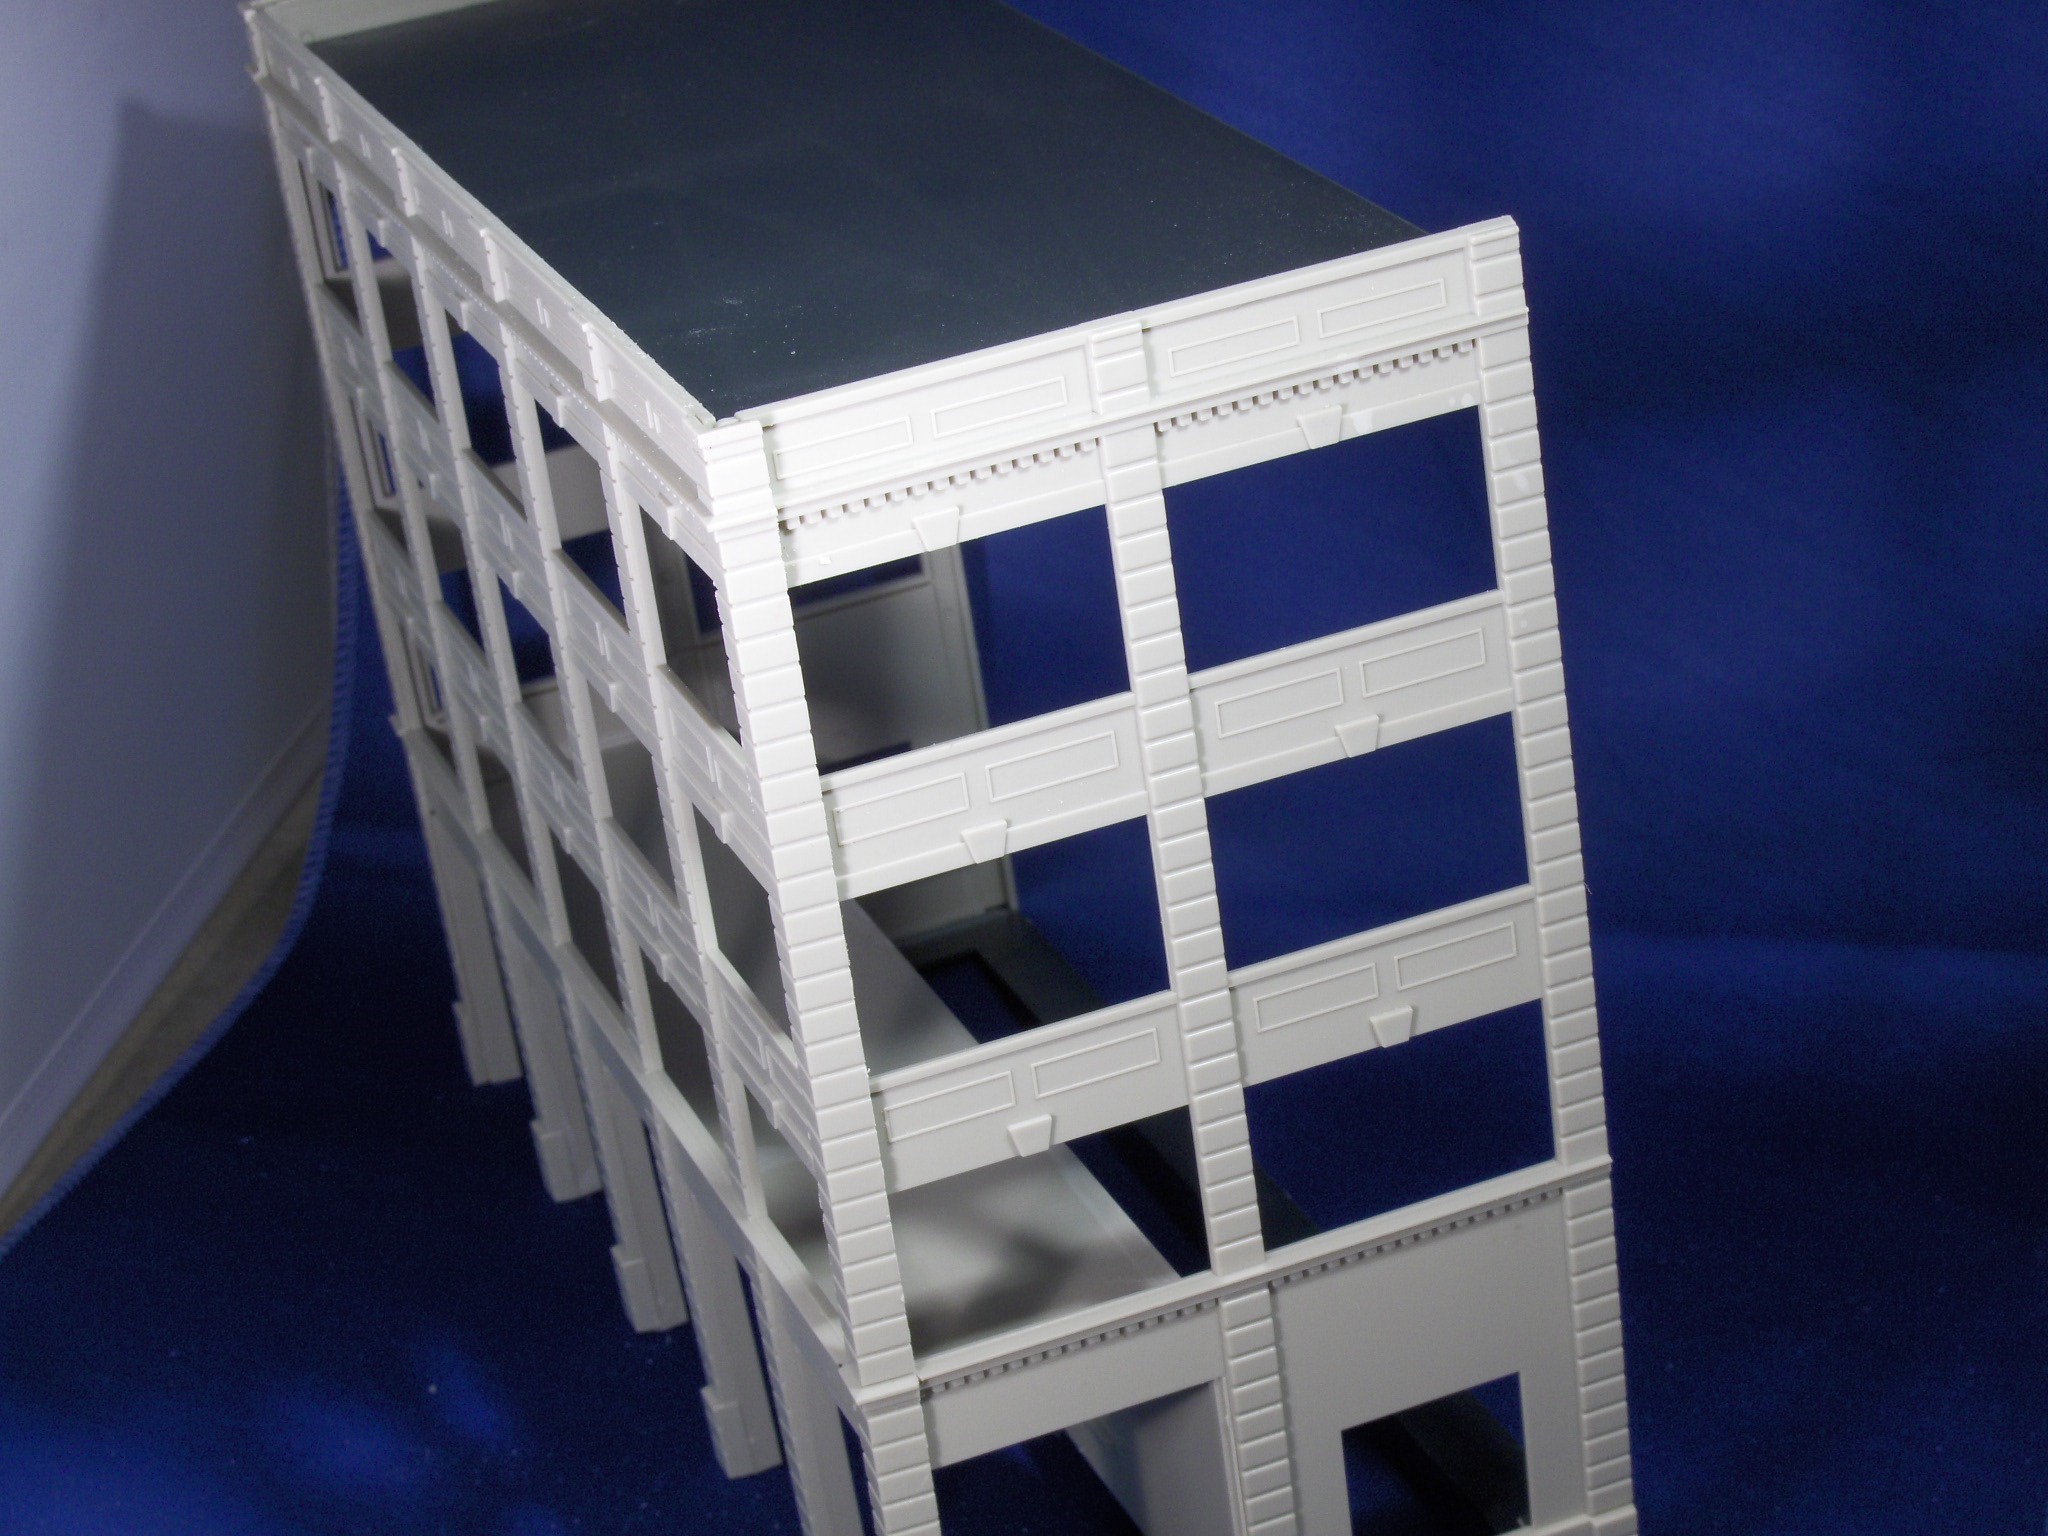
I got the building together without too much trouble after I did all the trimming. The sub-roof and the main roof have been added in this picture.
The kit didn’t include a back wall, so I made one from a piece of Plastruct tubing that perfectly matched the existing walls. I also added the little right-angle trim pieces on this wall as well as the front wall.
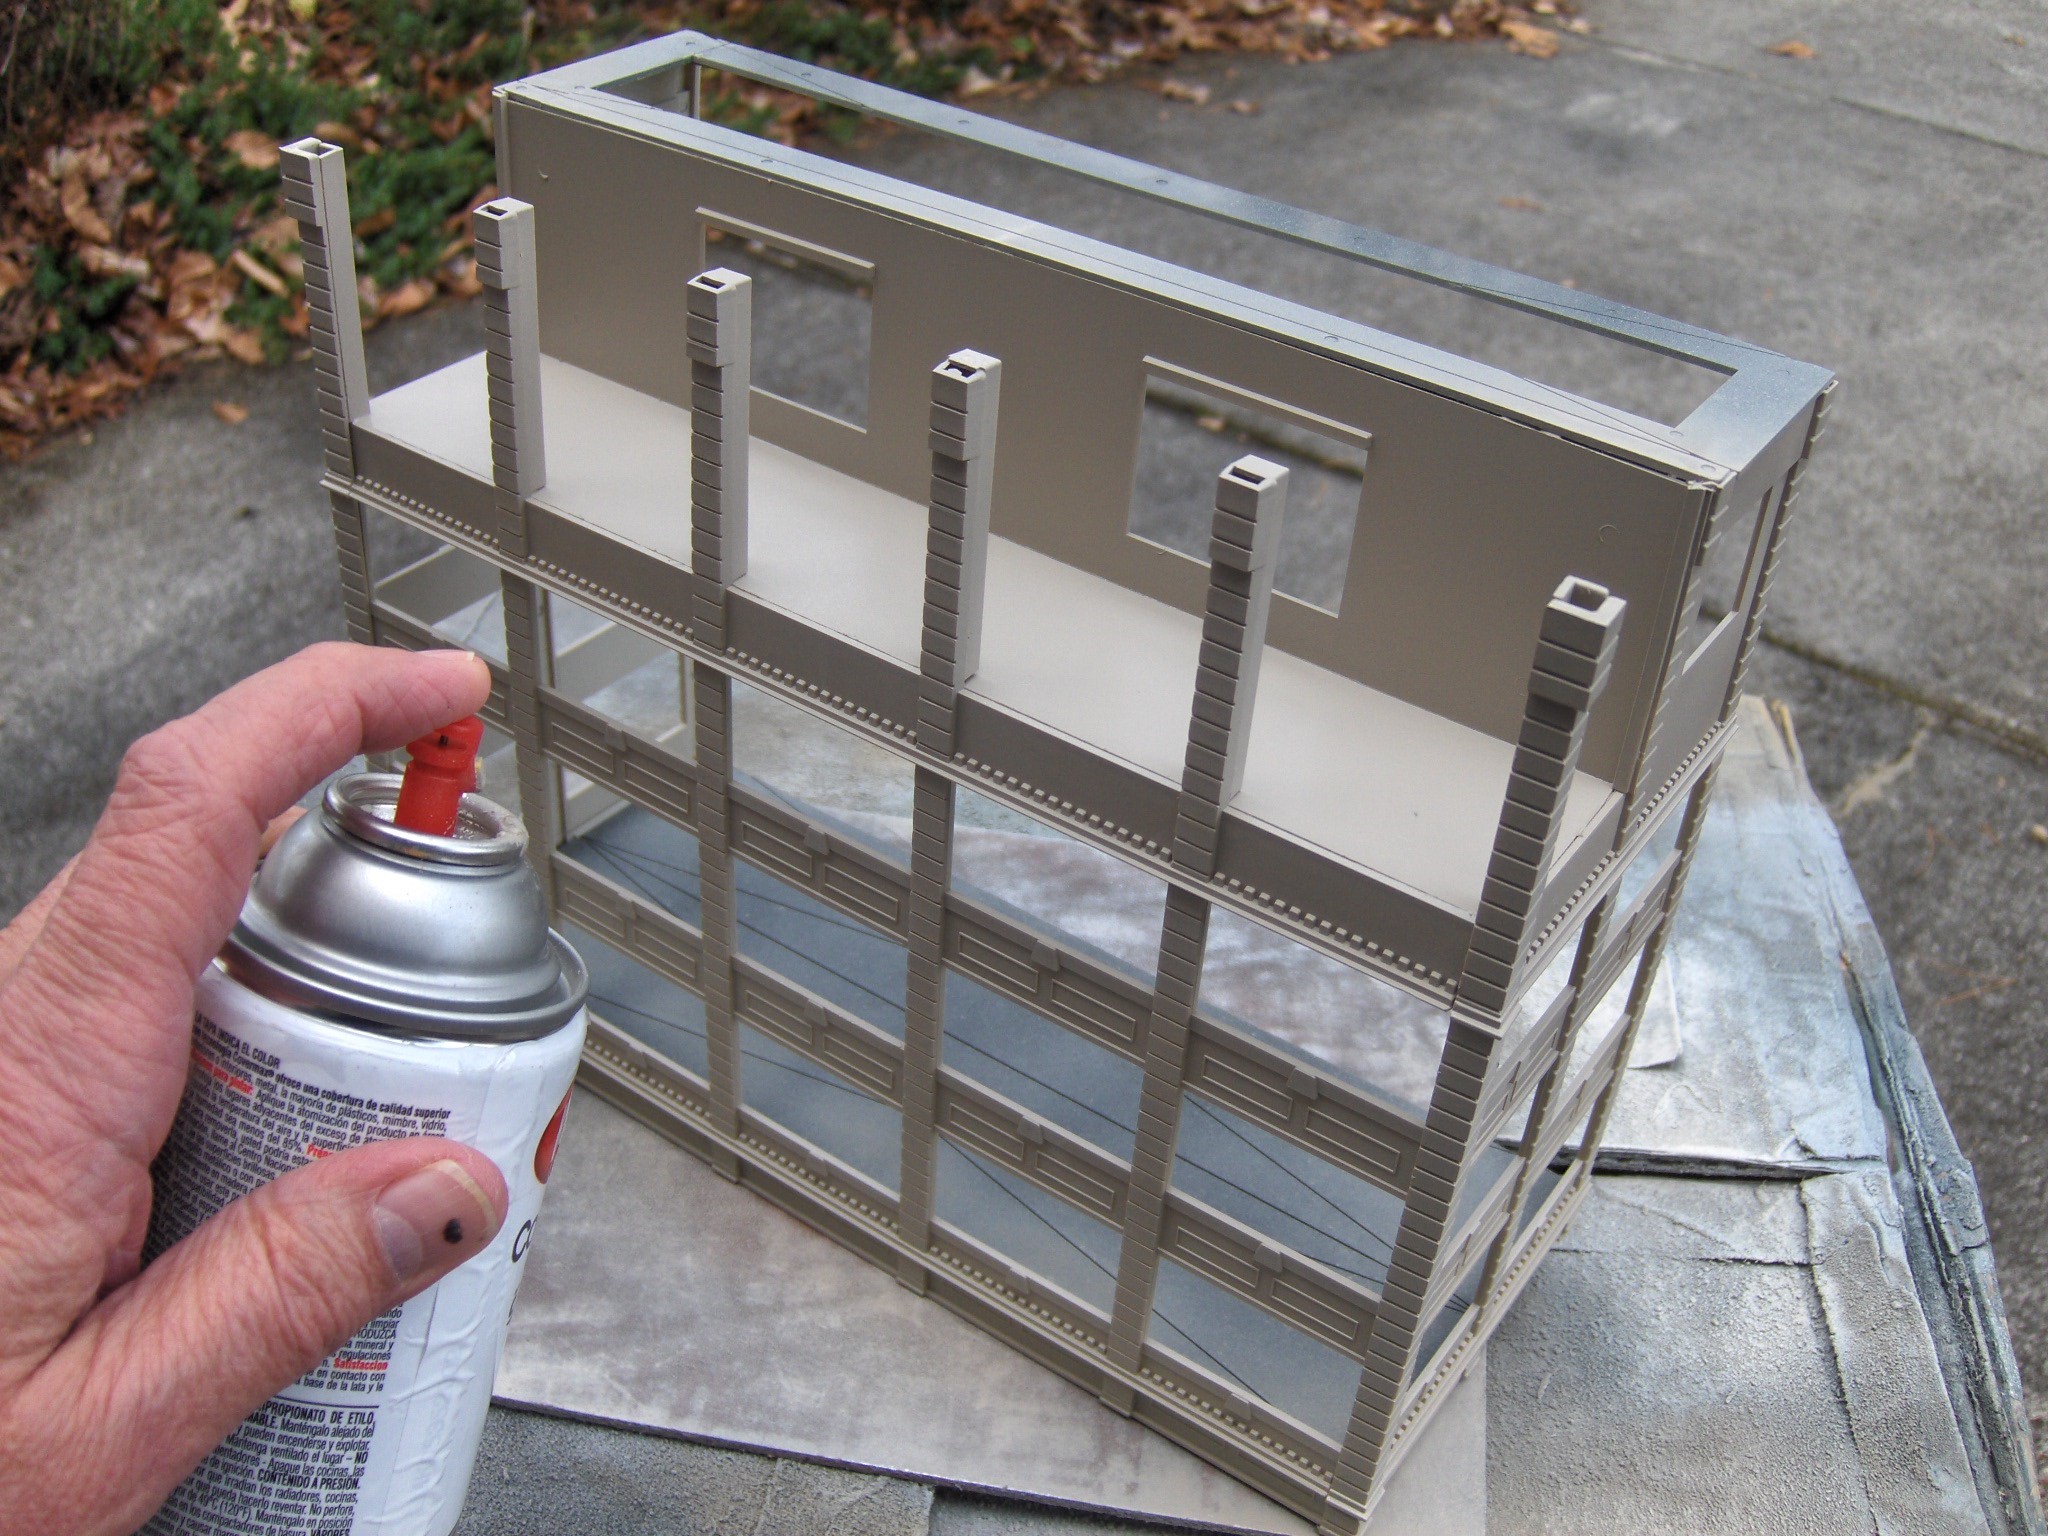
I sprayed the building outside with several gray colors before I weathered the walls.
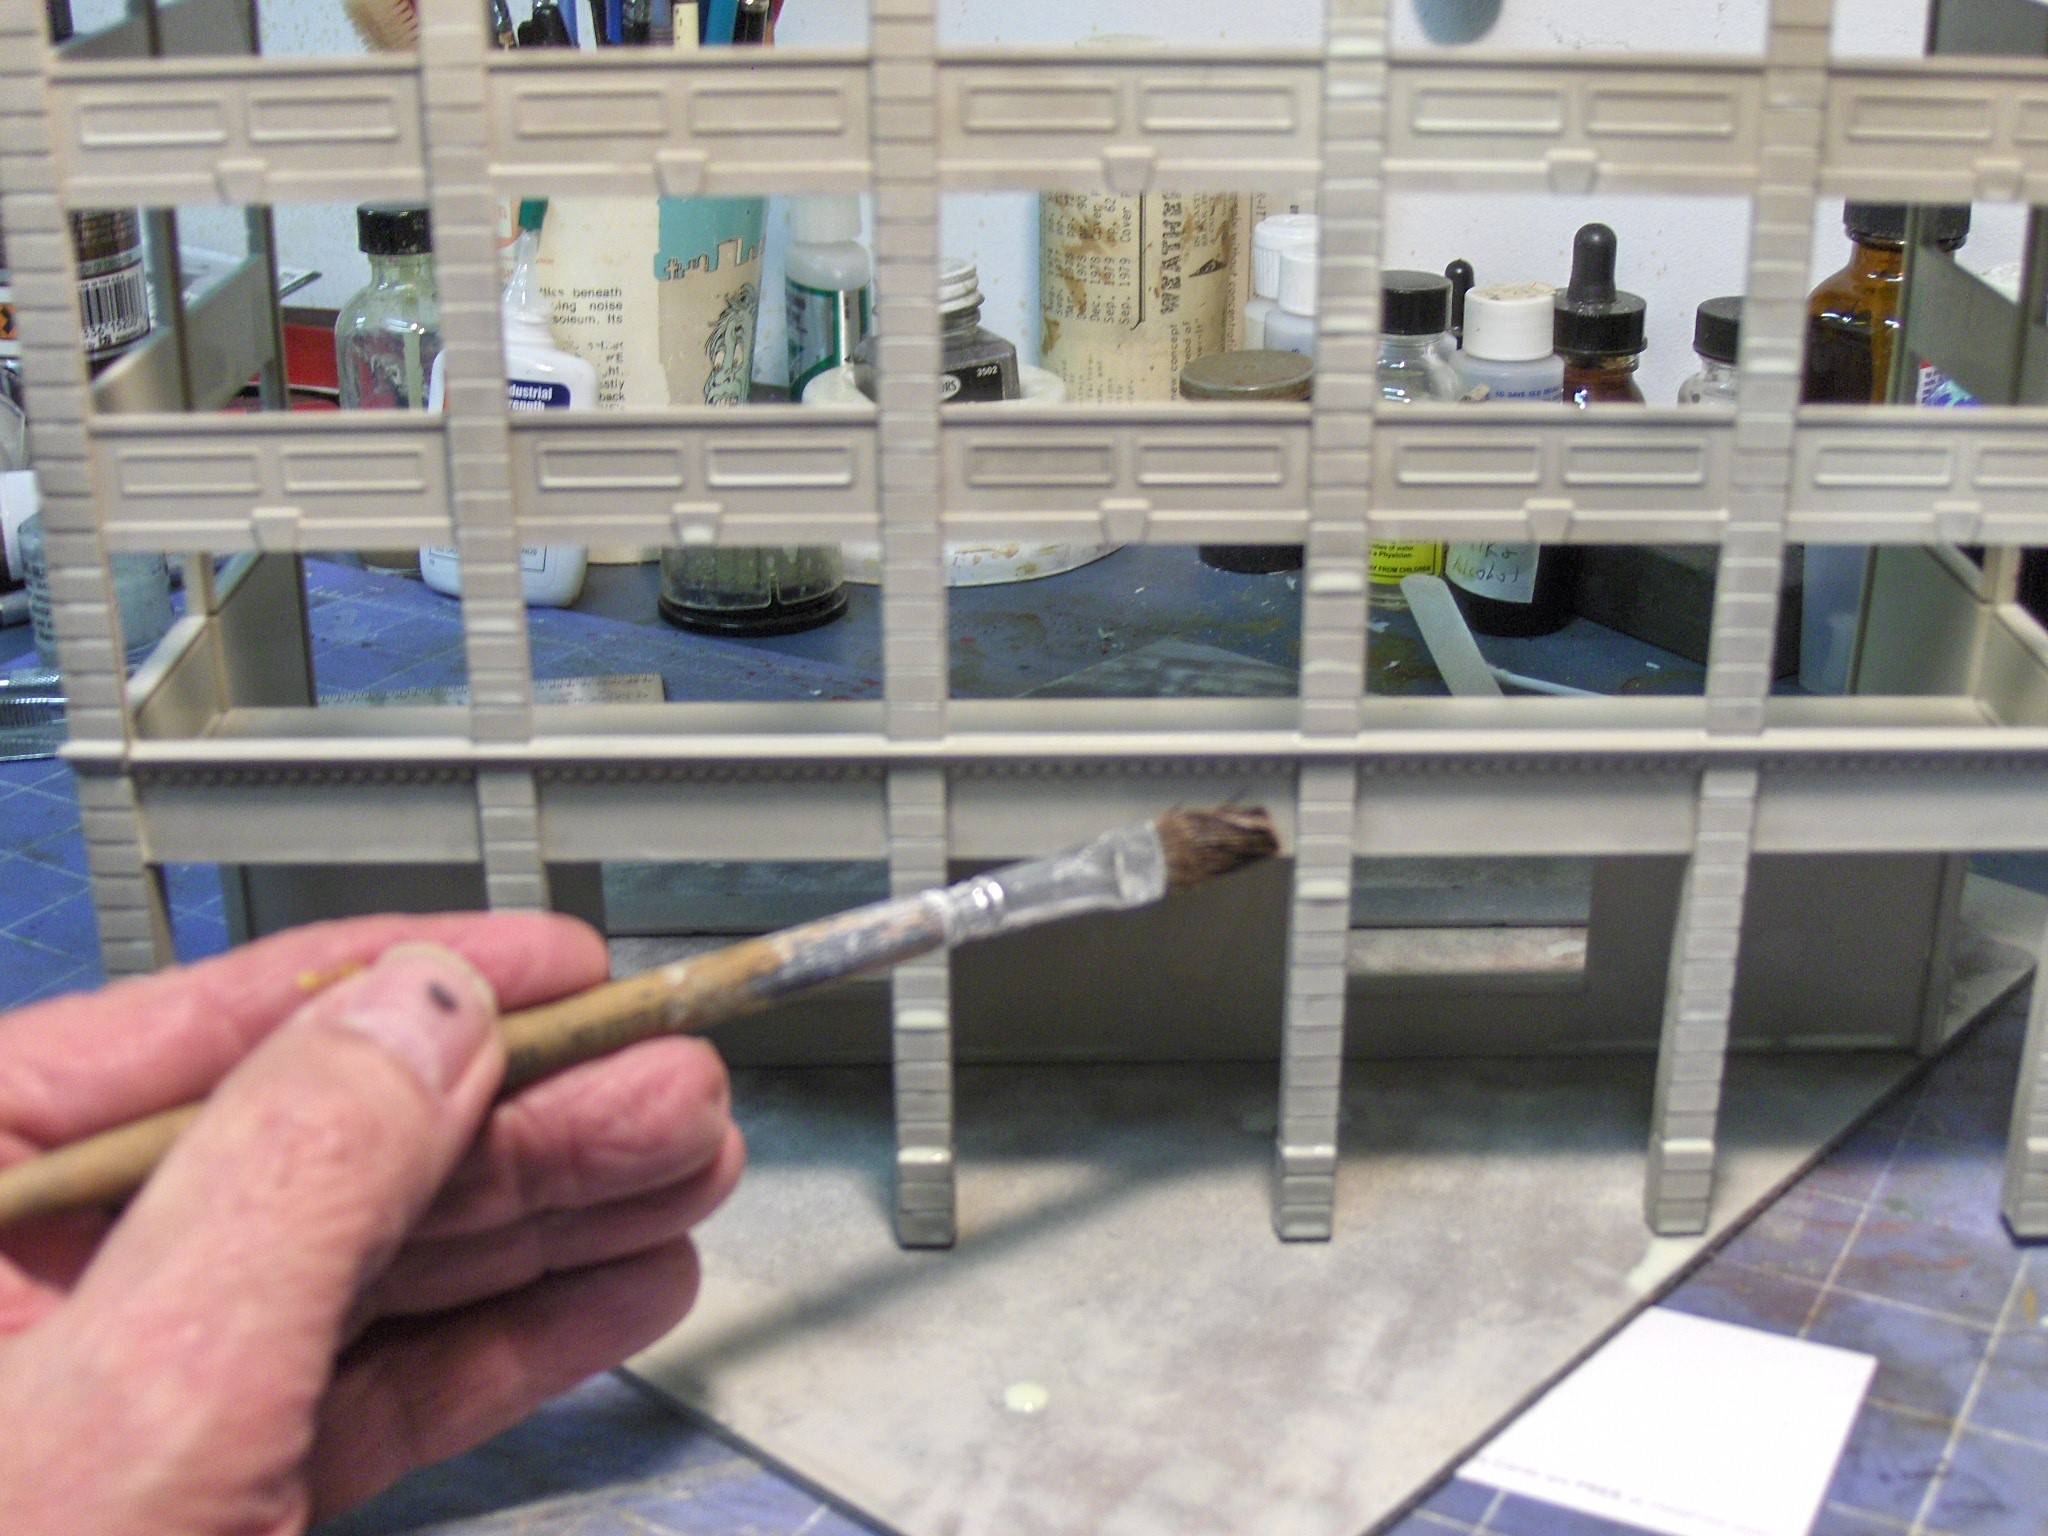
I brushed on my alcohol and India ink wash with the structure turned upside down. Here I applied an acrylic wash of yellow and white to make the wall colors varied. Walls are never one consistent color. You need to add light and dark effects.
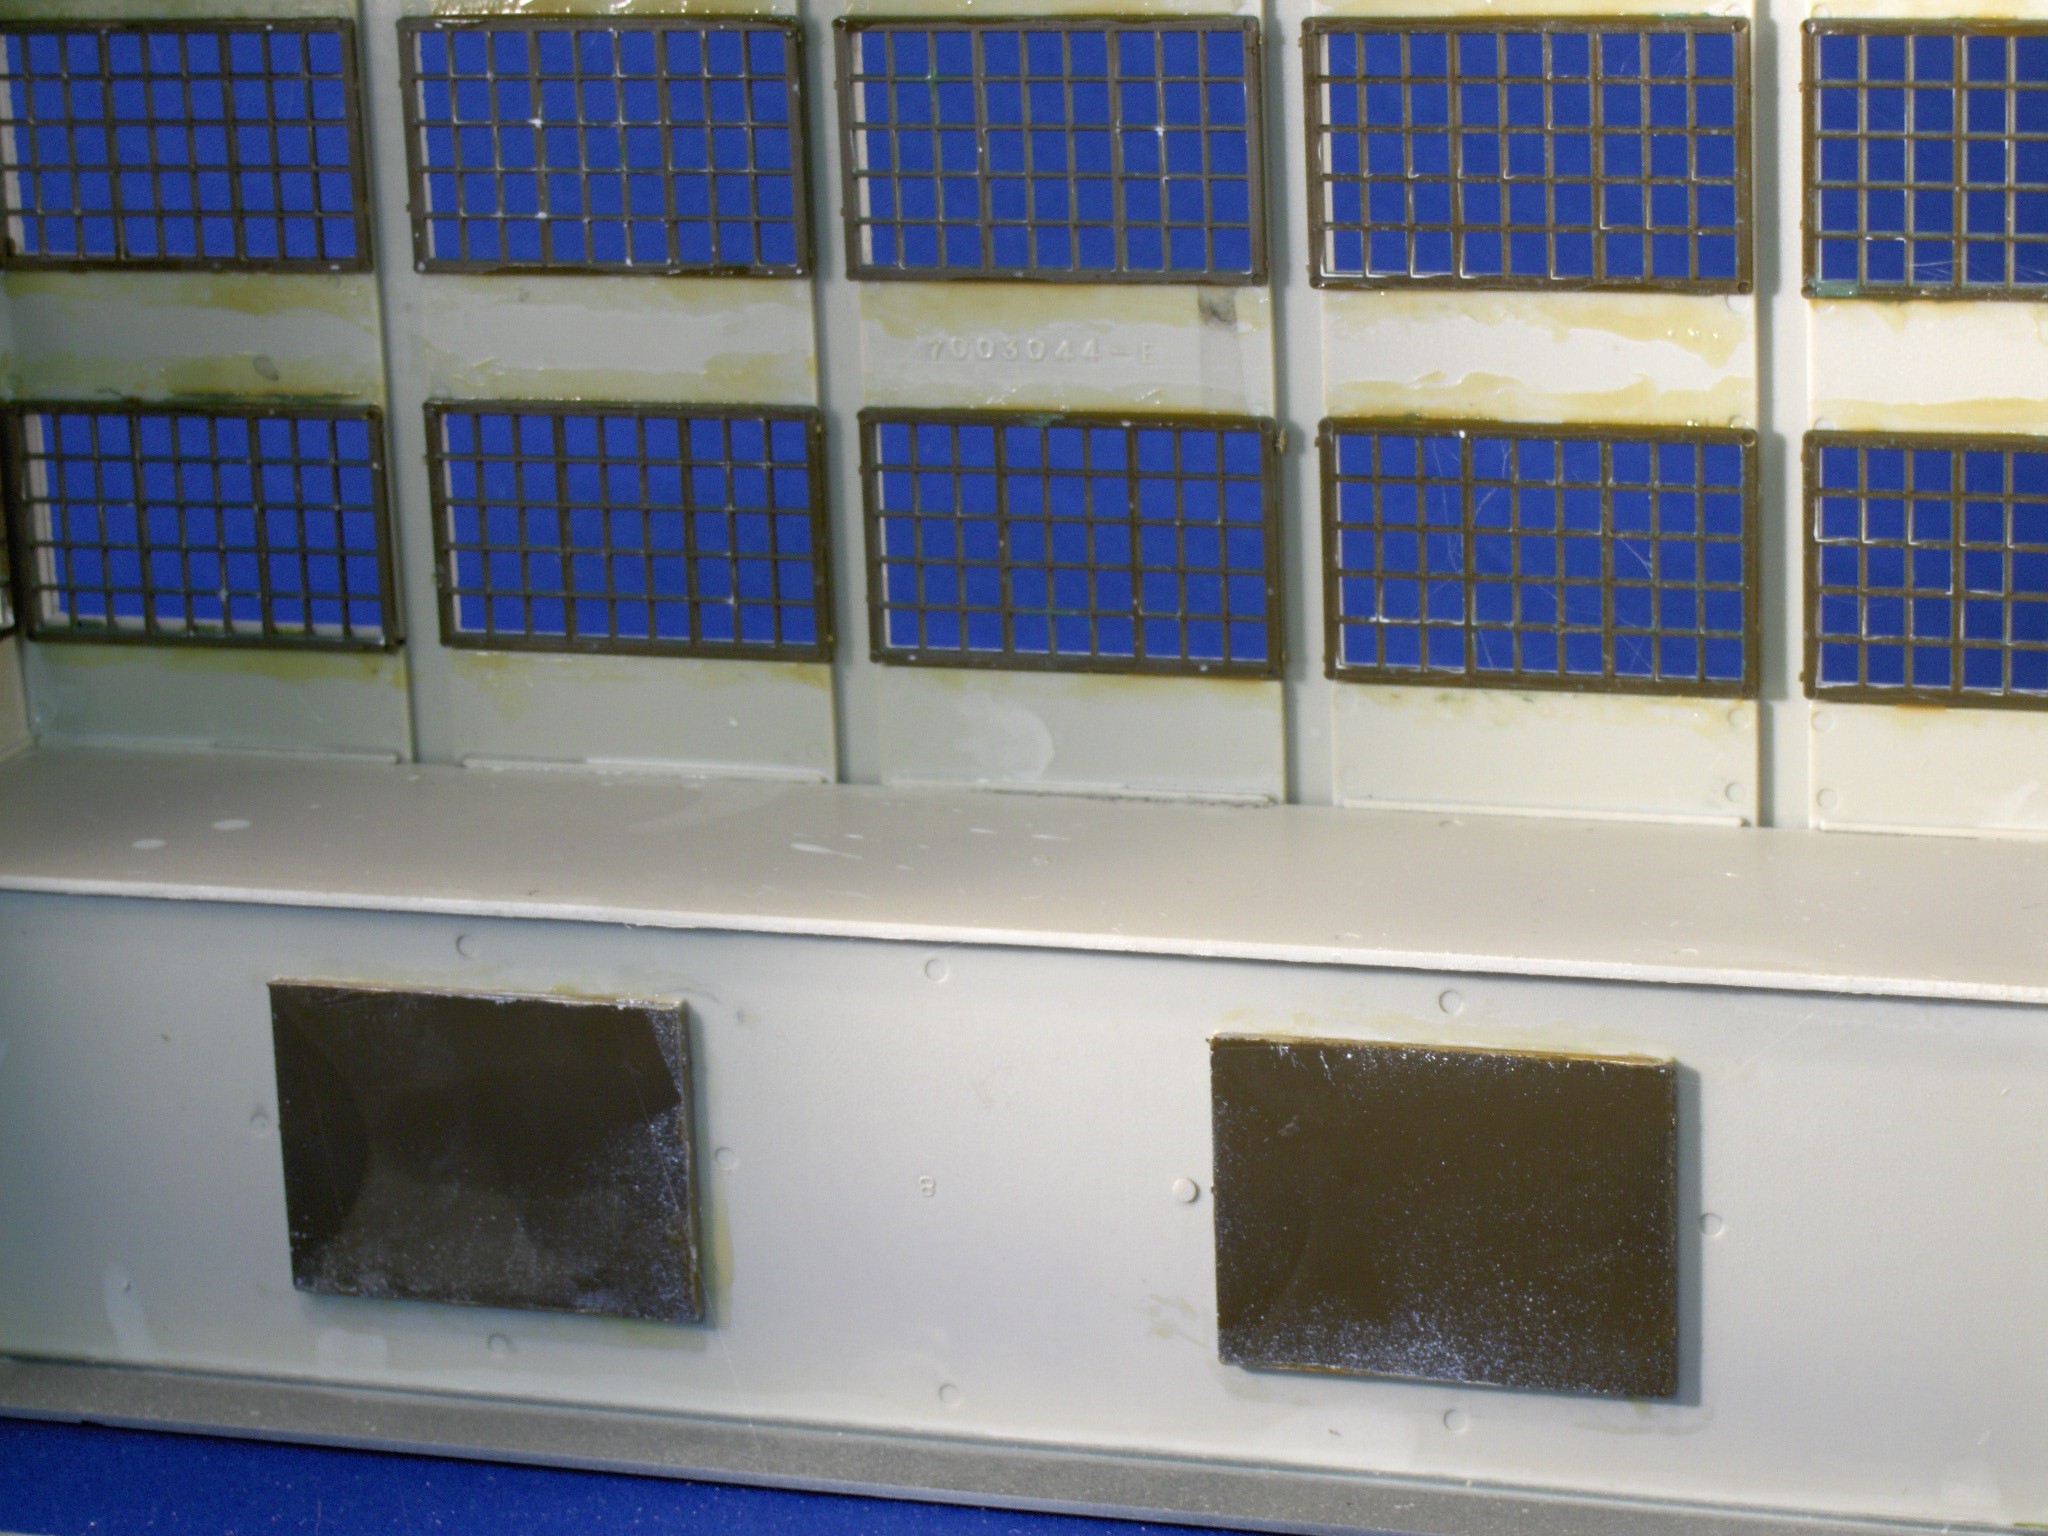
Next, I glued the windows and doors from the rear using contact cement. I had to be very careful with this because the windows are just large enough to fit the opening with almost no lip to hold the glue. I first added some tacky canopy glue to the walls in order to hold the window in place before I added the contact cement, which makes a very strong joint.

After adding some roof details including a water tank, two vents made from a piece of candy packaging, and an access hatch made from a plastic container, I sprinkled on ballast to waterproof the roof. This was set in place with a diluted white glue mix. To make the glue flow better I dribbled on rubbing alcohol and then applied the glue.
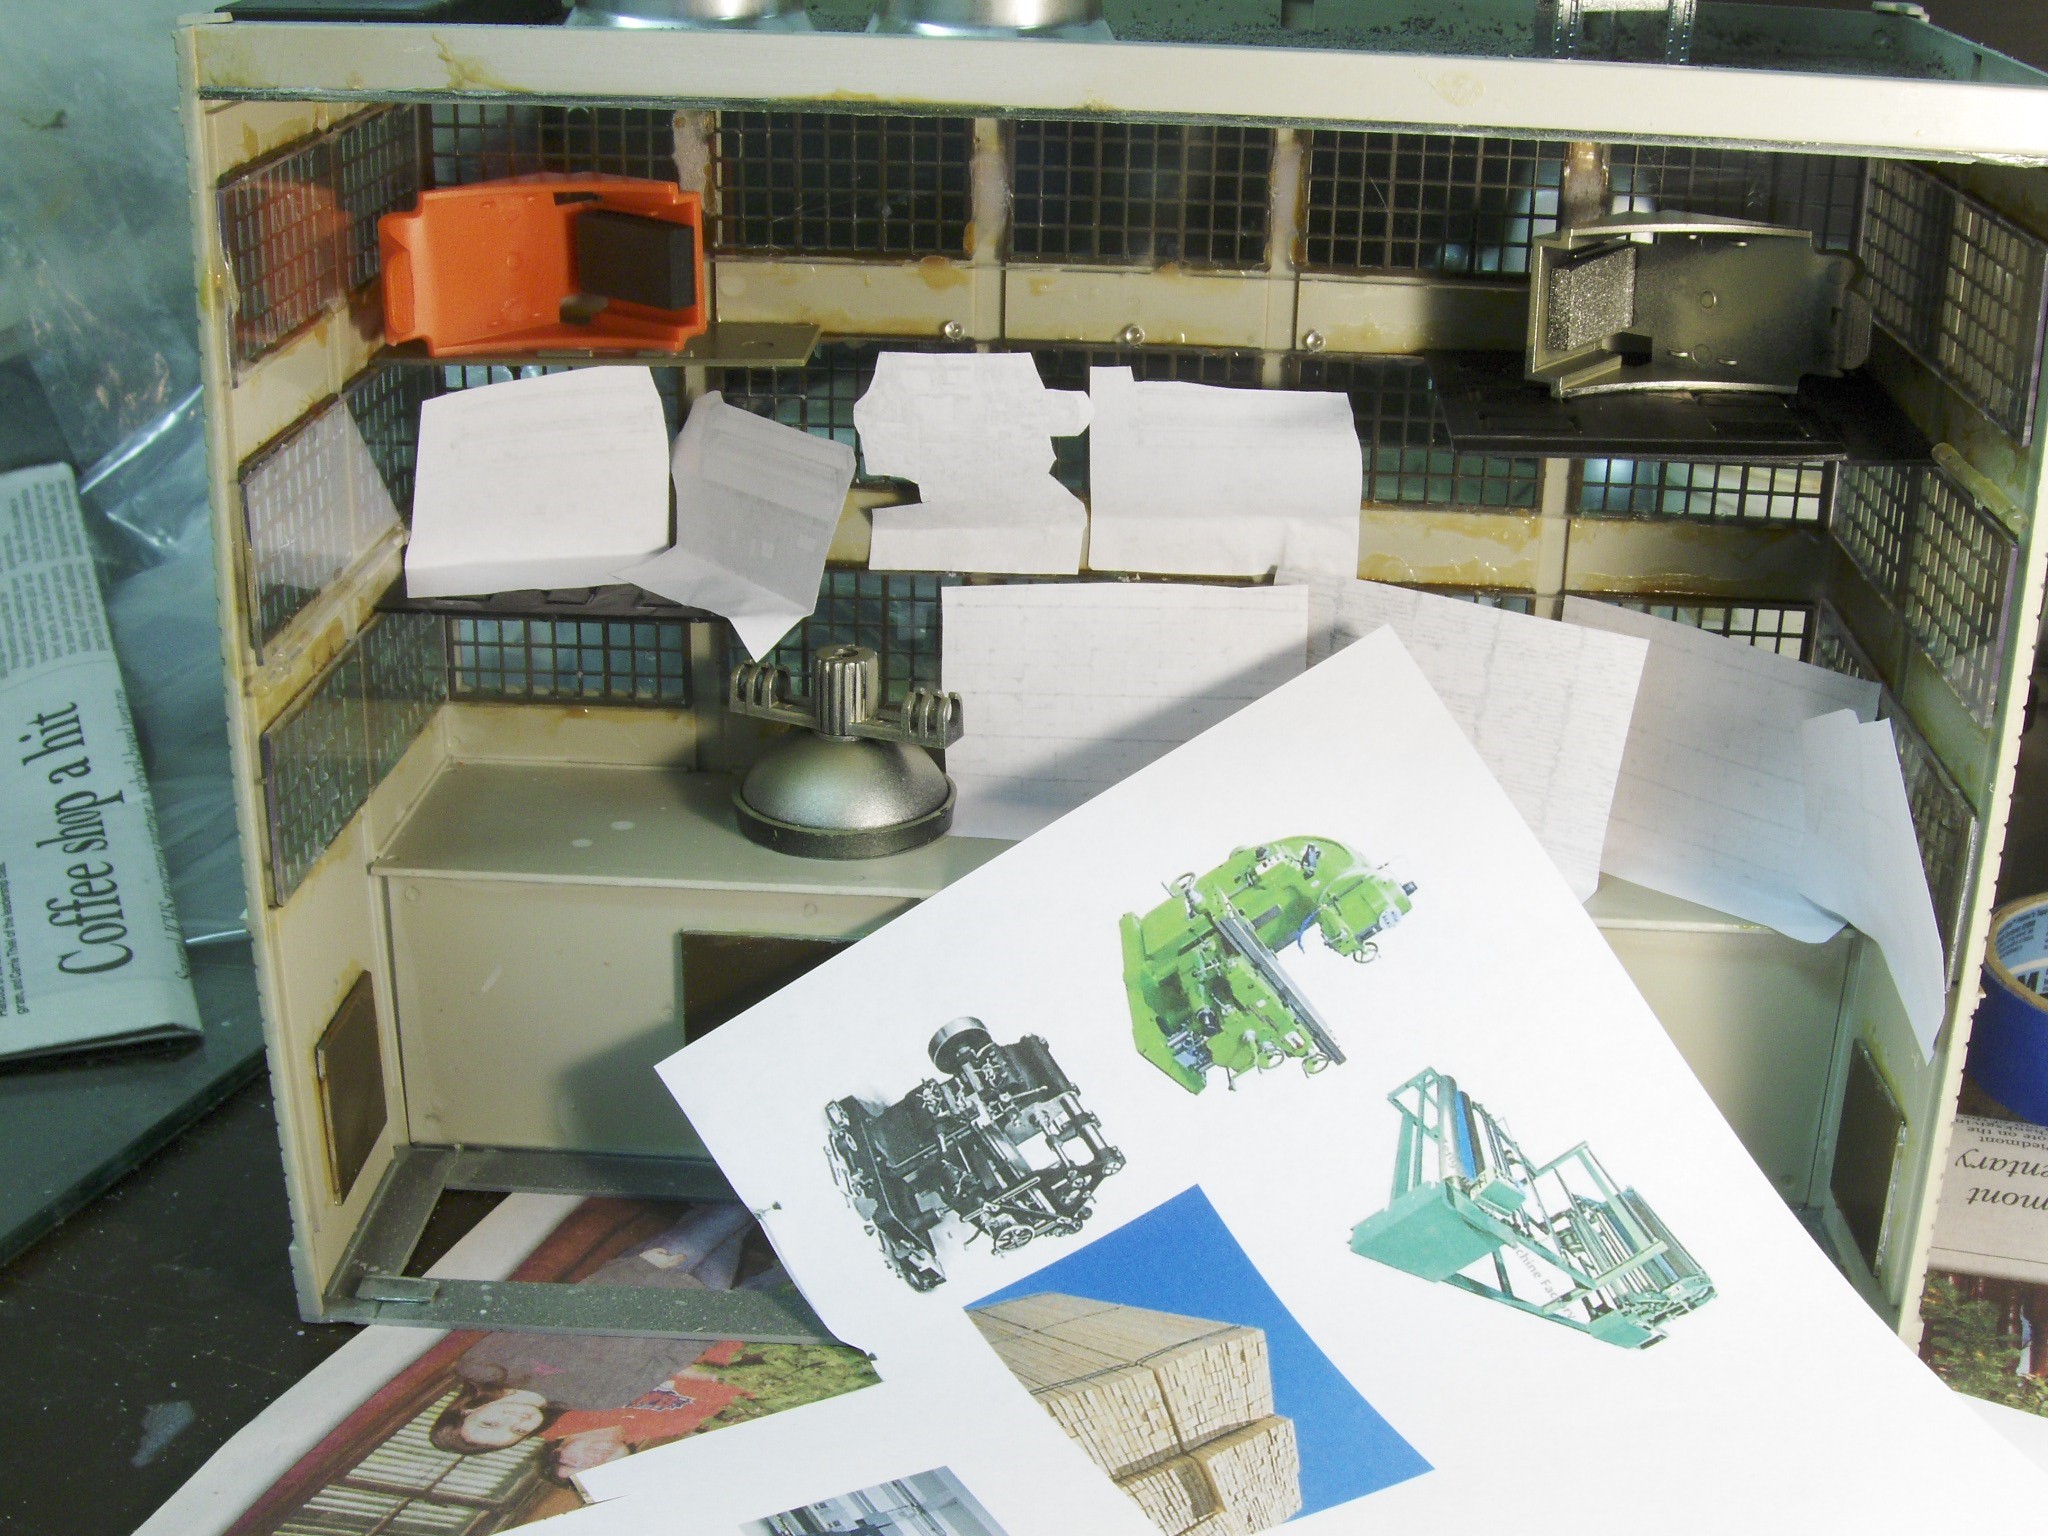
Since the furniture company had so many windows, I added simple interior details. The two pieces on the top floor are packing used for ink cartridges. The silver thing is something from my scrap box. I just needed things that looked like machines. Then I got pictures from the internet of machines and lumber stacks. I stuck these in place with white glue.
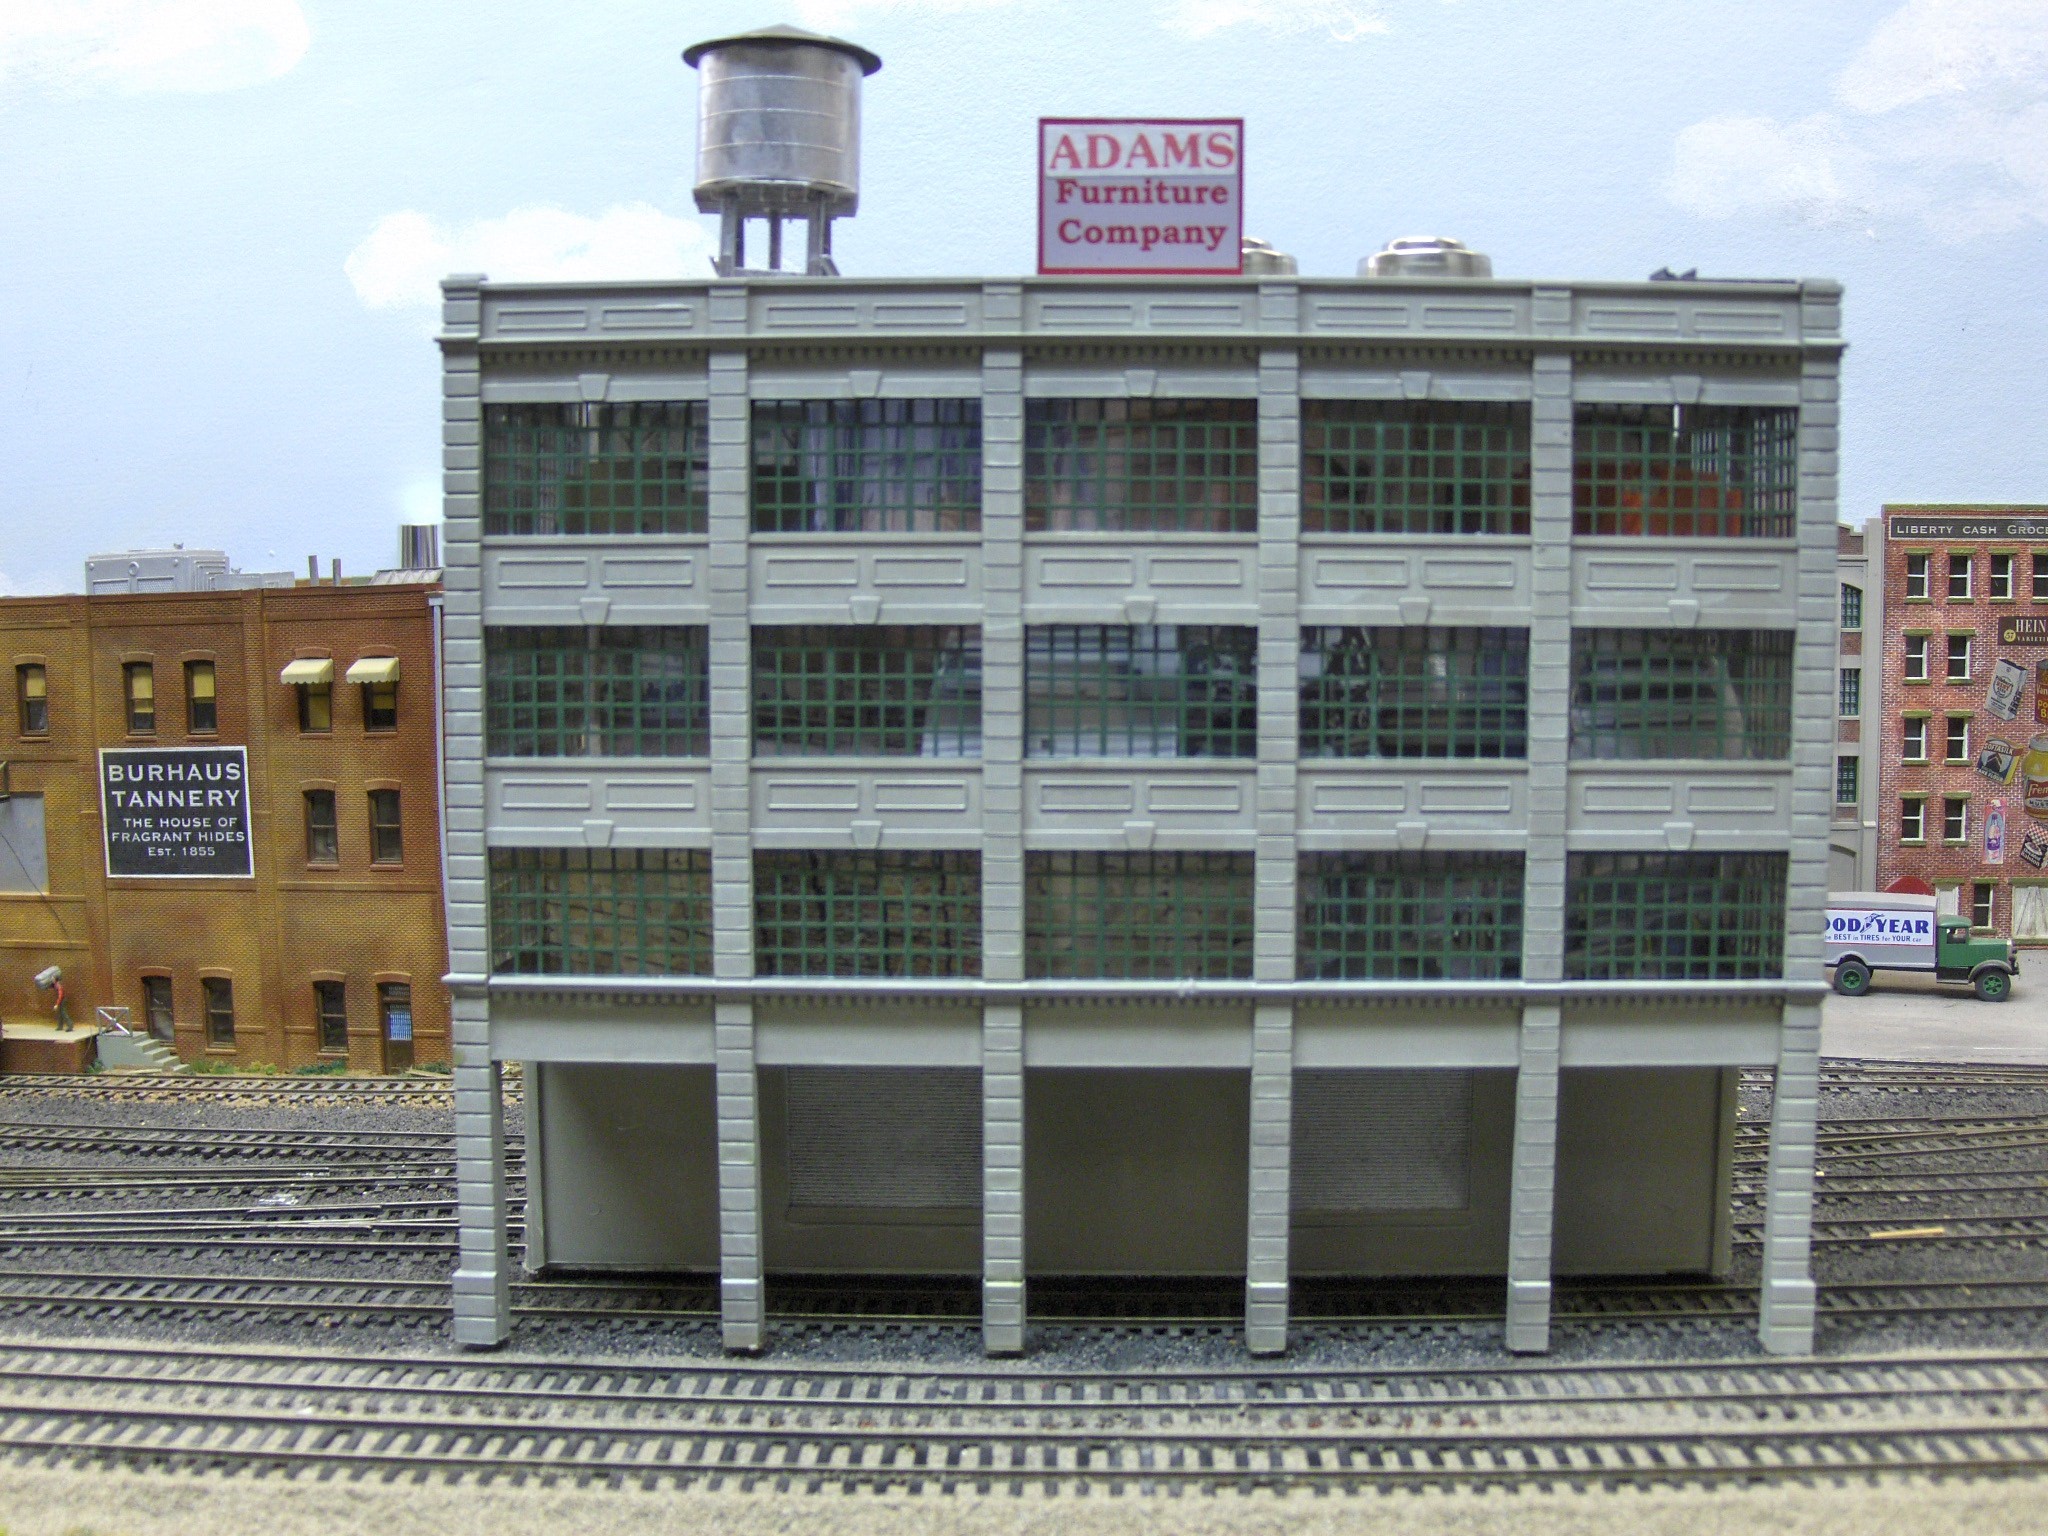
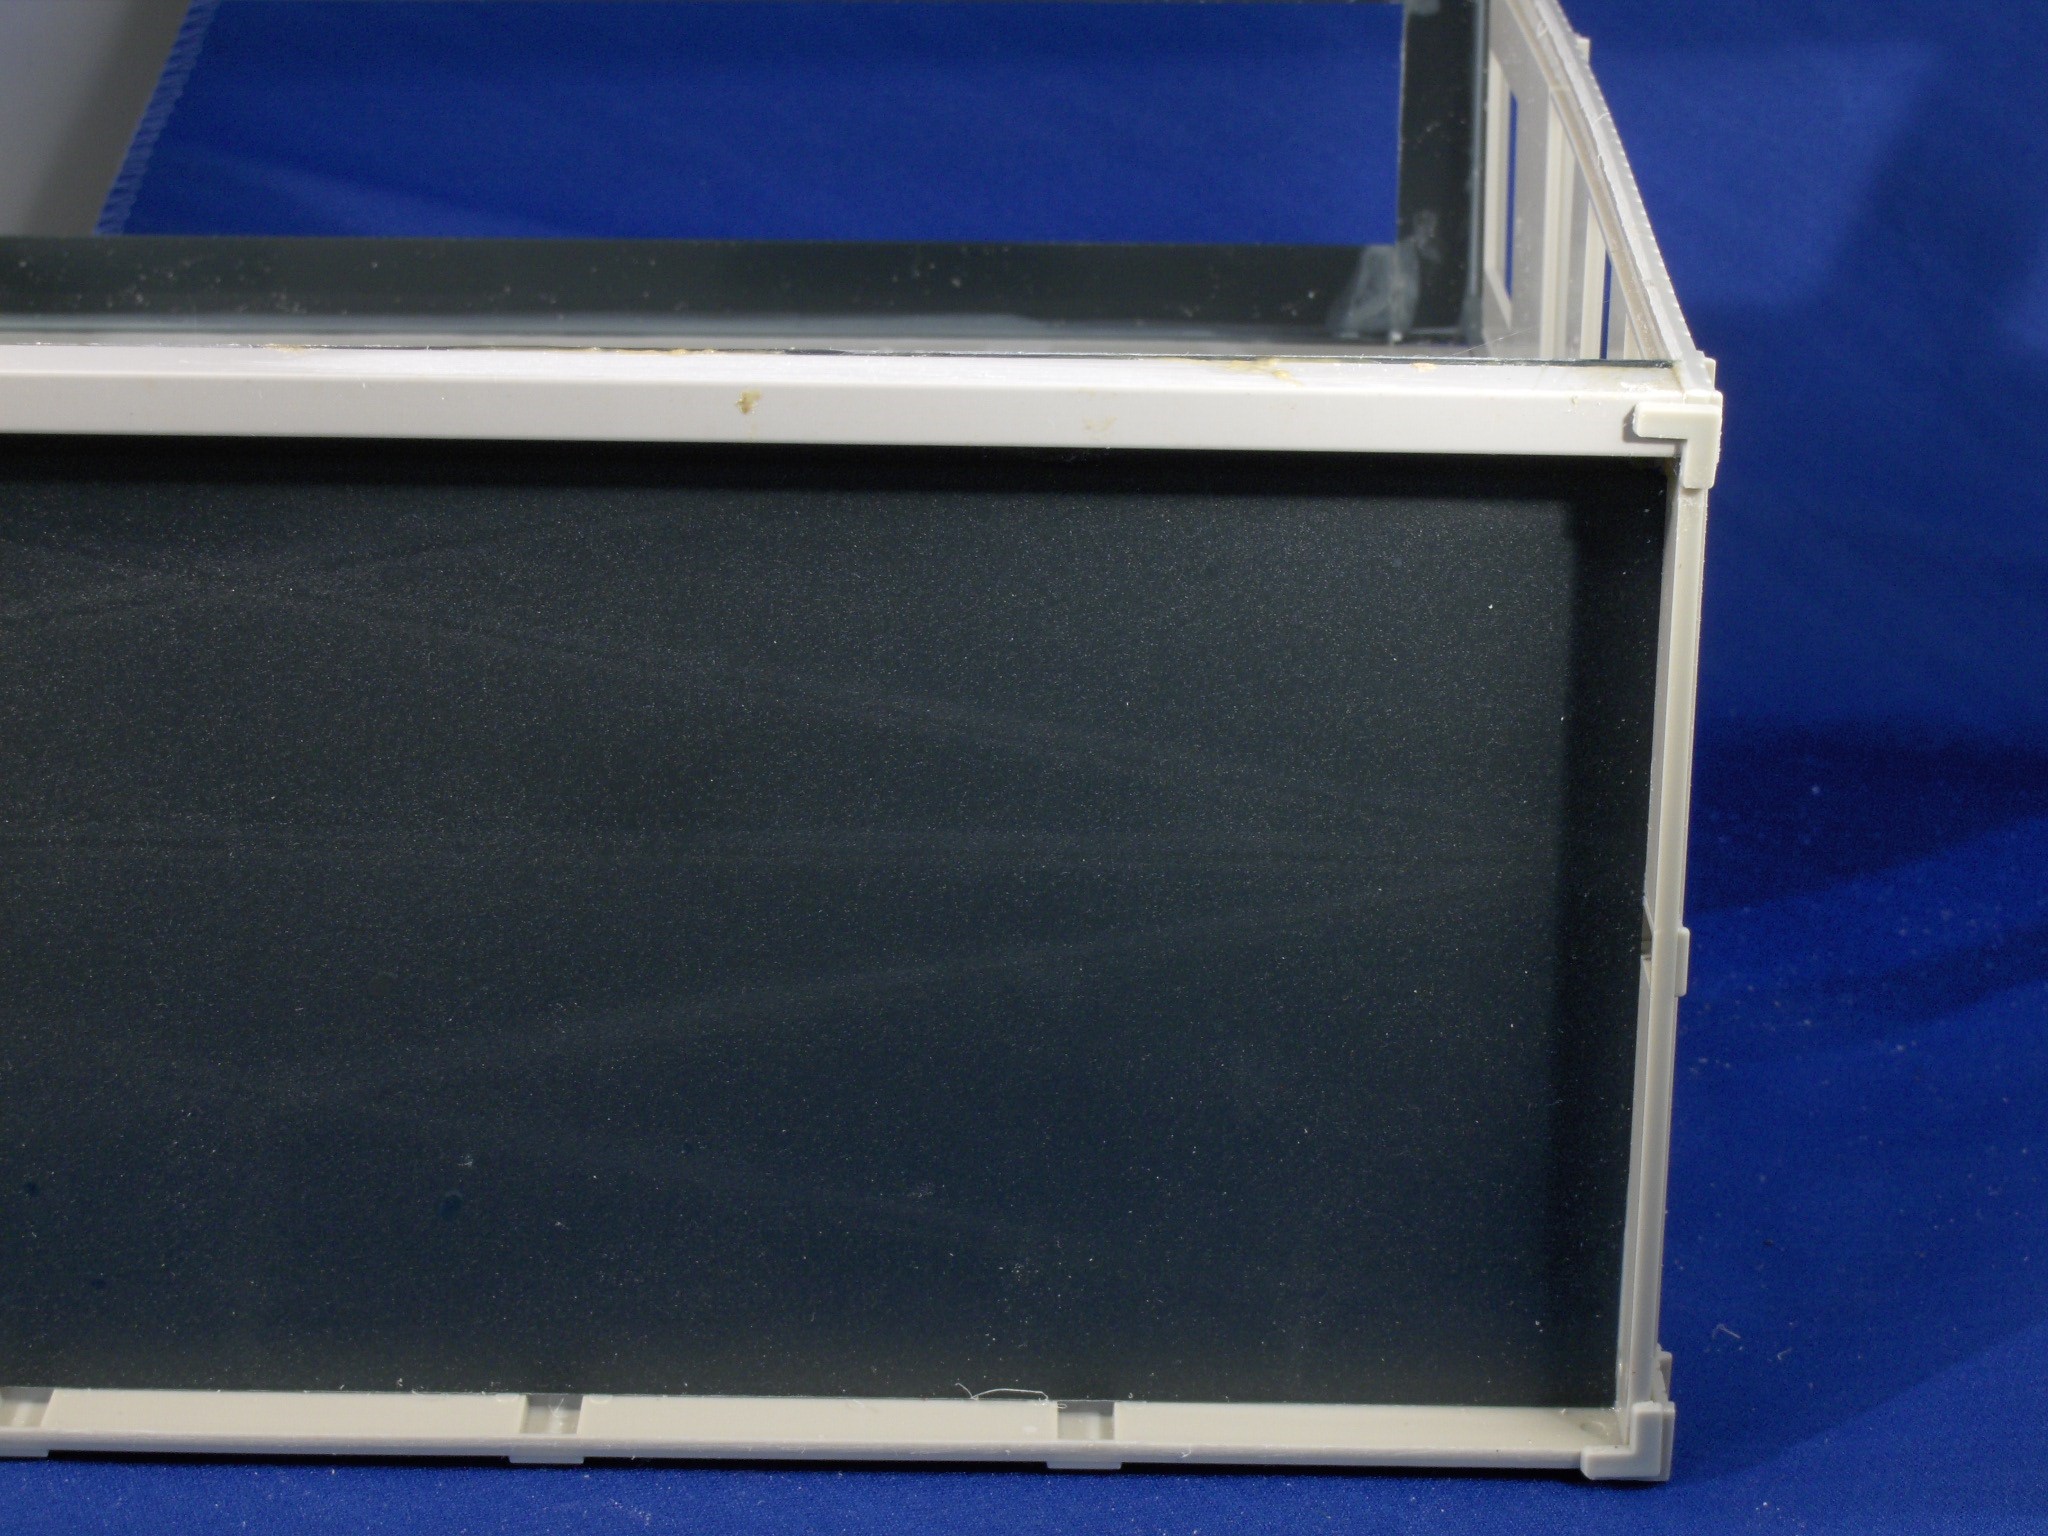
Here you get an idea of the finished building’s interior. You can’t really make out any particular objects. It just looks occupied. I also added interior photos from a furniture company behind the 3D pieces and paper cut outs. I added a sign atop the structure.

Here is the angle from which most people will see the building. It seems we are always looking down on the scenes on our railroads. Now I only have 8 more buildings to make for Curt!


GREAT job so good 'll looking.
Are these kits available in O Gauge?
Nicely done. COFFEE STIR STICKS instead of pictures of lumber. At $2/1000 they are cheaper than a picture.
Nice job. I built the same building, but used the entire building, and turned the back 180 degrees in order to still have a "background building" but make it twice as long. I did the same thing with Cornerstone's Pillsbury building. If you have the space, it gives you twice the length to spot cars.
Yes, I have one on my Layout for years which believed or not I am in the middle of revamped