
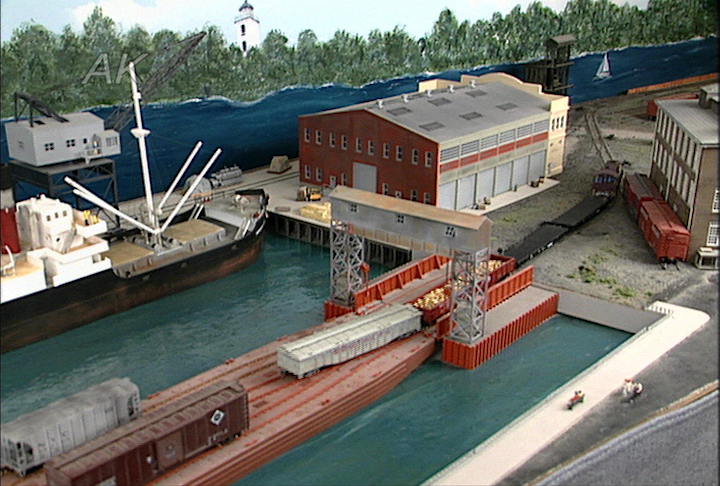
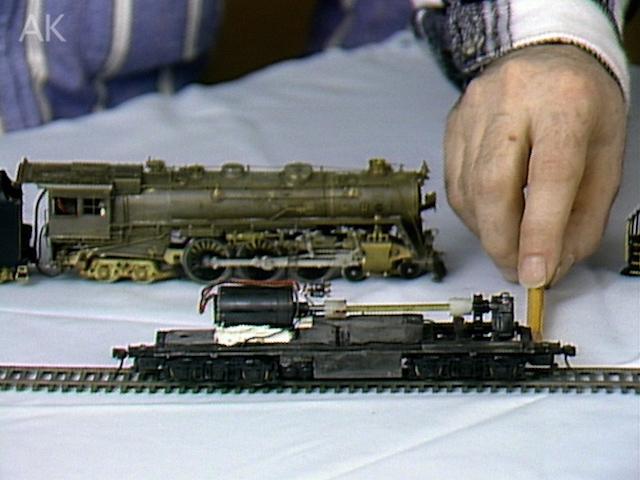
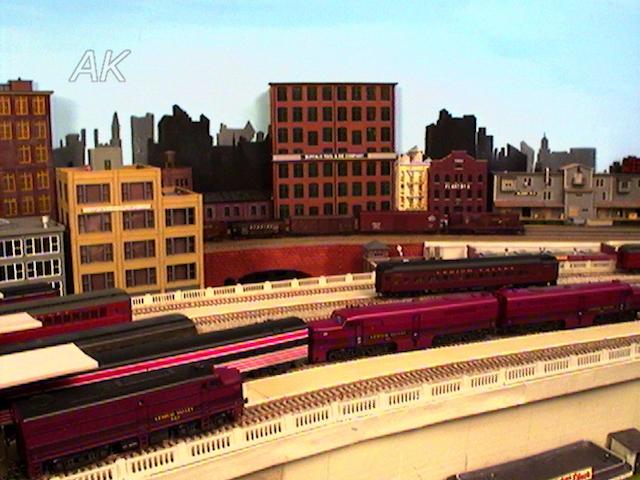
Installing Micro-Slide Switches with Tony Koester
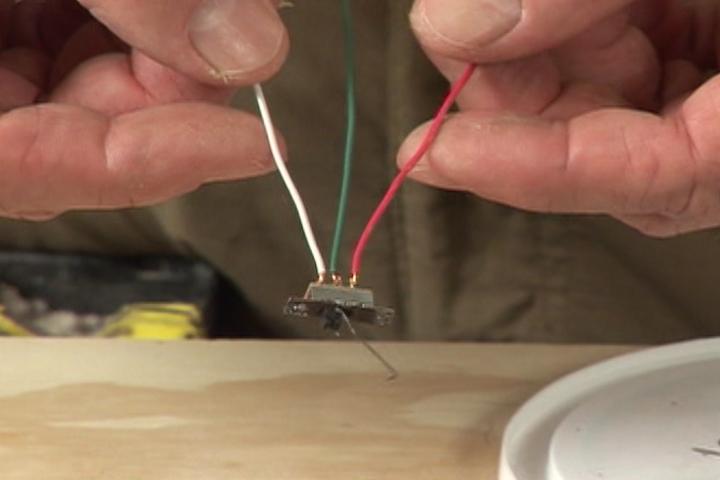
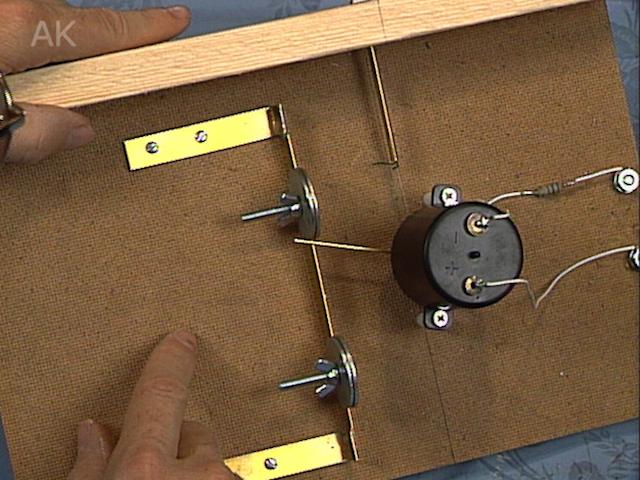
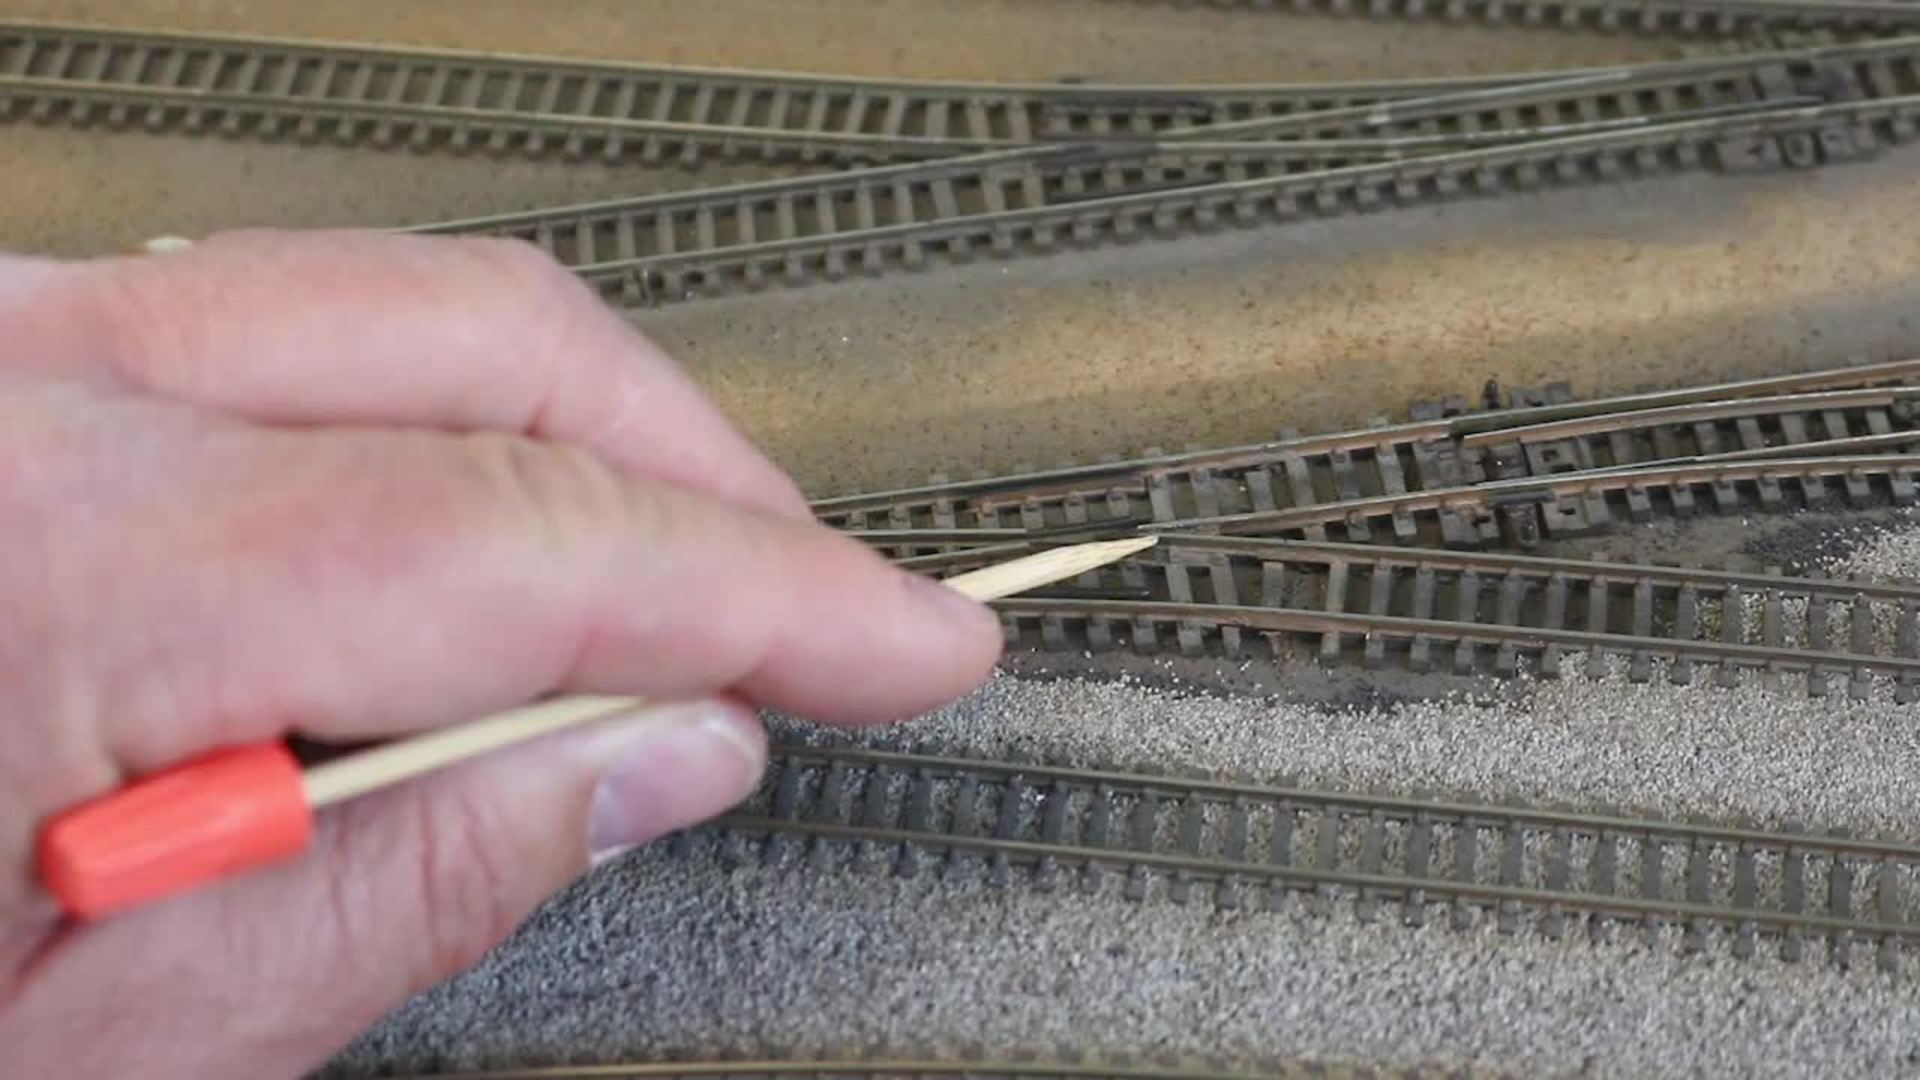
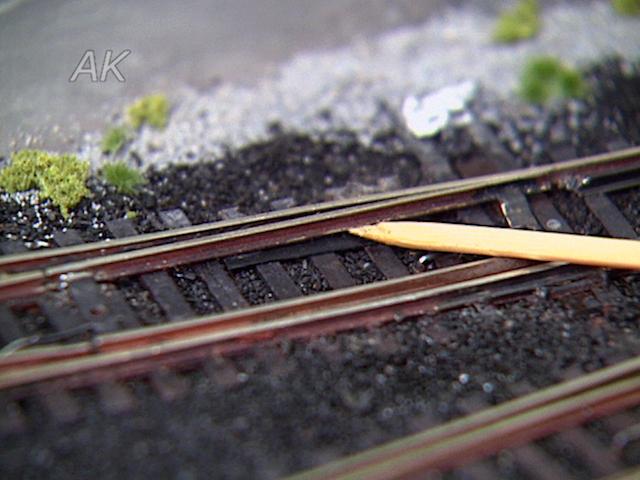
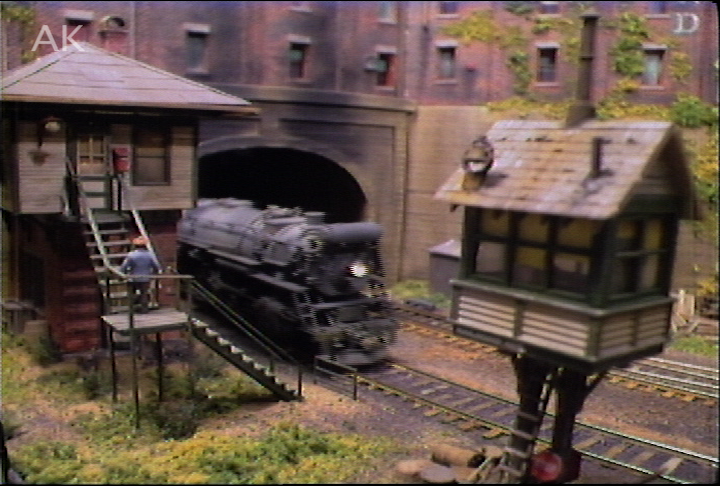
Tony KoesterTony Koester talks micro-slide switches in this video. Tony uses a single pull double throw slide switch for his railroads. The microswitch has three pulls or wires; the center pull where the power is going out, and the outer two pulls where the power is coming in. On a turnout on a layout, the frogger needs to be powered or dead spots will occur. The microengineering turnout frog on Tony’s demonstration layout is very short.
Most locomotives will go right through the turnout without stalling, so a modeler does not have to worry about wiring. However, if they do stall, frog needs to be powered. Live frogs are most important when using small locomotives through switches. Hand thrown switches with micro-slide switches can use the physical movement of the switch to move the points on the track. These switches come with a very tiny switch rod connected to it.
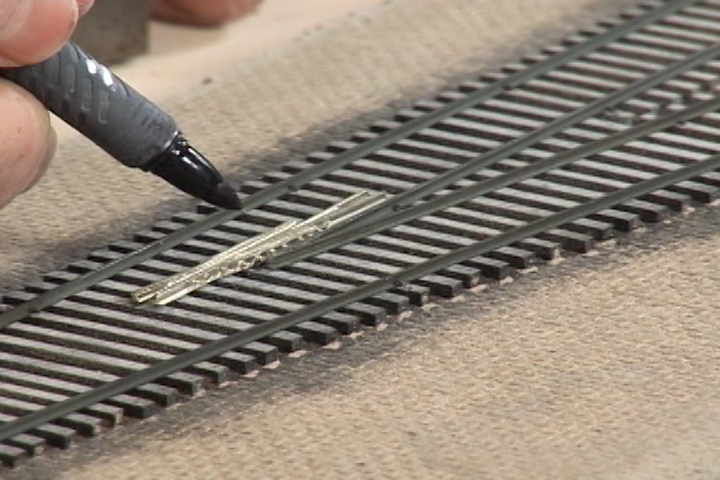
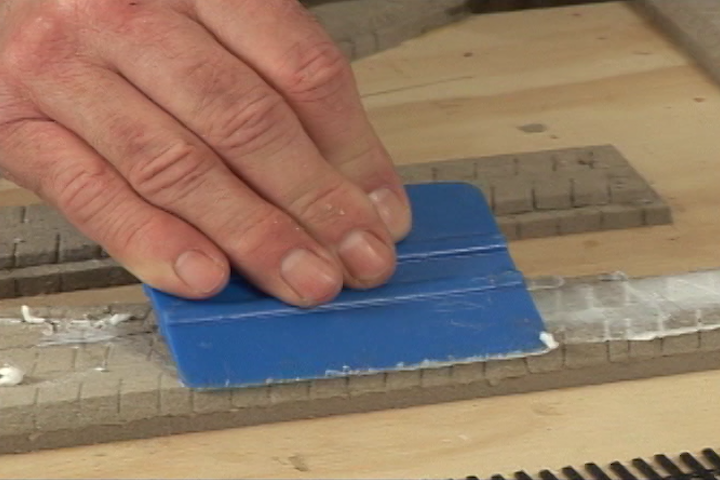
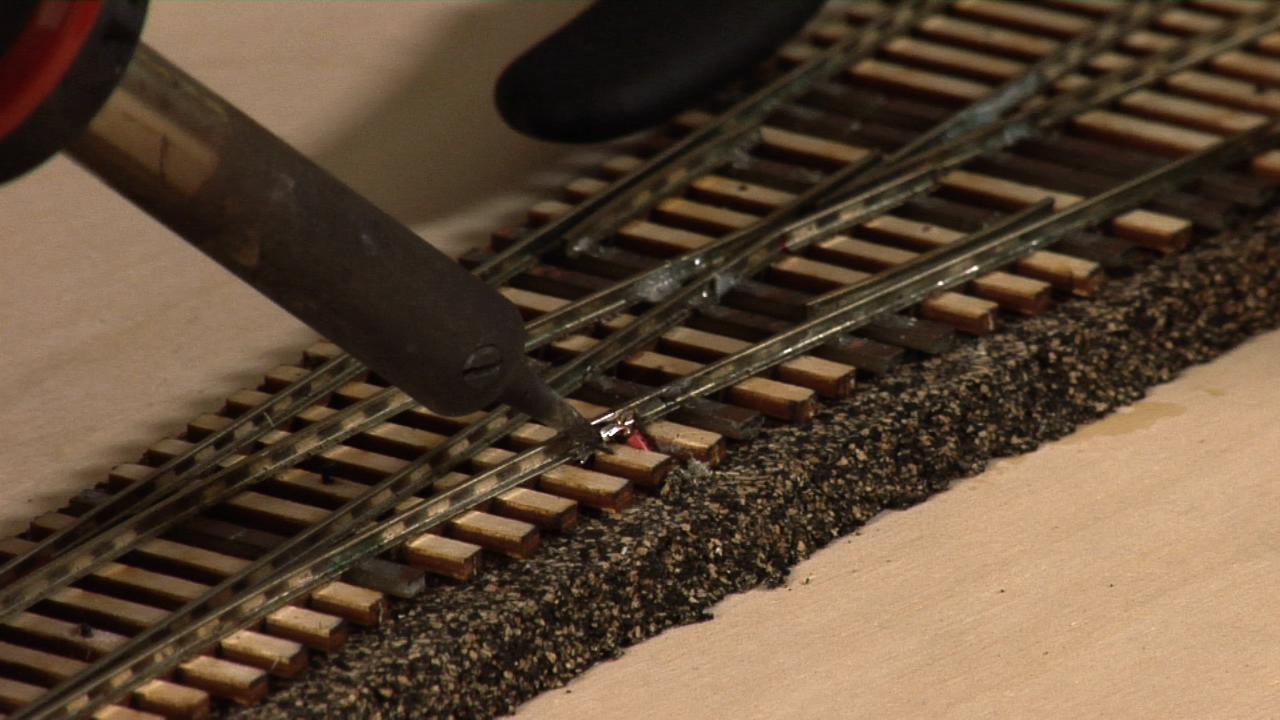
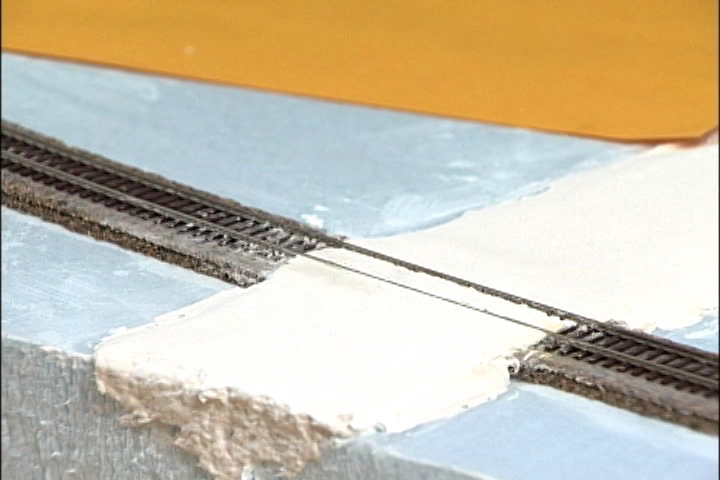
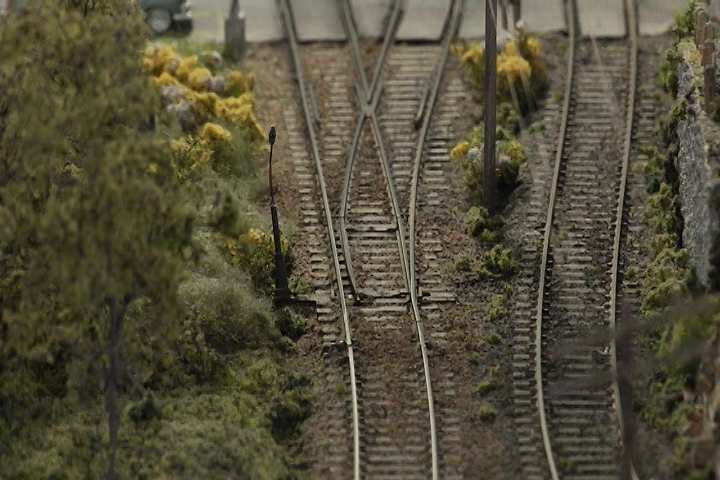
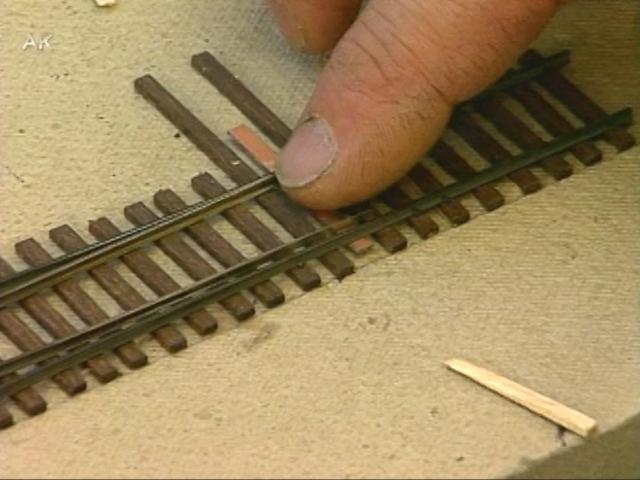
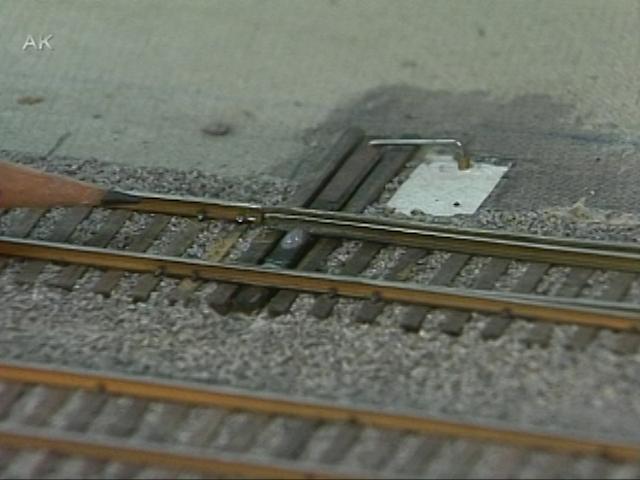
Tony drills a hole in the side of the slide switch and puts wire through, bending one end down to go through a predrilled hole in the microengineering slide switch. The micro-slide switch needs to be mounted so that the physical movement of the switch moves the points on the track and so the wires can run to the frog. Switch stands are different on every railroad, but distances can run from four to eight feet from the edge of the rail. The switch should be drilled, not glued so it can be pulled out to be fixed or replaced when needed.
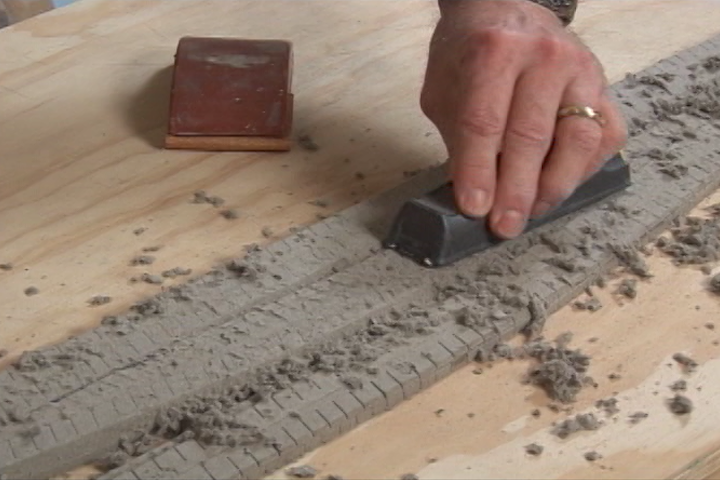
Tony uses compressed paper for the switch stand and drills a hole for the microswitch. The hole for the switch needs to be snug, so it is easier to start small to be able to work the hole bigger for best fit. Track nails are used to further nail down the switch.
Explore videos by Tony Koester
You may be interested in


Premium Membership
Unlock exclusive member content from our industry experts.
- 24/7 Access to Premium Model Railroading Videos, Projects, and Tips
- Step-by-Step Instructional Guides & Layout Plans
- 50% Off Video Downloads Purchased in the Model Railroad Academy Shop
- Access to Ask the Expert Program
Unlock exclusive member content from our industry experts.
- 24/7 Access to Premium Model Railroading Videos, Projects, and Tips
- Step-by-Step Instructional Guides & Layout Plans
- 3 Full-Length Video Downloads to Watch Offline
- 50% Off Video Downloads Purchased in the Model Railroad Academy Shop
- Access to Ask the Expert Program
Gold Membership
$326 Value
Get everything included in Premium plus exclusive Gold Membership benefits.
- 24/7 Access to Premium Model Railroading Videos, Projects, and Tips
- Step-by-Step Instructional Guides & Layout Plans
- 9 Full-Length Video Downloads to Watch Offline
- 2 Full-Length Classes to Keep for Life
- 2 Downloadable Guides
- Discounts on Purchase-to-Own Content in the Model Railroad Academy Shop
- Access to Ask the Expert Program
- Exclusive GOLD LIVE Streaming Events