
Creating Model Railroad Backdrops from Photos
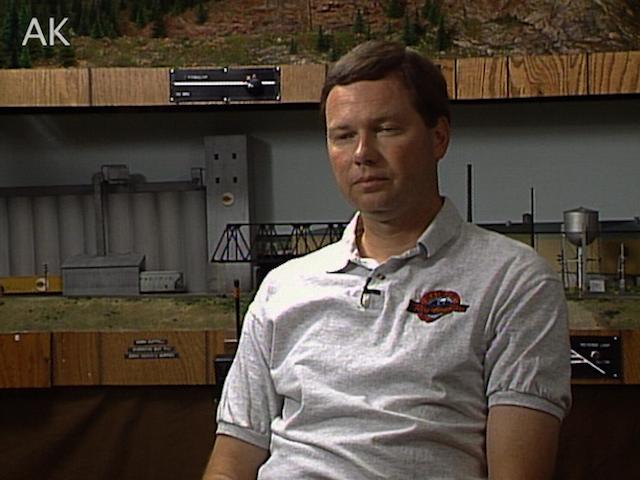
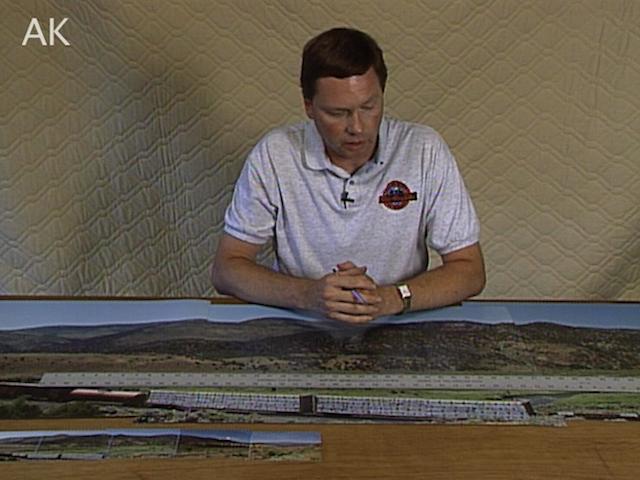
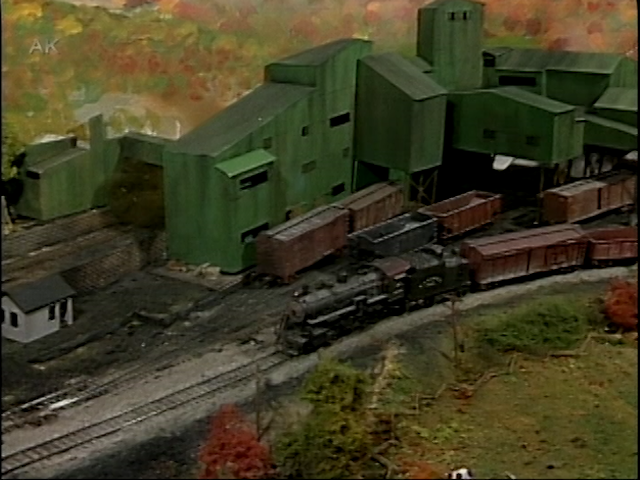
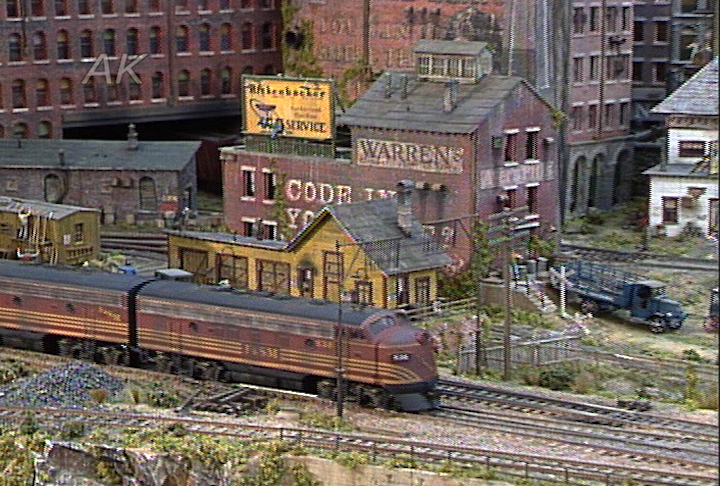
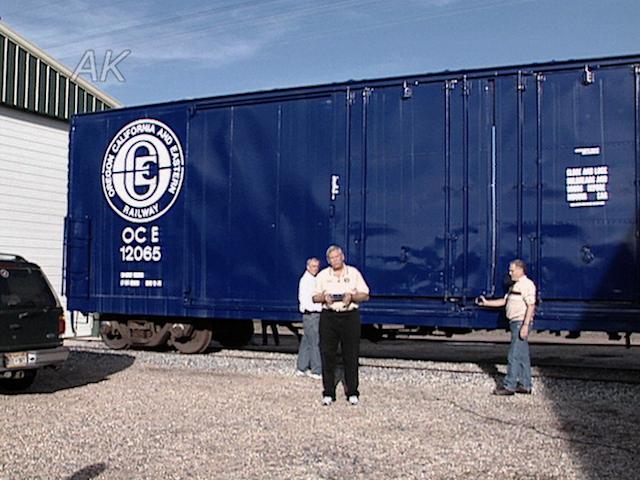
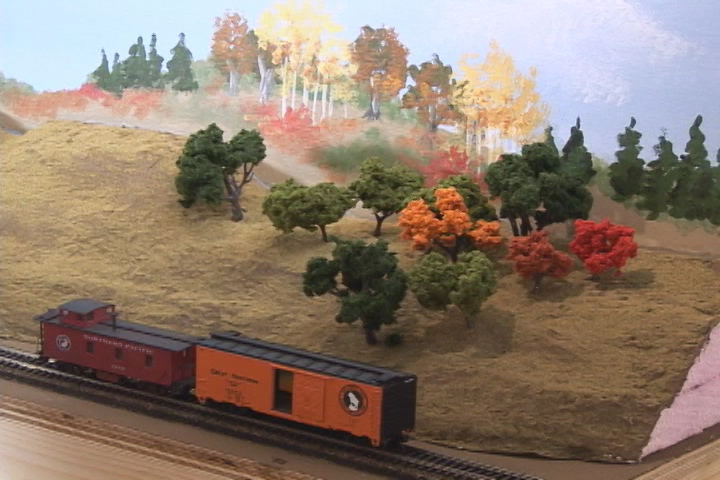
Doug TagsoldThe series of photographs are going to be enlarged and used as a backdrop on the layout. The most difficult thing to do when taking photographs for model railroad backdrops is finding an area where the scene can be shot without having an obstacle in front, such as a telephone pole or an automobile. Once an observation point is found where the whole scene can be seen without obstructions, simply take a series of photographs moving from one side to the other. Make sure to overlap each shot a bit so they can be spliced together later to create a continuous backdrop.
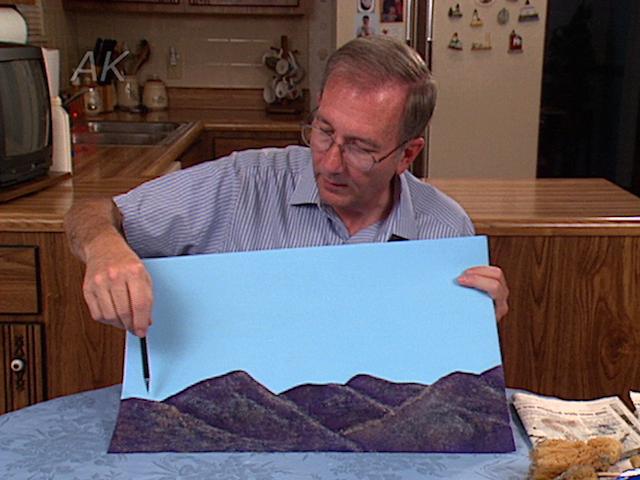
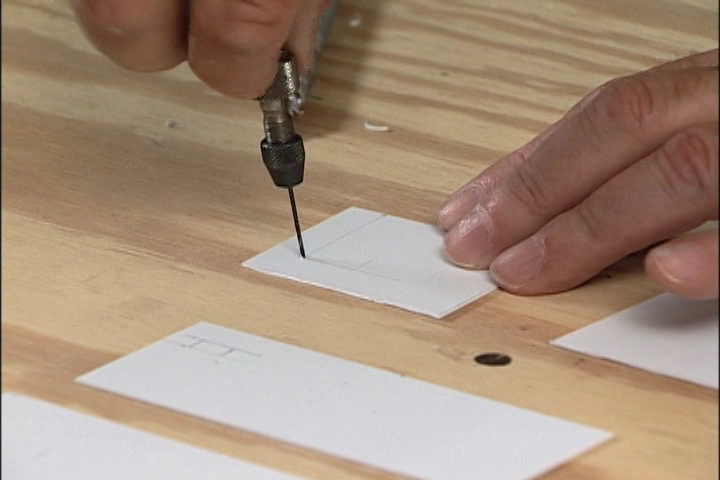
The first three photos are enlarged to the 20 by 30 inch size and taped together similarly to how the smaller prints were taped together. A line is drawn across the bottom of the pictures to cut off some scenery that is too big for the backdrop. The bottom is then trimmed with a pair of scissors, precision is not necessary because the photographs will be slid behind the foreground scenery.
The sky section is cut off of the photographs because the color of the blue between the pictures don’t always match and sometimes the mountains don’t totally match up. No special scissors are used, just a good sharp pair that will leave a sharp edge. Some photos that have larger trees sticking out can make cutting a lot more difficult. Before the pictures are separated, a small mark is made where they meet to help line up the pictures later.
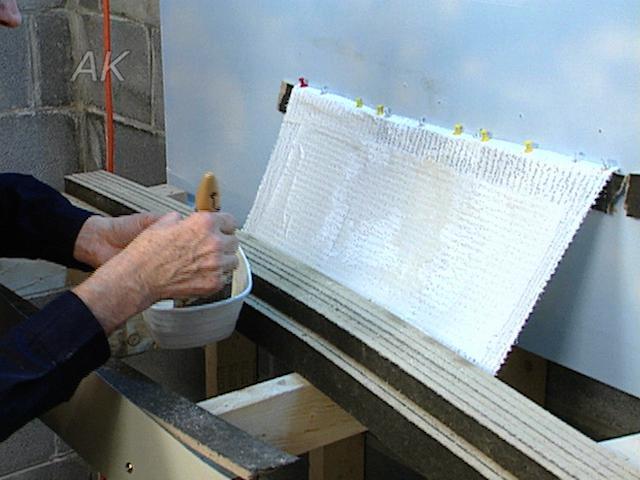
The photos are glued by section, using the lines made to match them up. Contact cement is used on the back of the photos and the blue painted backdrop and let to set until they’re tacky. For more information on creating model railroad backdrops or more tips on using photos in your backdrops, visit the Model Railroad Academy website.
Explore videos by Doug Tagsold

You may be interested in

Premium Membership
Unlock exclusive member content from our industry experts.
- 24/7 Access to Premium Model Railroading Videos, Projects, and Tips
- Step-by-Step Instructional Guides & Layout Plans
- 50% Off Video Downloads Purchased in the Model Railroad Academy Shop
- Access to Ask the Expert Program
Unlock exclusive member content from our industry experts.
- 24/7 Access to Premium Model Railroading Videos, Projects, and Tips
- Step-by-Step Instructional Guides & Layout Plans
- 3 Full-Length Video Downloads to Watch Offline
- 50% Off Video Downloads Purchased in the Model Railroad Academy Shop
- Access to Ask the Expert Program
Gold Membership
$326 Value
Get everything included in Premium plus exclusive Gold Membership benefits.
- 24/7 Access to Premium Model Railroading Videos, Projects, and Tips
- Step-by-Step Instructional Guides & Layout Plans
- 9 Full-Length Video Downloads to Watch Offline
- 2 Full-Length Classes to Keep for Life
- 2 Downloadable Guides
- Discounts on Purchase-to-Own Content in the Model Railroad Academy Shop
- Access to Ask the Expert Program
- Exclusive GOLD LIVE Streaming Events