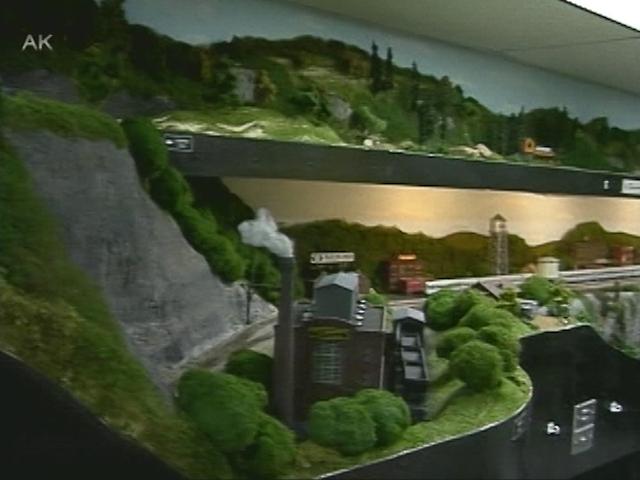
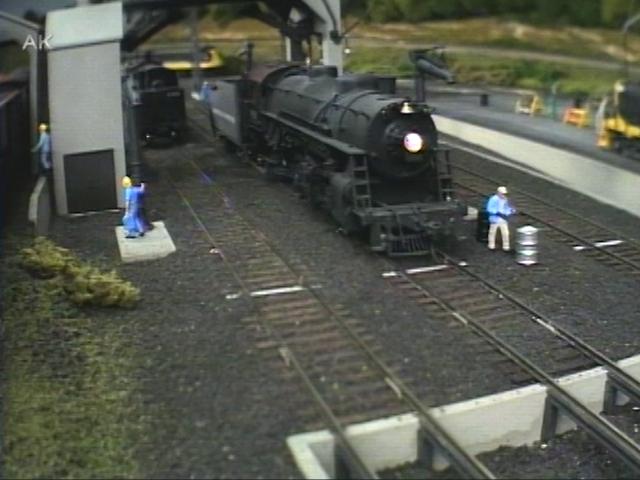
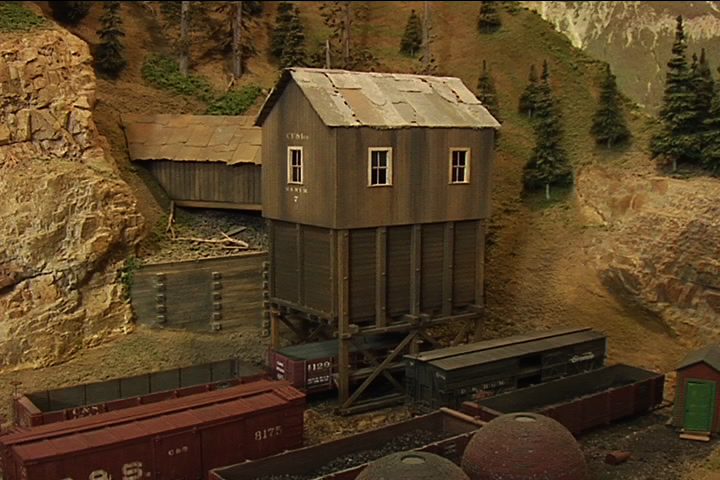
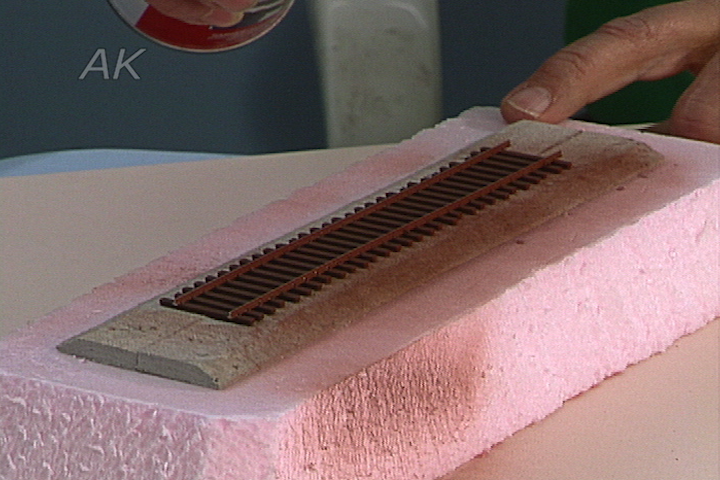
Creating a Turnout on the B&B
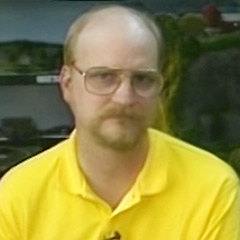
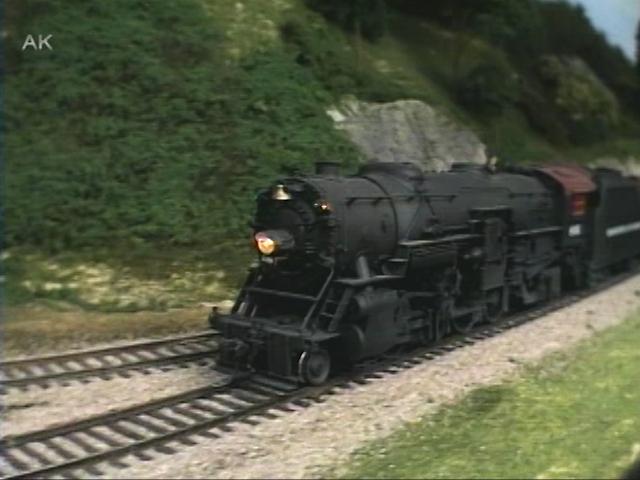
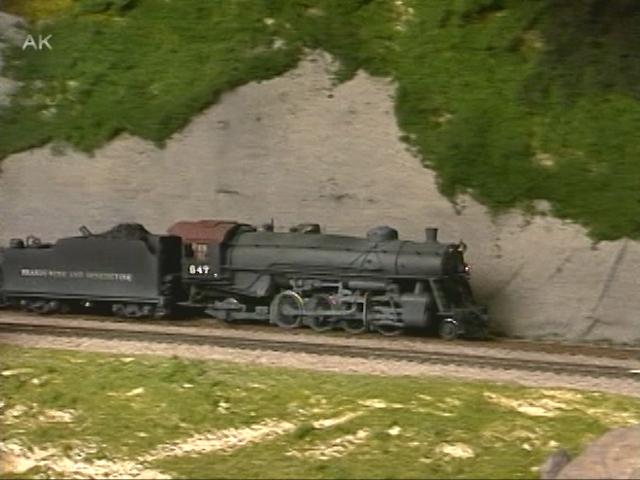
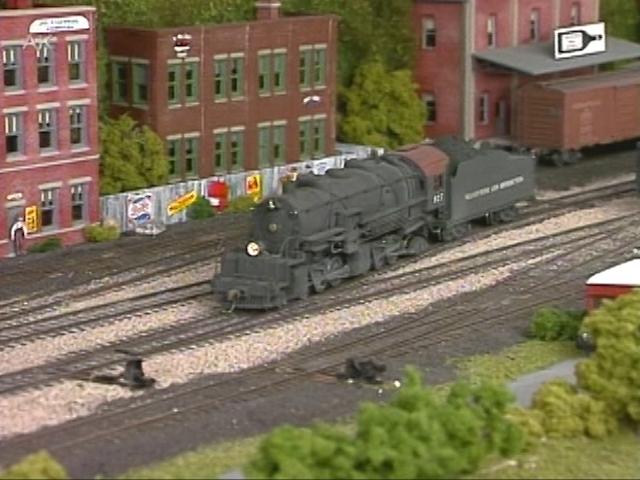
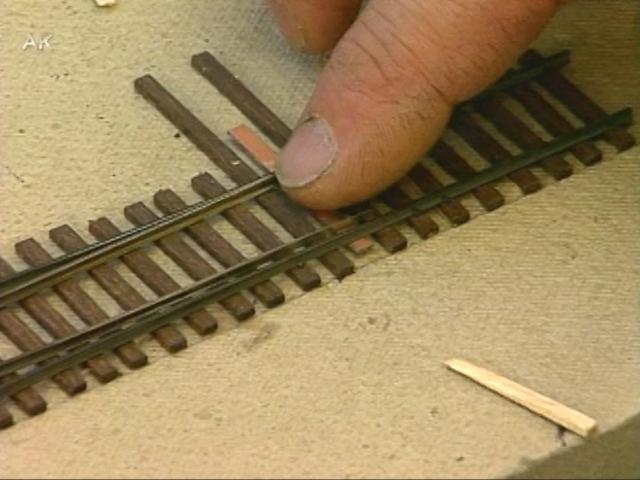
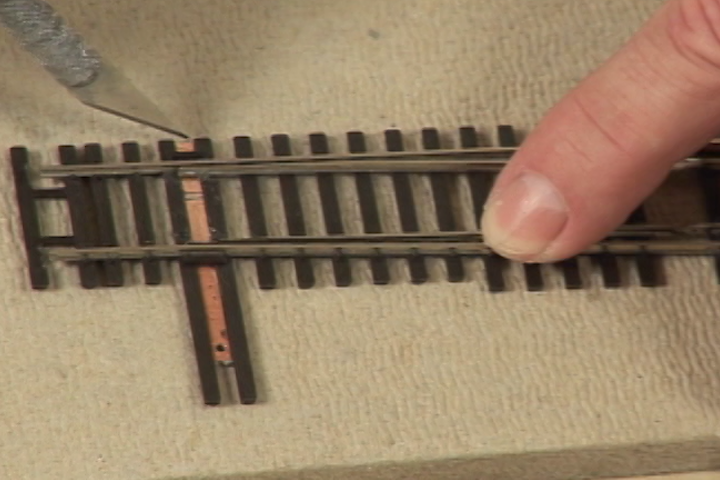
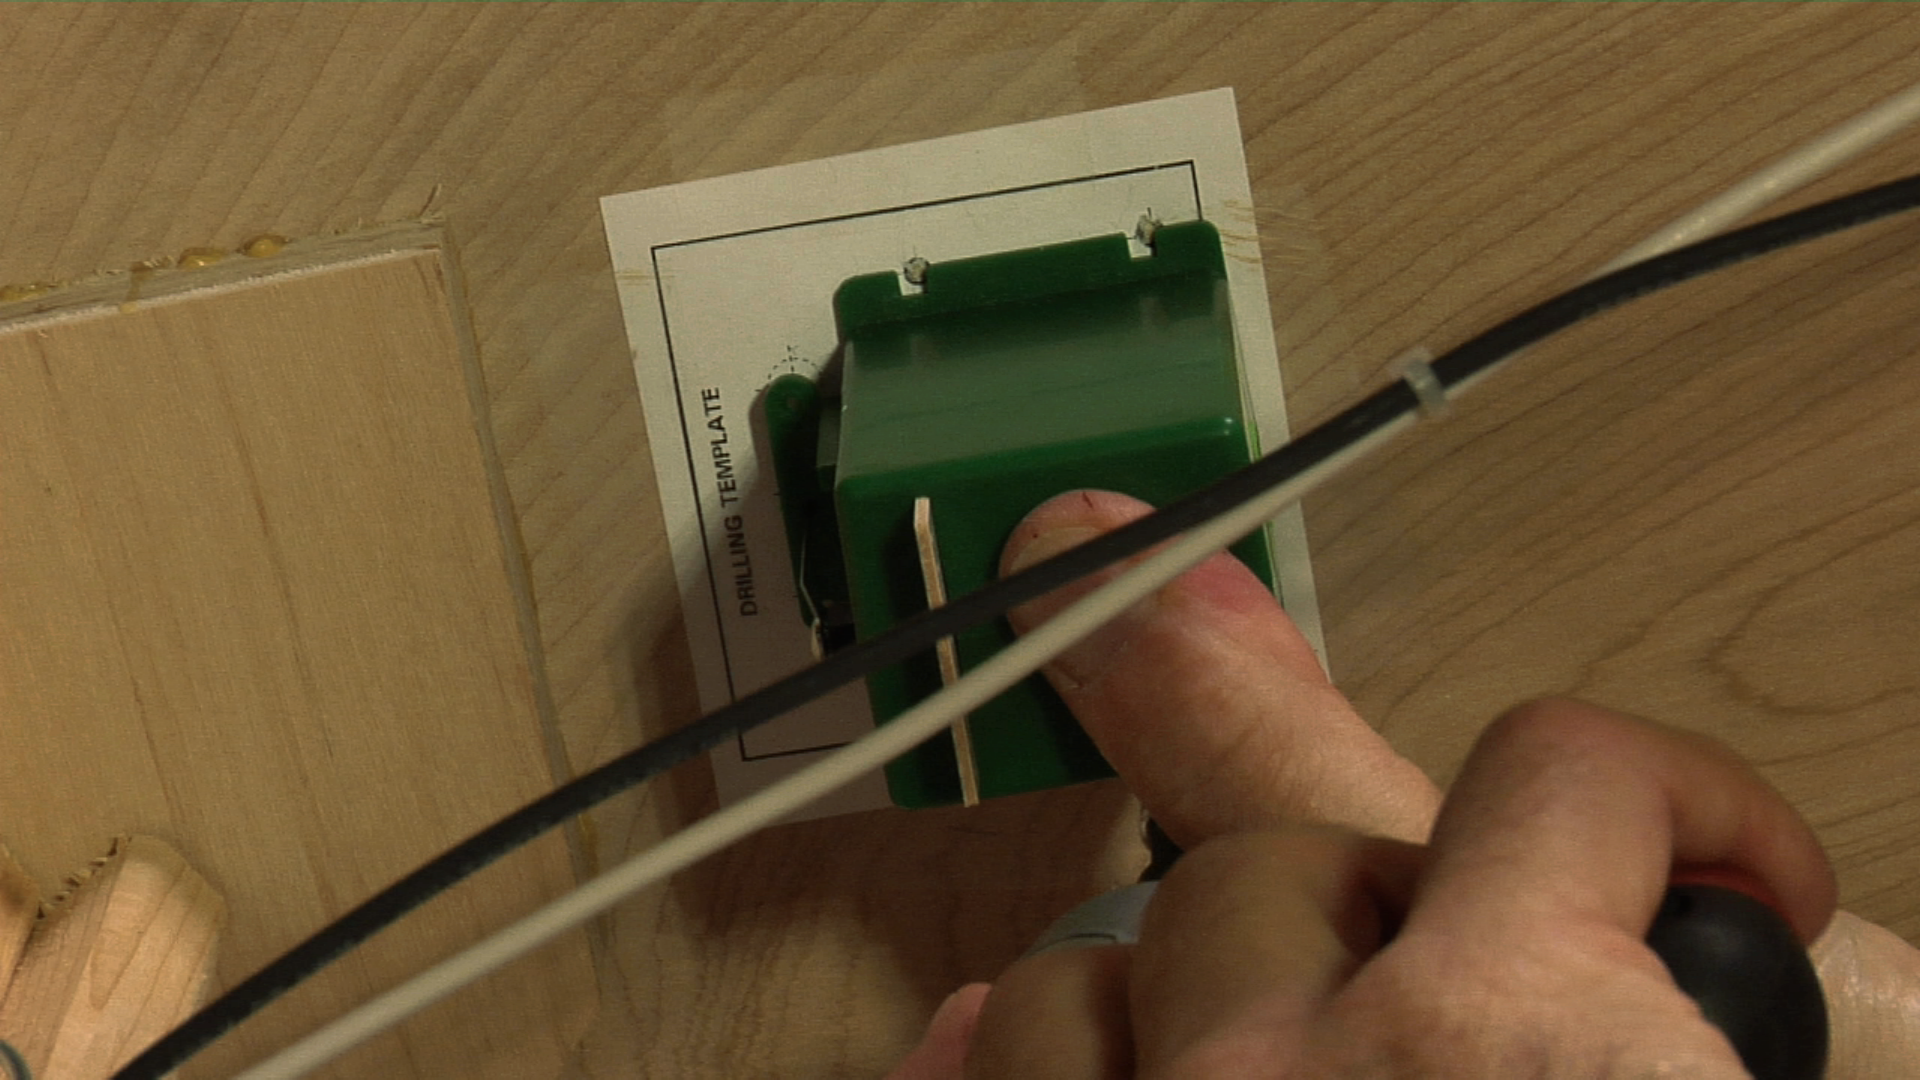
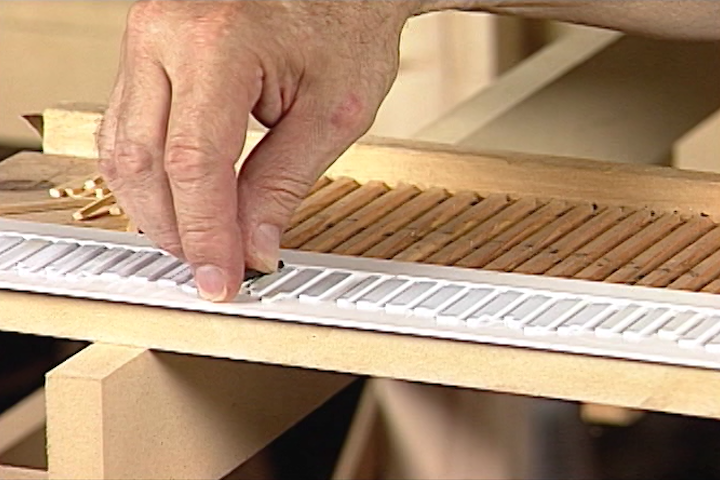
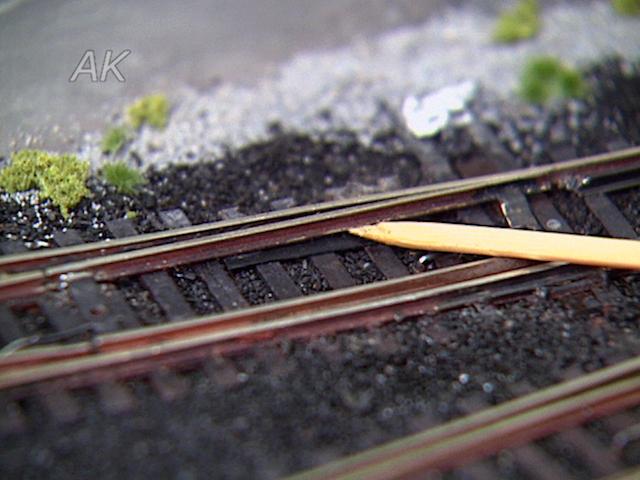
Norm StenzelIn this video, Norm Stenzel, creator of the Brandywine and Benedictine model railroad shows how he scratch builds a turnout. First he gets the pieces arranged on the ties and prebends the rail by running it through his fingers to get the proper radius when it is spiked down. A tool he uses is the KD track gage for his code 70 rail. KD makes a gage with code 70 on one side and 100 on the other that is also a tie gage, automatically centering the rails and the ties. Norm uses this to temporarily hold the rail in place with a track nail. Two more are added to hold the whole turnout. Next is to spike the running rail. On a turnout he spikes every fifth tie, making sure that the spikes are on the same corresponding tie.
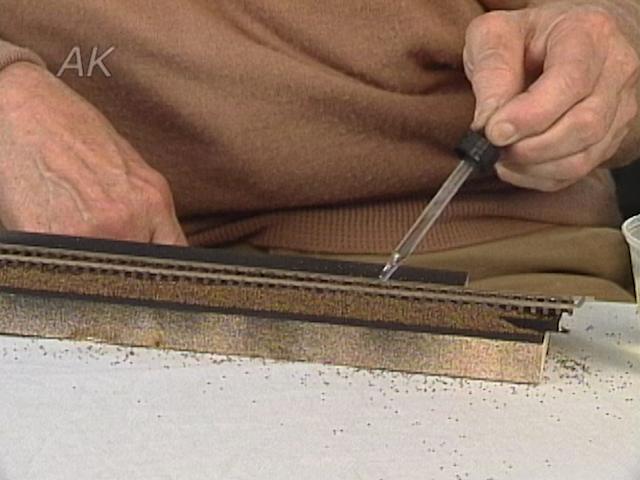
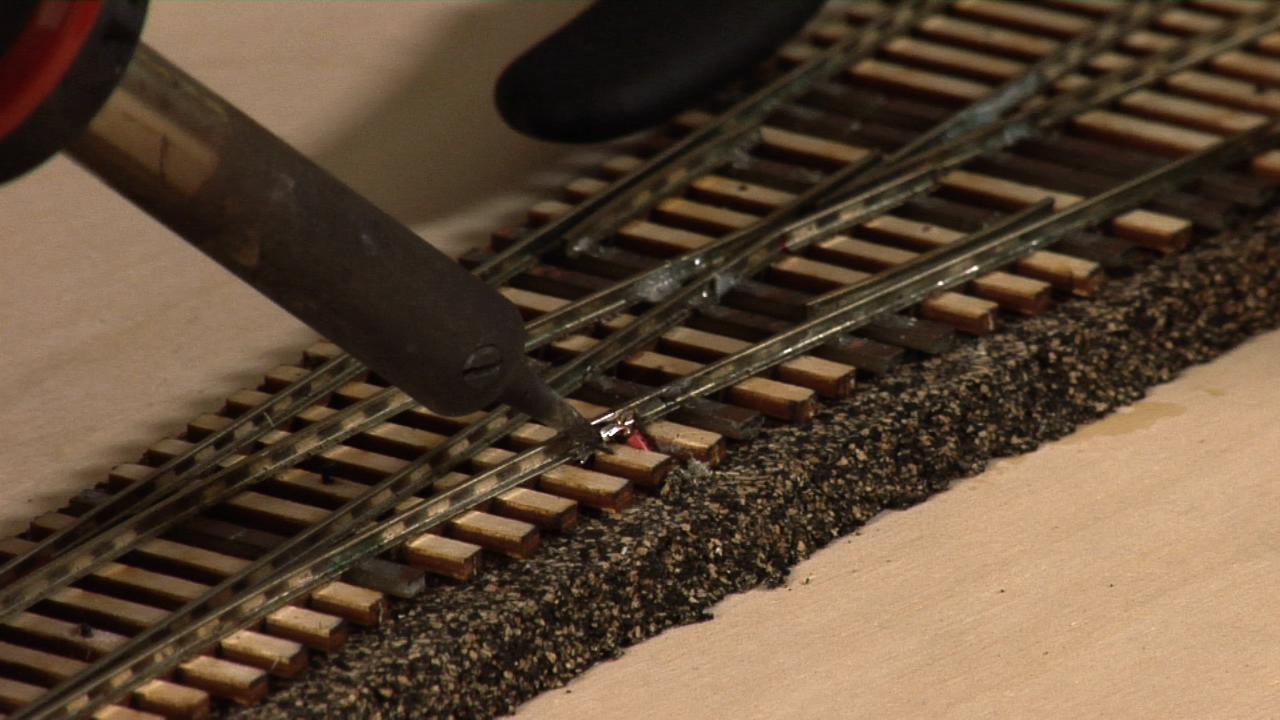
An important tool that Norm uses is the NMRA standards gage, specifically the phlangeways section on the end. He forces it against the guard rail towards the frog. If it runs smoothly then it is in the right position. In the frog area Norm uses spikes on every tie because it is the most critical part of the turnout. He uses the same procedure for curved or diverging rail and solders the bench guard rails to the running rails. Once out of frog area the gage is flipped over and the regular track gage end is used.
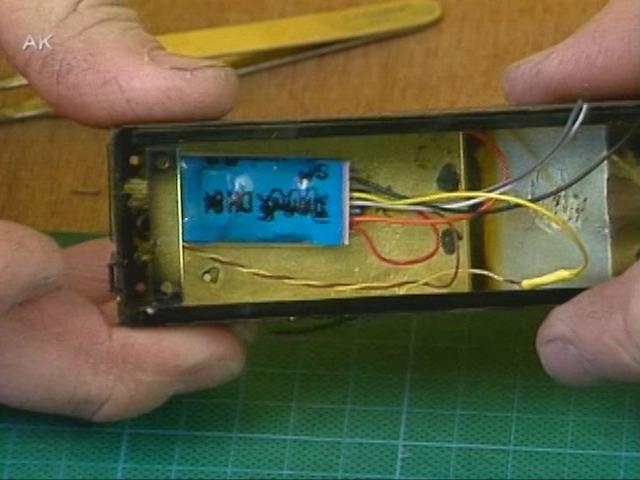
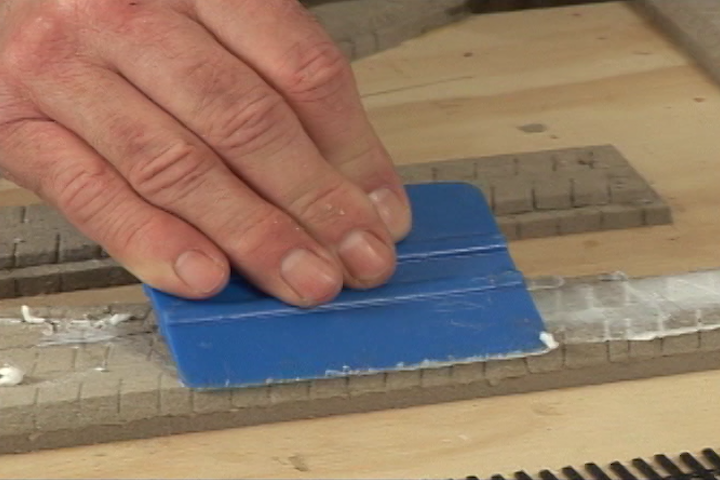
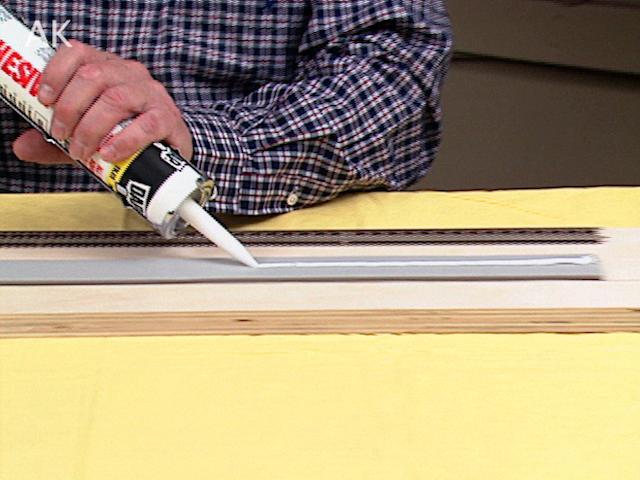
After nailing it all down, the KD track gages can be removed. To get good electrical contact through the turnout Norm puts spikes on the outside of both rails. He uses a circuit board for the throw bar. It is important to add grooves in the board to prevent an electrical short. Wedges are cut out of pieces of basswood and used to hold the throwbar up against the rails while being soldered. To learn how to add a turnout to your track or more on building turnouts visit the Model Railroad Academy website.
Explore videos by Norm Stenzel


You may be interested in
Premium Membership
Unlock exclusive member content from our industry experts.
- 24/7 Access to Premium Model Railroading Videos, Projects, and Tips
- Step-by-Step Instructional Guides & Layout Plans
- 50% Off Video Downloads Purchased in the Model Railroad Academy Shop
- Access to Ask the Expert Program
Unlock exclusive member content from our industry experts.
- 24/7 Access to Premium Model Railroading Videos, Projects, and Tips
- Step-by-Step Instructional Guides & Layout Plans
- 3 Full-Length Video Downloads to Watch Offline
- 50% Off Video Downloads Purchased in the Model Railroad Academy Shop
- Access to Ask the Expert Program
Gold Membership
$326 Value
Get everything included in Premium plus exclusive Gold Membership benefits.
- 24/7 Access to Premium Model Railroading Videos, Projects, and Tips
- Step-by-Step Instructional Guides & Layout Plans
- 9 Full-Length Video Downloads to Watch Offline
- 2 Full-Length Classes to Keep for Life
- 2 Downloadable Guides
- Discounts on Purchase-to-Own Content in the Model Railroad Academy Shop
- Access to Ask the Expert Program
- Exclusive GOLD LIVE Streaming Events