
Techniques for Installing a Model Train Decoder
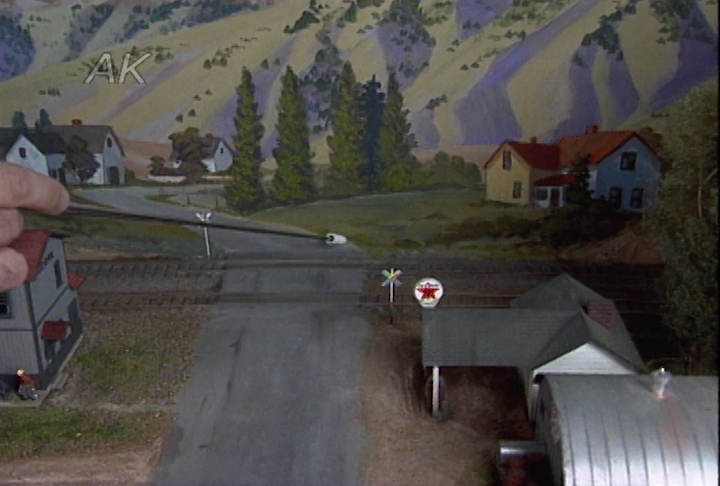
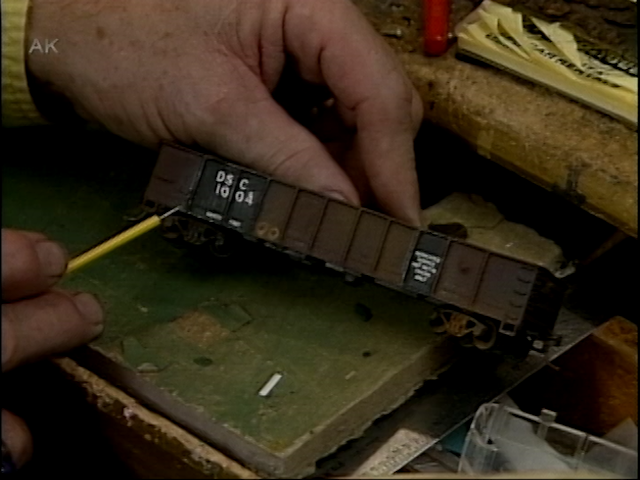
Ray & Renee GrosserFor those modelers who are intimidated by the thought of installing a model train decoder, watch as Ray Grosser takes you step by step through the process with an HO steam locomotive.
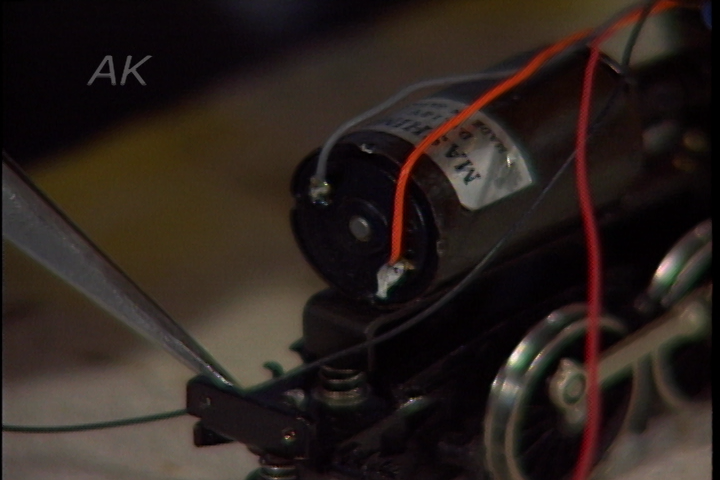
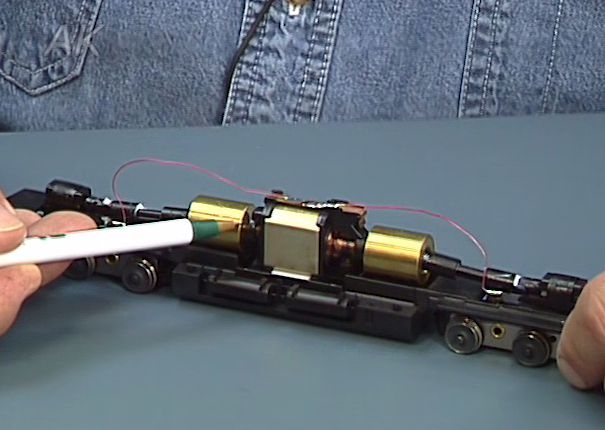
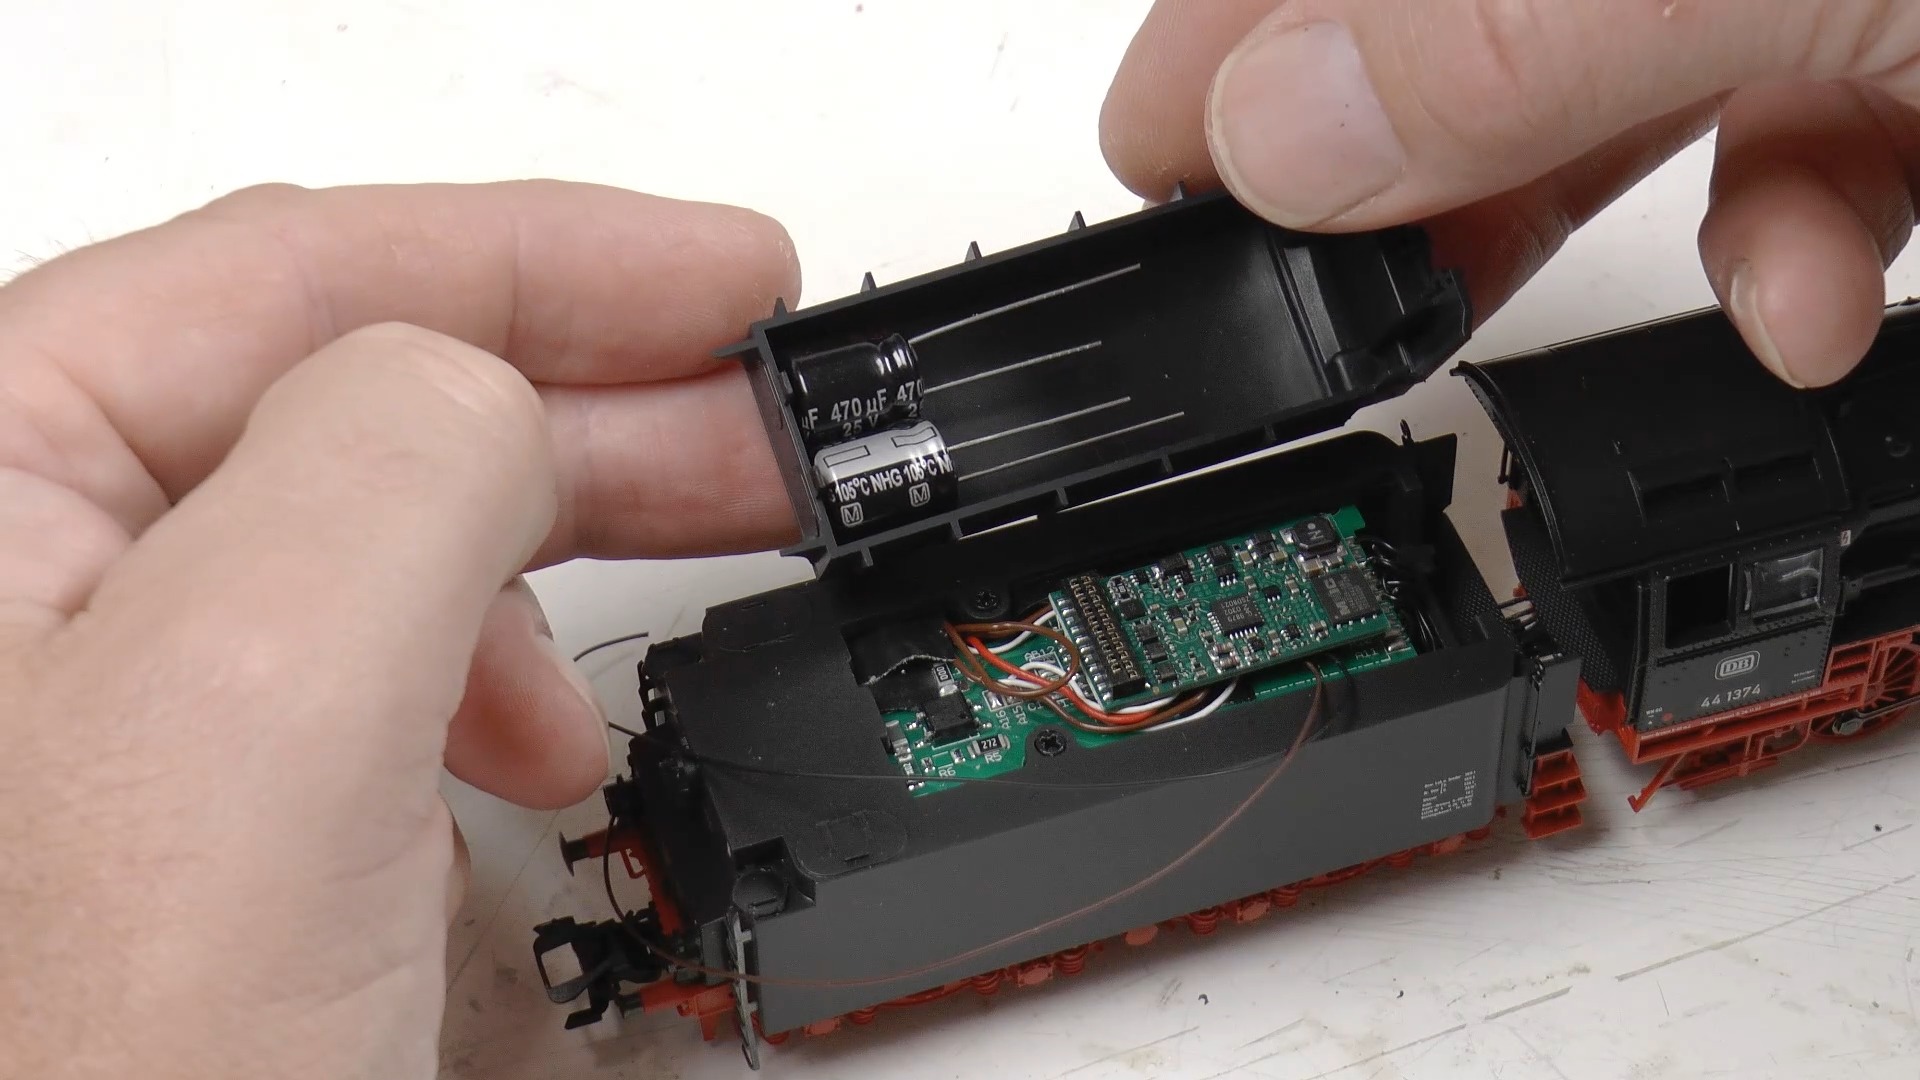
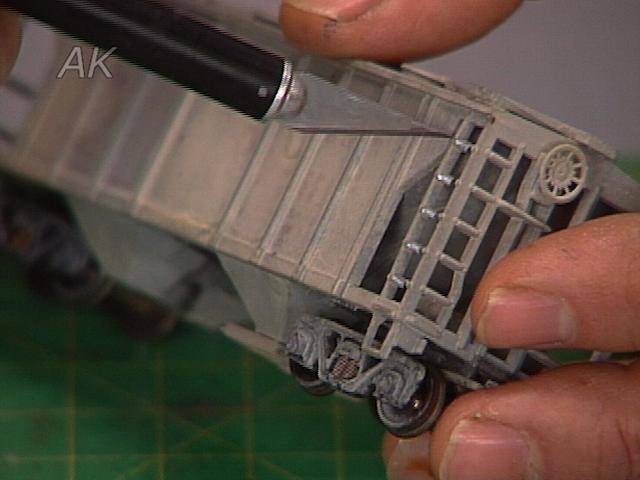
He begins by separating the superstructure (boiler, etc.) from the frame, including the wires where they’re connected to the motor. He gently unsolders the connection points on the motor which leaves a nice, tinned surface for rewiring. With all wires detached, the motor is now completely isolated electrically from, the frame. Next, he selected a Digitrax DN140 decoder to install. It controls motion plus two lighting functions.
Watch as Ray installs the gray and orange lead wires to the motor first, each to its own polarity connector. His tips to proper installation of your model train decoder is to trim just a small amount of insulation from the decoder wires, then dips the the bare wires into solder paste or flux to tin the ends with the soldering iron to ensure no individual straggler wires are sticking out. Then after he gently touches the wire to the connector pad on the motor, applies the tip of the iron with a drop of solder on it and holds in place until the connection is solid. He repeats the process for the other motor wire, and the wires connecting the decoder with the drawbar and the drivers.
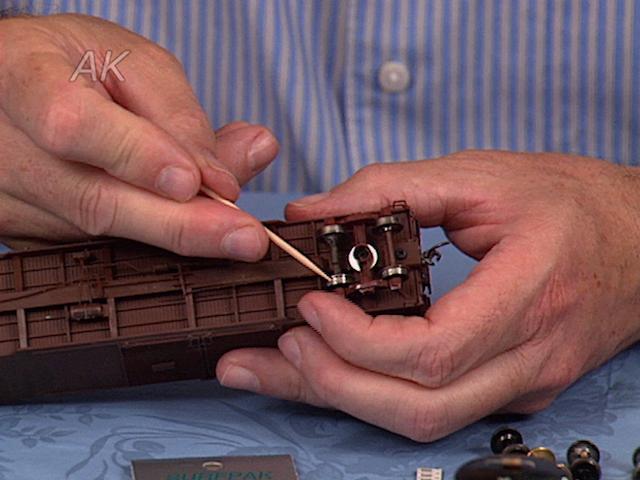
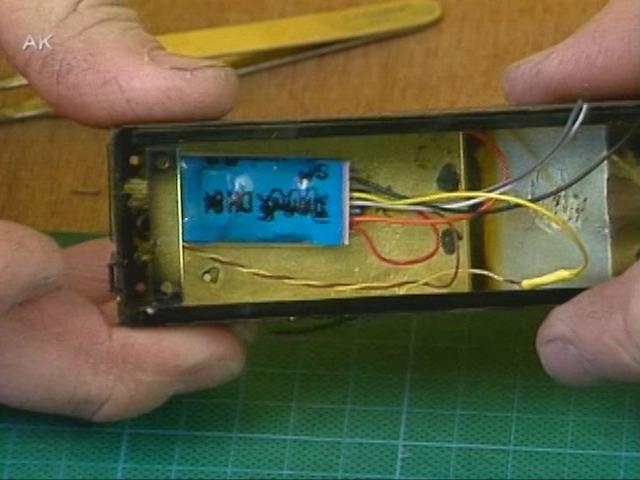
When attaching the wires to the headlight, he trims the decoder wire just long enough to allow the shell to be easily removed for later maintenance. He also highly recommends shrink tubing on either end of the dropping resistor and the lighting wires to prevent accidental shorting.
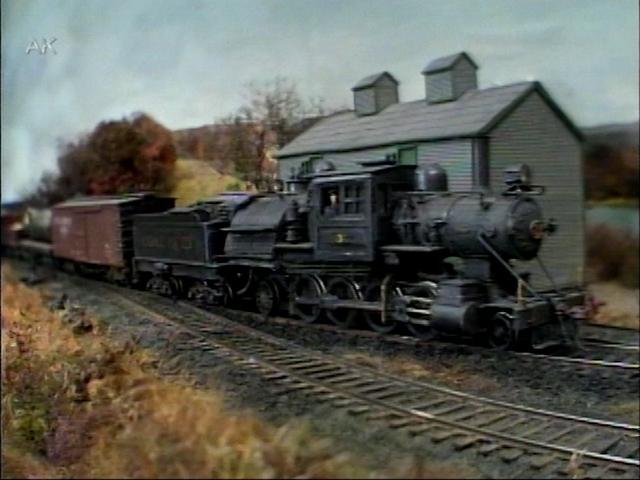
And that’s all there is to it- model train decoder installation made easy!
Explore videos by Ray & Renee Grosser


You may be interested in


Premium Membership
Unlock exclusive member content from our industry experts.
- 24/7 Access to Premium Model Railroading Videos, Projects, and Tips
- Step-by-Step Instructional Guides & Layout Plans
- 50% Off Video Downloads Purchased in the Model Railroad Academy Shop
- Access to Ask the Expert Program
Unlock exclusive member content from our industry experts.
- 24/7 Access to Premium Model Railroading Videos, Projects, and Tips
- Step-by-Step Instructional Guides & Layout Plans
- 3 Full-Length Video Downloads to Watch Offline
- 50% Off Video Downloads Purchased in the Model Railroad Academy Shop
- Access to Ask the Expert Program
Gold Membership
$326 Value
Get everything included in Premium plus exclusive Gold Membership benefits.
- 24/7 Access to Premium Model Railroading Videos, Projects, and Tips
- Step-by-Step Instructional Guides & Layout Plans
- 9 Full-Length Video Downloads to Watch Offline
- 2 Full-Length Classes to Keep for Life
- 2 Downloadable Guides
- Discounts on Purchase-to-Own Content in the Model Railroad Academy Shop
- Access to Ask the Expert Program
- Exclusive GOLD LIVE Streaming Events