Constructing a Waterfall
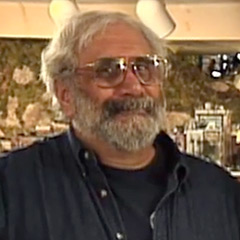
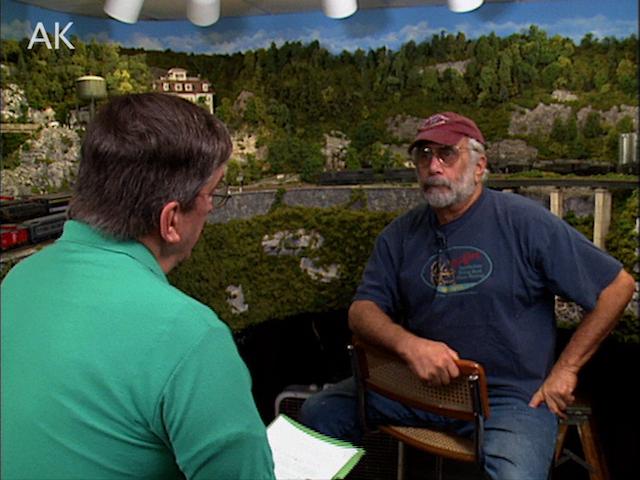
Howard ZaneHoward Zane has done beautiful water scenes on his Piermont Division model railroad. Allen Keller asks his secret. Clear silicone glue is Howard’s favorite technique. He goes on to demonstrate his technique in this video lesson.
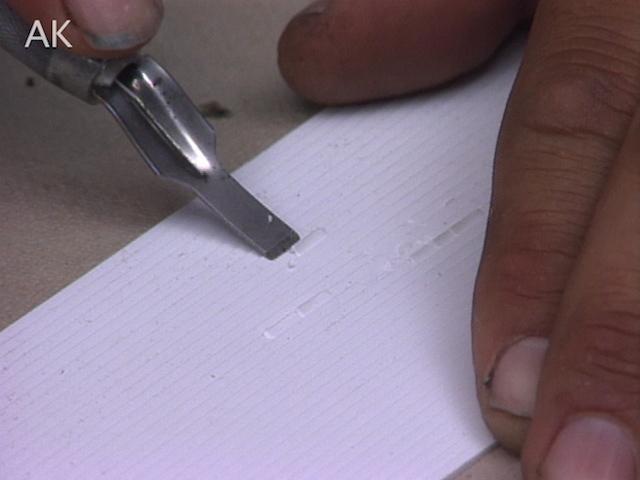
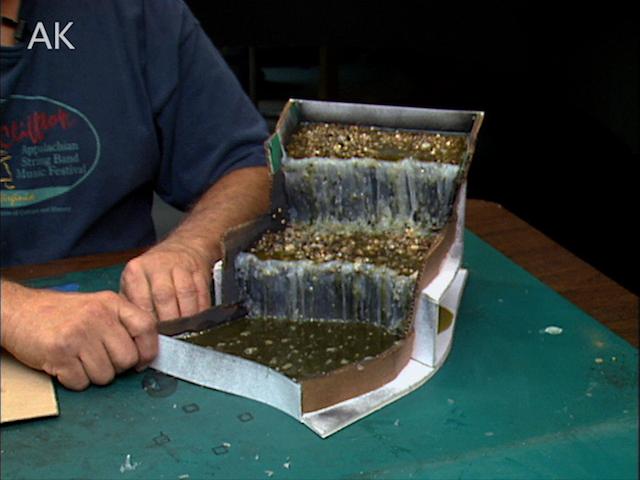
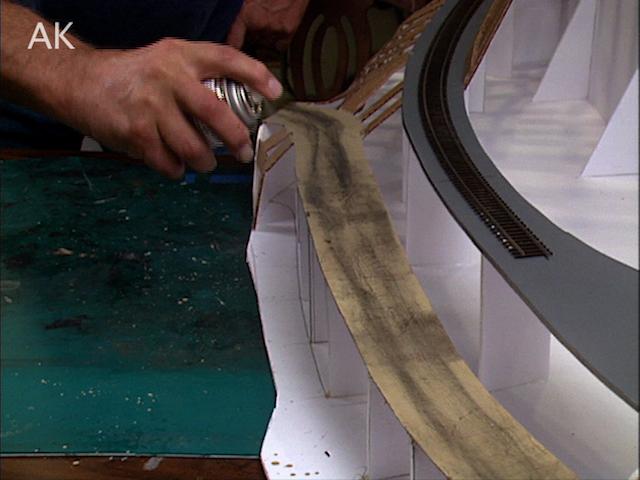
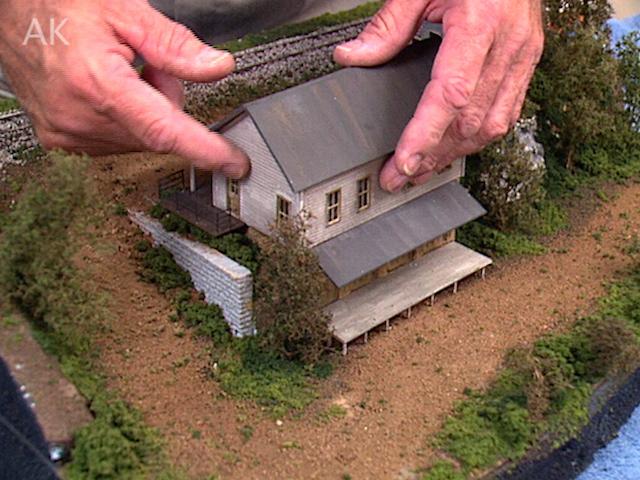
Howard starts with a sheet of gator board found in most art stores. To cut the gator board, Howard uses a number 11 blade and simply scores the top and snaps the board to get the perfect easy cut. He glues one of the verticals to the horizontal levels with hot glue. The first plane ends up like a box that stacks on top of another to create the different levels of the waterfall. He then adds sides to the waterfall out of cardboard to attach the surrounding scenery to. The next step is to paint the entire area a flat dark color.
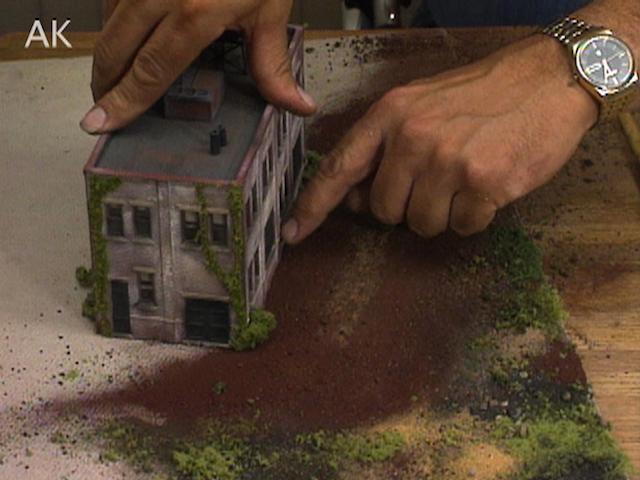
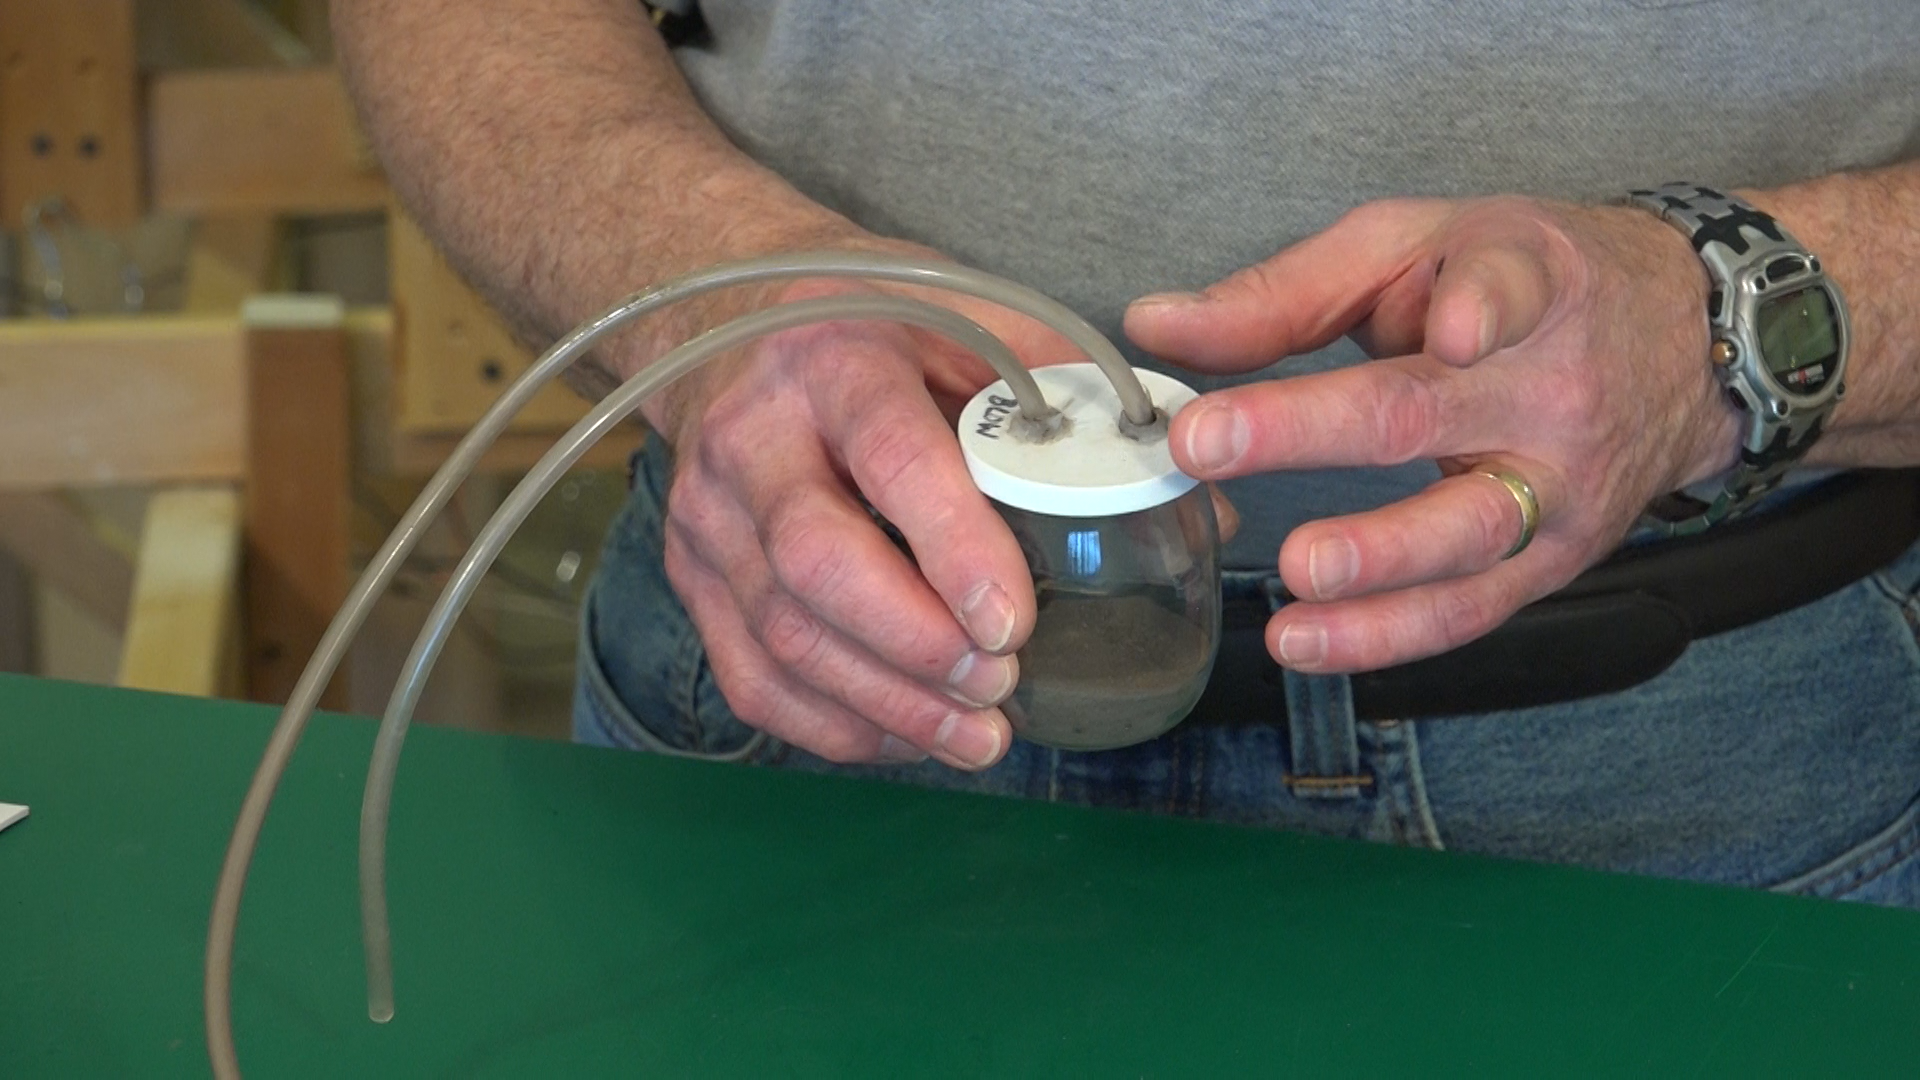
For the riverbed, Howard uses river gravel from Scenic Express and full strength Elmer’s glue. With a brush he lays down a good amount on what will be the riverbed and pours the stones in using two different sizes for variation. To affix the stones permanently, he sprays a mix of water and Palm Olive dish soap.
He then pours over a mixture of 50% water and 50% Elmer’s white glue as well to really lock the stones in place. Using 100% silicone rubber sealant in clear, he begins on the water of the waterfall. This sealant is used as a dam for the EnviroTex that will be added in later. The waterfall begins to be added in with lines of squeezed sealant. Watch the full video to see how Howard finishes the waterfall with a section of a fine tooth comb.
Watch more from Allen Keller’s Great Model Railroad series and learn about making scenery water with plaster in the Model Railroad Academy archives.
Explore videos by Howard Zane

You may be interested in
Premium Membership
Unlock exclusive member content from our industry experts.
- 24/7 Access to Premium Model Railroading Videos, Projects, and Tips
- Step-by-Step Instructional Guides & Layout Plans
- 50% Off Video Downloads Purchased in the Model Railroad Academy Shop
- Access to Ask the Expert Program
Unlock exclusive member content from our industry experts.
- 24/7 Access to Premium Model Railroading Videos, Projects, and Tips
- Step-by-Step Instructional Guides & Layout Plans
- 3 Full-Length Video Downloads to Watch Offline
- 50% Off Video Downloads Purchased in the Model Railroad Academy Shop
- Access to Ask the Expert Program
Gold Membership
$326 Value
Get everything included in Premium plus exclusive Gold Membership benefits.
- 24/7 Access to Premium Model Railroading Videos, Projects, and Tips
- Step-by-Step Instructional Guides & Layout Plans
- 9 Full-Length Video Downloads to Watch Offline
- 2 Full-Length Classes to Keep for Life
- 2 Downloadable Guides
- Discounts on Purchase-to-Own Content in the Model Railroad Academy Shop
- Access to Ask the Expert Program
- Exclusive GOLD LIVE Streaming Events