How about trackwork? The trains we love can’t do much without track. In the next installment of our series, I’ll present some track and track laying options to think about when planning your model railroad layout.
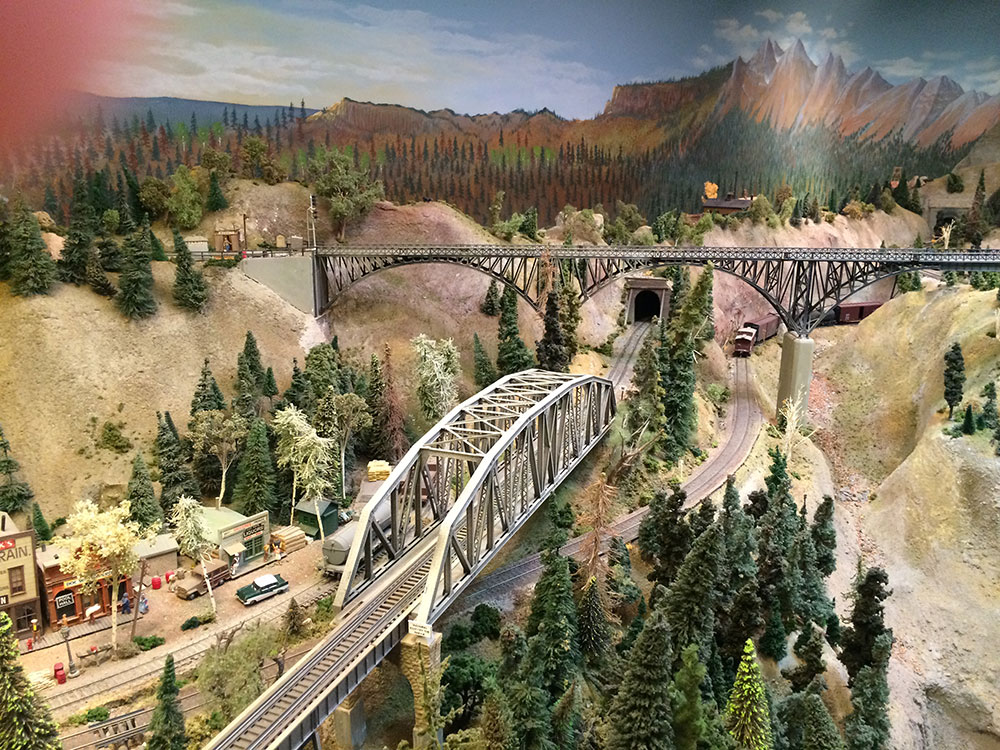
Here’s a fun fact to get us started: The famous “Big 10” curve west of Denver on what used to be the Denver & Rio Grande Western Railroad is a big loop that is the railroad’s primary assent of the “Mainline Through the Rockies.” This curve is considered very sharp for a main line railroad. If we tried to build the Big 10 curve to scale on a layout it would be a 79” radius in HO, a 107” radius in S, and a whopping 143” radius in O scale. That’s 12 feet!
That’s where compression needs to come in.
Real trains could never negotiate the radii, grades, and switch frogs that most of us put our trains through. That’s something to think about.
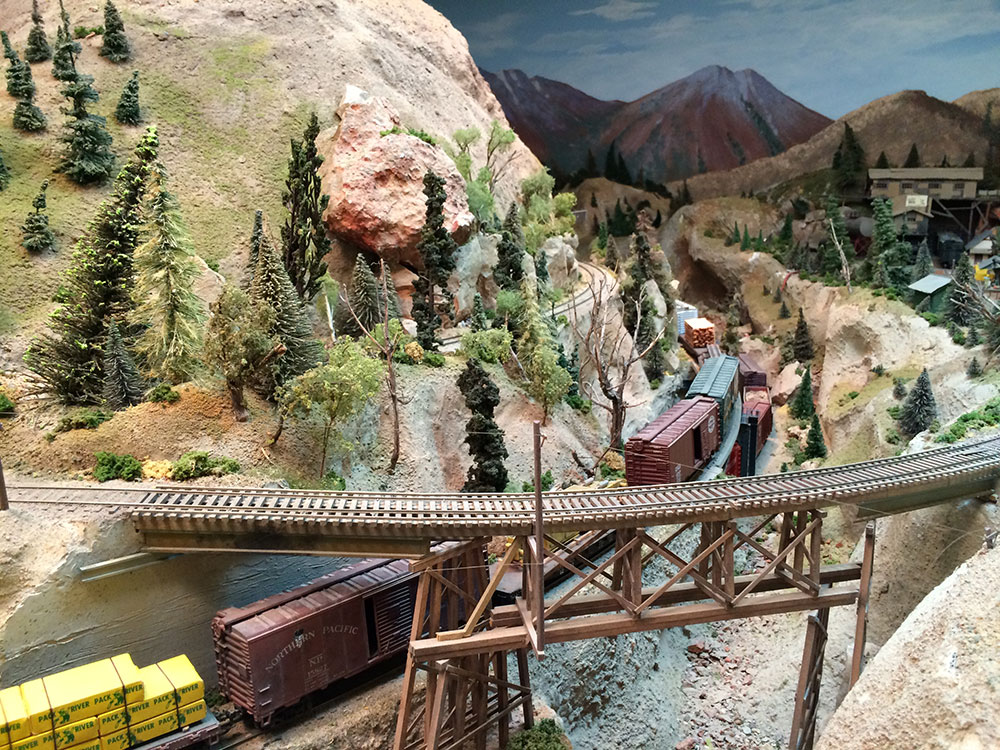
Model trains operate on pretty much the same gradients as real trains which is amazing considering the huge difference in mass and physical dynamics. A steep gradient can make an enormous difference in fuel costs to a real railroad over time. After a new line was up and running, and earning some money, the railroad might make plans to come back and rework the line to ease up the grades and curves if possible. In some cases they might create huge cuts or bore tunnels to eliminate sharp curves and grades over the top of a rail summit.
I’m very conscious of rail size. Many modelers use over size rail. Sidings and yards typically use much lighter rail than the “high iron.” Large or heavy equipment may be restricted from some trackage. As an example, I’m using code 70 rail for my Proto64 S scale switching layout. I think that the “hierarchy” of rail size adds to a layout’s believability. There should be a visible difference between the “high iron,” sidings, and industrial spurs as on the real railroads.
Switch frogs are another consideration. A tight prototype diverging frog might be a #10. Narrow gauges might take a #7. A big steamer might be limited to a #12, and that’s only for slow speed operation! I’ve seen specs for a #24 main line crossover that limits the diverging train speed to 55 miles per hour. Transition curves and super-elevation are mostly for scenic effect on a model layout, but the look of our trains leaning into a curve can be really cool! I transition into a 4” rise when I super elevate and it seems to look just right. As far as laying out the curves, I use a homemade trammel to draw out my center line, and while I’m spiking the track, I follow that line with my commercial track radius templates to make sure I stick to my desired curve.
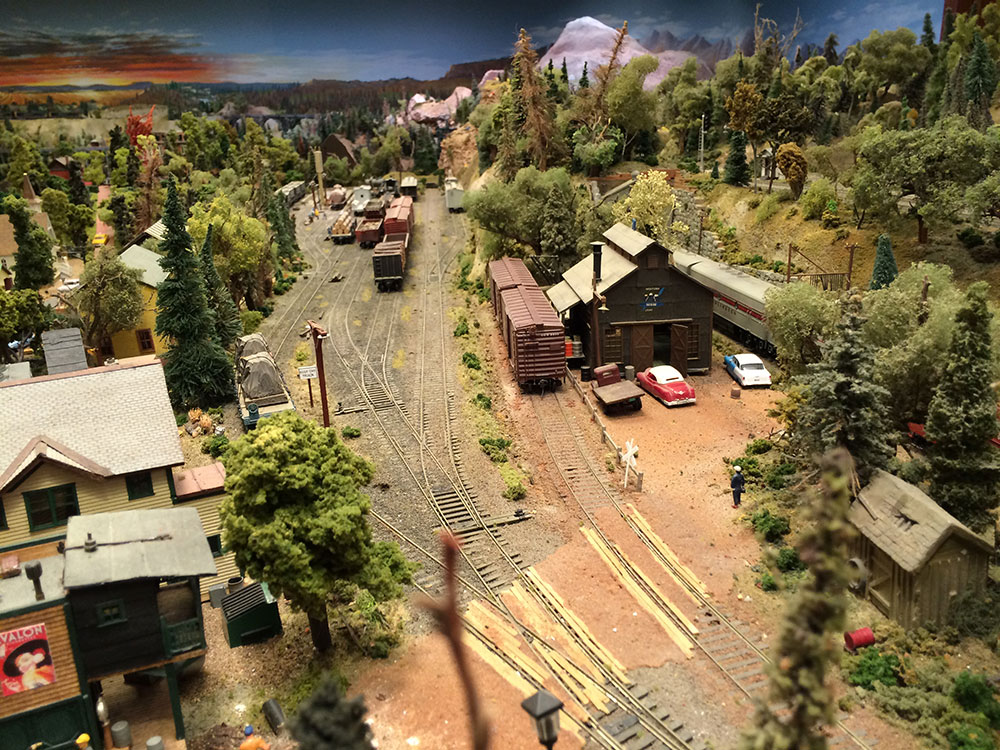
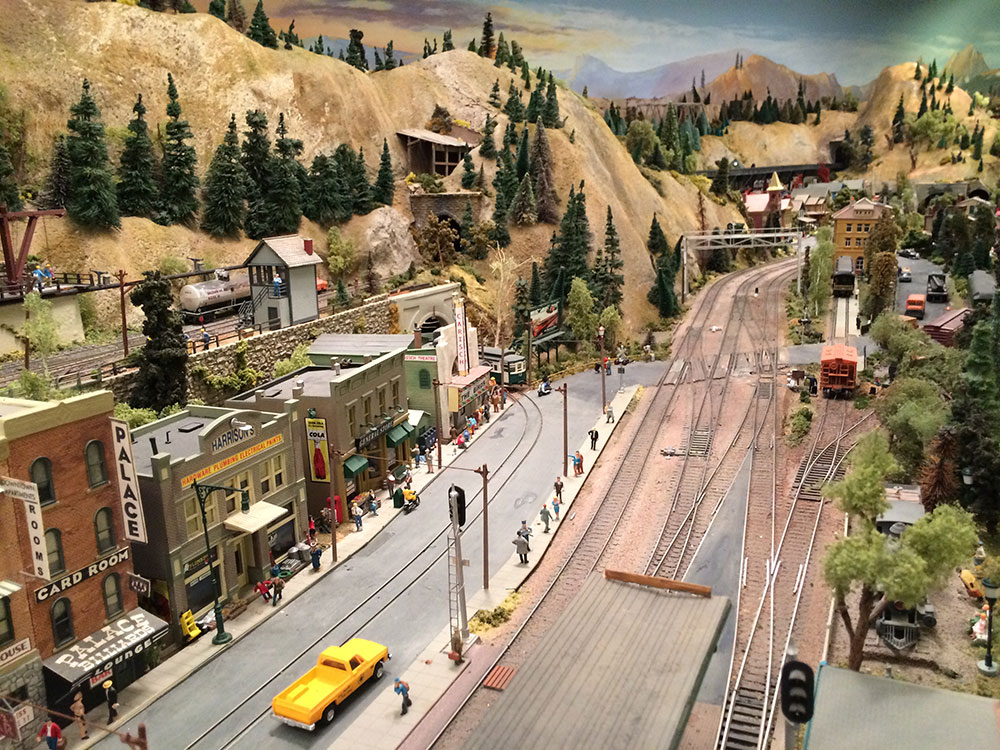
The choice of the brand and type of track is a personal one. My layout uses custom-built FastTrax switches hand laid on wood ties. For a big layout tit might save time to use flex track and purchased switches. There’s a lot of good commercial trackwork out there.
Some folks like to solder their rail joints for conductivity, but I prefer not to allow for rail and/or roadbed movement. Feeders can be added for conductivity and should be added every 6 or 8 feet anyhow for voltage stability.
For switch control I use Tortise switch motors left over from my HO layout, but I operate them manually using a 1/4” dowel rod. That way I can use the Tortise contacts to power my switch frogs and get the “hands-on” feel of real switching without leaning over my layout to operate a ground throw switch stand. That’s obviously not the intended installation however. In the old days, we used “diode-matrix” circuitry for switch routing, now there is a unit named “The Hare” by DCC Specialties that can be plugged on to a Tortise for DCC control and routing.
Many layouts today are using DCC control for all kinds of applications. The technology has really improved since my wind-up train days!
Roadbed is another personal matter. I like Homasote because it’s sound deadening and takes spikes and nails well. I’ve used it for decades. There are a couple of commercial retailers who sell precut beveled Homasote roadbed and flat sheets in multiple thicknesses so you can elevate your main lines above other trackage. Be warned though, Homasote can be messy to cut yourself and should be glued down well to prevent expansion and contraction.
Cork roadbed is a mainstay but it doesn’t hold spikes or nails well and can deteriorate over time if it isn’t sealed by ballasting.
Until next time, that’s my story and I’m sticking to it!
More in this series:
So You Want to Build a Model Railroad Layout?
Choosing Model Railroad Track Configurations
Assigning a Theme for Your Model Railroad Layout
Ideas for Unique Layout Concepts
Tips on Trackwork
Helpful Tips for Model Railroad Wiring
Creative Ideas for Model Railroad Structures

How do you determine bed size for each train size? Can I do it on a 4’x4’ board?
seen some good ideas - i am building austrian narrow gauge 1to87
Question about Homasote. I'm using 1/2" Homasote on 3/4" Birch plywood. I contacted the Homasote company to ask how I should seal the product. They advised against sealing it, saying that it breathes very well (remains dimensionally stable) if it isn't sealed. Also, he explained that sealing Homasote eliminates much of it's sound absorbing attributes. Based on the company's advice, I now I secure it with #8 wood screws every 6-9". One benefit that I've taken advantage of several times already is that it's easy to cut and remove a section when I reconfigure the layout or need to get better access to the plywood underneath. It's a simple thing to restore or even replace a piece of Homasote when it's only screwed to the plywood. That's come up when my FUGATE GRADE LEVEL (Joe Fugate - Run Like A Dream) identifies risers that need adjustment. So my question is should I glue it (white glue/carpenter's glue?) as you and so many others recommend? I have 4 64-square-foot sections still to build and I could glue it if I should. Allison HO gauge walk-in room-sized helix, FastTrack turnouts, ME flextrack.
I'm building a 8' x 16 ' layout any tips? I don't want a real busy track laoy=ut,
Interested, but sive in a small apartment so lack of space.
</strong> What should the spacing be on gargraves O42 and O54 curve main line ?
I have HO train set with many engines and cars and rail handed down to me from my father. I am not I young kid and am rebuilding the set .Now comes the wire. The engines go back 20-50 years. Can DCC be applied and or which is the most up to date that can be applied to my set . note Approx size is 15 ft by 17 ft Thank you
Thanks for that, very informative reading.
I have old passenger cars like those in the derail .
I am a beginner