
Building Overhead Wire with the Model Railroad Club
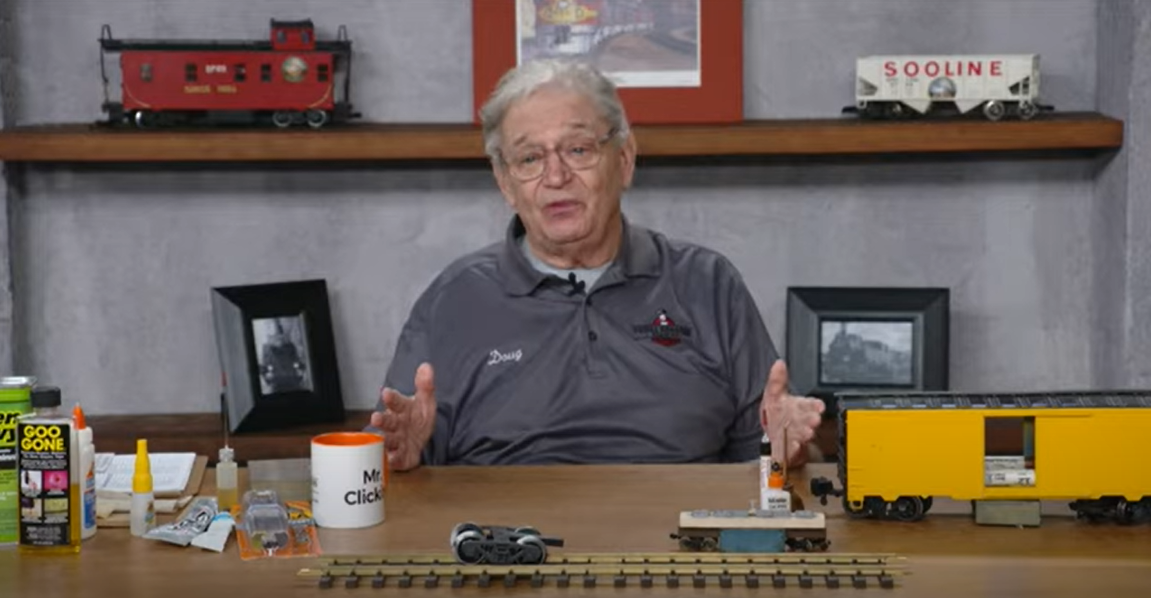
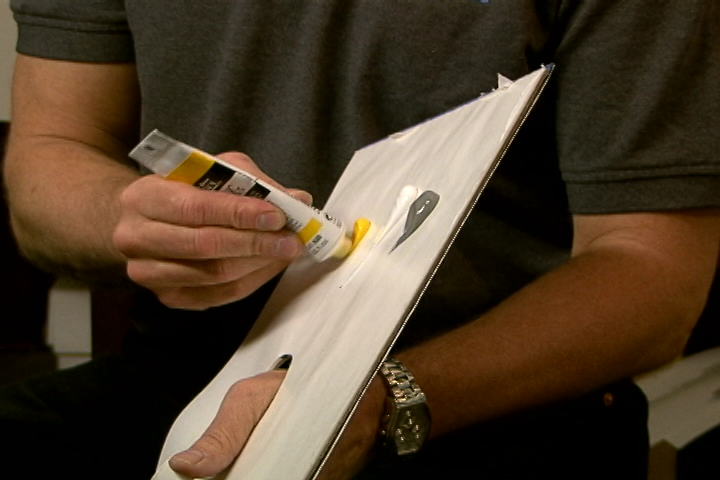
MRA EditorsIra Deutsch is a member of the Model Railroad Club. Over the past 5 or 6 years he has been building the overhead wire for the Trenton Northern. He shows some of the various tools he uses for the overhead wire. The most important tool is the soldering iron. You can get the ordinary pencil iron just about anywhere. All the joints on the overhead wire are soldered.
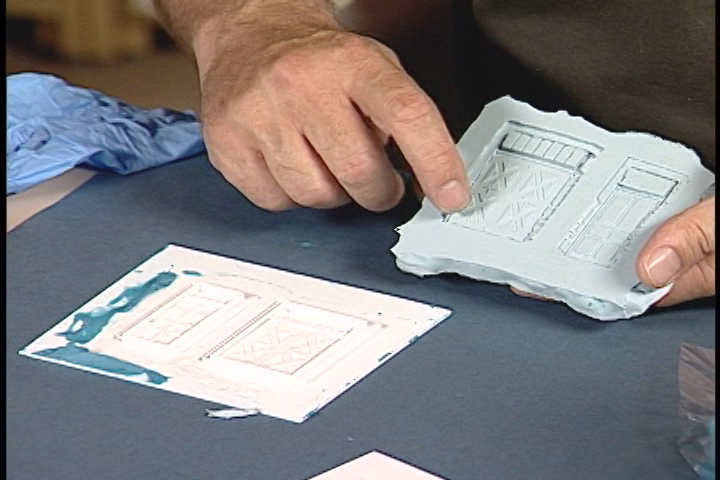
Then he shows some materials he makes when building the wire. Several wire frogs are made from sheet brass. The smaller pieces are typical wire hangers which are made from little brass turnings and brass wire. The poles are made from ⅛ inch brass rod with a threaded tail which goes down into a hole in the layout and is fastened securely with a knut on the top and another underneath.
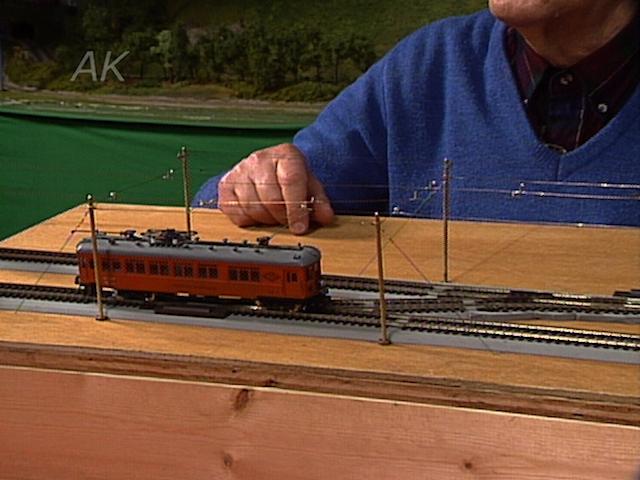
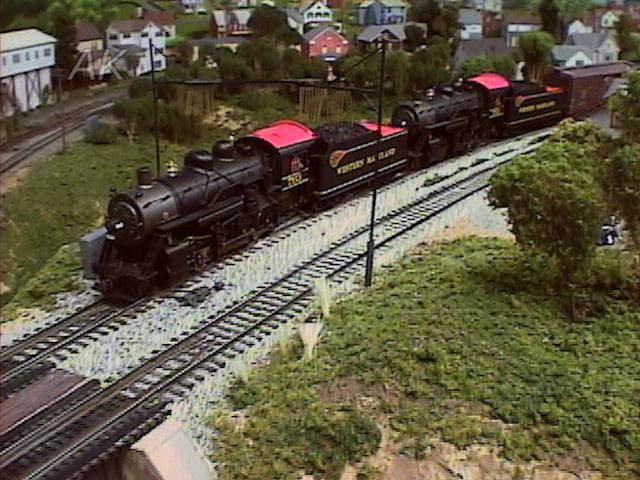
When installing the overhead wire, a span wire must be installed. This wire runs from pole to pole that is wound up rather tight and fastened to little loops to install in the poles. The span wire supports the various wire hangers. In the prototype these are both wire hangers and insulators. They also carry little white beads which represent insulators which prevent the voltage from getting to the poles.
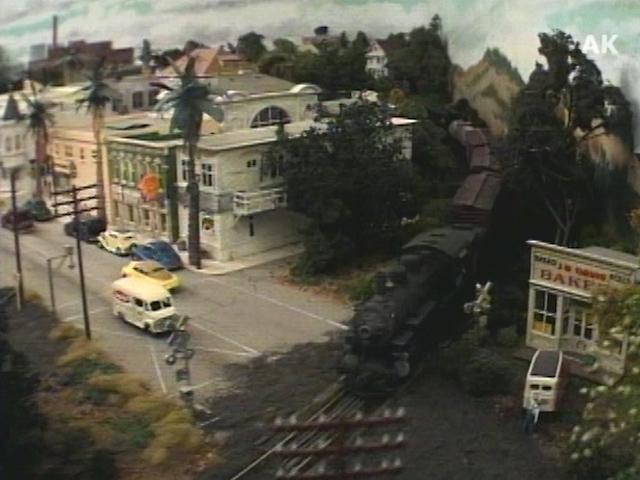
Next Ira shows a typical wire frog laying against the side of the track. This is used wherever there is a track switch in order to guide the trolley pole in the proper direction. The wire frog is in position on the wire above. Made from sheet brass, it is fitted into the wire at three points. He goes on to discuss one of the most important aspects of the overhead structure: the backbone wire. If you’re interested in seeing other videos like this, browse our archives for more wiring tips or helpful tips and techniques.
Explore videos by MRA Editors


You may be interested in


Premium Membership
Unlock exclusive member content from our industry experts.
- 24/7 Access to Premium Model Railroading Videos, Projects, and Tips
- Step-by-Step Instructional Guides & Layout Plans
- 50% Off Video Downloads Purchased in the Model Railroad Academy Shop
- Access to Ask the Expert Program
Unlock exclusive member content from our industry experts.
- 24/7 Access to Premium Model Railroading Videos, Projects, and Tips
- Step-by-Step Instructional Guides & Layout Plans
- 3 Full-Length Video Downloads to Watch Offline
- 50% Off Video Downloads Purchased in the Model Railroad Academy Shop
- Access to Ask the Expert Program
Gold Membership
$326 Value
Get everything included in Premium plus exclusive Gold Membership benefits.
- 24/7 Access to Premium Model Railroading Videos, Projects, and Tips
- Step-by-Step Instructional Guides & Layout Plans
- 9 Full-Length Video Downloads to Watch Offline
- 2 Full-Length Classes to Keep for Life
- 2 Downloadable Guides
- Discounts on Purchase-to-Own Content in the Model Railroad Academy Shop
- Access to Ask the Expert Program
- Exclusive GOLD LIVE Streaming Events