MRA Editors

Clamping Ideas for Gluing Model Railroad Parts

MRA Editors
Duration:   10  mins

Description

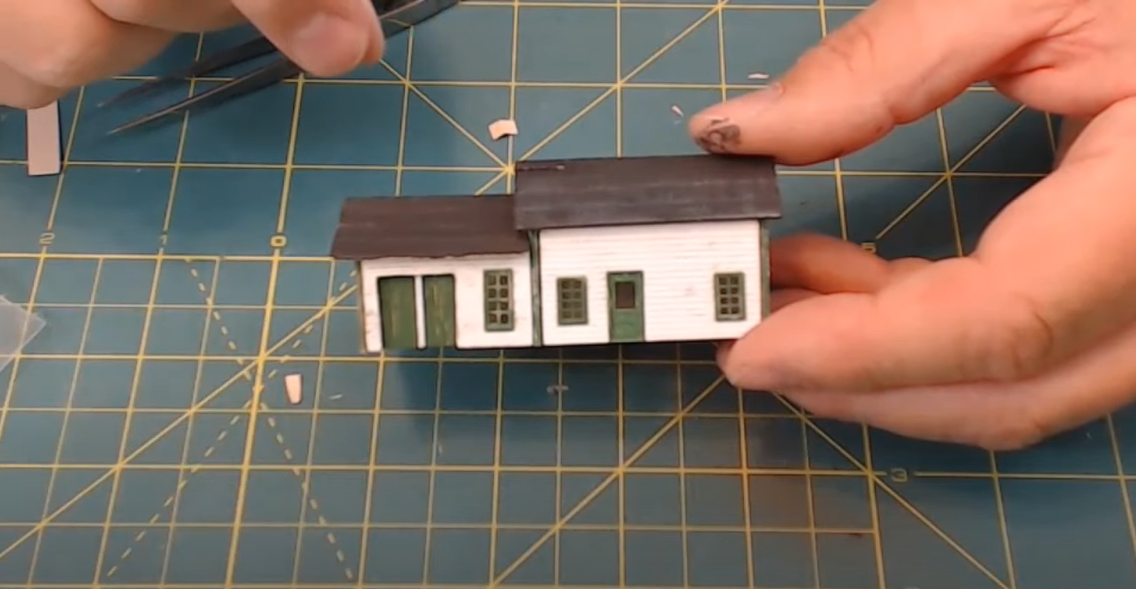
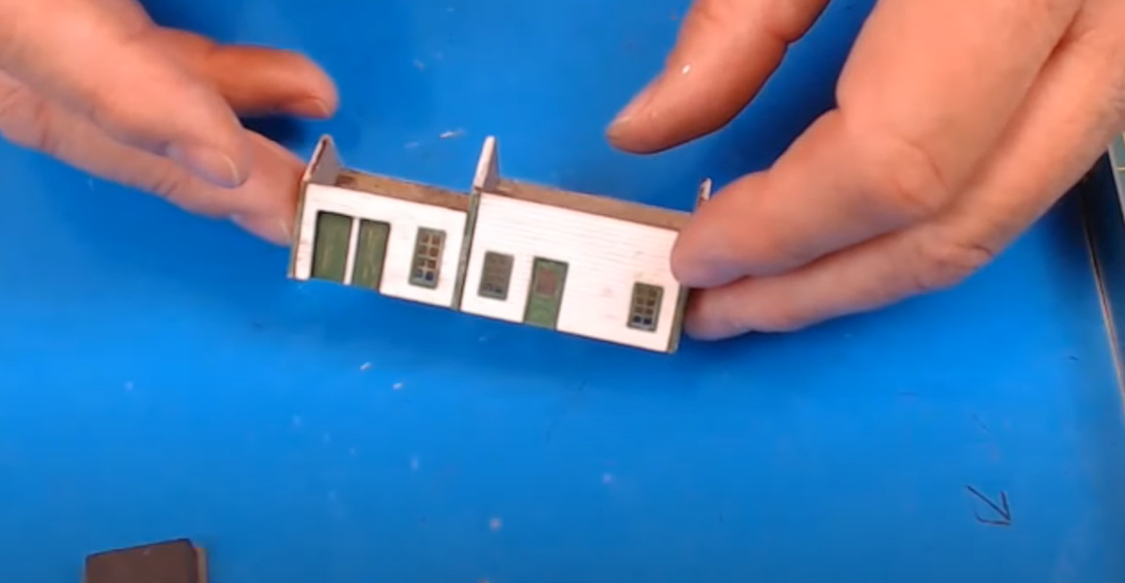
If you like building structures, few tools are more valuable in gluing model railroad buildings together than clamps. They help ensure tight, square joints which makes assembly easier and finished structures look better. NMRA Master Model Railroader, Gerry Leone, shares tips on the wide range of clamps available, from simple and inexpensive to more costly – and using combinations of tools to help make the job of assembling model railroad structures quicker and easier.

Clamps for Gluing Model Railroad Parts Together

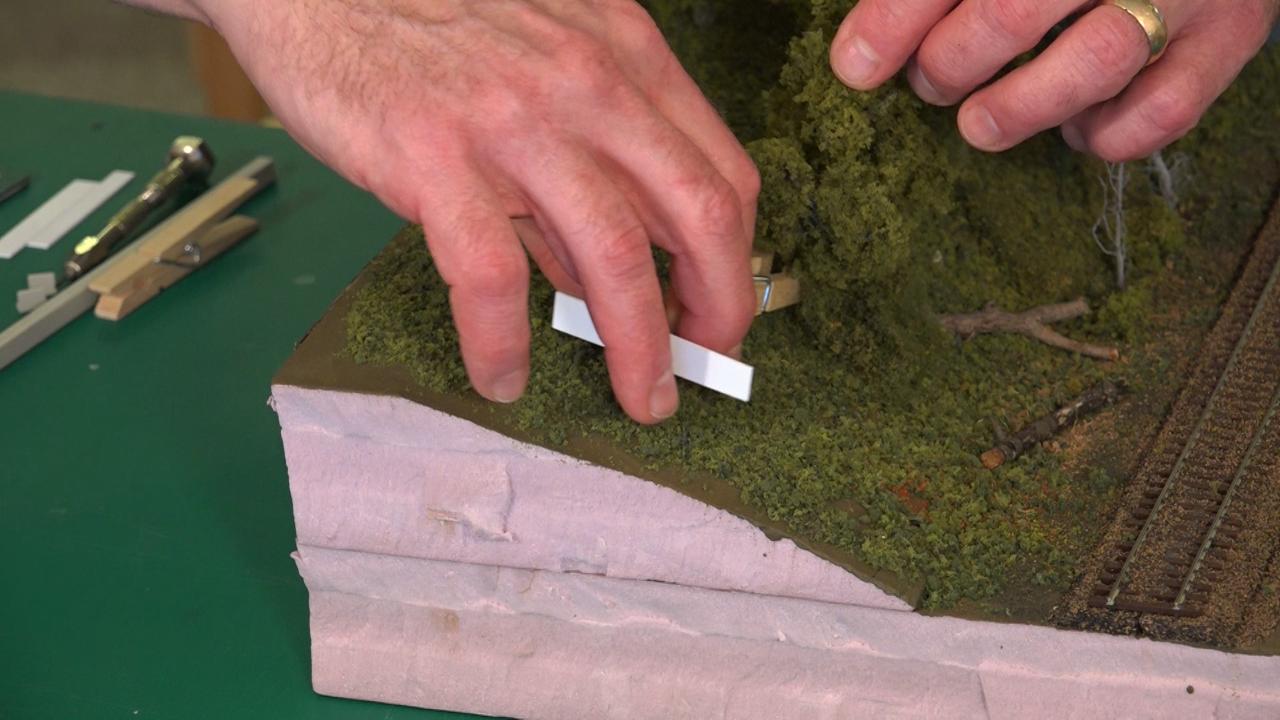
Gerry starts with the bottom level of household clamps – like wooden clothes pins (which he modifies in order to use the longer end) and metal double-prong hair pins, available from beauty supply and drug stores. Both are handy for holding oddly shaped pieces while gluing. He then moves up a level to plastic versions of clamps available from hobby and craft stores as well as DIY outlets. To help ensure solid, square corners, he uses homemade triangle gussets cut from styrene and glued to inside corners.

Machinist squares and beam squares are also helpful tools in achieving 90-degree angles while glue sets. Picture frame corners, used in frame making, and Rite-Way acrylic clamps can help achieve the same results.

Gerry also shares tips for using Berna clamps and spreader clamps to keeps walls square while drying. The top-end device is a metal tray with powerful magnets available from Micro- Mark which allows you to glue two sets of walls at the same time, and portable enough to place elsewhere, thus clearing off your workbench to tackle another task while the glue is setting.

Following these and other model railroad tips can help gluing model railroad structures building go more efficiently, and make your structures stand up better to handling.

Share tips, start a discussion or ask other students a question. If you have a question for the instructor, please click here.

Make a comment:
characters remaining

2 Responses to “Clamping Ideas for Gluing Model Railroad Parts”

  1. Chriss

    Any links as to where to get those carbon rod clamps? They look interesting.

  2. LOU

    Great info with many relatively cheap options. I will use some of these in my modeling.

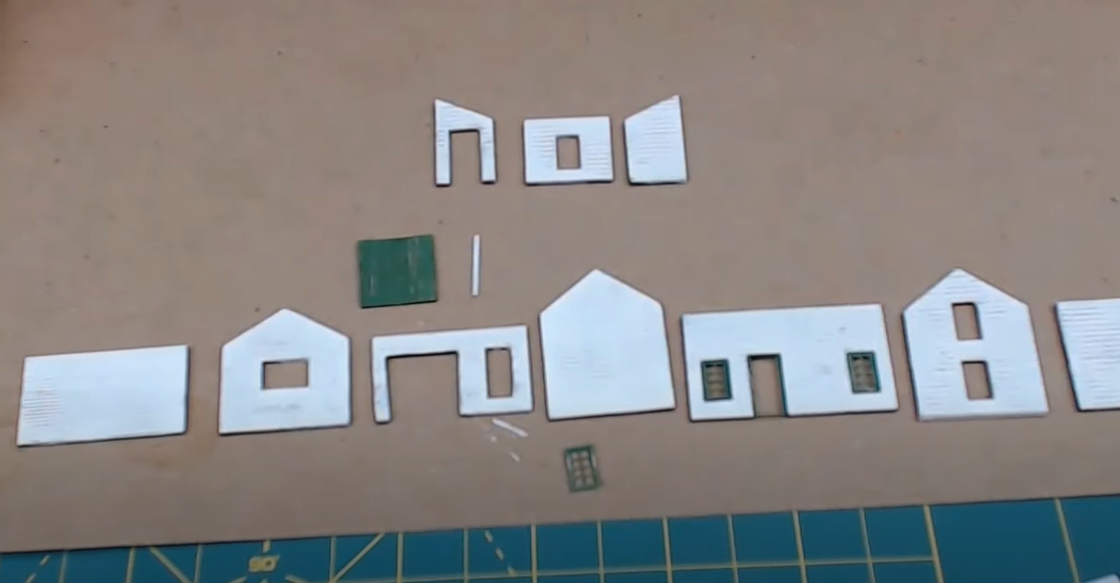
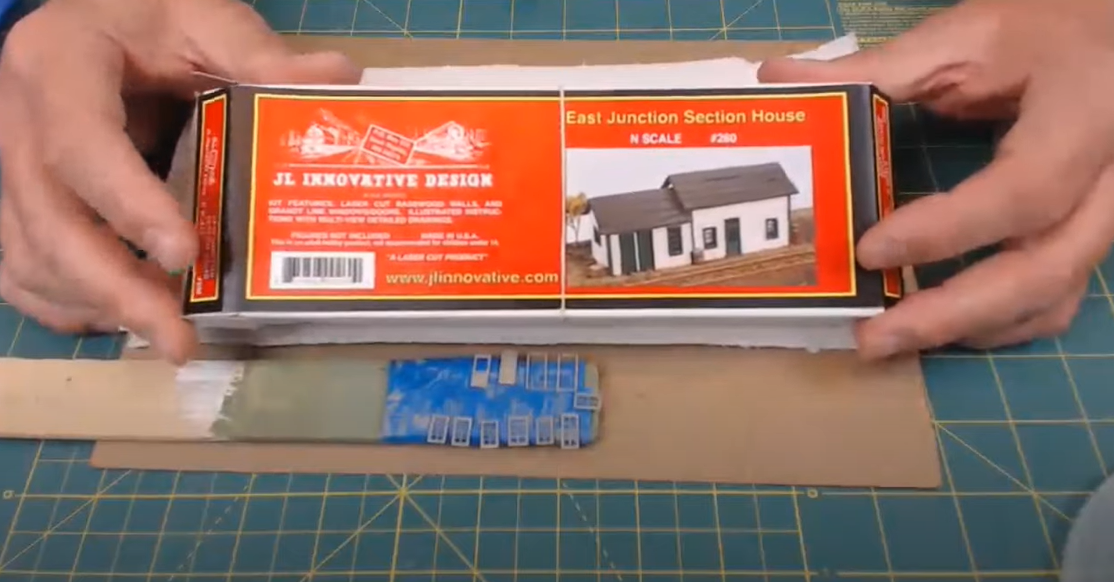
When you're building model structures, it's critical that the joints that you make are very solid so that that structure holds up to a lot of handling. It's also a great idea to have perfectly 90 degree corners, because the buildings will just look better. And we're gonna look at some clamps and ways to get those tight joints and those 90 degree corners, and we're gonna start with the simplest ones and work our way up. And I'll be using some design preservation walls from a kit here just by way of demonstration. But before we get to that, let's look at the simplest clamp you can possibly get, and that is a normal wooden clothespin. What I like to do with these things is actually take them apart and turn them around so that you're using the long side of the clothespin, and the clothespins have the advantage of being very cheap and the fact that you can drill them, and mill them, and cut them, and do whatever you need to do to get a nice tight clamp. So let's say you have a piece of half round styrene like that, and you need to glue a piece of vertical styrene like that in there. you can drill out your clothespin, put it in there, and that'll create a nice tight joint that you can then glue and it'll hold very nicely until the glue sets. That's the simplest clamp you can get. The next simplest clamp is probably this, these hair clips. Again, you can get these at beauty supply stores. You can get these at pharmacies and drug stores. And these have the advantage of the fact that you can bend the tines. So let's say you've got a piece of styrene and you need a to glue an L-bracket to it, and you don't wanna put a clamp on it so that it would mar the surface of the styrene. It's easy enough to bend one of these, the tines of one of these clamps, stick it right on there, and that'll hold a nice tight joint. Likewise, if you've got some other weird types of materials that you wanna join and have them hold at a certain angle, it's easy enough to put that hair clip right on there. And they're disposable. They're cheap enough that you can just kinda toss them out when you're done with them. Next up, the food chain of clamps are these spring clamps. These have a nice rubber tip to them so they won't mar a surface. These are very strong springs in here, and again, if you're joining pieces of styrene, pieces of wood, whatever you're joining, they will create a nice tight joint. The big sisters of these kind of spring clamps are clamps like these. These, you can buy these at craft stores. Micro-Mark also sells these things. They're very good for getting around the edges and holding things in the center. They're pretty inexpensive, and they're very effective at creating a nice tight joint. You can buy even larger ones, the big sister of these little clamps, which work really nicely for all kinds of things. Now, what about 90 degree joints on structures? One of the ways, one of the easiest ways, you can get a 90 degree joint on a structure is by cutting pieces of styrene. These are just corner pieces of 40/1000 styrene. It can be thinner than that, it can be thicker than that, but you can cut your own corners so that when you're building your structure and you're looking at the inside now with a structure, you can easily glue these pieces of 90 degree styrene right in there. It'll create a nice tight joint and a nice 90 degree joint, and it'll be a joint that will hold up really nicely to some handling. Perhaps a little more sophisticated than this, City Classics has come out with a little kit of corner braces. This is a kit, a pre-packaged kit, that comes with 12 inside corners and four outside corners. These are virtually the same thing as the cut styrene that we just looked at with a few exceptions. If you've got a corner like this, again, this is the outside of the building on my side of the table. Easy enough to glue these into the corner. They're styrene, so they'll hold with styrene cement. But perhaps even better about this kit are these outside corners. So let's say you've got a structure where the finished walls are like this, and you've got this inside corner. And I'm gonna turn this around so you can see what's going on. The inside corner braces fit right around that corner on the inside of the structure. They glue in there, and they keep that joint nice and tight and a nice riding, a nice 90 degrees to that. So City Classics makes that kind of kit. To get 90 degrees structure corners, you can also use things like machinist squares and beam squares. You can get these at, Micro-Mark sells these, the beam squares also. And again, when you're gluing your corners together, it's easy to just put that machinist square in there and have that hold a nice tight corner. And again, what's nice about the variety of clamps is that you can use a variety of them with whatever method you are using to get a 90 degree corner. So you can take the spring clamps that I showed you earlier and have those hold nice and tight up to the machinist square, and you'll have a nice tight joint that will hold until the glue sets. Machinist squares are something that you'll wind up using a lot of in model railroading. Another method of getting a good 90 degree joint is to use a frame corner like this. This is designed to make picture frames. You can see that it, though, that it can screw all the way out to three inches. So you could feasibly put two-by-fours in there. But what this is really nice for is to be able to put your structure walls in there like so, tighten this up, and you've got a nice 90 degree corner that will hold until the glue sets. And certainly you can use these, the frame clamps, elsewhere around your workshop. Another clamp that's just come out is the Rite-Way clamp. It comes in this neat little box, and these are pieces of acrylic that have embedded rare earth magnets in them. They're very, very powerful. And you'll see how you can use these to make some nice 90 degree joints. And what's nice about this is the acrylic, the fact that the acrylic won't react with the adhesives like 10X. They have a little stand if you wanna use them, and it's easy enough to set these up next to one another, put your wall down, get 'em in a nice 90 degree angle here, and then let the rare earth magnets do the work. And what's pretty nice about these clamps is the fact that there's a little cutout in that corner so that if you wanted to use a little corner brace of eighth inch styrene, it's easy enough to slip that right into that joint and glue that nice and tight, and you've got a nice 90 degree joint that is very, very, very sturdy. That's the Rite-Way clamp. In addition, there are clamps called the Berna Assembler clamp, and these are clamps that are plastic, they have some rubberized grippers on them, and they're hanging on a piece of carbon fiber rod here. And what's neat about these is that you can adjust these to virtually any size, put a little bit of pressure on them, and they will stay and hold a joint very nicely and nice and tightly. And again, you can use these in combination with your machinist squares or whatever else you wanna use to keep a nice 90 degree joint. Similar to the Berna Assembler squares, there are clamps called spreader clamps, and these are the clamps exactly like you'd use in your shop except they're little miniature versions of them. And these clamps will work very nicely to hold a joint. You can tighten them up by just squeezing the little trigger here, and they will just set very nicely, hold that joint nice and tight, and then when you're done, you just open up the trigger and let it go. And they're called spreader clamps because this part of the clamp can be detached from this side of the clamp and put on the other side so that you've got a clamp that works like this, so that as you push the little trigger, it will spread it open. So if you have a structure like this one where the walls aren't quite 90 degrees, it's easy enough to put the spreader clamp in there, spread that a little bit, and then re-glue it and let that glue reset itself at more of a 90 degree angle. The last clamp, and it's not really a clamp and it's actually a tool, is this magnetic tray that you can buy from Micro-Mark. This is a tray that has 90 degree angles on all four sides and 90 degree vertical angles so that it's easy to put some structure walls right into it and then get your magnets and have those magnets hold those walls at a 90 degree angle like so. You can even butt them up against the back ends. You can configure the magnets any way. What's nice about this is the fact that you can work on more than two walls at one time. You can either build the second set of walls in the other part of the tray, or you can add another wall, and I'll add this wall here even though that doesn't really go there, using my machinist square to keep that nice and 90 degrees and just start building up your magnets to hold things together. And what's very cool about this is the fact that as your glue is setting, you can take this whole tray off your workbench, put it someplace else, and you've got a full workbench again to work on other projects. So those are some ways you can get nice tight joints, a nice 90 degree joints for the structures on your layout. From using simple clothespins all the way down to the magnetic table, these tools will help your structures look good and stand up to use.
Get exclusive premium content! Sign up for a membership now!