
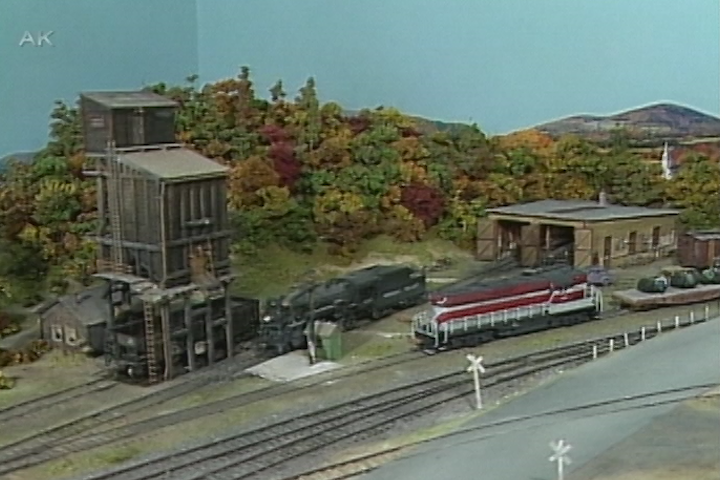
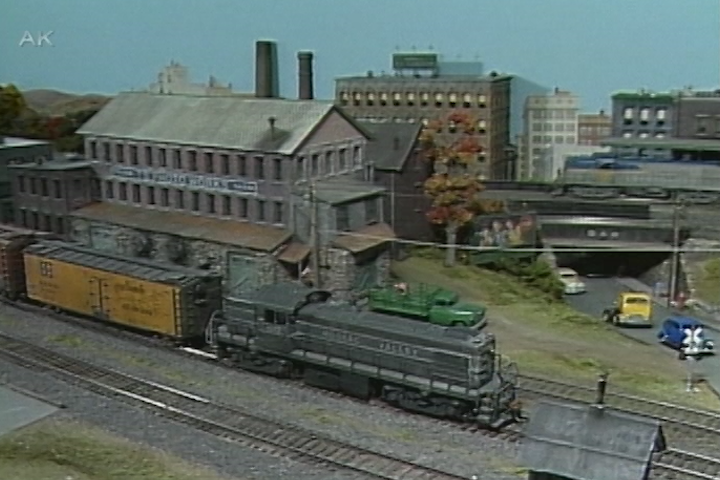
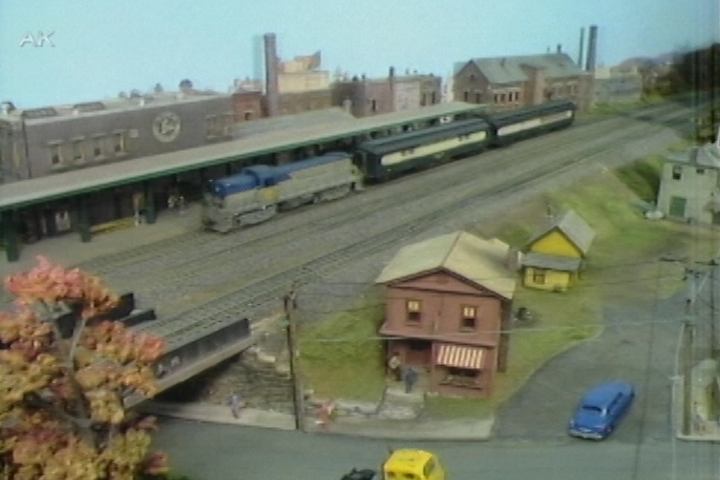
Techniques for Creating Model Scenery with Hydrocal
Dick ElwellThere are multiple ways to create model scenery, but Dick Elwell swears by Hydrocal for his Hoosac Valley layout. Hydrocal is a mixture of plaster that hardens to create molds. It can be handy for making mountainous formations and other various model scenery. Dick believes it is a great product to use, but many people have trouble mixing the Hydrocal correctly.
Creating Model Scenery with Hydrocal
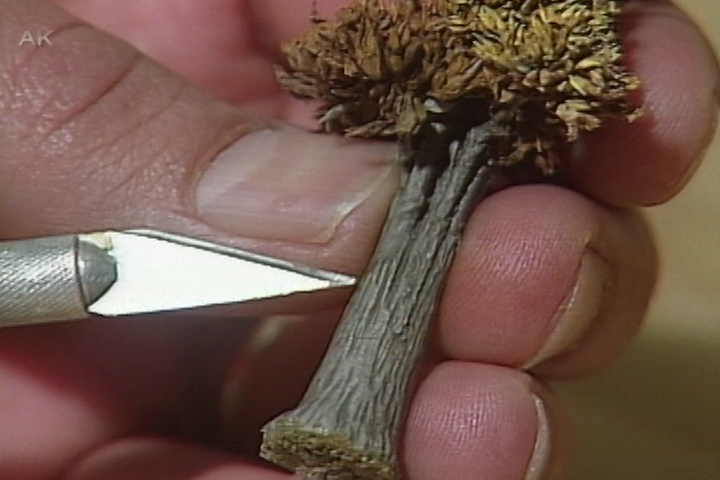
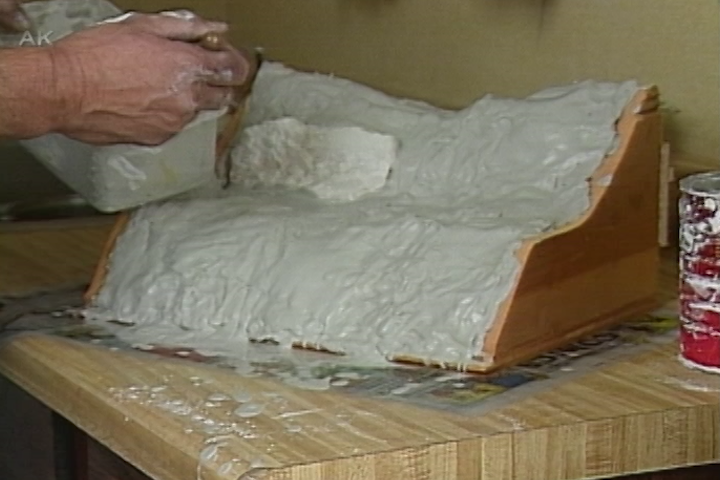
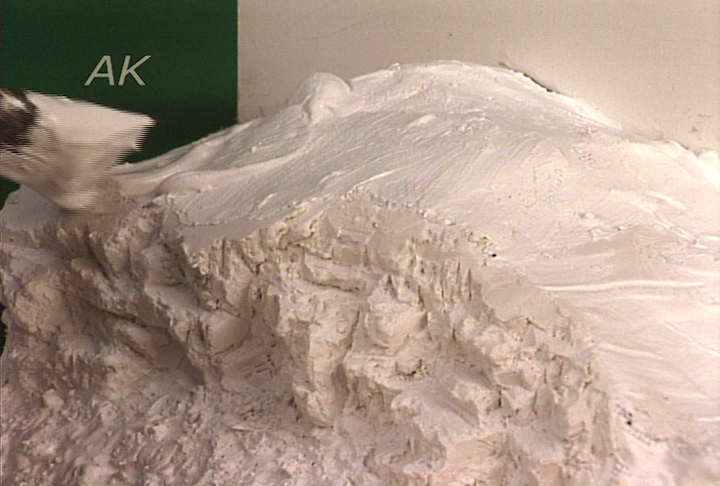
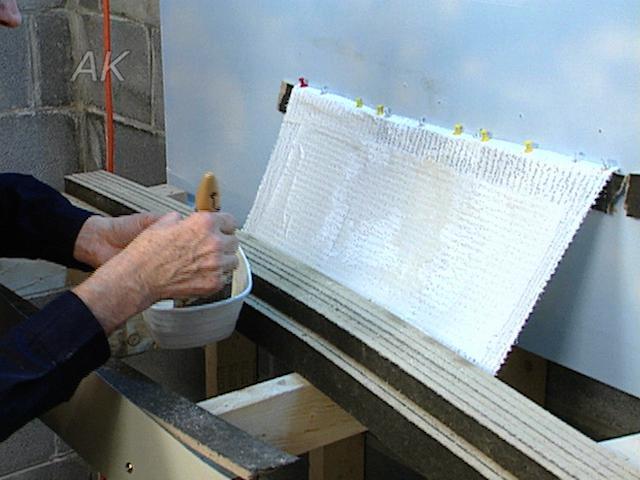
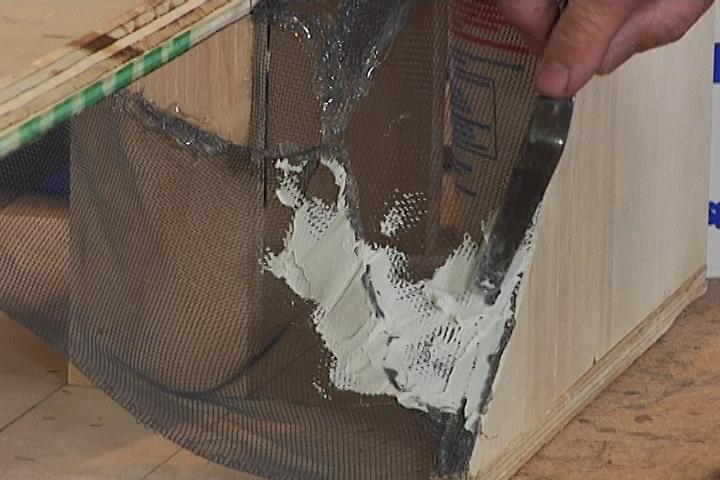
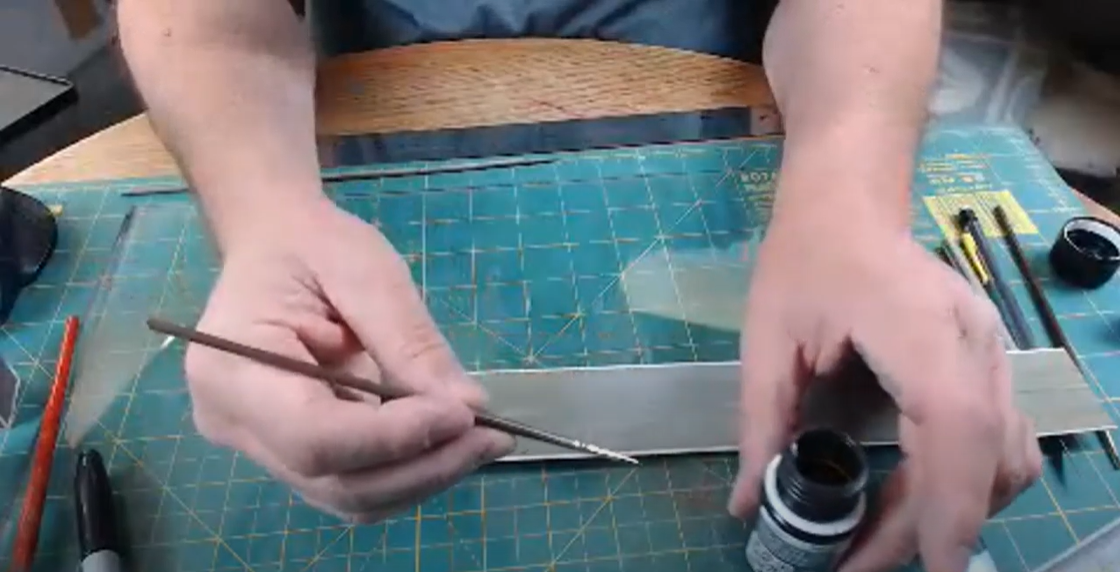
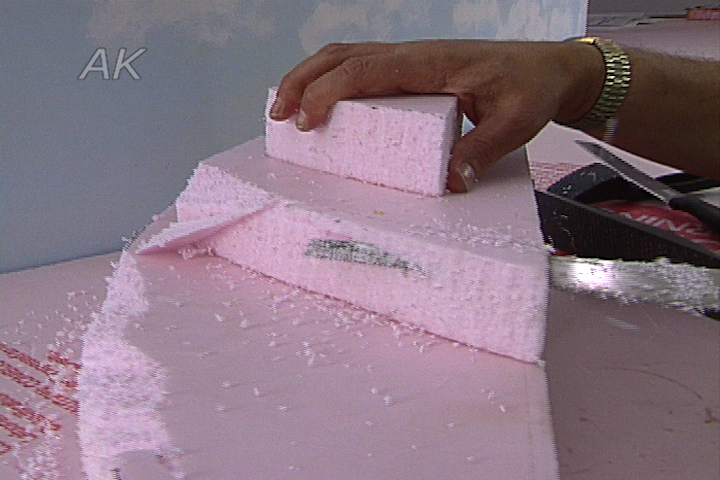
In part six of the 10-part Hoosac Valley series, Dick Elwell gives a step-by-step tutorial on how to create model scenery using Hydrocal B-11 plaster. Dick begins the demonstration by creating an initial support structure of dry newspaper to take form as the basic contour of the mountain. He then places one layer of wet newspaper on top. Next, Dick takes strips of wet paper towels and lays them on top of the newspaper formation to smooth it out. One important item needed throughout the process is paper towels as they are used in various steps of the tutorial.
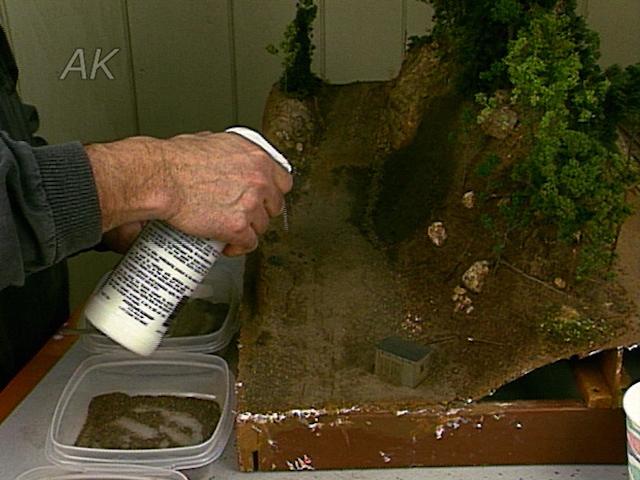
After the initial formation is created, the next step calls for mixing the Hydrocal. Dick pours about one quarter of water into a mixing container and mixes in a few drops of photo-flo. Dick mentions that you can use any sort of a wetting agent. For example, dish detergent works in the same manner. The wetting agent helps the Hydrocal sink to the bottom of the container. As far as the Hydrocal, the amount needed varies and is determined by how you spread it around in the water. You can stop pouring the Hydrocal when the water is absorbed completely. Dick explains a technique he likes to use to stir the mixture. He also states why he prefers to use Hydrocal B-11 for model scenery instead of white Hydrocal and compares the two.
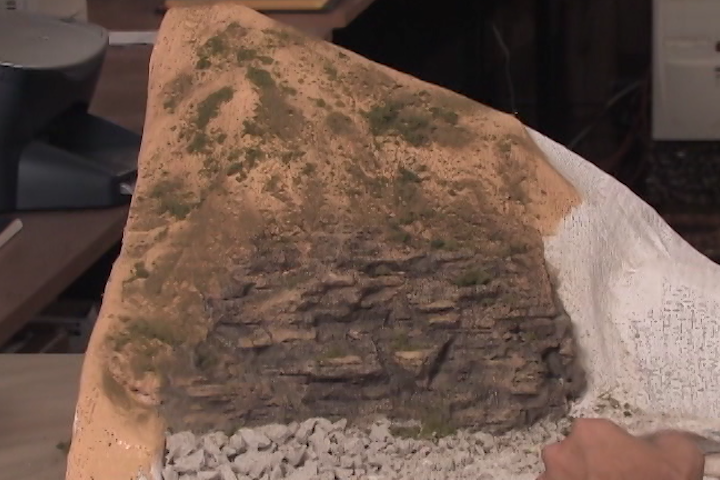
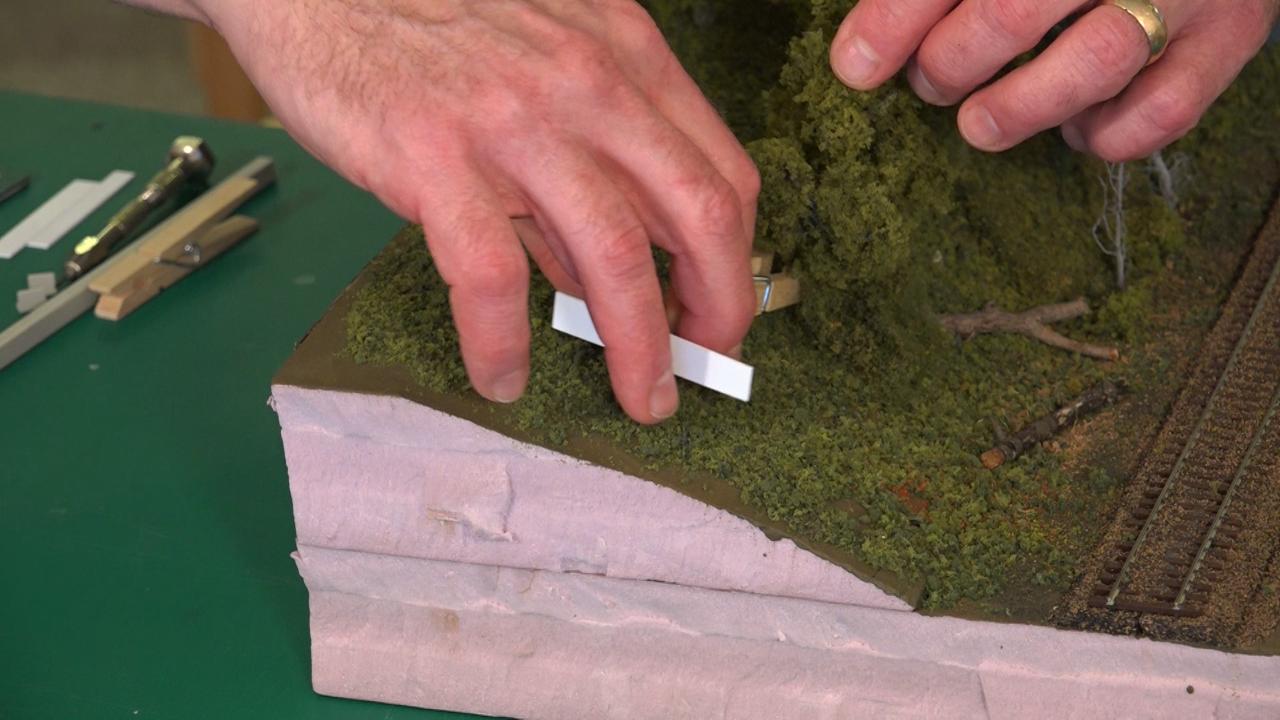
The next step involves using the paper towels again. Dick dips small pieces of the paper towels into the Hydrocal mixture and then drapes them while overlapping as he goes. He starts from the top of the model scenery formation and works his way down. After it sets, he places a rock casting onto the mold. He explains in detail the specific steps for doing so including how to fill in gaps after placing it.
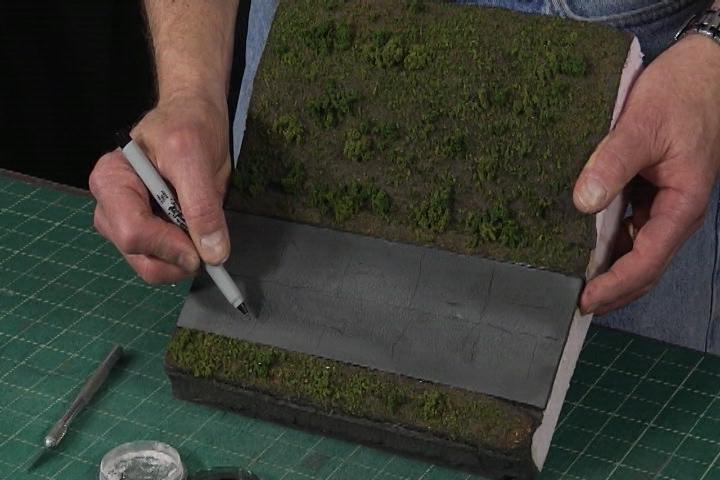
The final step is applying a brush coat. It takes out the roughness and blurs any dimples that were left behind. The Hydrocal takes about an hour and a half to set and then you can remove the initial paper towel support structure to allow the Hydrocal to dry faster.
We are over halfway through with the Hoosac Valley series, but there is plenty more in store including tutorials just like this one on model scenery.
Explore videos by Dick Elwell

You may be interested in


Premium Membership
Unlock exclusive member content from our industry experts.
- 24/7 Access to Premium Model Railroading Videos, Projects, and Tips
- Step-by-Step Instructional Guides & Layout Plans
- 50% Off Video Downloads Purchased in the Model Railroad Academy Shop
- Access to Ask the Expert Program
Unlock exclusive member content from our industry experts.
- 24/7 Access to Premium Model Railroading Videos, Projects, and Tips
- Step-by-Step Instructional Guides & Layout Plans
- 3 Full-Length Video Downloads to Watch Offline
- 50% Off Video Downloads Purchased in the Model Railroad Academy Shop
- Access to Ask the Expert Program
Gold Membership
$326 Value
Get everything included in Premium plus exclusive Gold Membership benefits.
- 24/7 Access to Premium Model Railroading Videos, Projects, and Tips
- Step-by-Step Instructional Guides & Layout Plans
- 9 Full-Length Video Downloads to Watch Offline
- 2 Full-Length Classes to Keep for Life
- 2 Downloadable Guides
- Discounts on Purchase-to-Own Content in the Model Railroad Academy Shop
- Access to Ask the Expert Program
- Exclusive GOLD LIVE Streaming Events