Adding Model Railroad Turnouts to an Existing Track
MRA EditorsTrack plans evolve over the lifetime of a layout, and often we’re faced with expanding a scene and we need to add model railroad turnouts to our existing model train layout design. As we learn from NMRA Master Model Railroader, Gerry Leone, it’s not that difficult and, in fact, can be relatively easy.
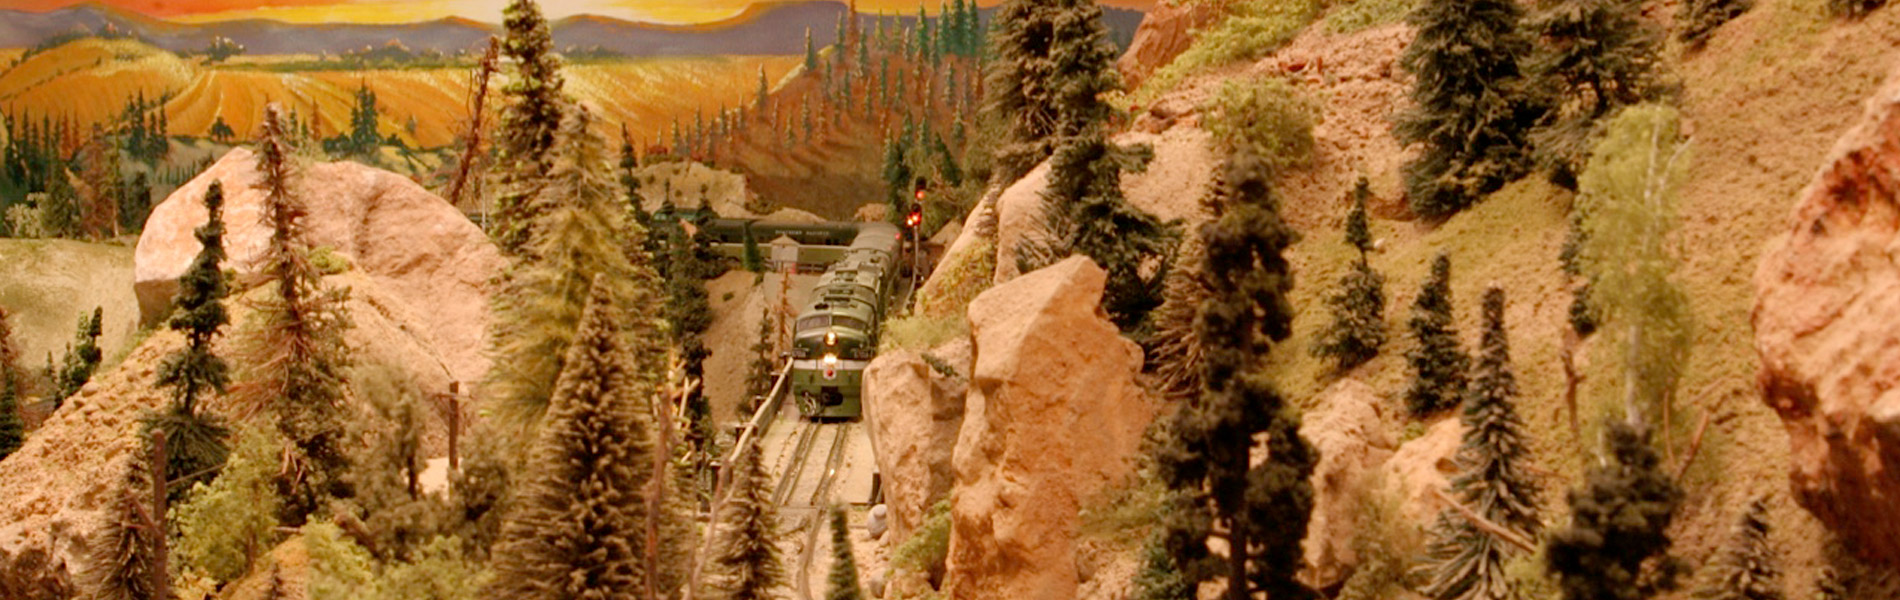
How to Add Model Railroad Turnouts
If you’ve glued your existing trackage to the cork roadbed, you must first use a thin hacksaw blade or like tool and pry up the track in the area where you want to install the new turnout. Be careful not to damage the cork roadbed. It’s a lot easier if you’ve installed your existing track with either spikes or nails; simply pry them up. Gerry is using a curved turnout from Fast Tracks with a 30” radius on the inside rail to match his existing track radius where he wants to install the new turnout.
Next, he places the turnout over the track where it will eventually go, and traces the edges on the cork roadbed with a Magic Marker, and likewise where he will cut the turnout rails and existing rail. He uses a Xuron rail cutter (you could also use a Dremel cut-off wheel or hobby saw) to even up the rails on both ends of the turnout, and to cut the existing rails based on the pre-drawn marks.
Using Cutters on Model Tracks
He uses a small needle file to remove any sharp edges on all sides of the ends of the rails he’s just cut so that the rail joiners will slide on easily. Note, if you’re using a Xuron cutter, the jaws produce a flat side and angled side. Make sure your flat-side cut is toward the rail you’re using.
Remove the section of existing track and test-fit the turnout. Adjust the rail ends where needed.
Then, place a mark on the throwbar and the cork roadbed where you will need to drill a hole to control the turnout mechanism.Using a ⅜” bit, drill a hole through the roadbed and plywood from which the control rod will protrude. Ream out the hole with a circular file to smooth any rough inside edges of the hole.
Using a Manual Turnout Throw
If you’re using manual model railroad turnout throws, here are some additional tips for that type of installation.
On the existing rail, remove the end two or three ties and slide on the rail joiners. If you’re using caulk, spread it evenly on the roadbed being careful not to apply any in the area of the throwbar, install the turnout in place, slide on the rail joiners and use weights until dry. If you’re using spikes or nails, apply as usual.
Finally, using scrap cork, glue roadbed under the diverging track and your installation of model railroad turnouts into an existing layout is just about complete. Gerry will cover wiring tips for model railroad turnouts in a coming episode.