
Enhancing Your Scenes with Model Train Lighting
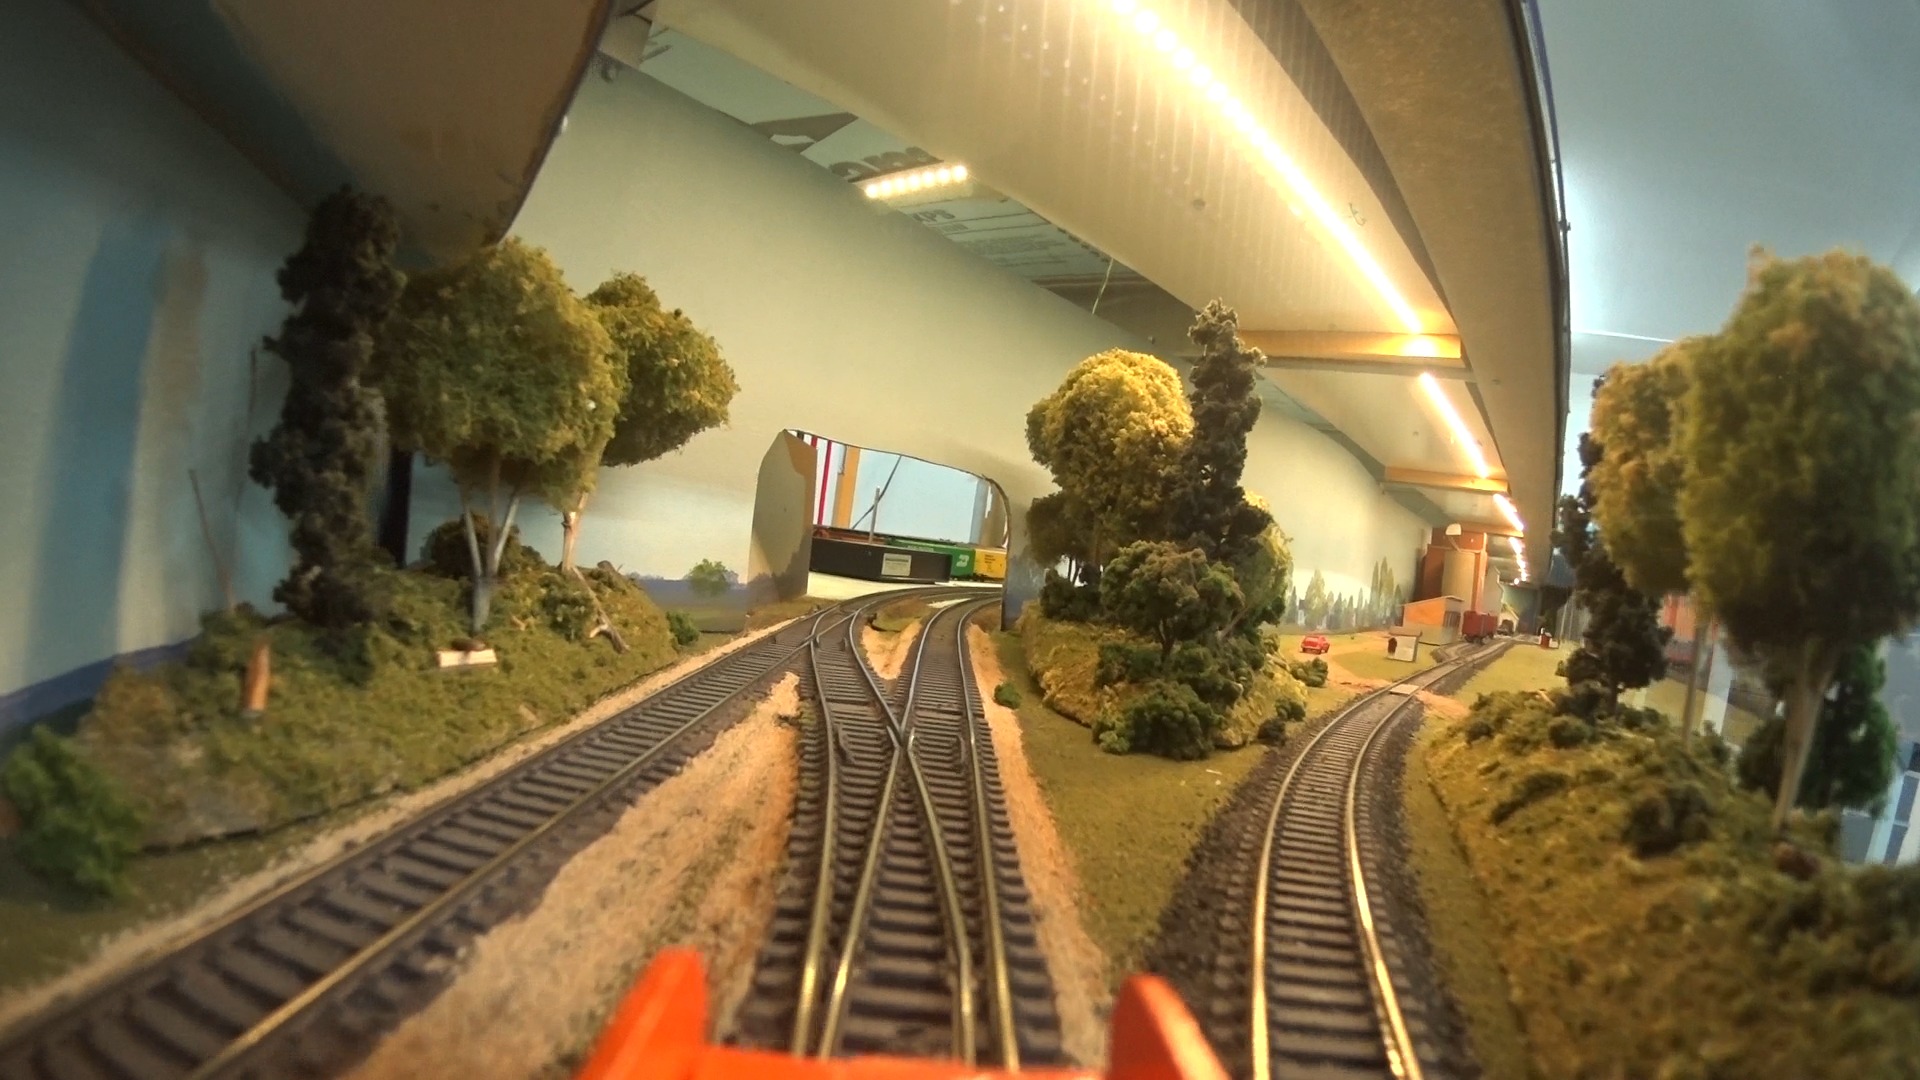
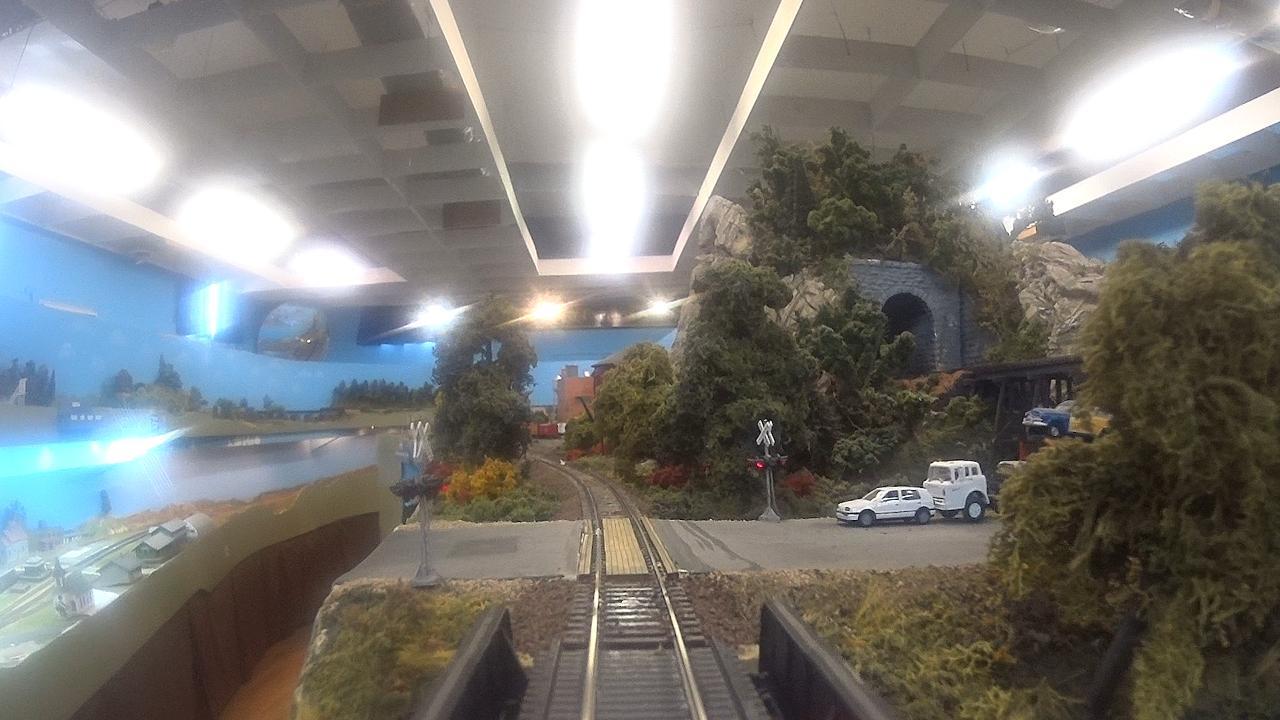
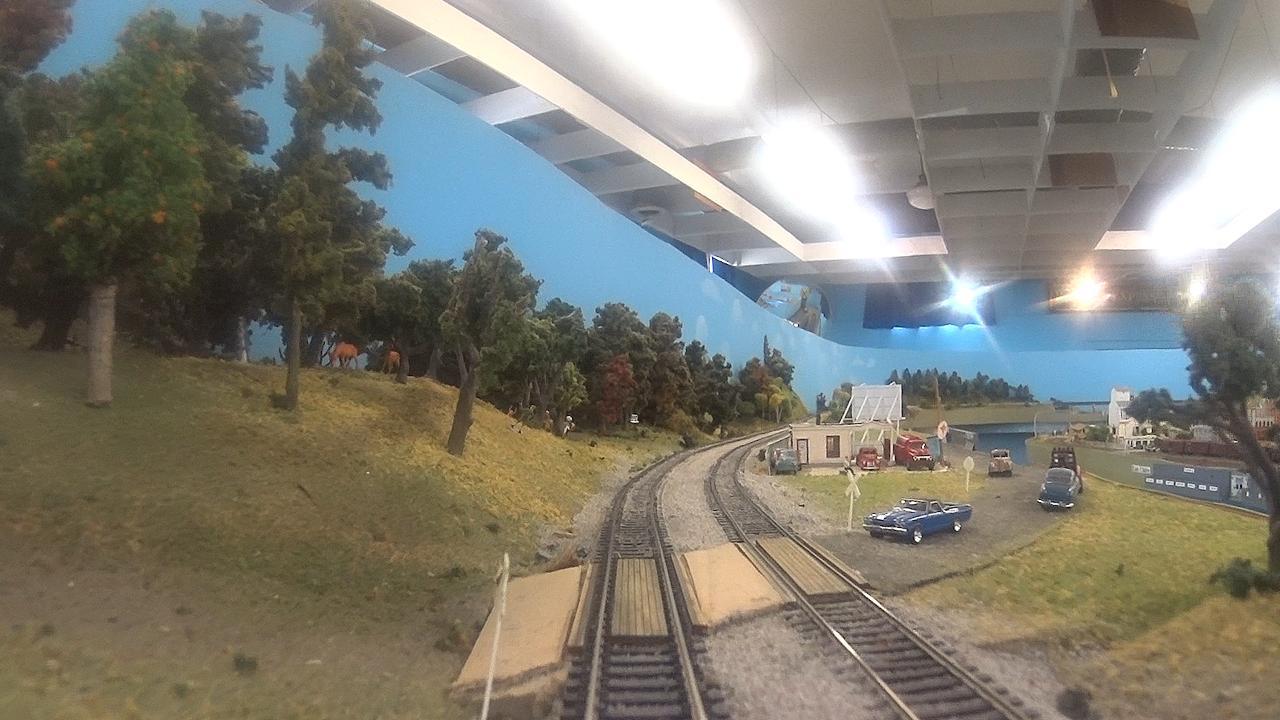
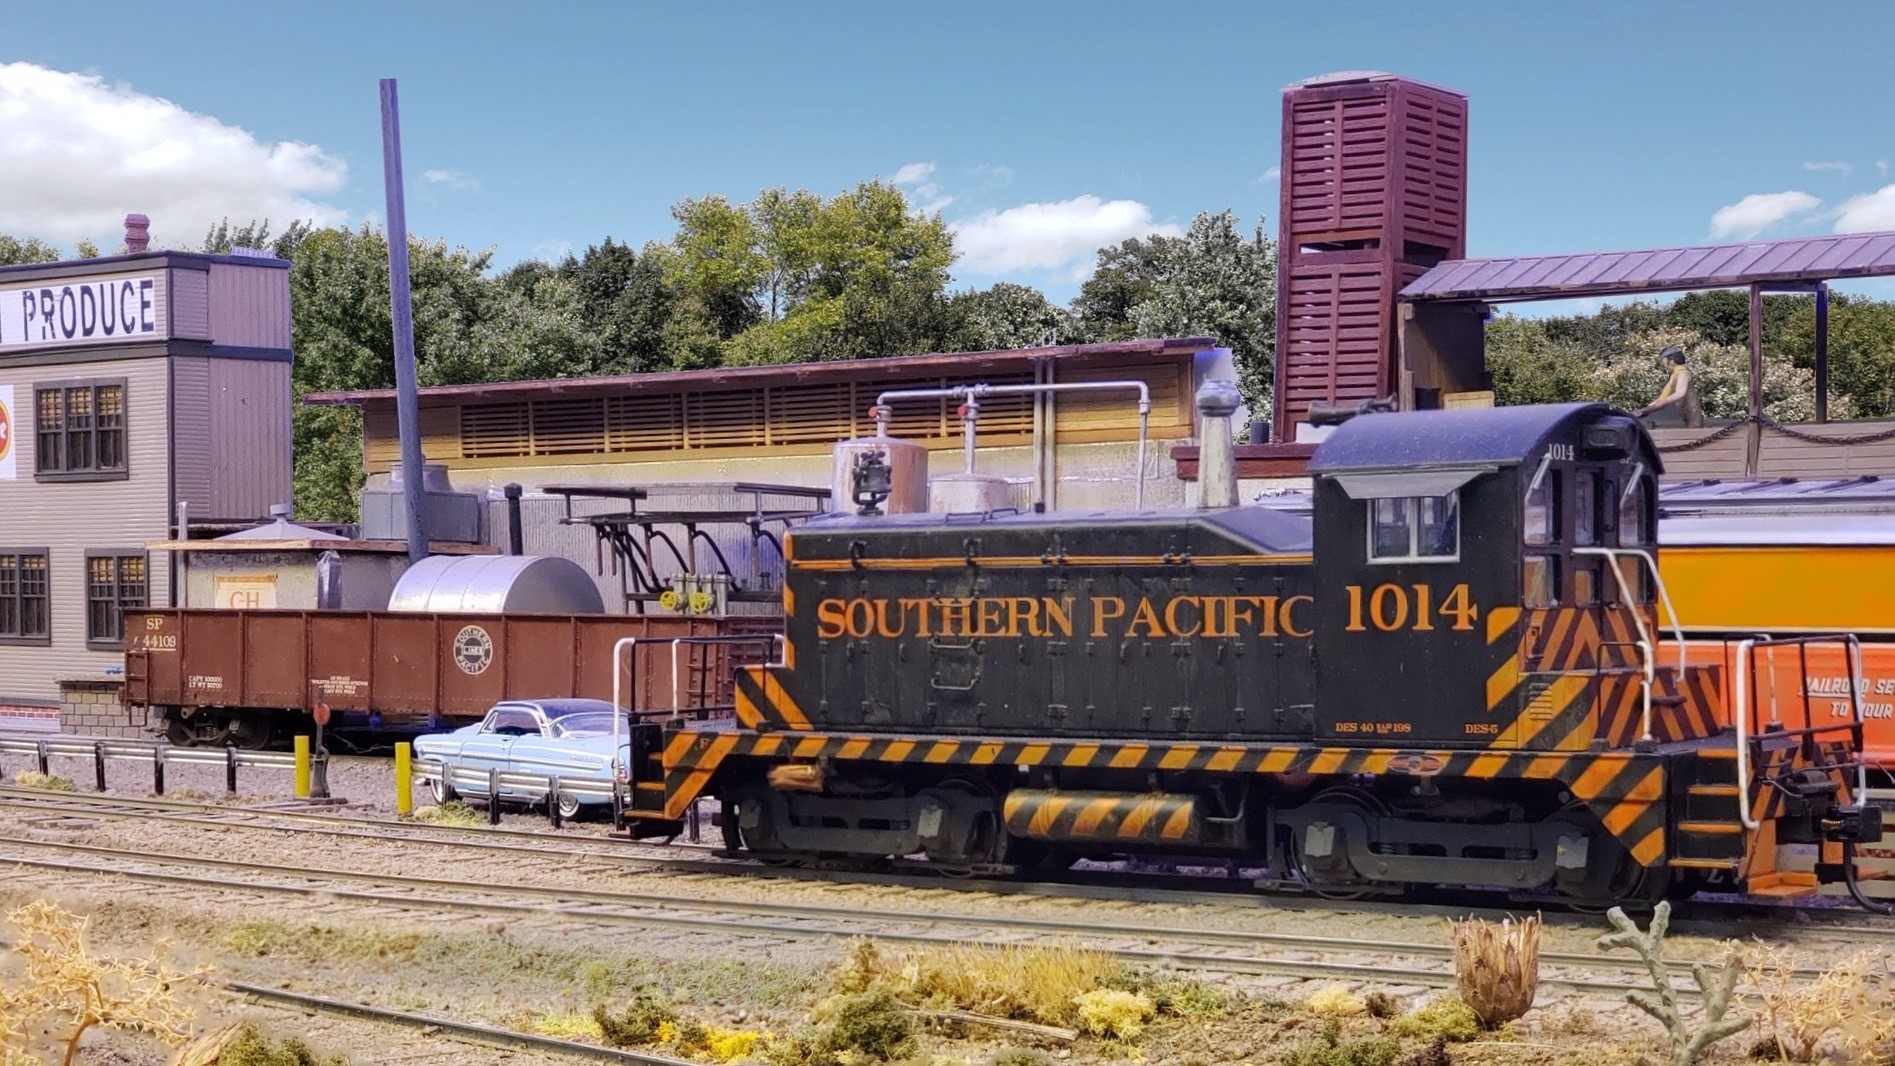
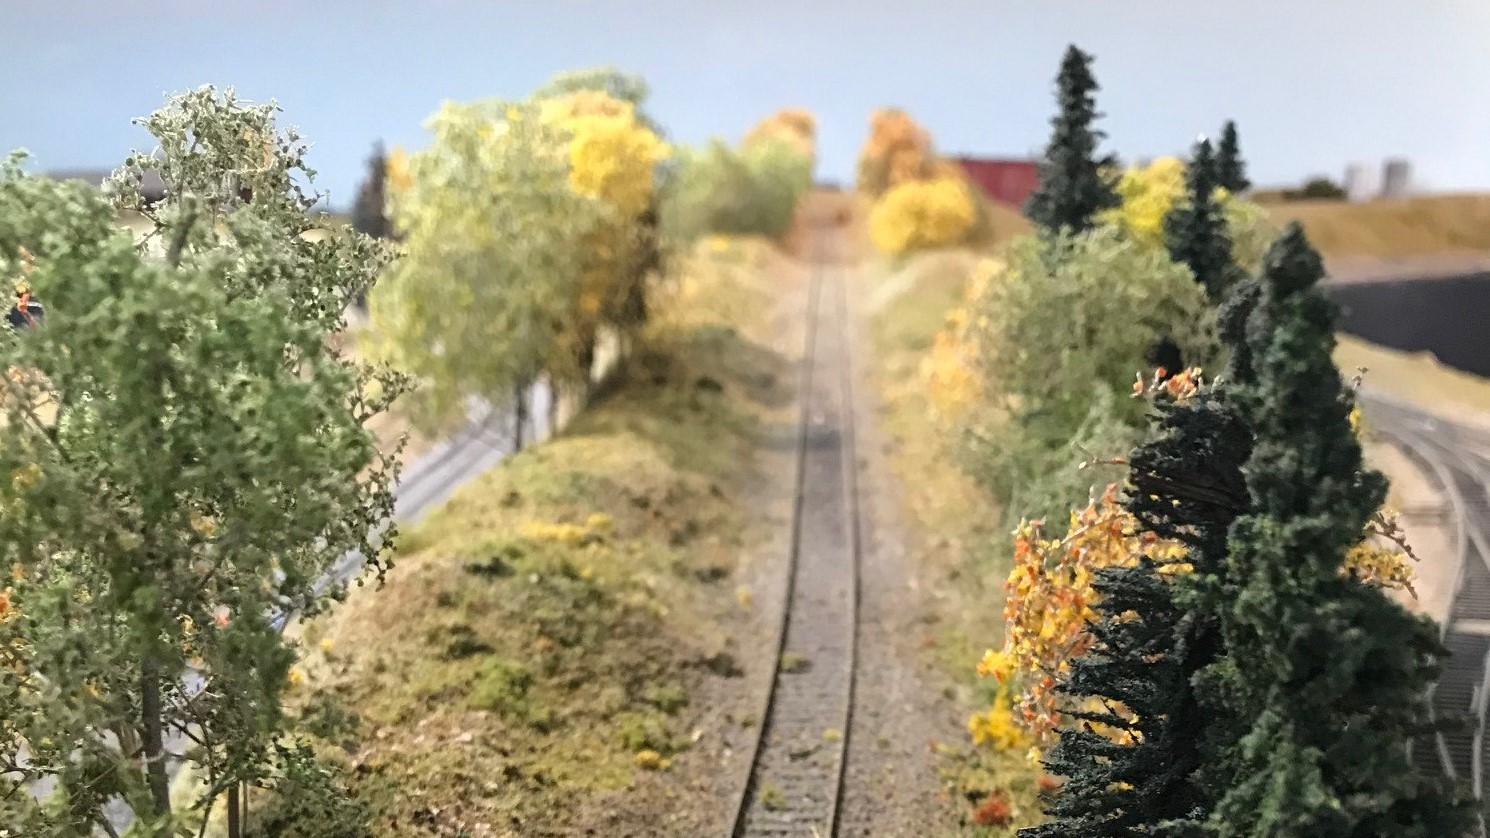
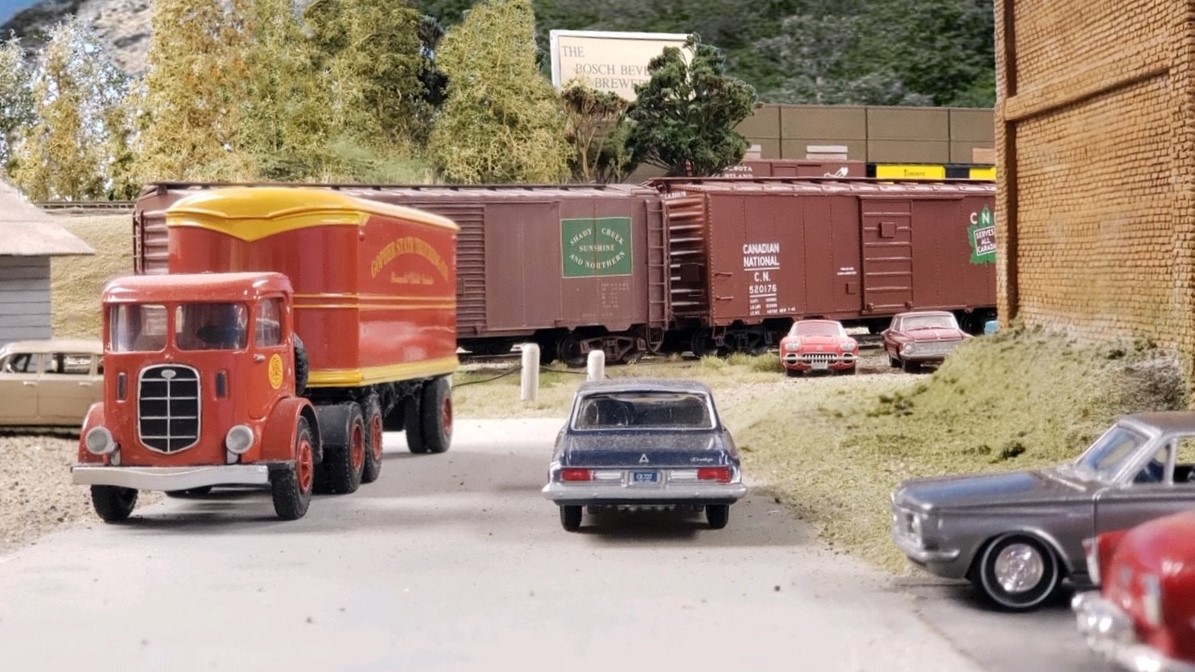
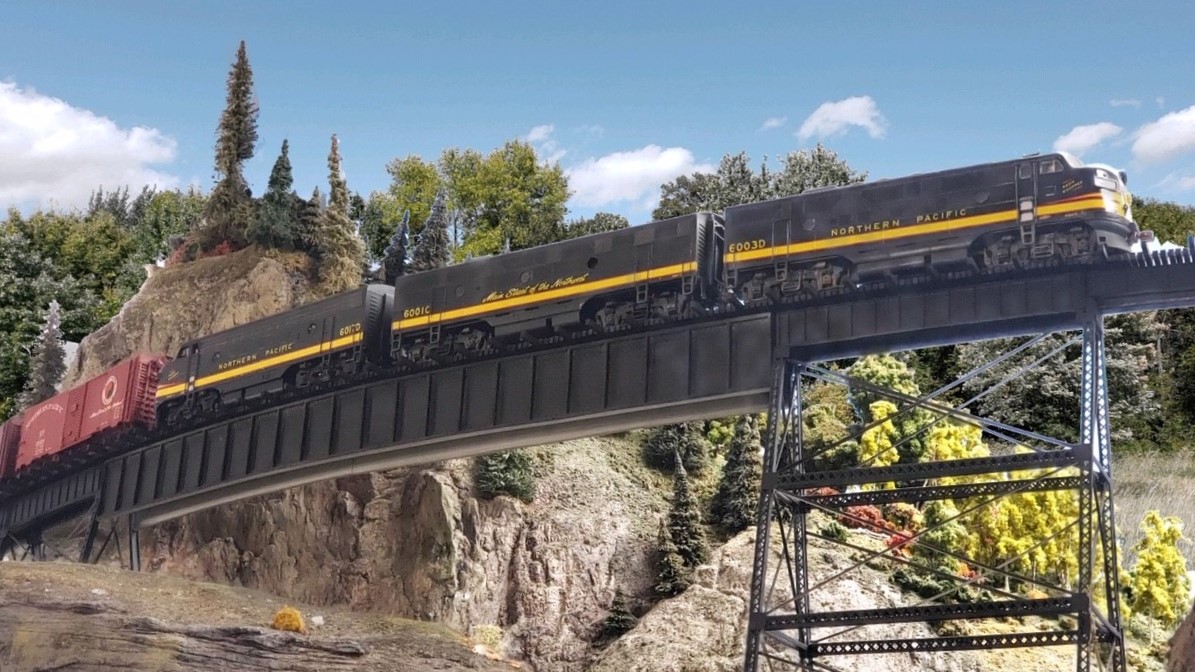
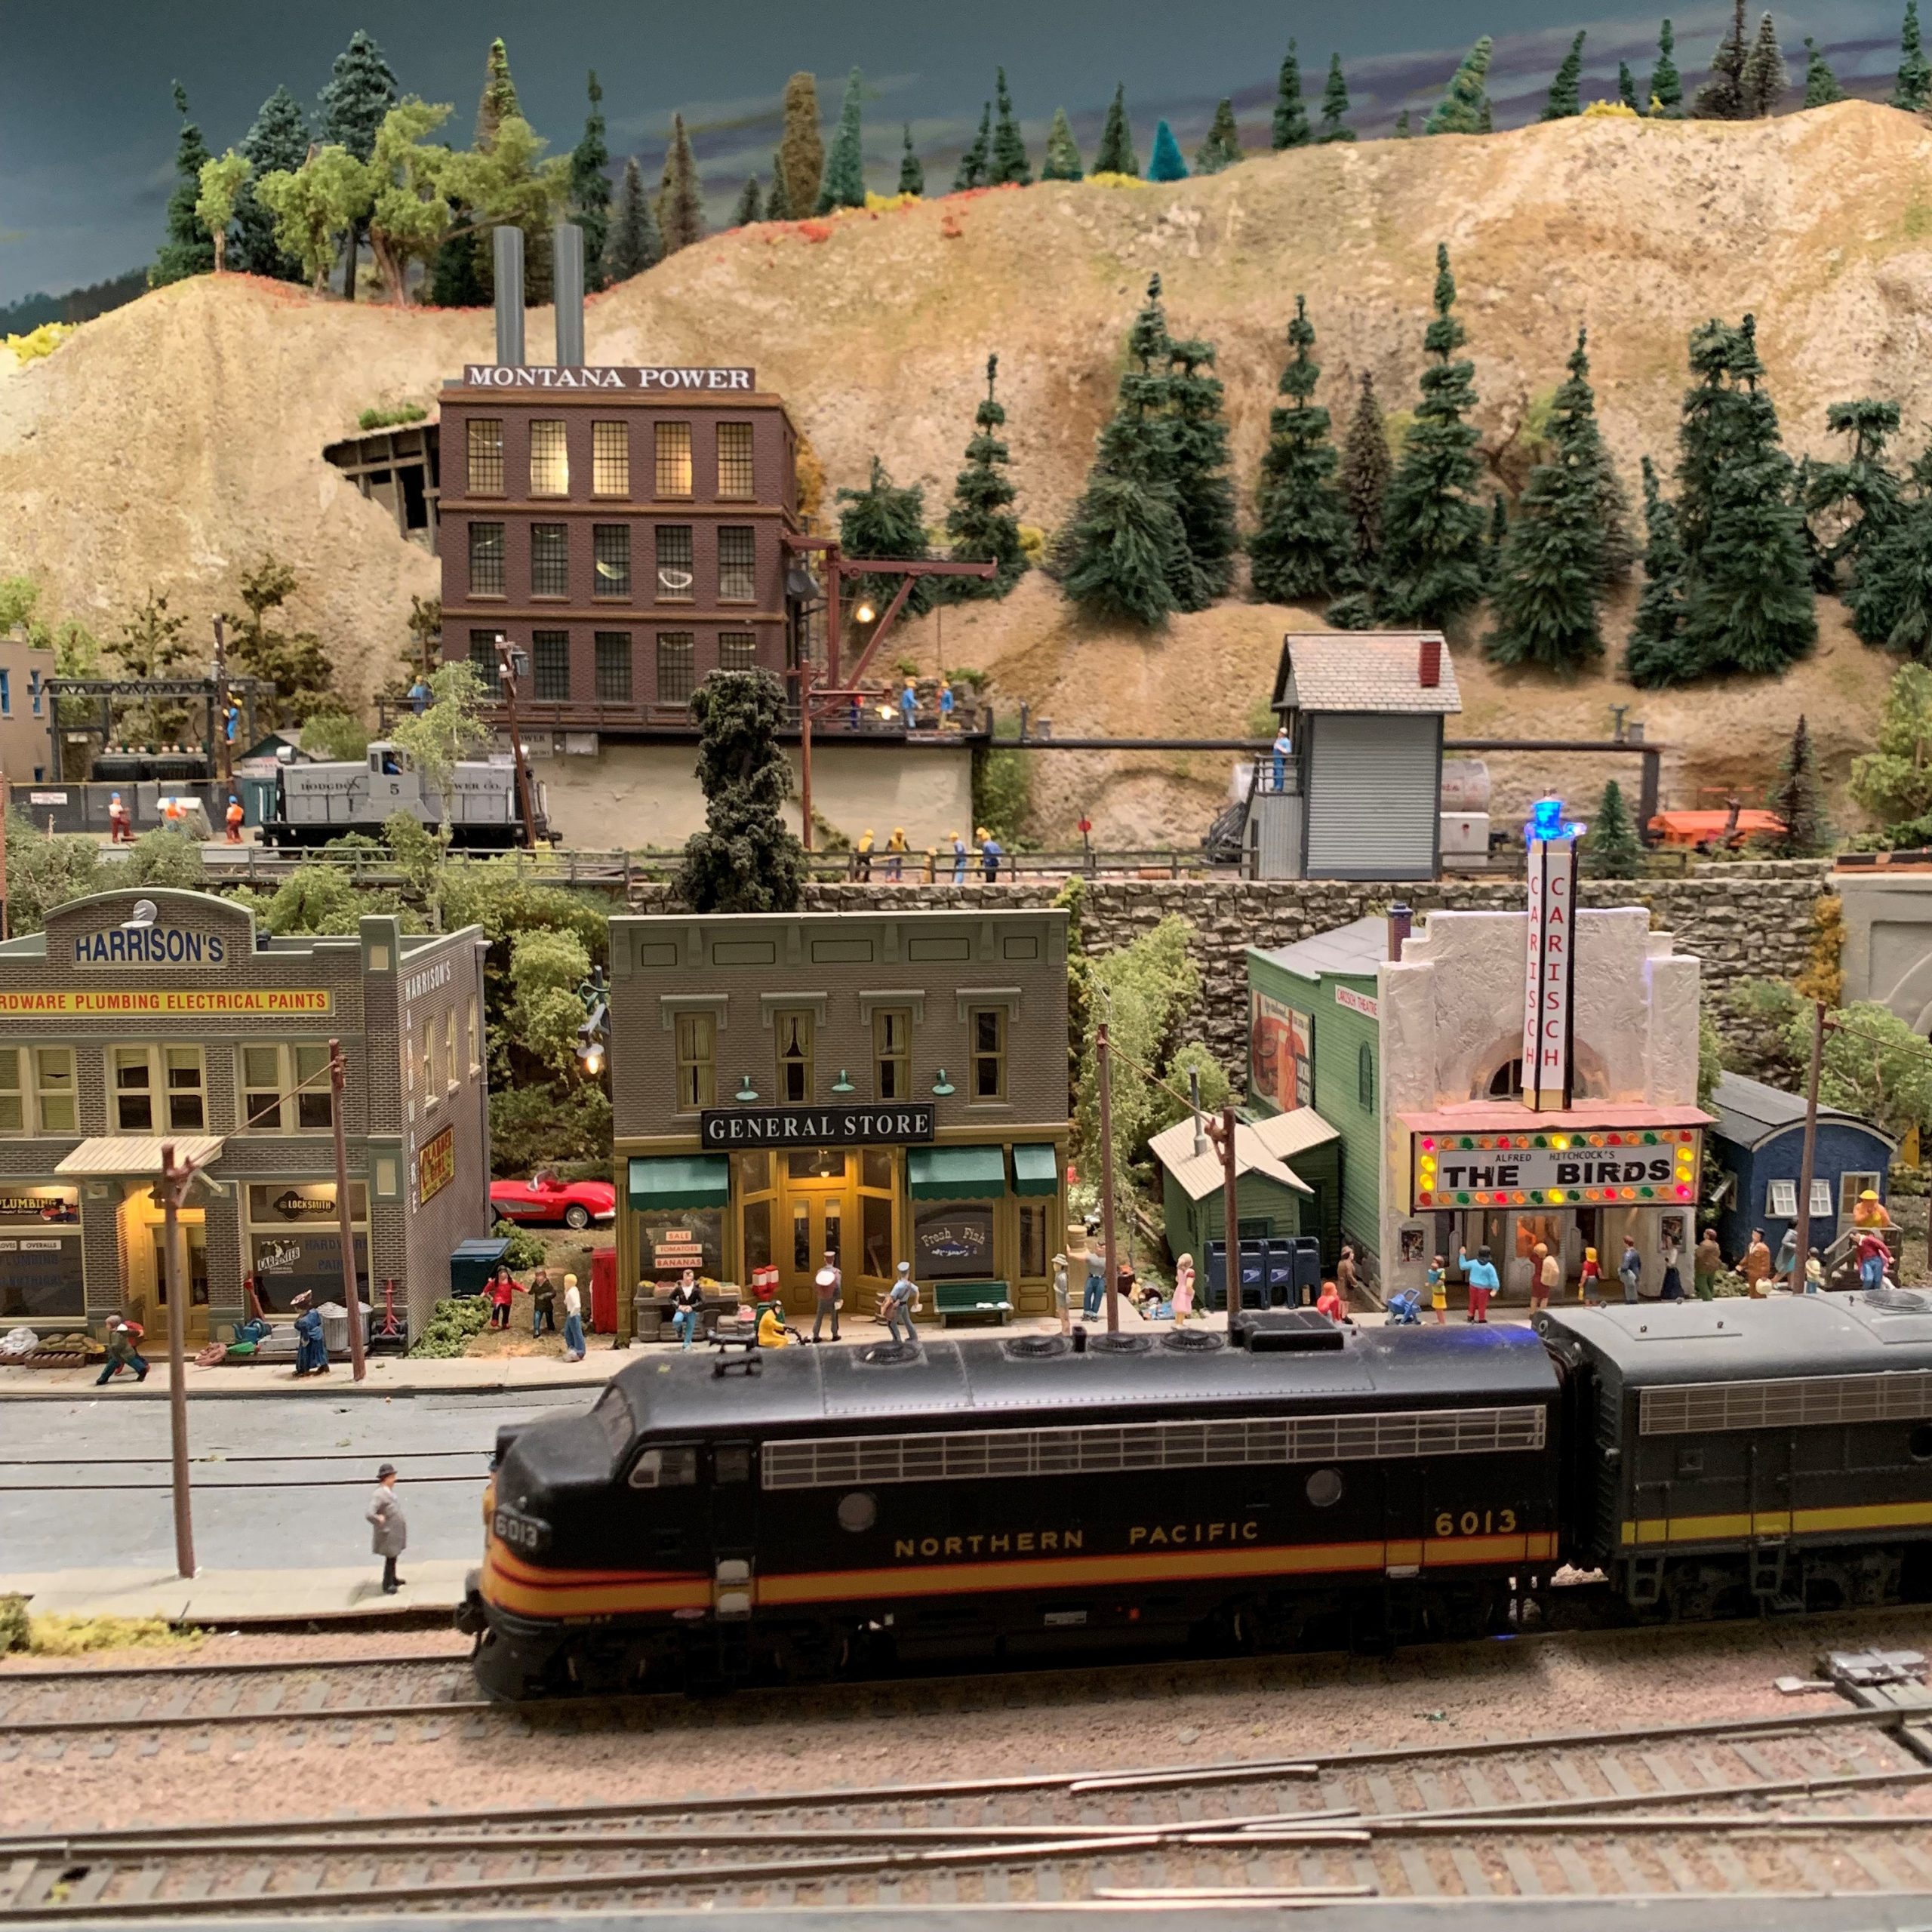
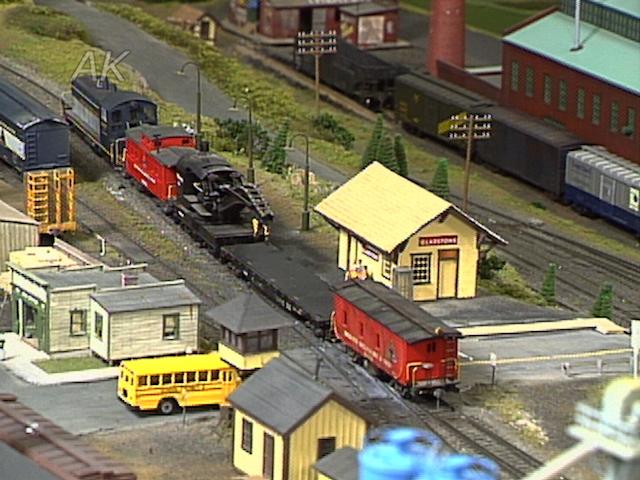
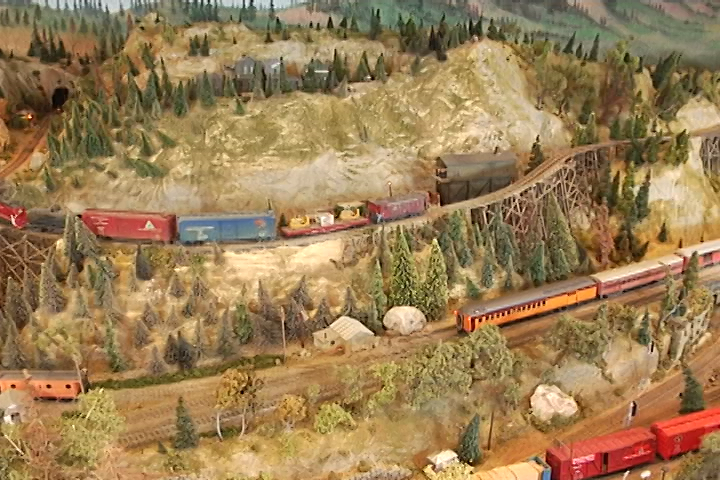
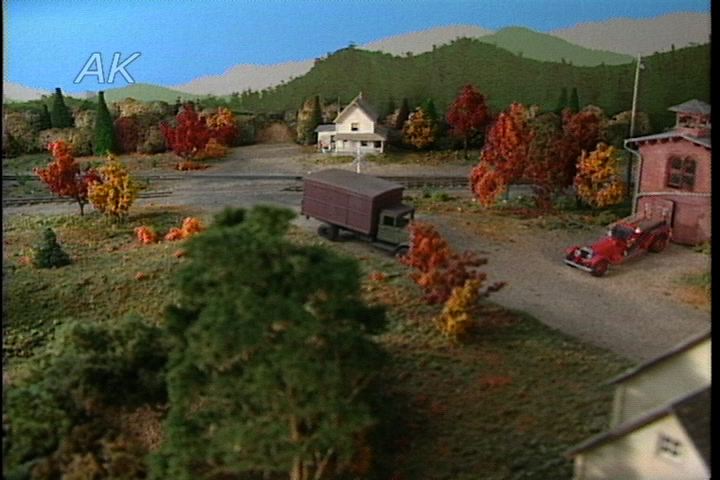
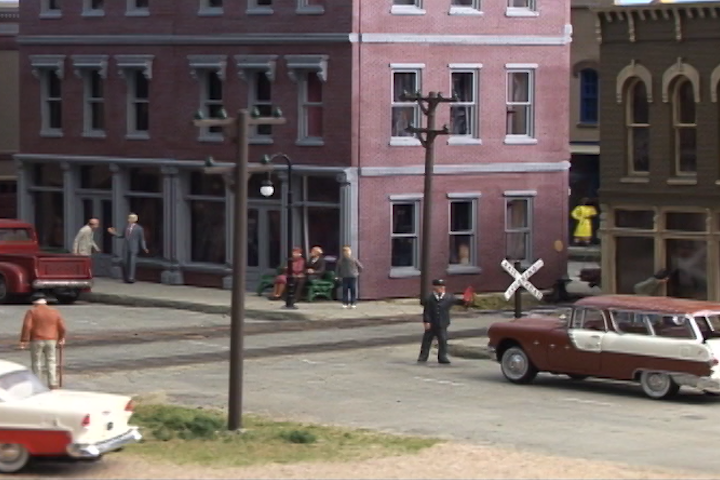
MRA EditorsA well lit model train layout can appear highly realistic and stunning to the eye, whereas a poorly lit layout can look toy-like and clearly artificial. Luckily, there are a variety of ways to use proper model train lighting to enhance the realism and visual appeal of your layouts and keep your viewers fully engaged. Whether your scene is set in daytime or night, you have ample room as a modeler to customize your model train lighting to the distinct needs of your layout. In this lesson, we introduce several expert tips for creating impressive model training lighting solutions that make your scenes look natural in their element.
Picking the right model train lighting for your scene
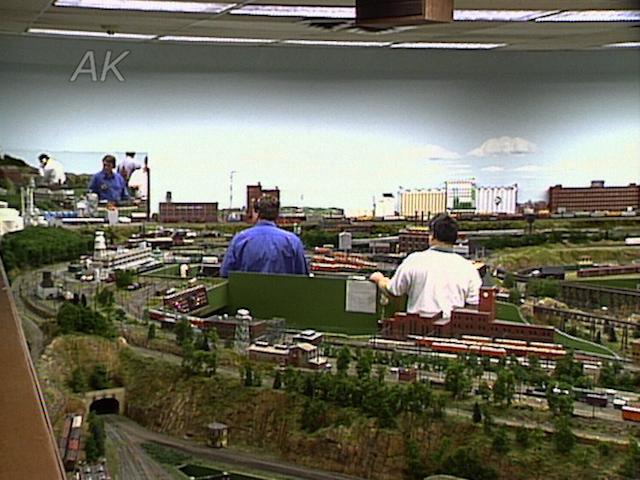
Prior to getting started on a new scene, it’s important to determine the lighting needs of your layout and plan ahead. To help you decide on the model train lighting that’s going to work for your specific layout, modeler Tom Lund discusses a number of his favorite model training lighting tips and tricks that you can use to enhance the feel of your layout and wow your viewers.
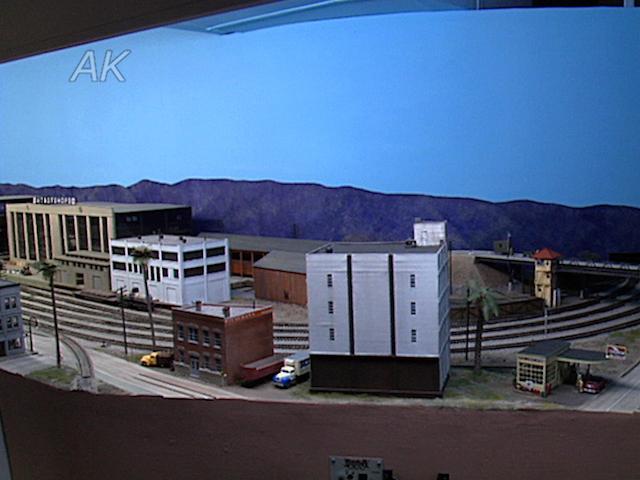
First things first, Tom talks about the difference between incandescent and fluorescent light bulbs, and teaches you which might model training lighting solution might make more sense for the requirements of your design, especially in regards to the amount of heat each type of bulb emits. He recommends paying particular attention when laying out model train lighting to the direction of the lights, as you want to avoid casting multiple shadows on your scene.
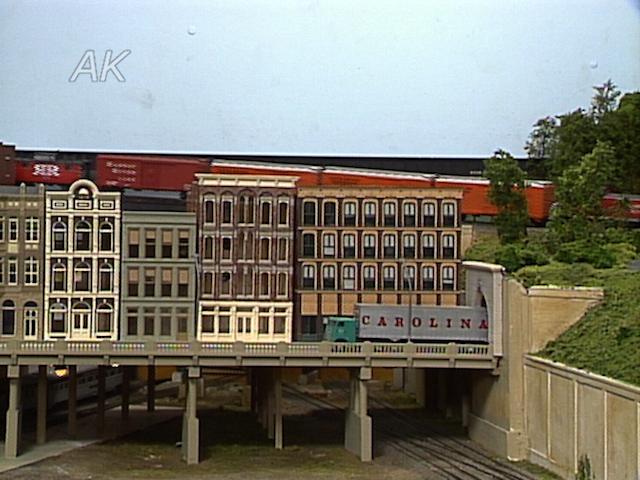
Tom then explains how you might choose between blue and black model train lighting for scenes that take place at night, and teaches you a clever little trick for avoiding making buildings look toy-like when they are lit from the interior. And finally he talks a bit about considerations you should factor in when hooking up the wiring for your model train lighting. Don’t want to blow a fuse!
Share tips, start a discussion or ask one of our experts or other students a question.
Already a member? Sign in
3 Responses to “Enhancing Your Scenes with Model Train Lighting”
Explore videos by MRA Editors
You may be interested in
Premium Membership
Unlock exclusive member content from our industry experts.
- 24/7 Access to Premium Model Railroading Videos, Projects, and Tips
- Step-by-Step Instructional Guides & Layout Plans
- 50% Off Video Downloads Purchased in the Model Railroad Academy Shop
- Access to Ask the Expert Program
Unlock exclusive member content from our industry experts.
- 24/7 Access to Premium Model Railroading Videos, Projects, and Tips
- Step-by-Step Instructional Guides & Layout Plans
- 3 Full-Length Video Downloads to Watch Offline
- 50% Off Video Downloads Purchased in the Model Railroad Academy Shop
- Access to Ask the Expert Program
Gold Membership
$326 Value
Get everything included in Premium plus exclusive Gold Membership benefits.
- 24/7 Access to Premium Model Railroading Videos, Projects, and Tips
- Step-by-Step Instructional Guides & Layout Plans
- 9 Full-Length Video Downloads to Watch Offline
- 2 Full-Length Classes to Keep for Life
- 2 Downloadable Guides
- Discounts on Purchase-to-Own Content in the Model Railroad Academy Shop
- Access to Ask the Expert Program
- Exclusive GOLD LIVE Streaming Events
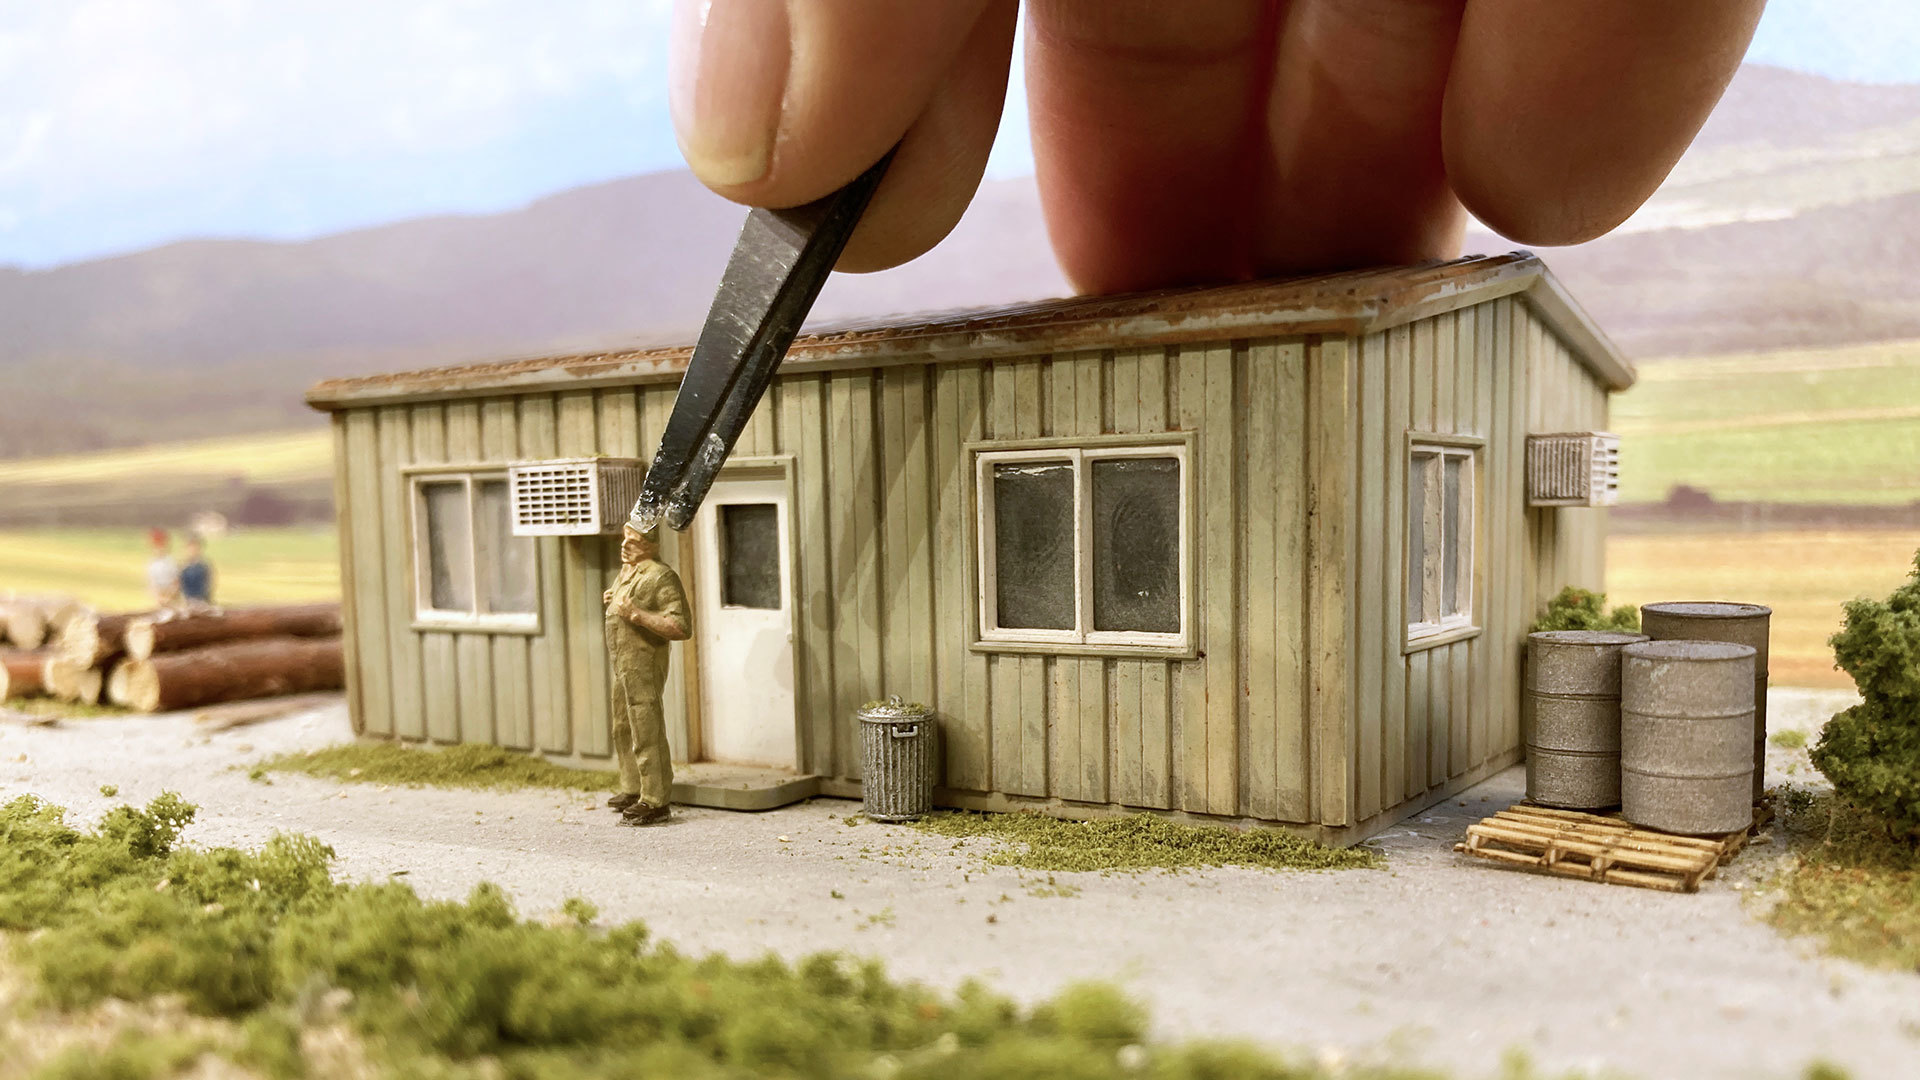
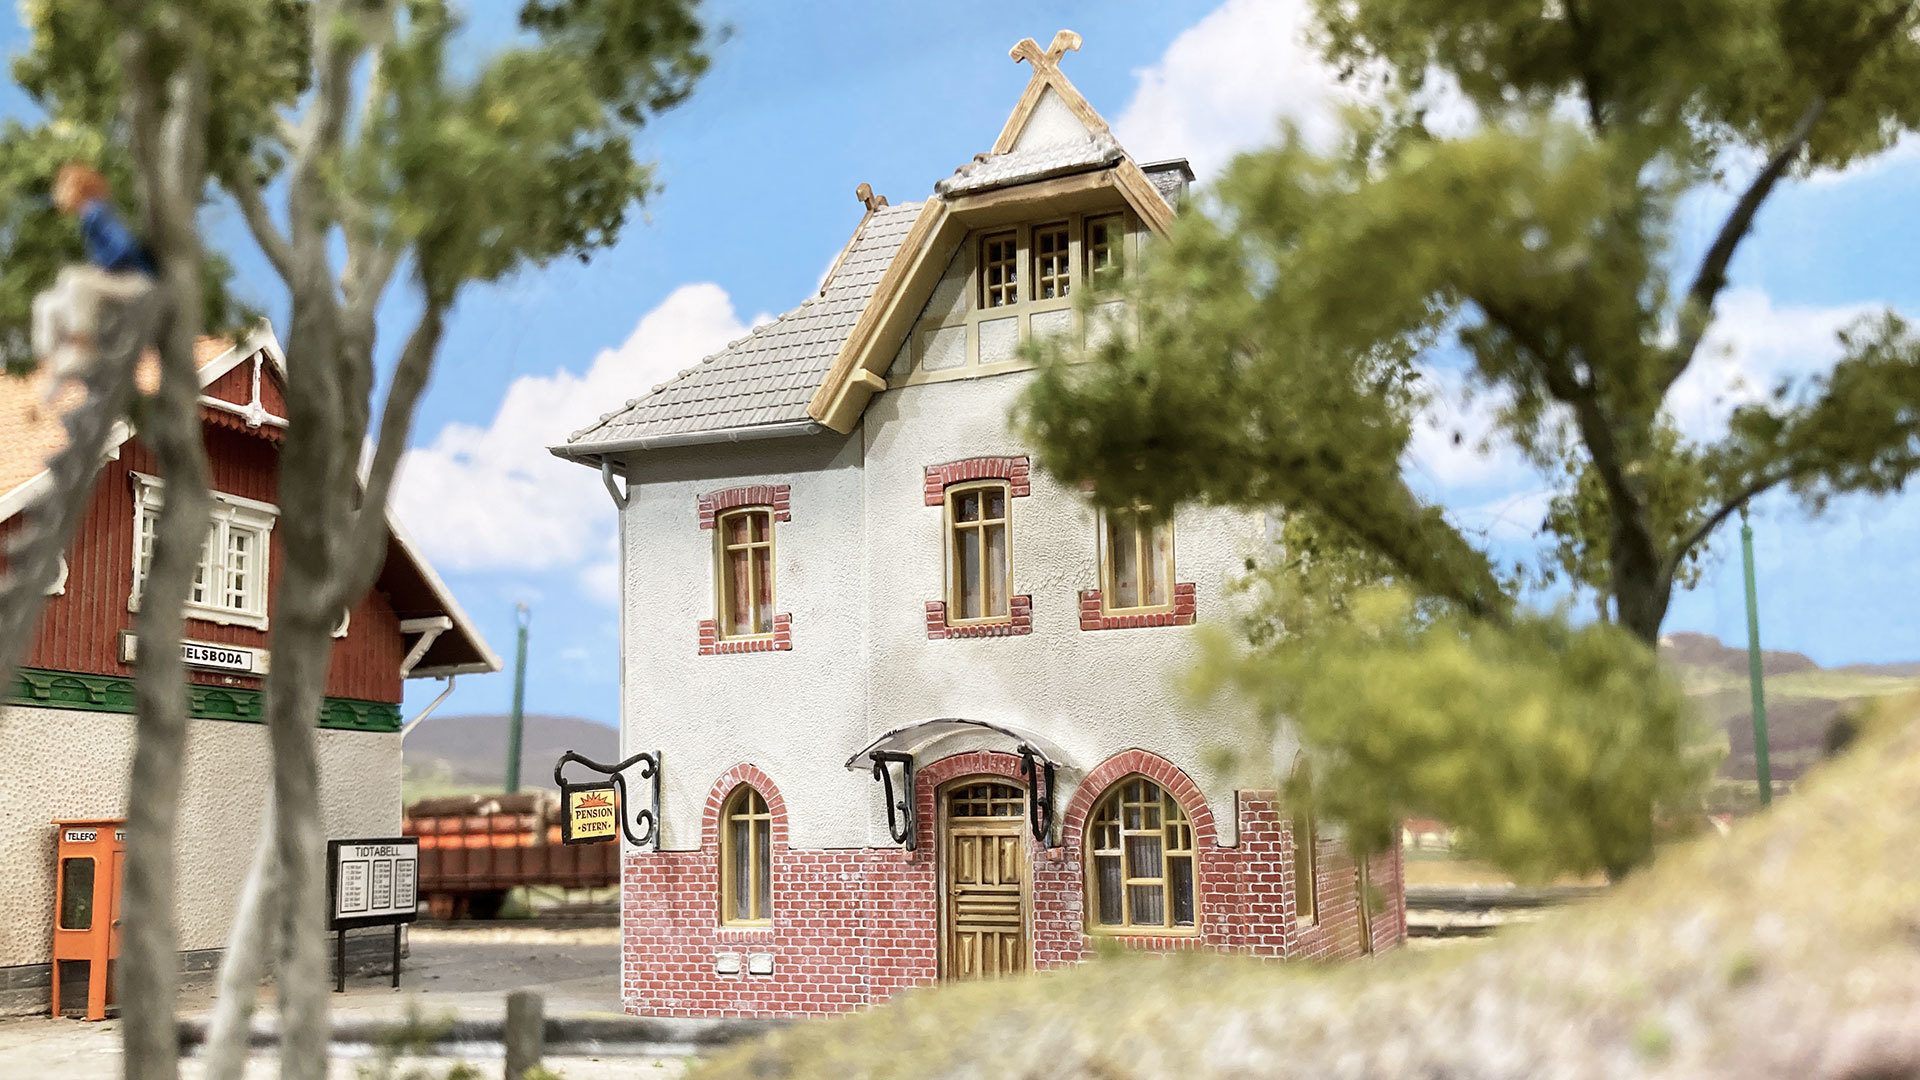
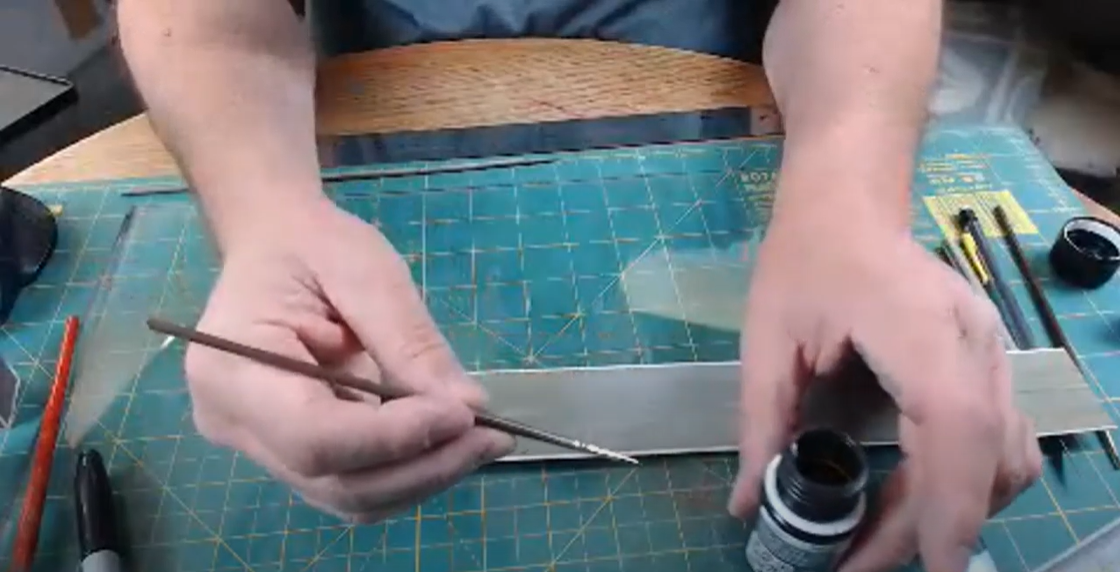
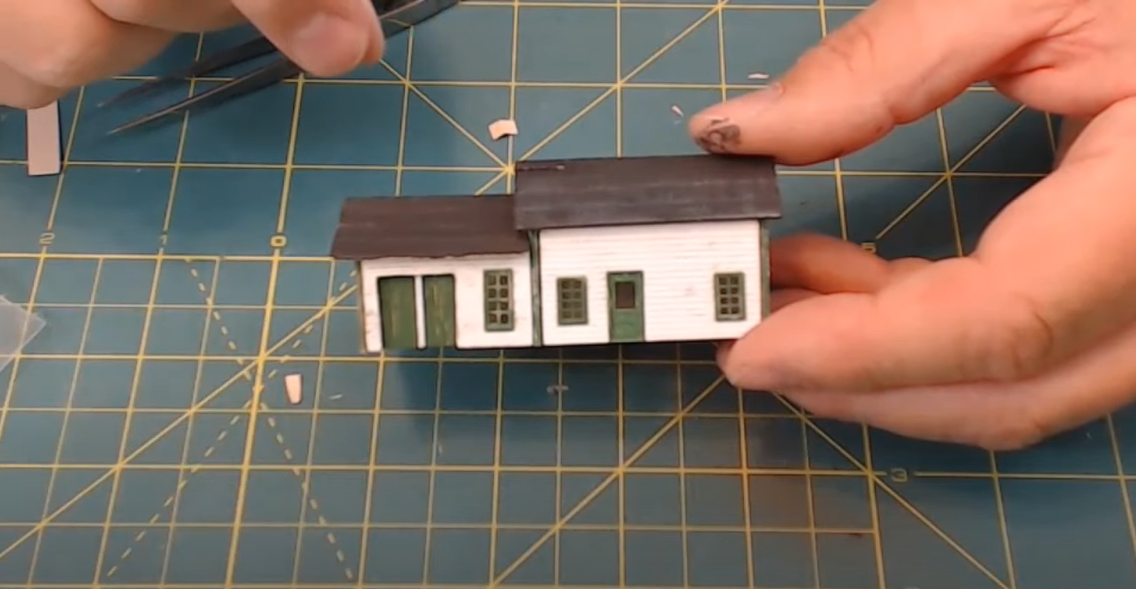
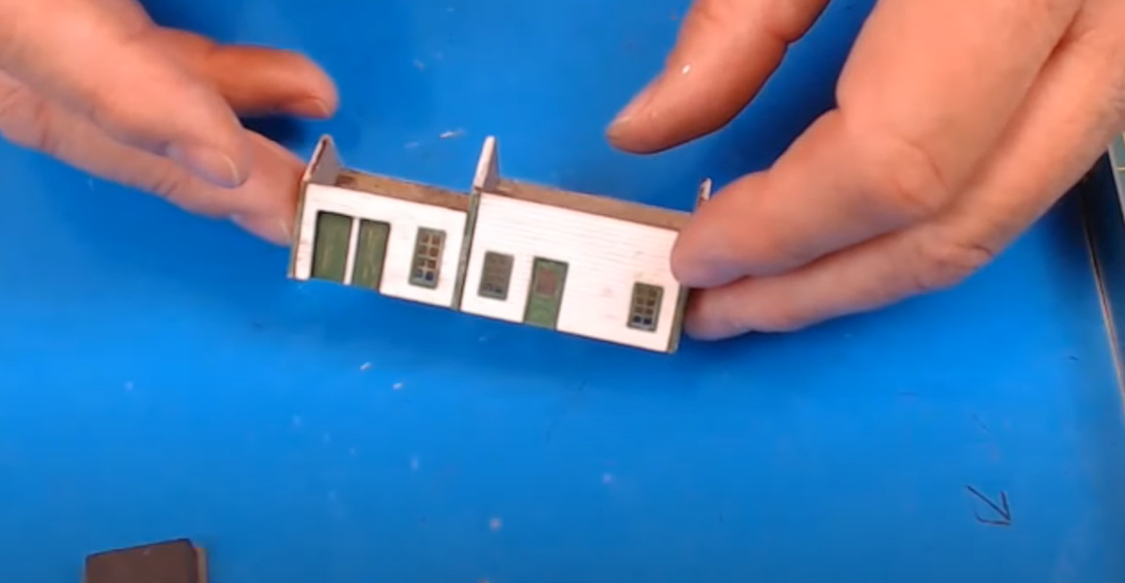
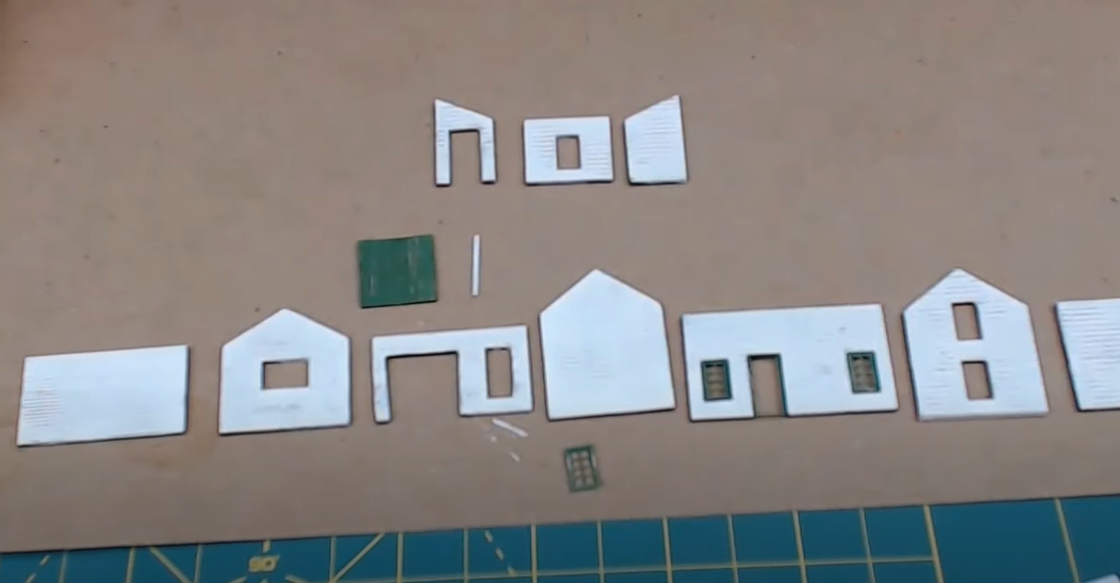



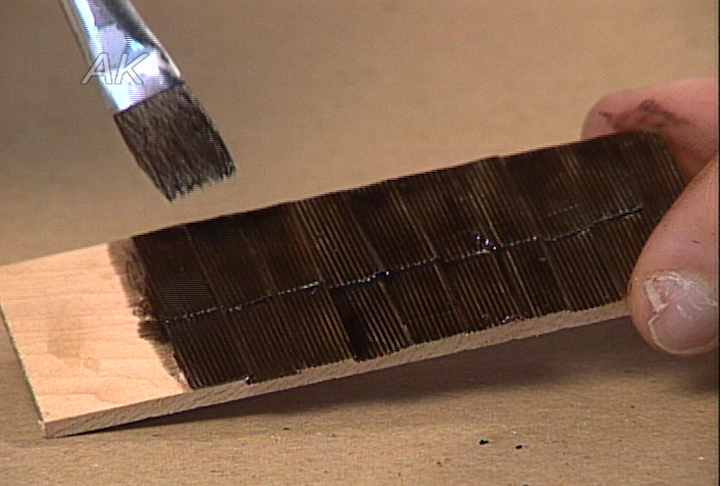
Another comment on lighting interiors. I recommend using a light color -- or even bright color -- that will spread the light around the interior and still block light from seeping through the wall. This is especially helpful with white LEDs. I use black paint in some circumstances where I don't want the interior to be brightly lit. I also use thick "wallpaper" (>60 lbs paper) on interior walls of buildings between the foreground and background. It will block light and can add to the view.
Another option to be considered is LED. We are changing all our lights on a two level club layout to LED. This significantly cuts our electric bill and the heat load in the building.
This must be an old video, since today there is a third option for lighting and that is LED.