
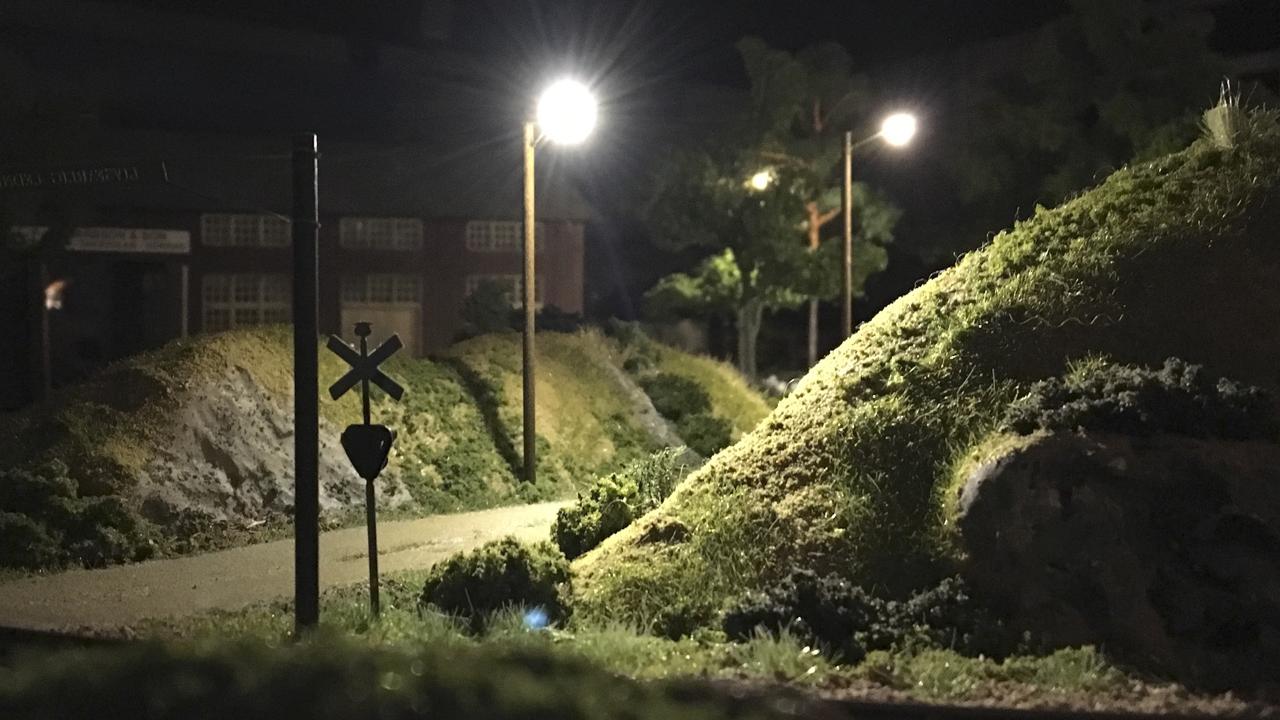
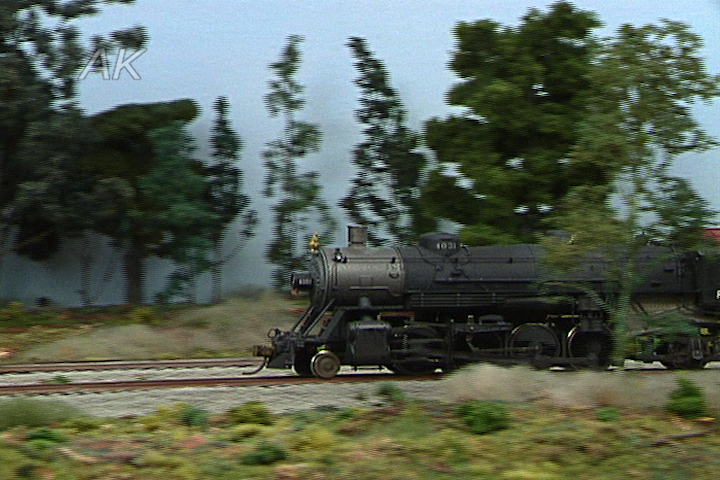
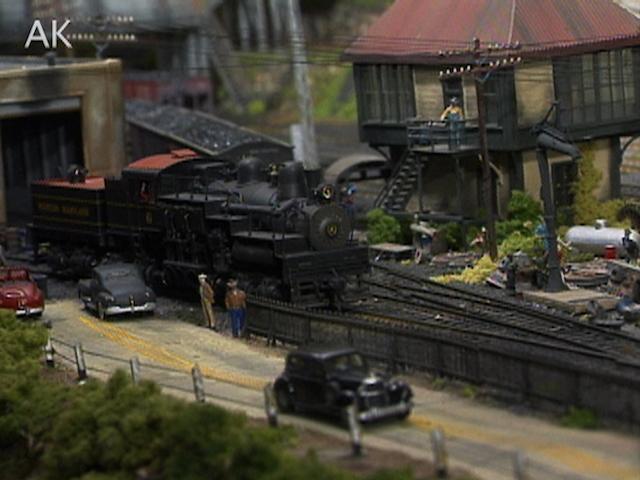
HVAC: Adding Realism to Background Buildings
Martin TärnrotMRA Contributor Martin Tärnrot makes a flat background warehouse building look more realistic by adding weathering effects and a rooftop-mounted HVAC (Heating, Ventilation, Air Conditioning) system that he 3D prints.
FIRST STEPS
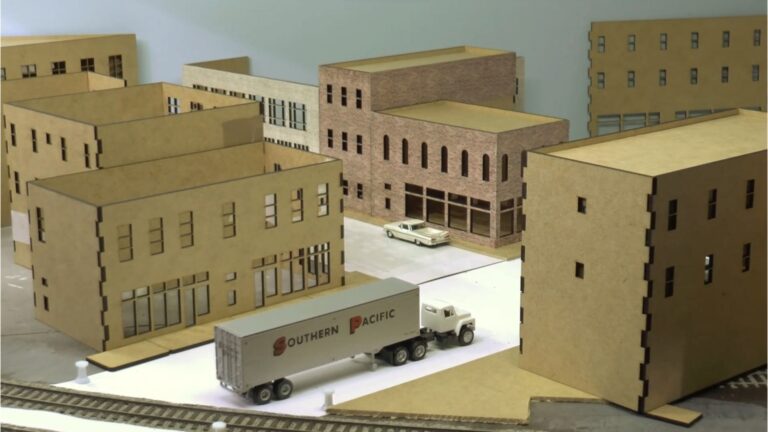
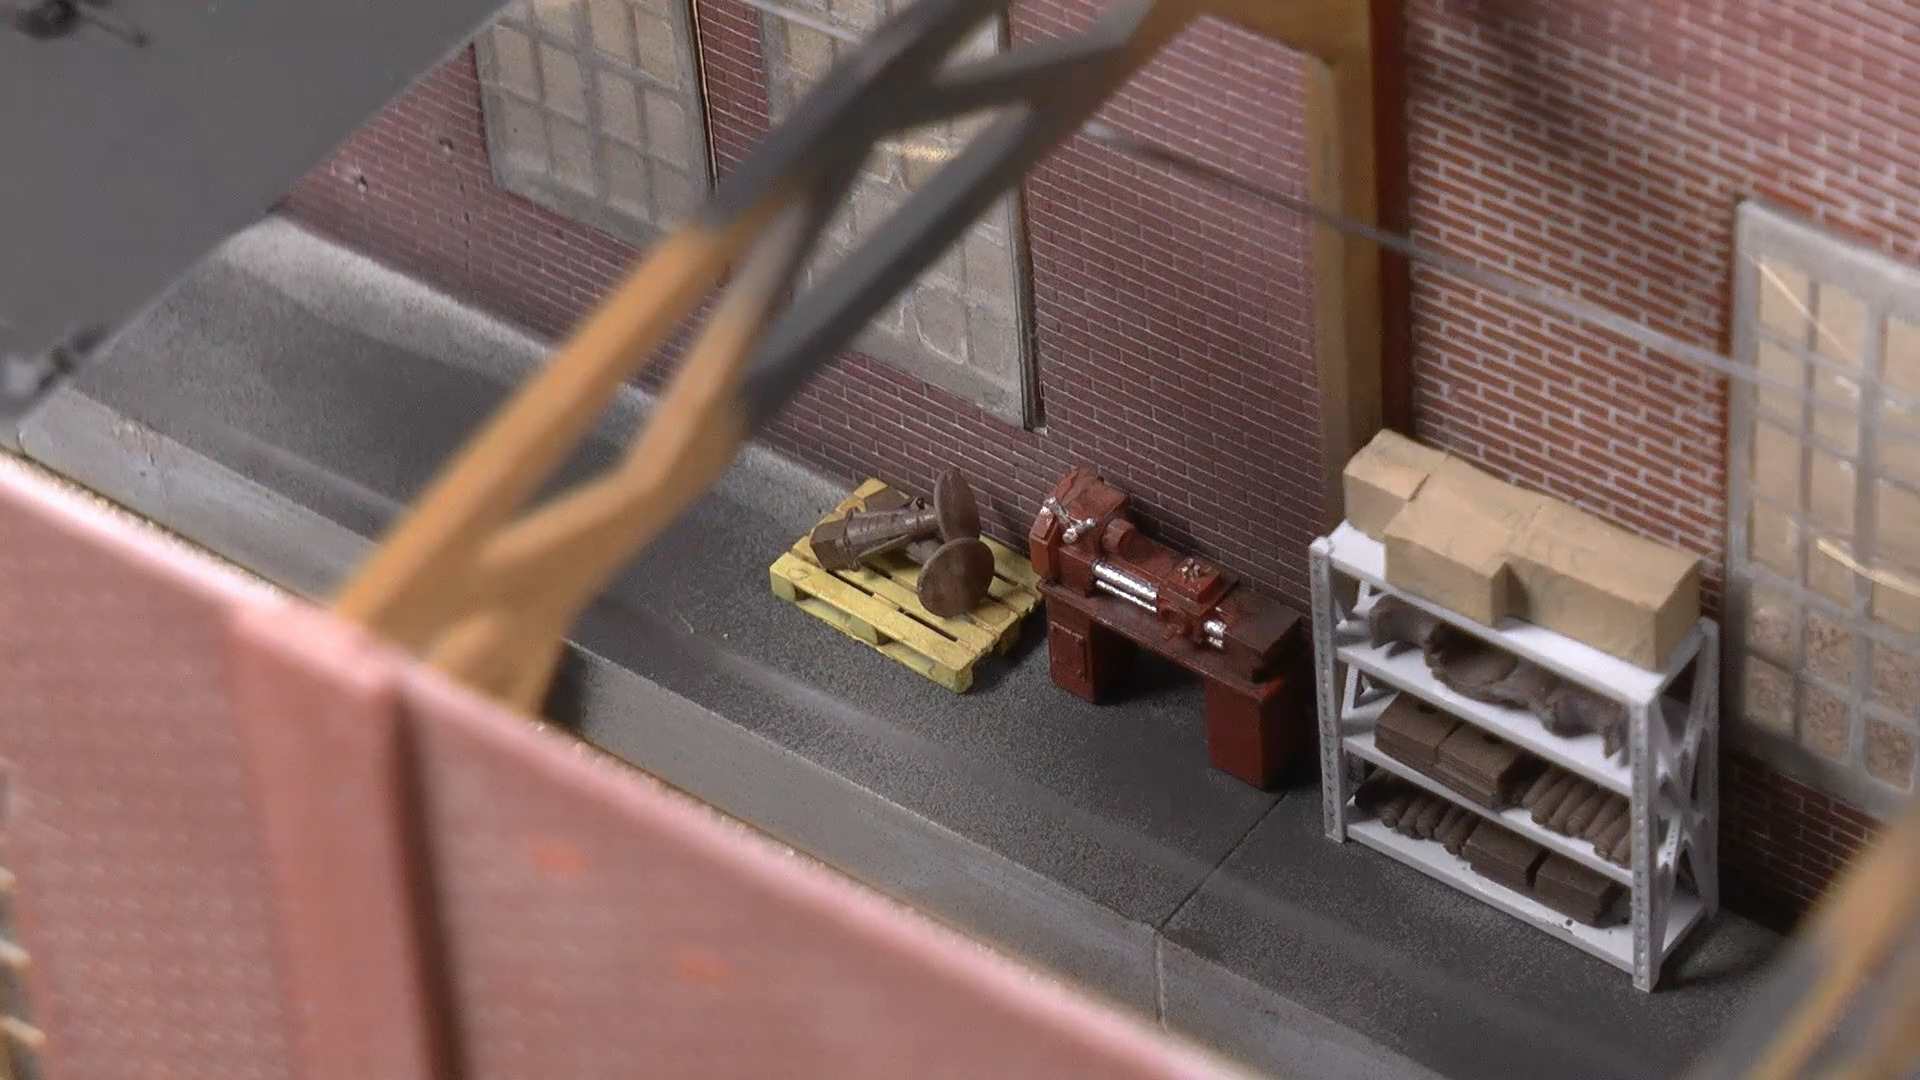
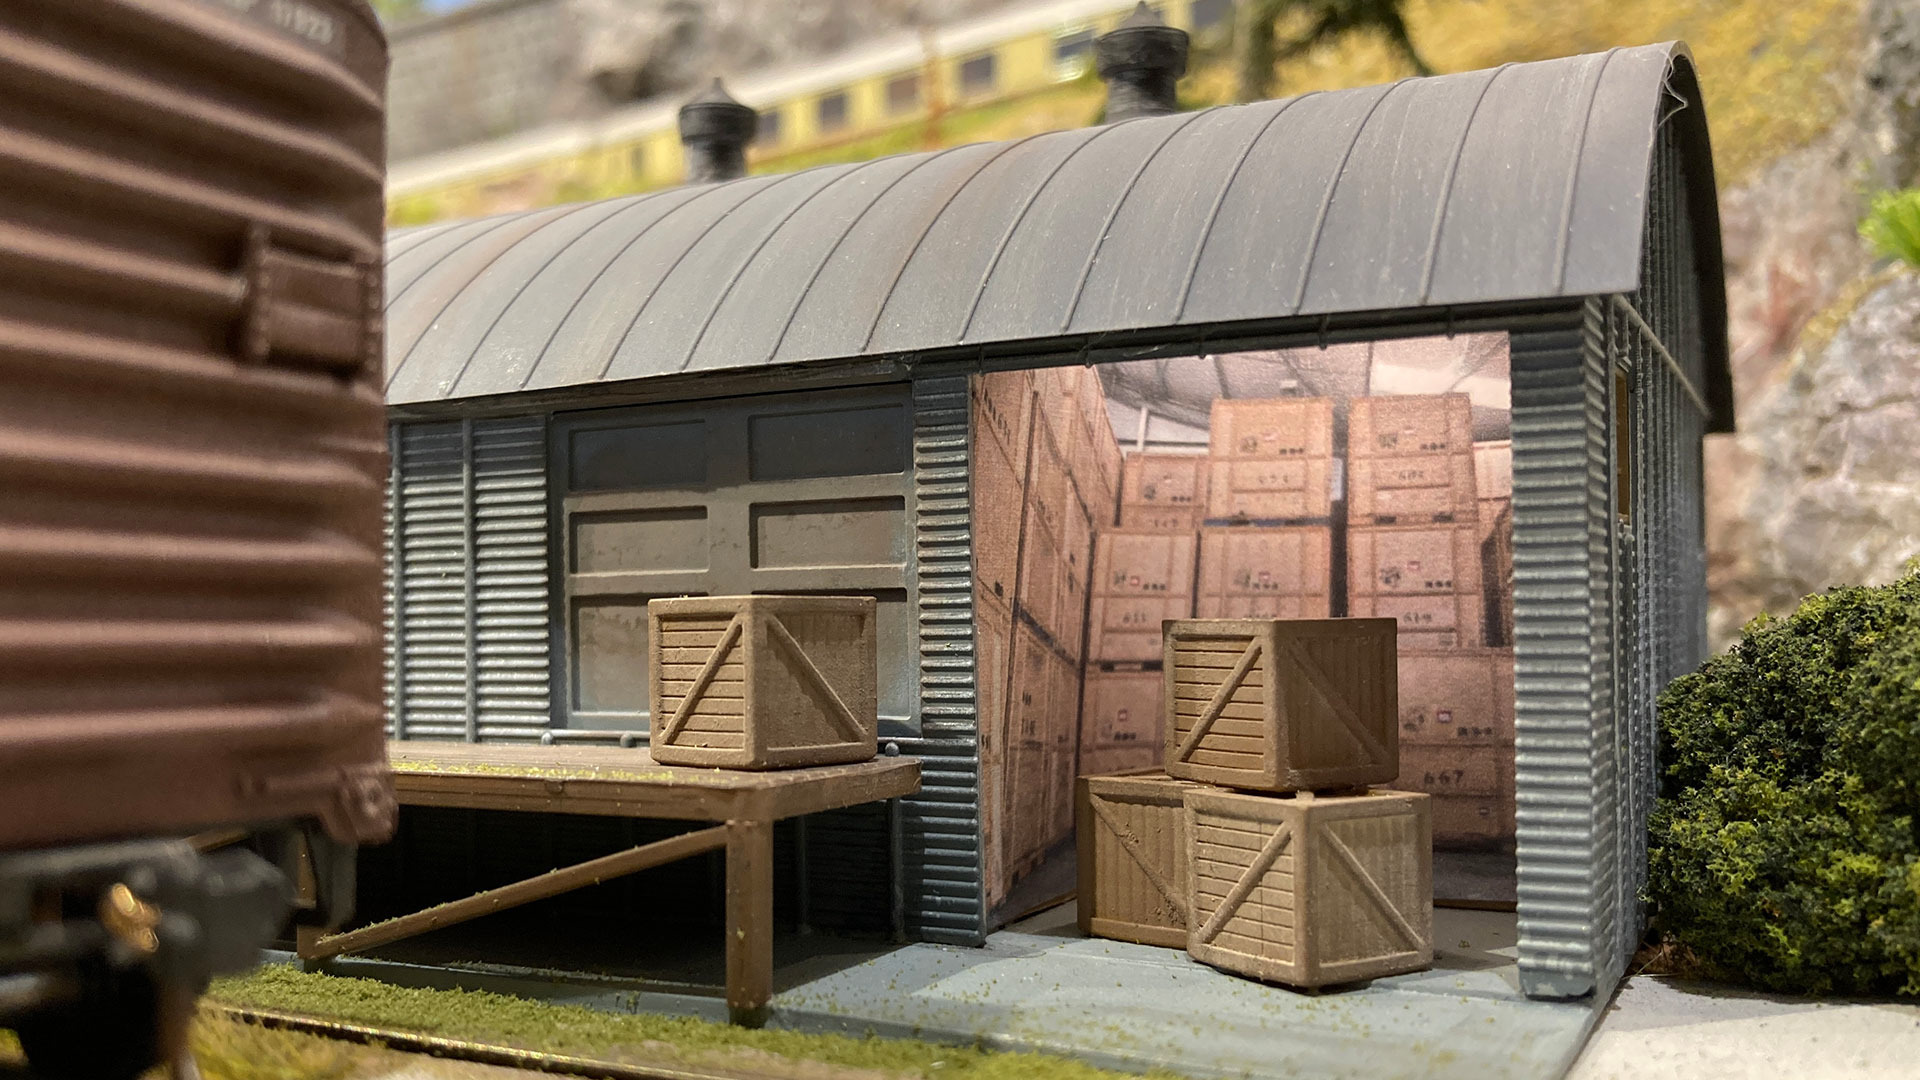
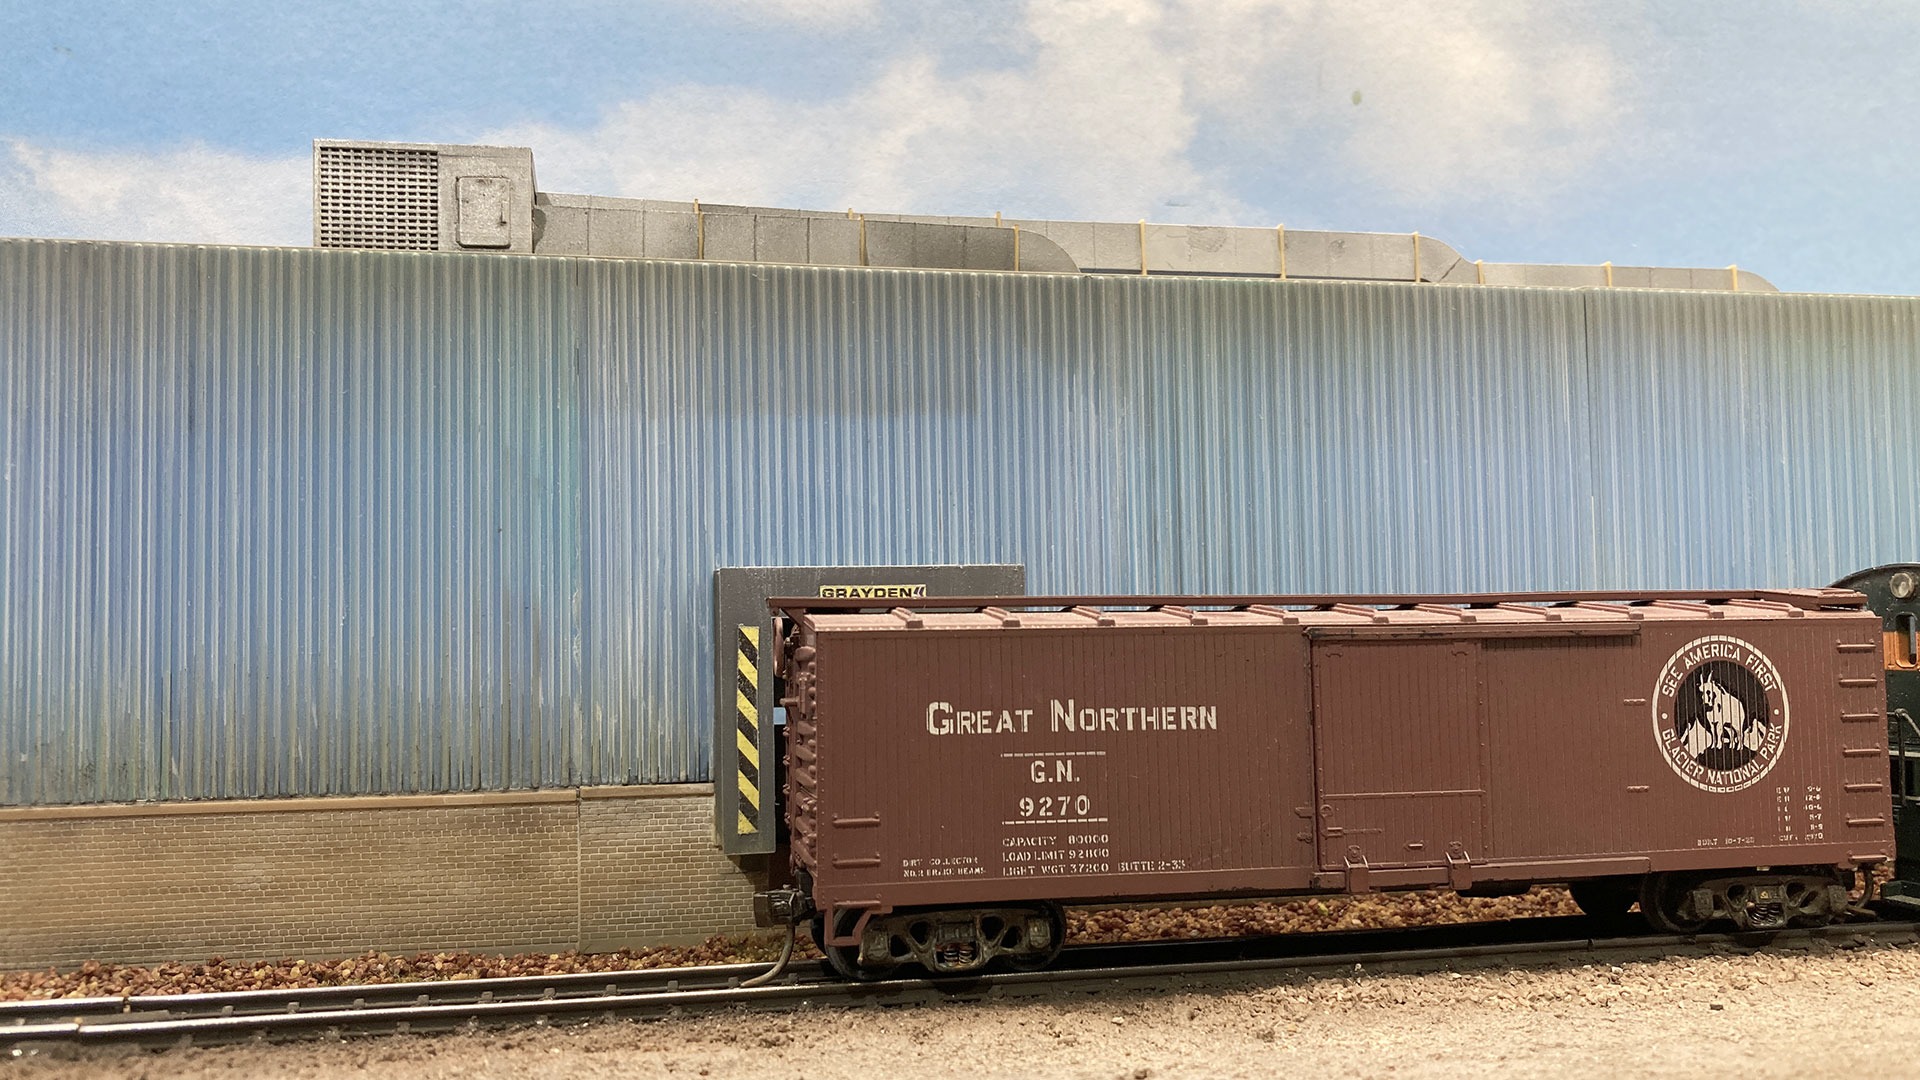
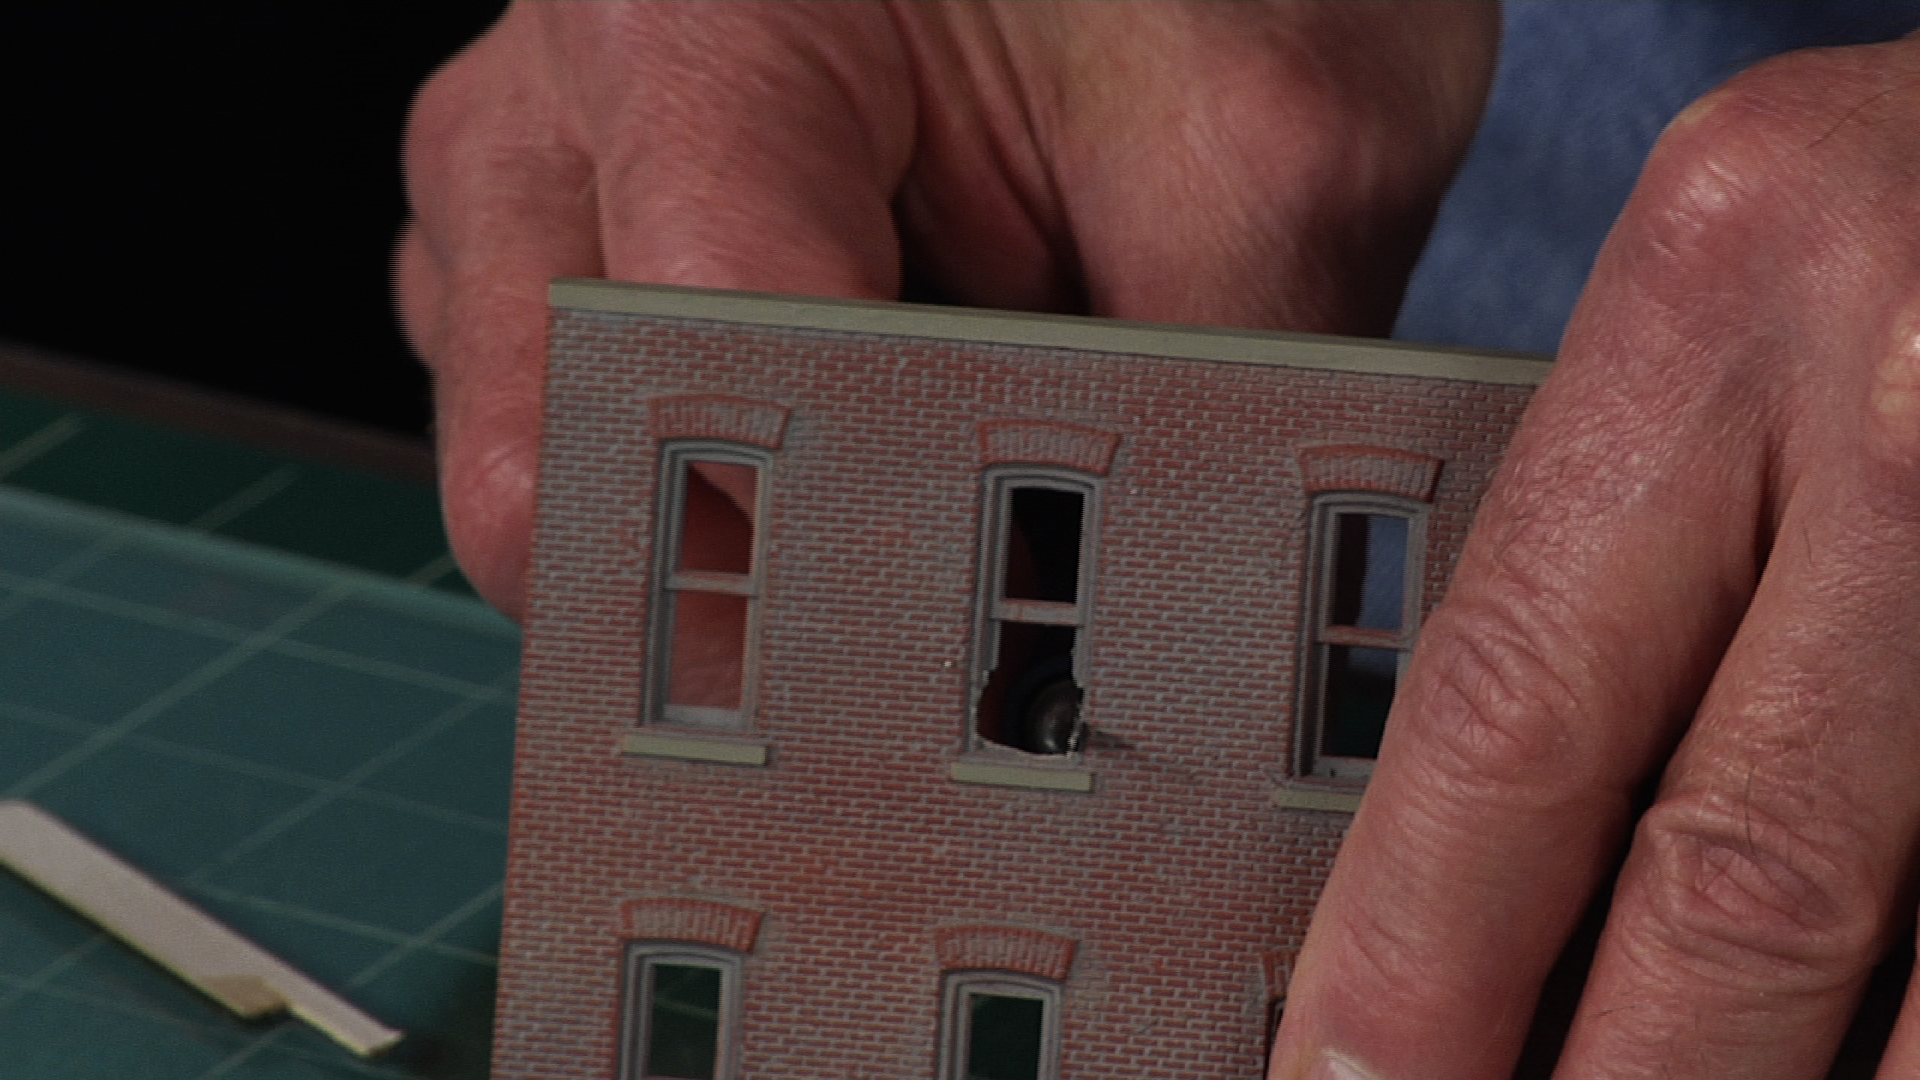
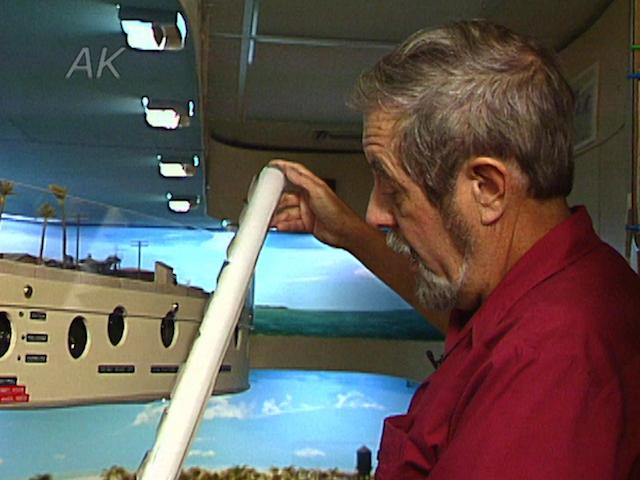
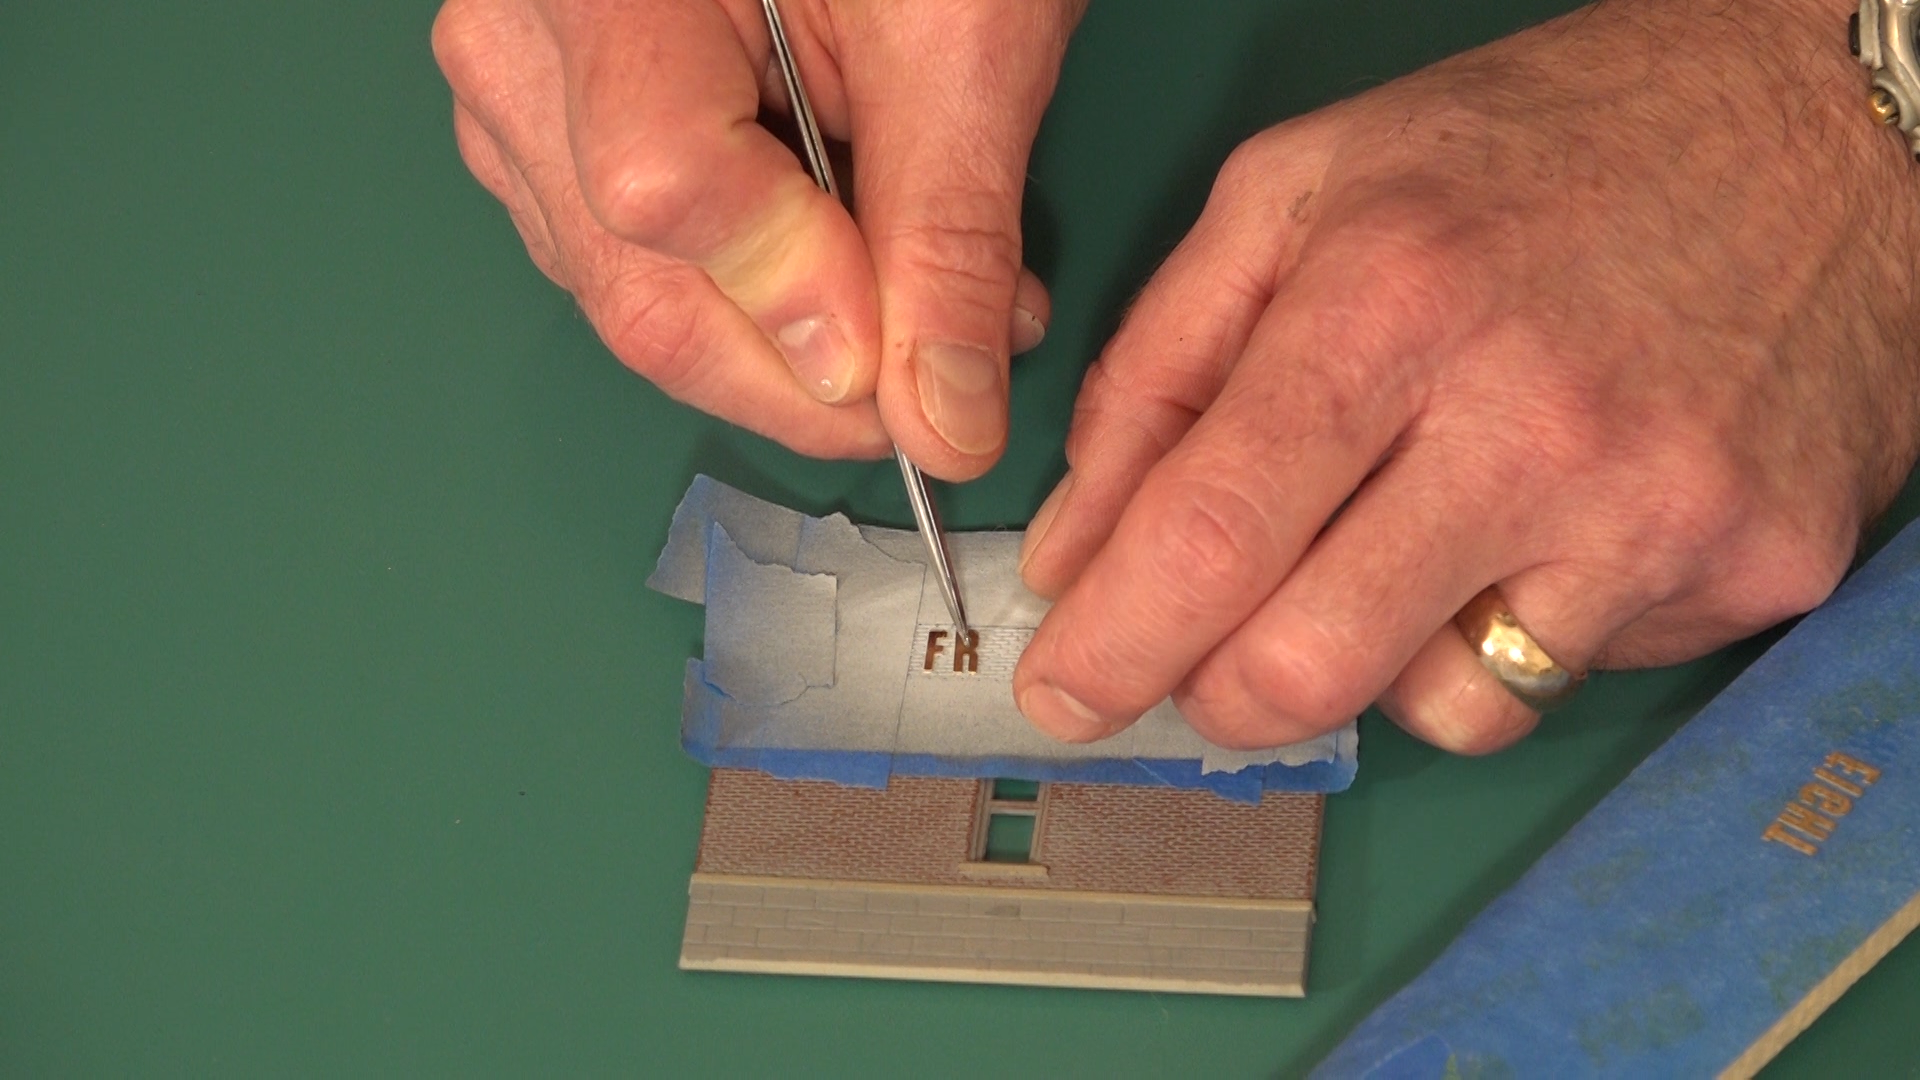
Before tackling the HVAC system, Martin adds grout between the tiles on the lower half of the warehouse building and some details on the upper part of the building. Then he paints the rooftop and assembles the HVAC system on top of it. This video is about working on the exterior of a building, though we have another video about adding interior realism to buildings in a layout.
WEATHERING EFFECTS
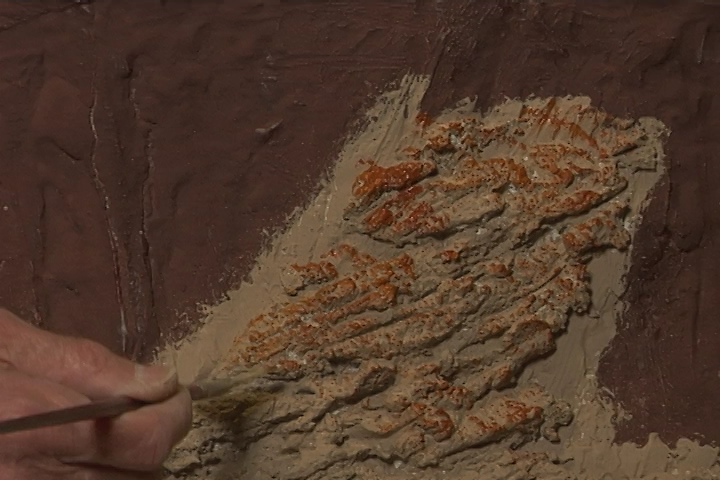
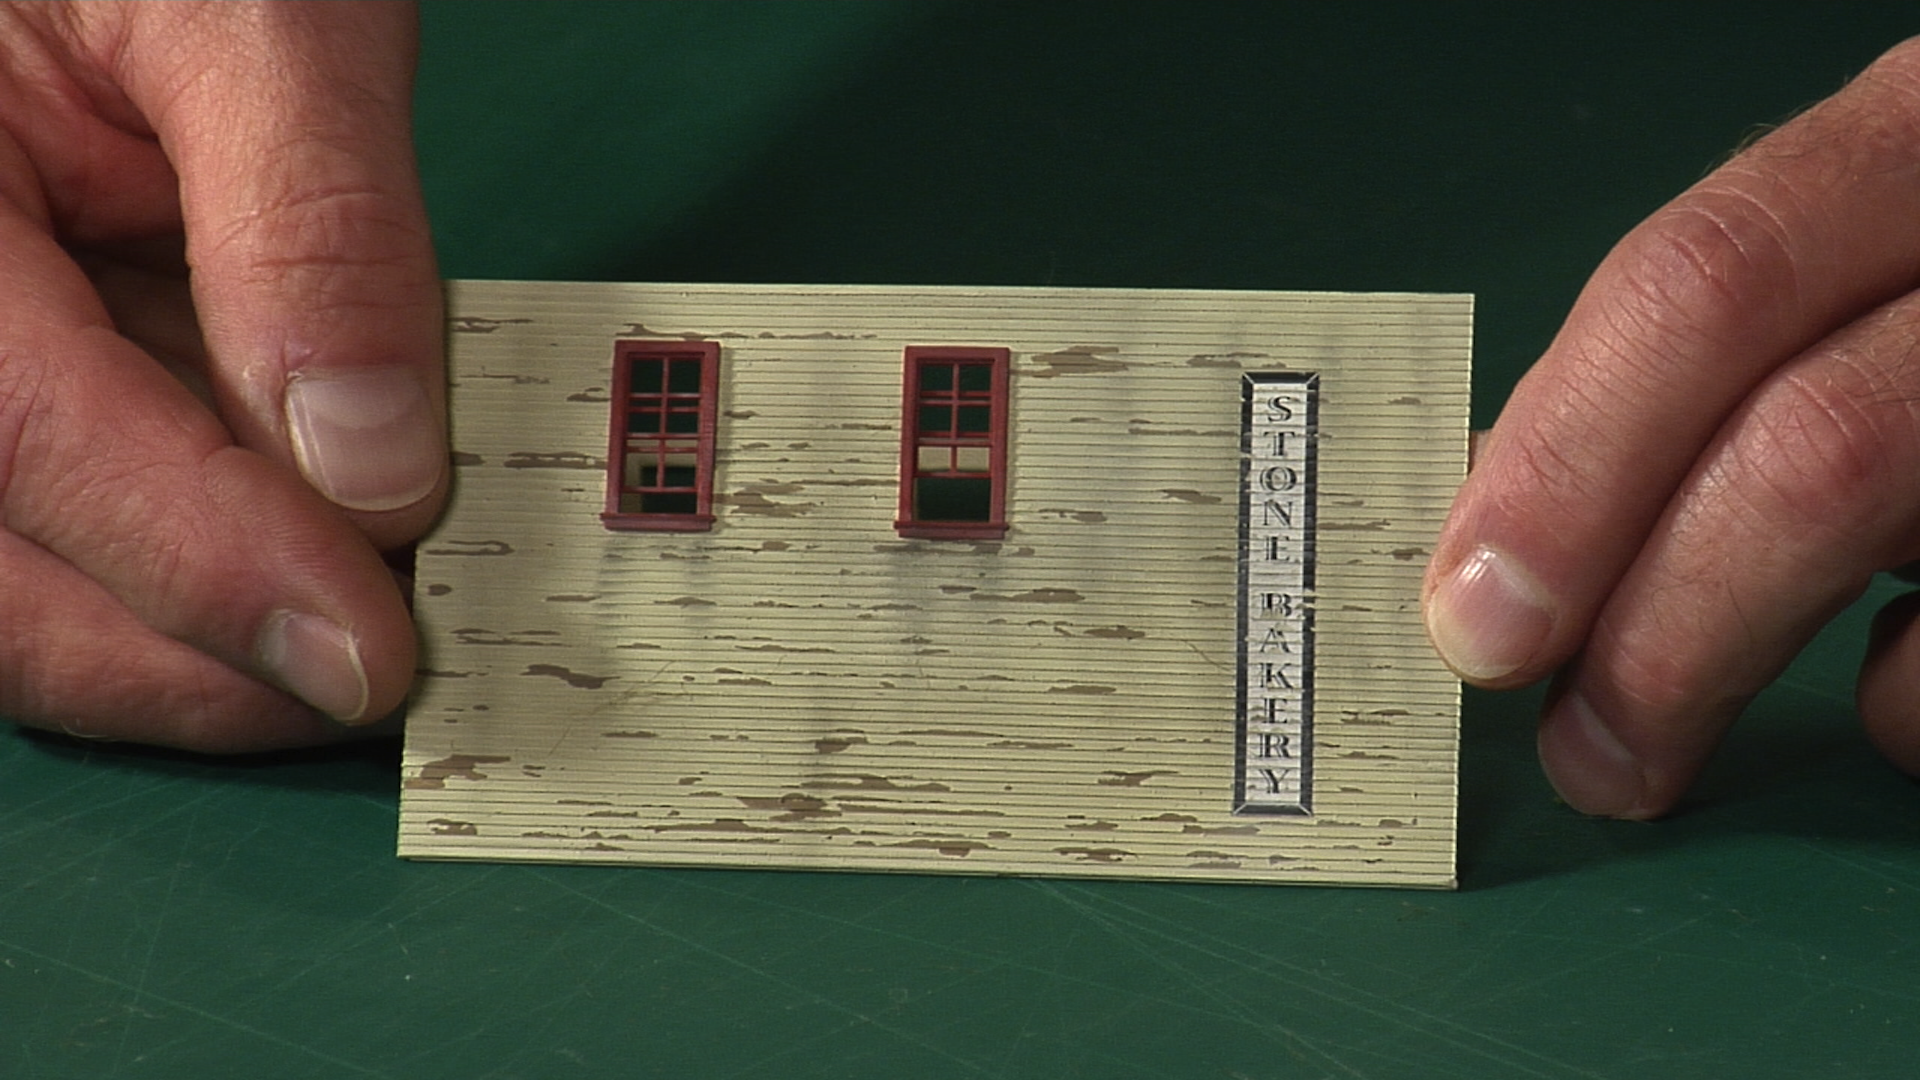
On the front of the building, Martin uses white acrylic paint thinned with water and a bit of alcohol. He then applies it with a wide flat brush. He uses the same wash on the upper part of the building to give it a bleached appearance and some variance in the blue color. The result of these weathering effects is that the building front looks much more natural.
3D PRINTING
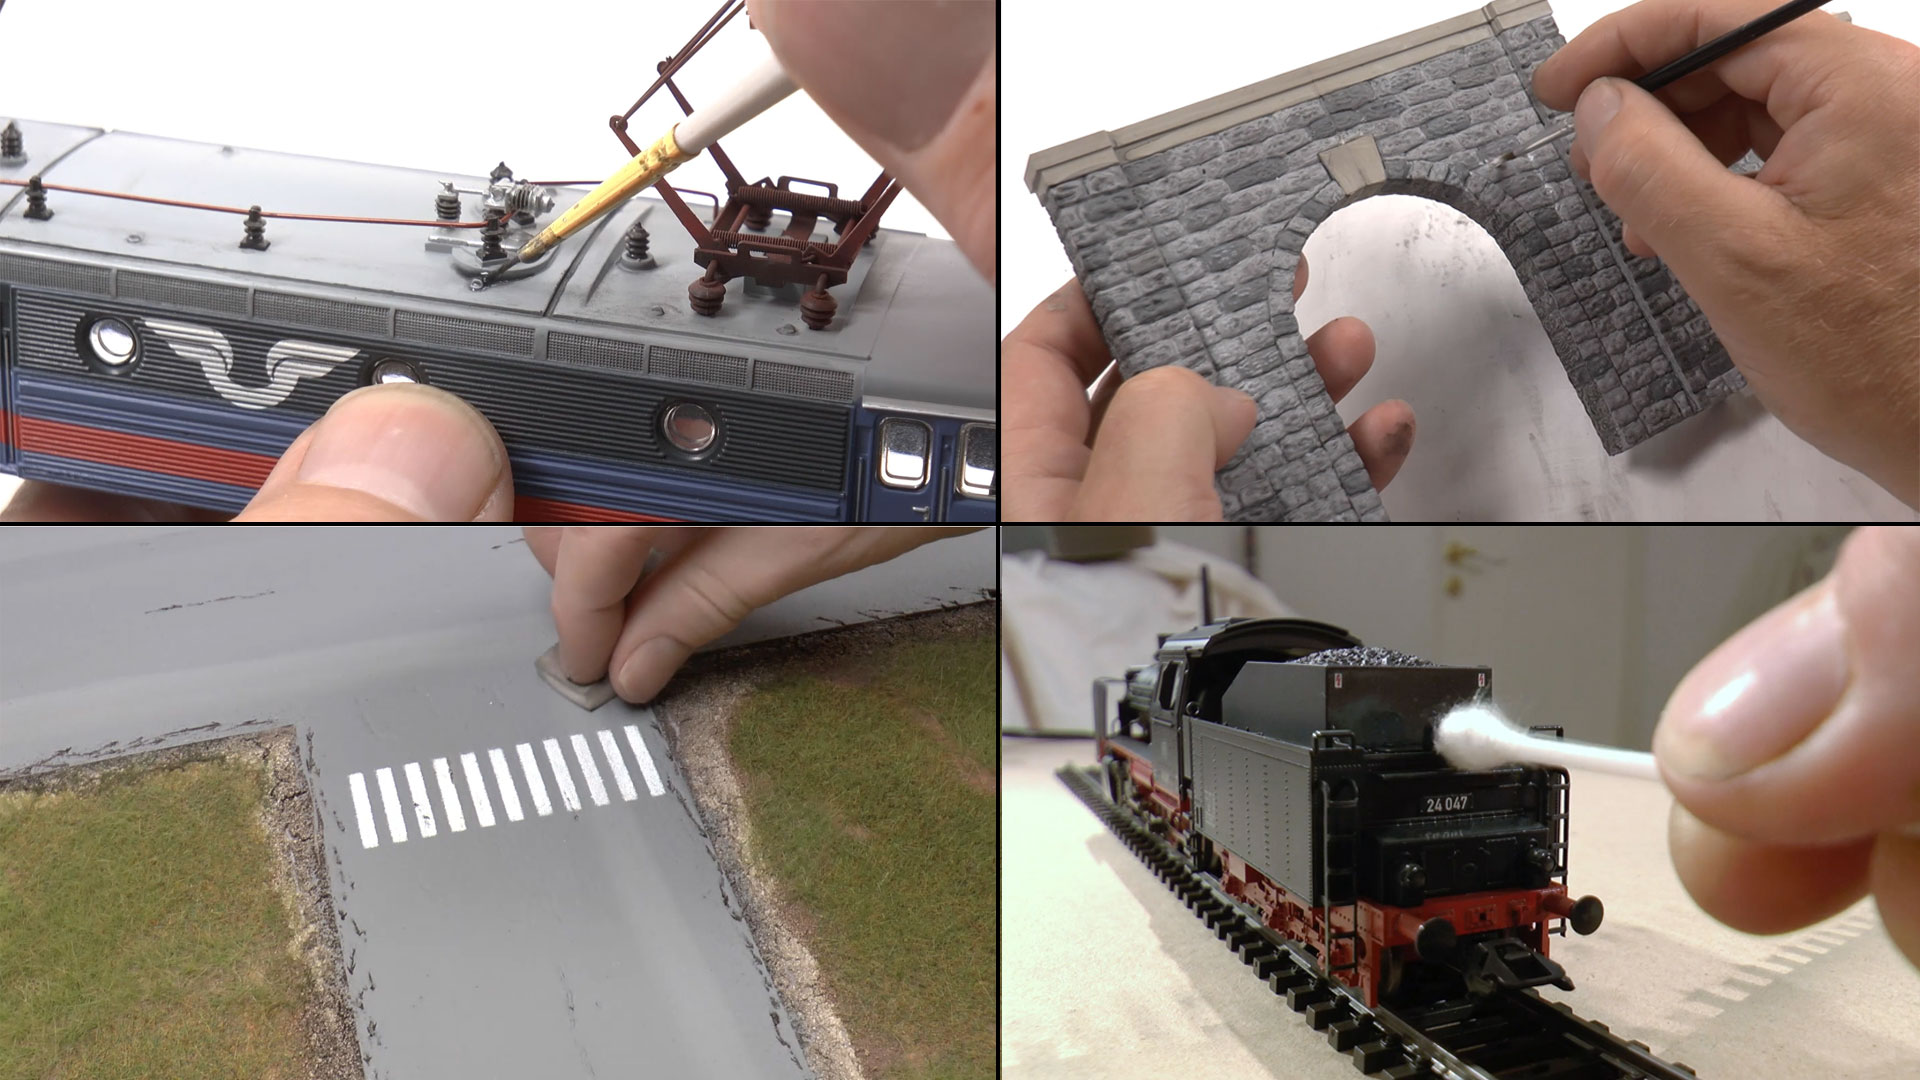
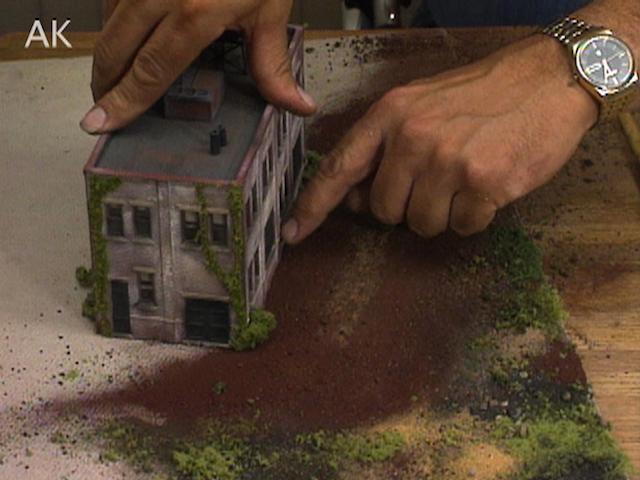
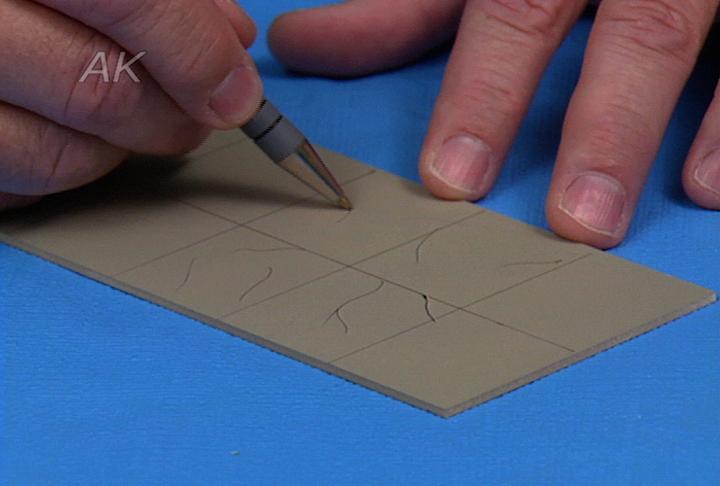
Advantages of 3D printing are the ability to super detail, the ability to print many different items, and the low cost of printing. For this project, Martin used a resin printer and a drawing pack from Model Railroad 3D. He pours the resin into the printer, closes the hood, presses print, and about an hour later, the HVAC parts come out. He shows how to dry all the pieces and post-cure them. Martin uses a machine for this, but you can also use sunlight.
PAINTING 3D PIECES AND ASSEMBLY
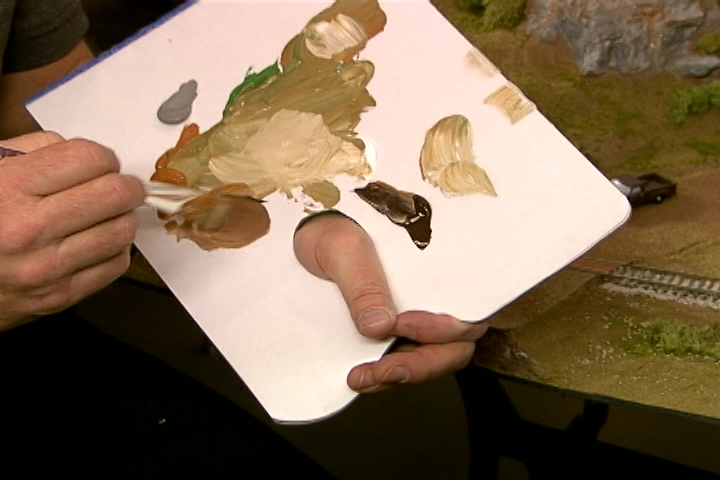
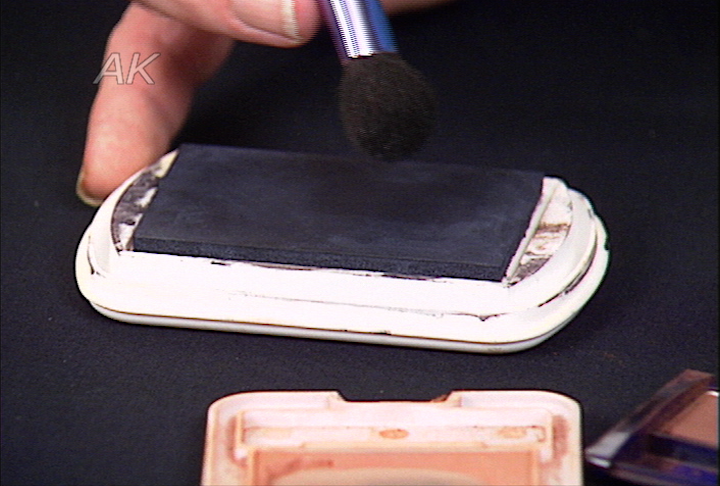
Martin demonstrates how to use a wooden stick with double-sided adhesive to simplify the painting. He secures each piece to the tape, then airbrushes them with a layer of gray paint and one of metal coating on top. He then adds a black wash to the pieces with ventilation bars for an added touch of realism.
Martin pre-assembles the ventilation duct pieces using fast-set glue before sticking them to the roof.
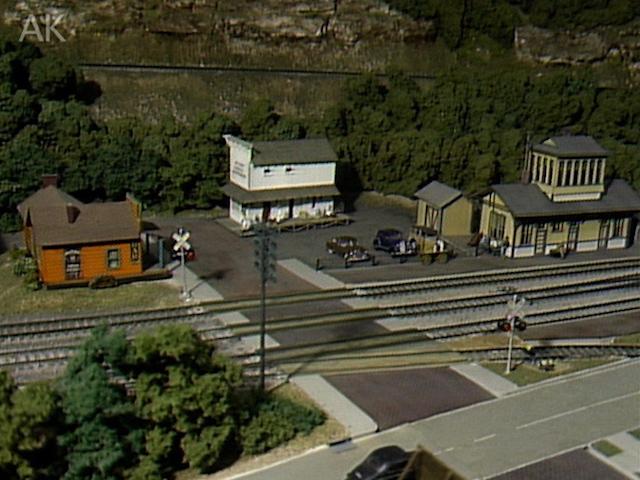
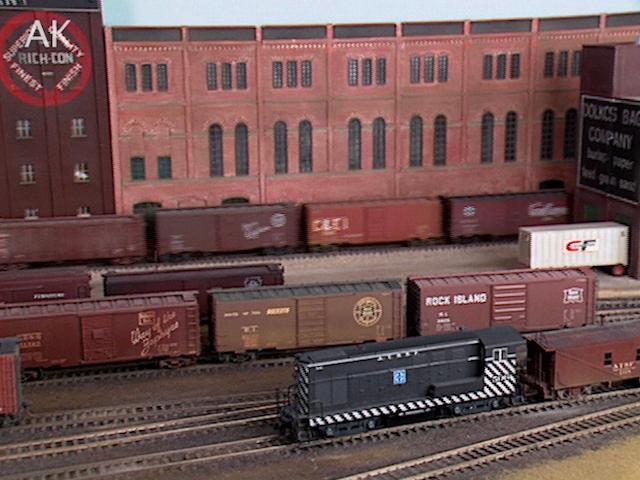
Here on MRA we also have more tips for personalizing layouts.
Explore videos by Martin Tärnrot


You may be interested in

Premium Membership
Unlock exclusive member content from our industry experts.
- 24/7 Access to Premium Model Railroading Videos, Projects, and Tips
- Step-by-Step Instructional Guides & Layout Plans
- 50% Off Video Downloads Purchased in the Model Railroad Academy Shop
- Access to Ask the Expert Program
Unlock exclusive member content from our industry experts.
- 24/7 Access to Premium Model Railroading Videos, Projects, and Tips
- Step-by-Step Instructional Guides & Layout Plans
- 3 Full-Length Video Downloads to Watch Offline
- 50% Off Video Downloads Purchased in the Model Railroad Academy Shop
- Access to Ask the Expert Program
Gold Membership
$326 Value
Get everything included in Premium plus exclusive Gold Membership benefits.
- 24/7 Access to Premium Model Railroading Videos, Projects, and Tips
- Step-by-Step Instructional Guides & Layout Plans
- 9 Full-Length Video Downloads to Watch Offline
- 2 Full-Length Classes to Keep for Life
- 2 Downloadable Guides
- Discounts on Purchase-to-Own Content in the Model Railroad Academy Shop
- Access to Ask the Expert Program
- Exclusive GOLD LIVE Streaming Events