
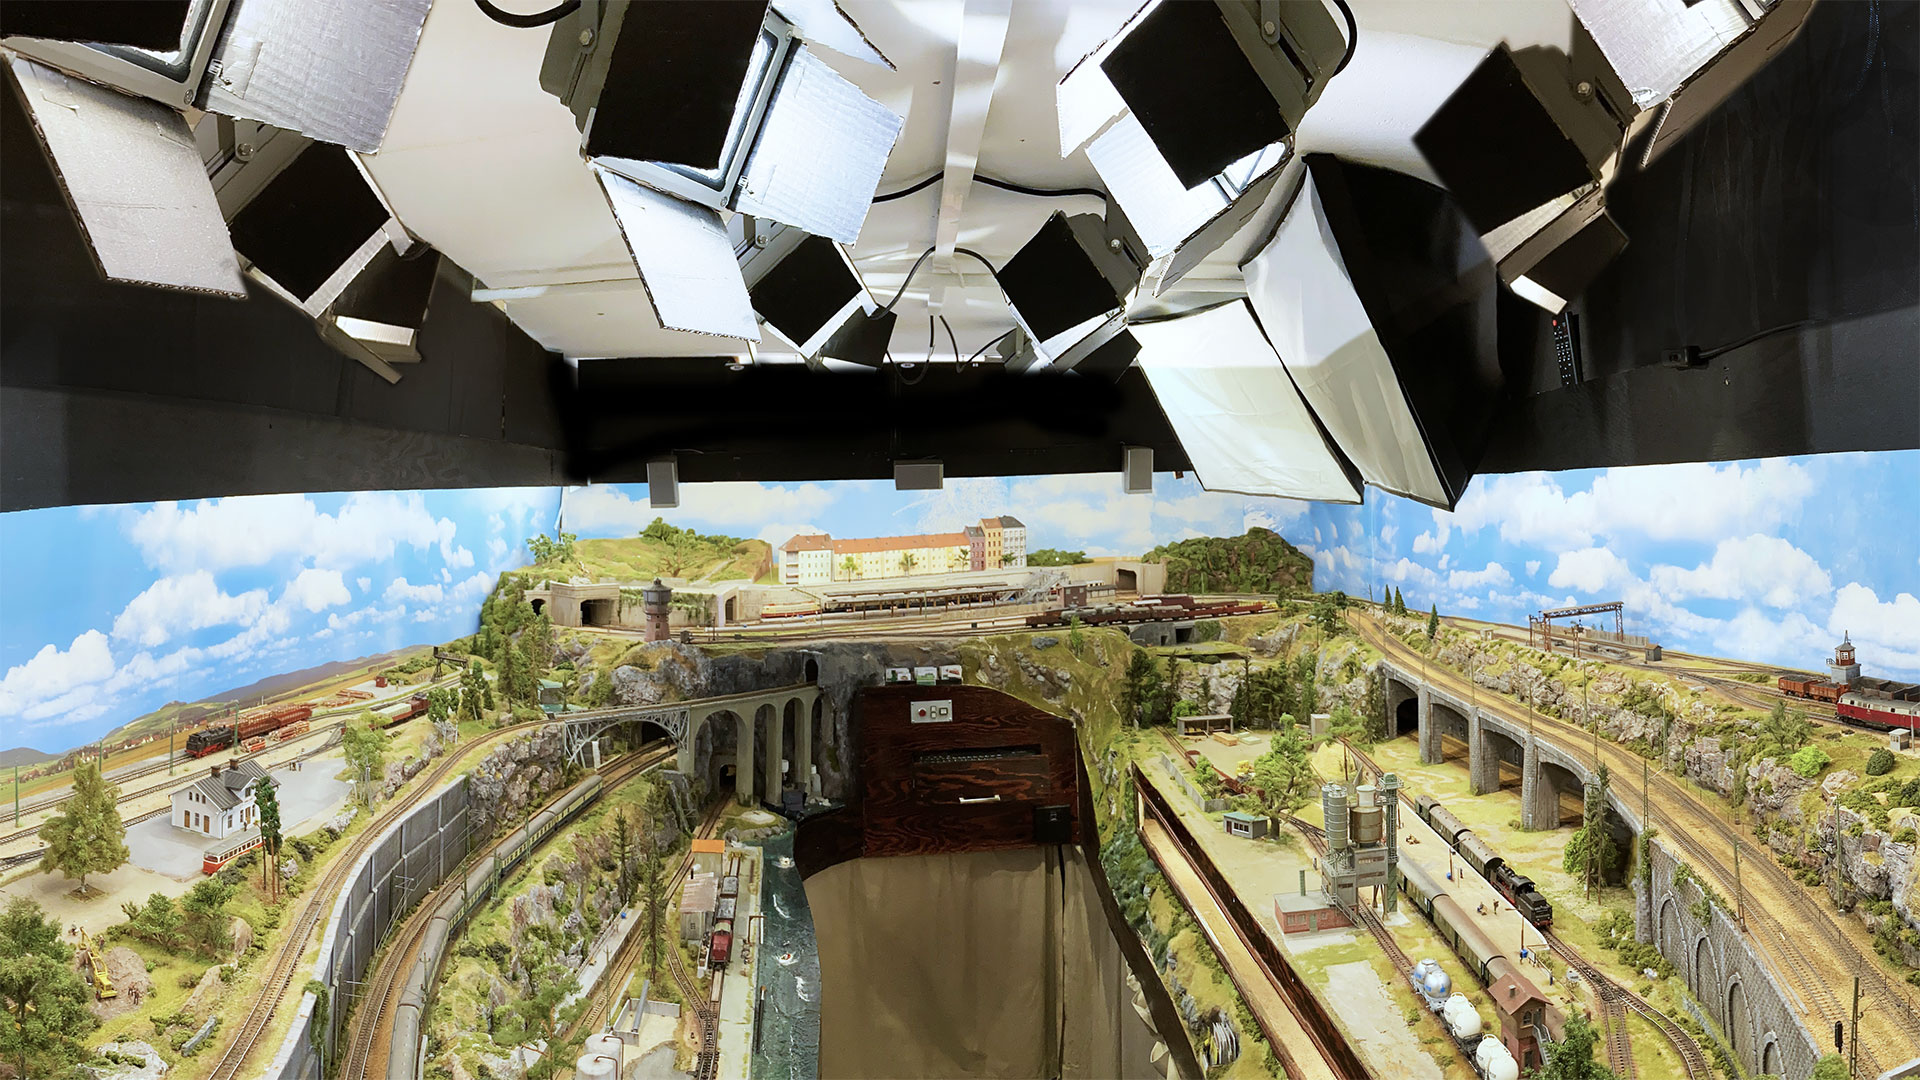
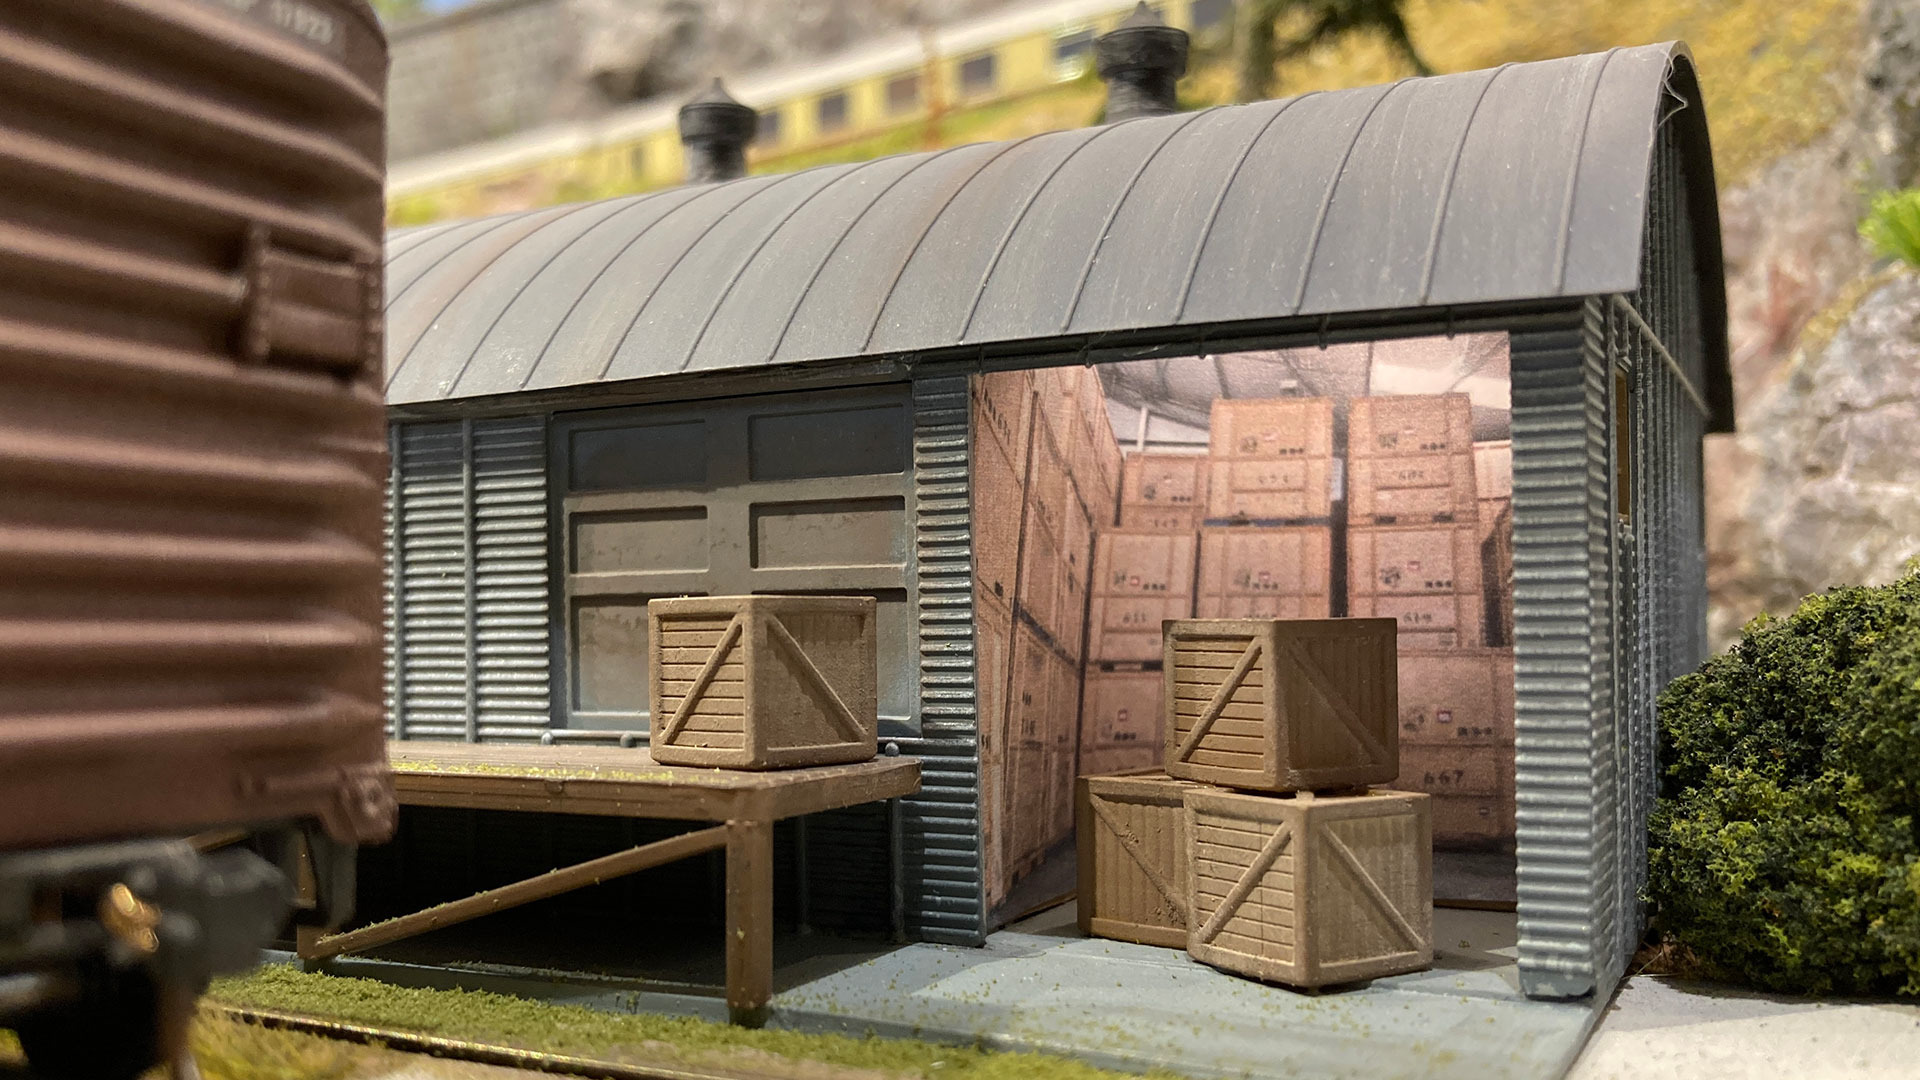
Techniques for Resin and Etch
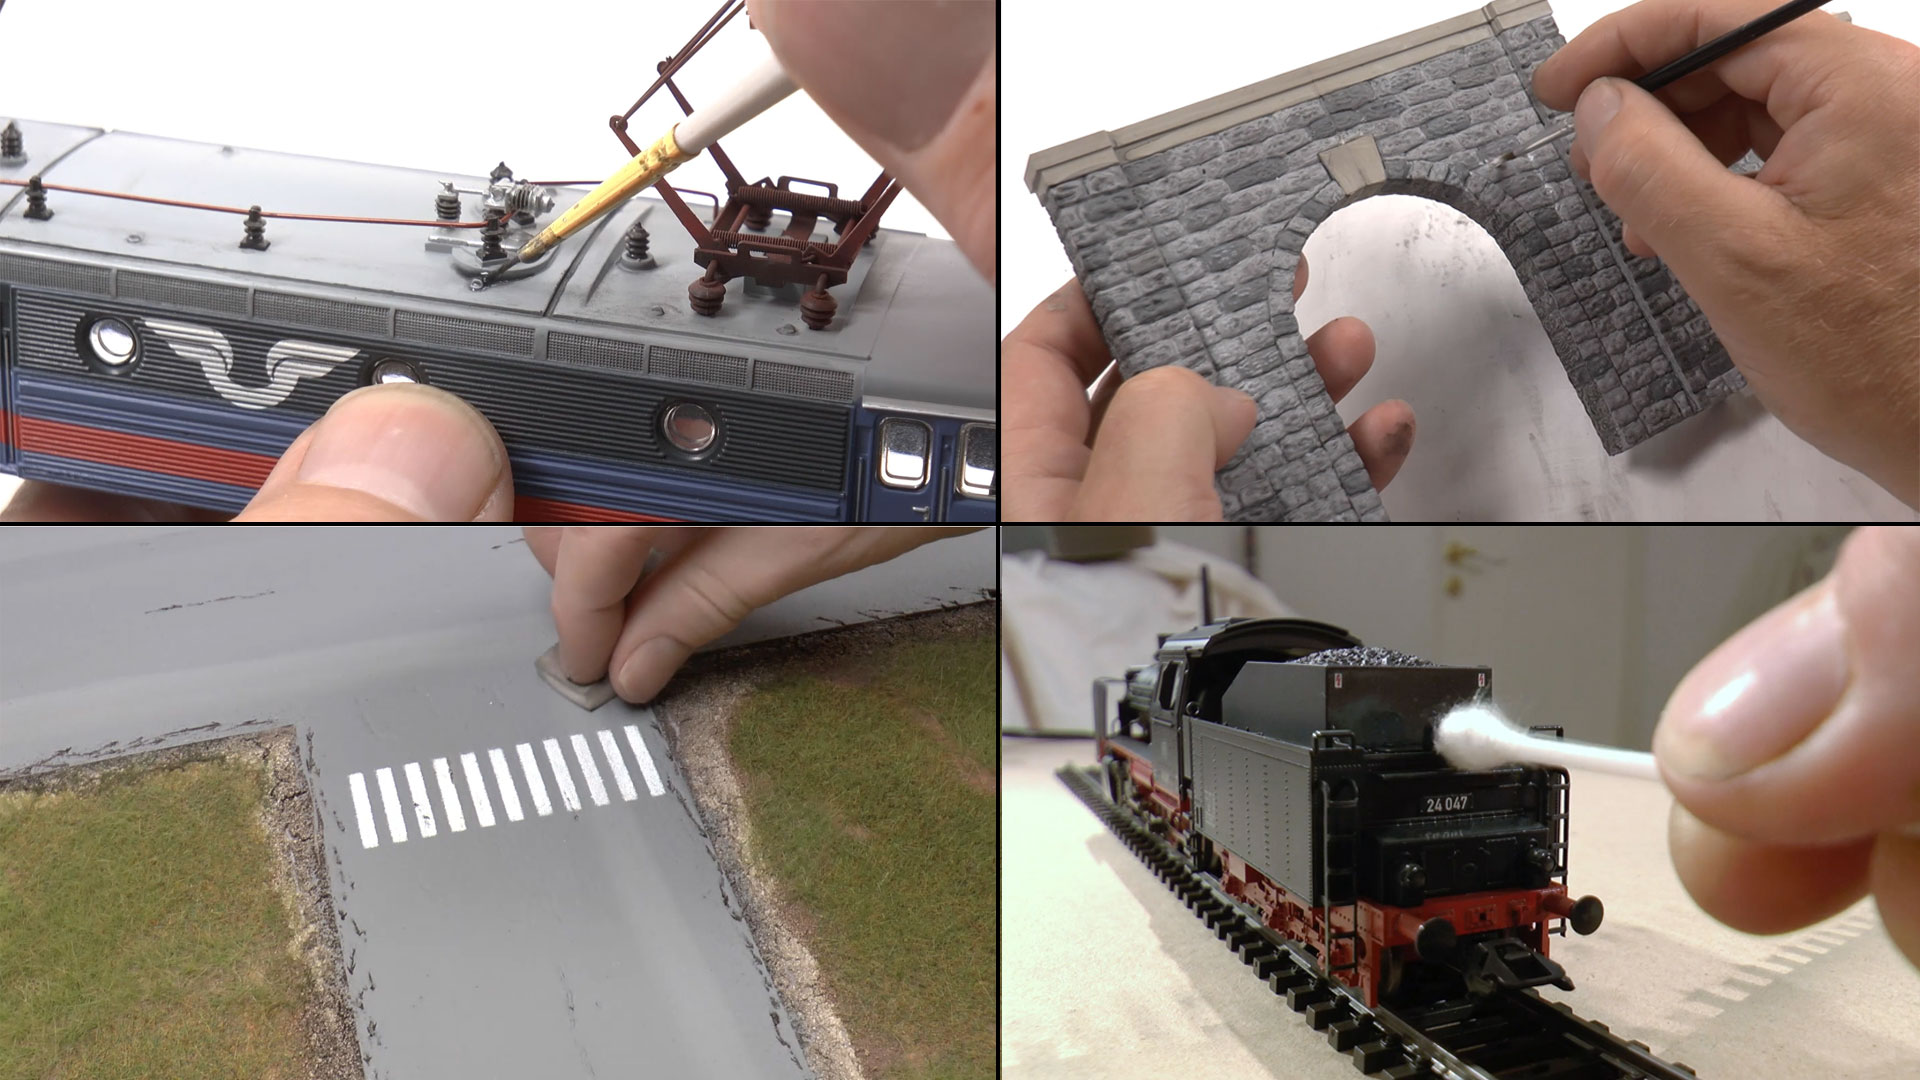
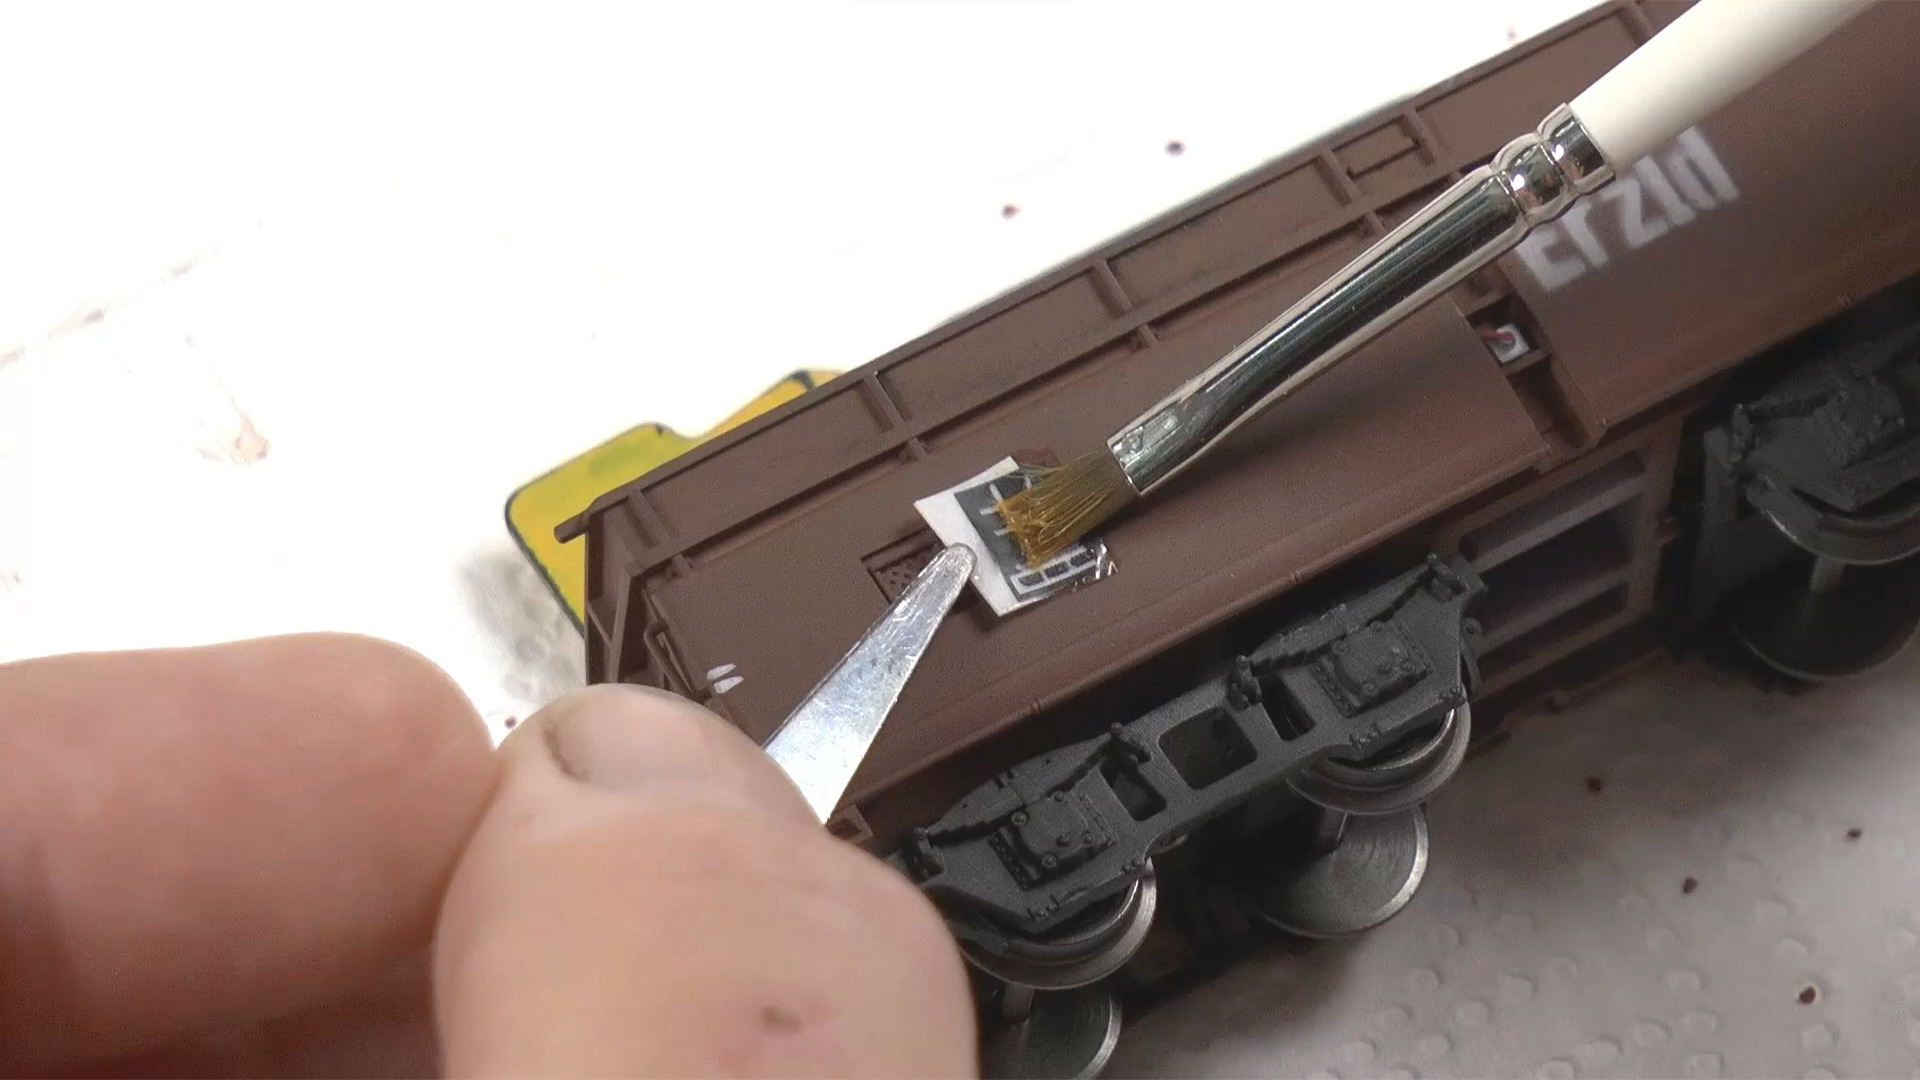
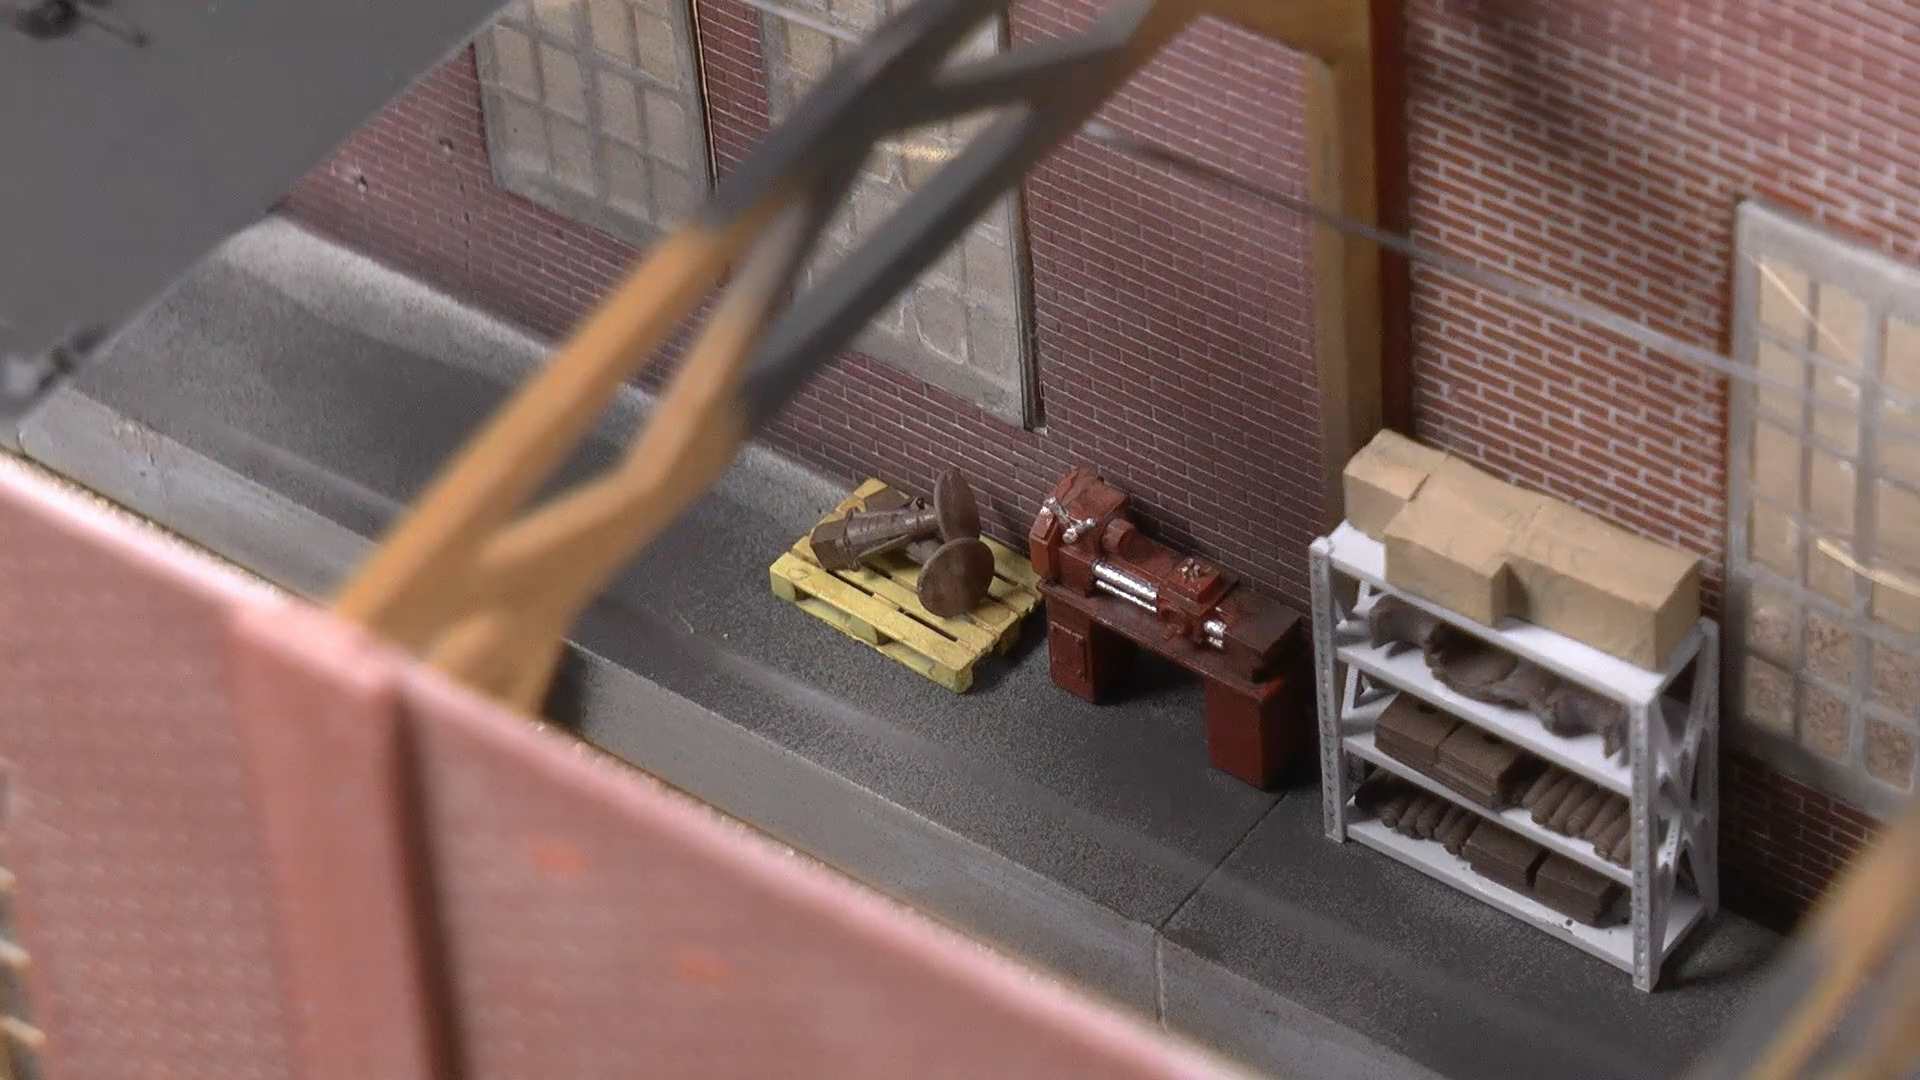
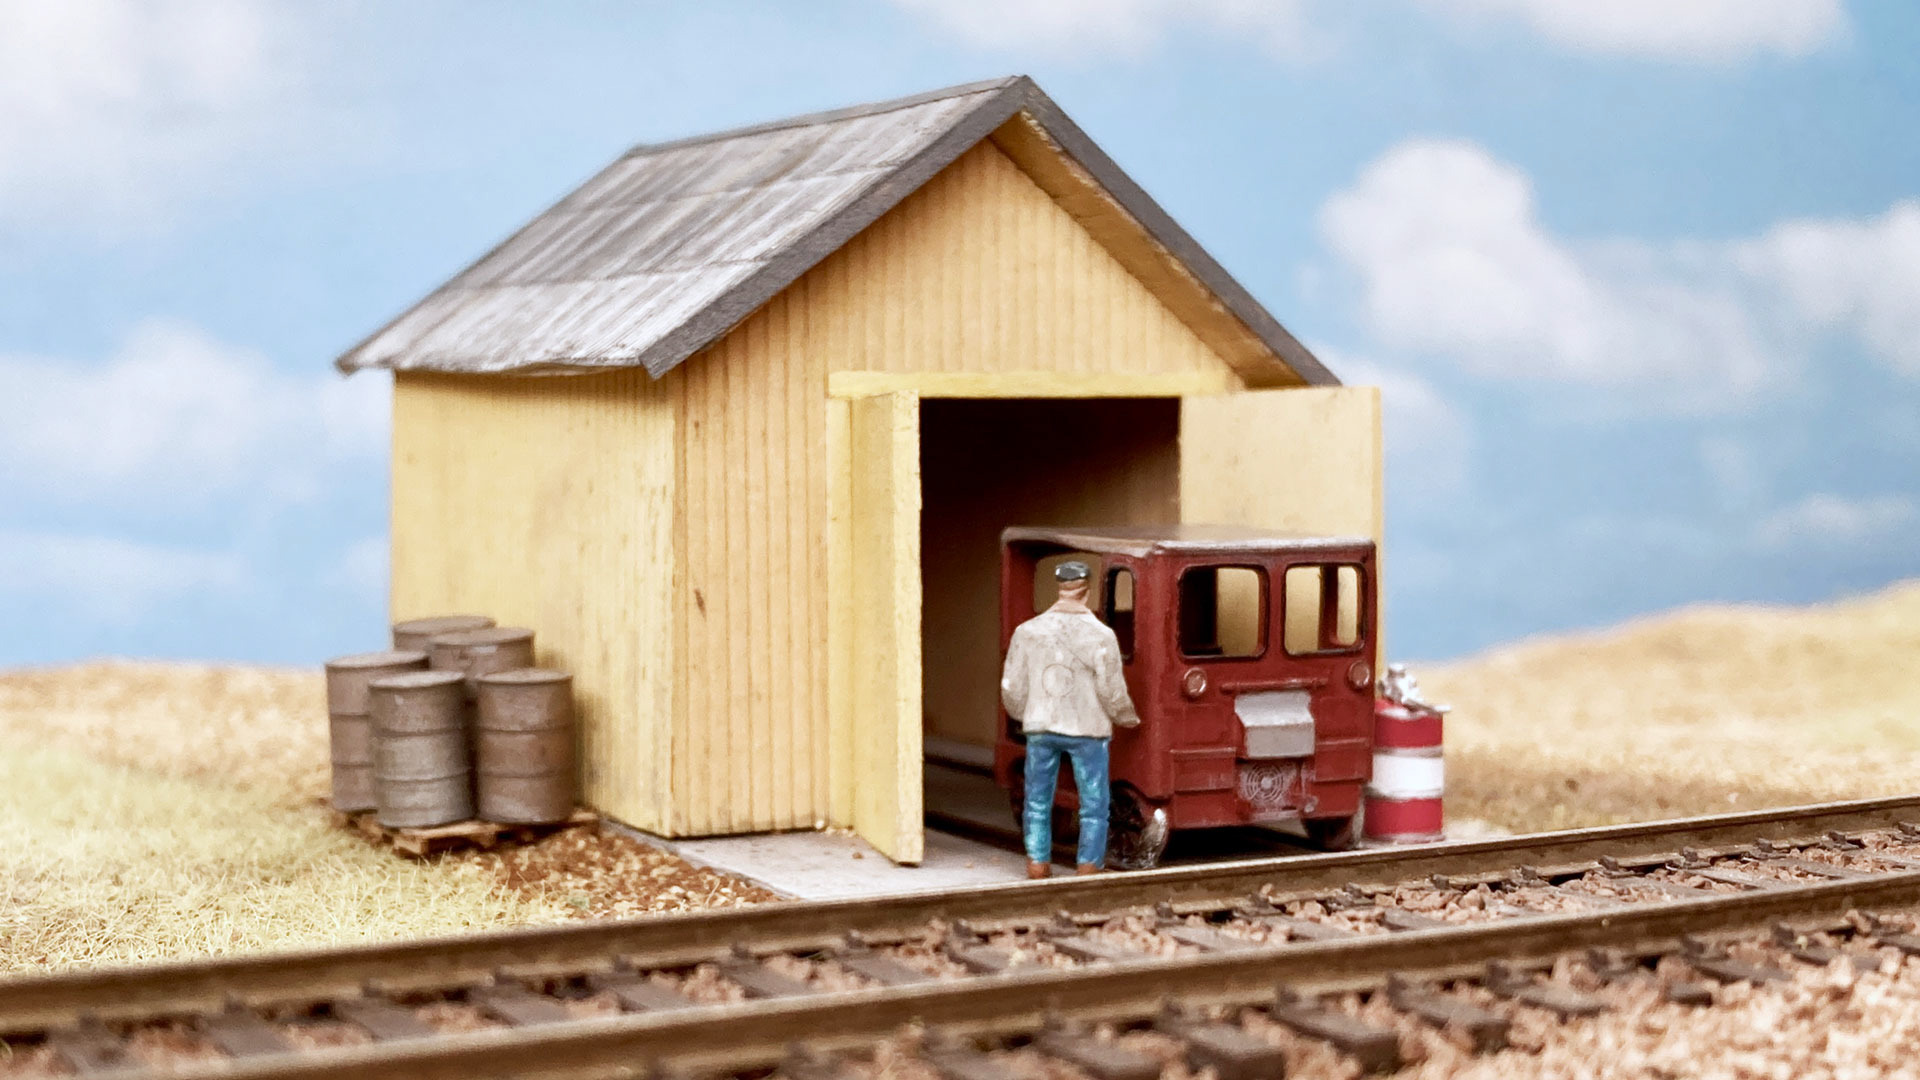
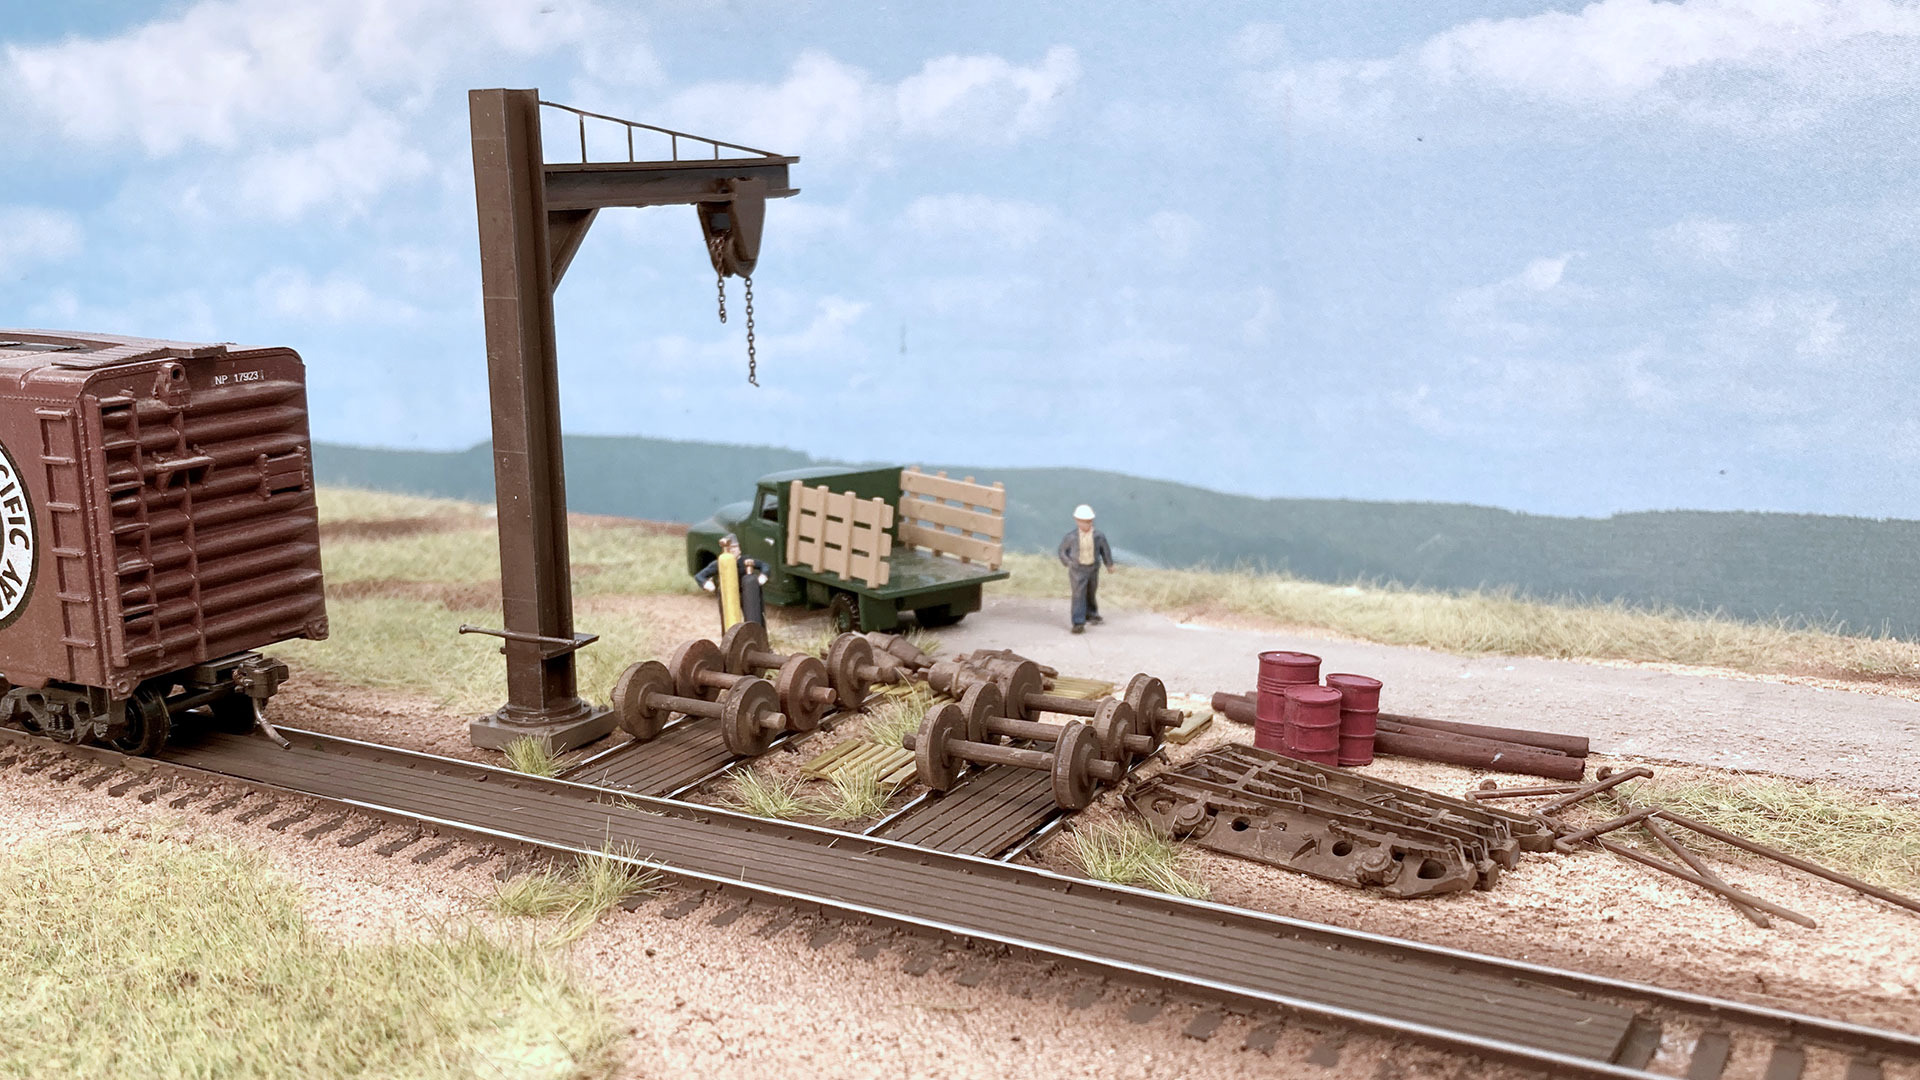
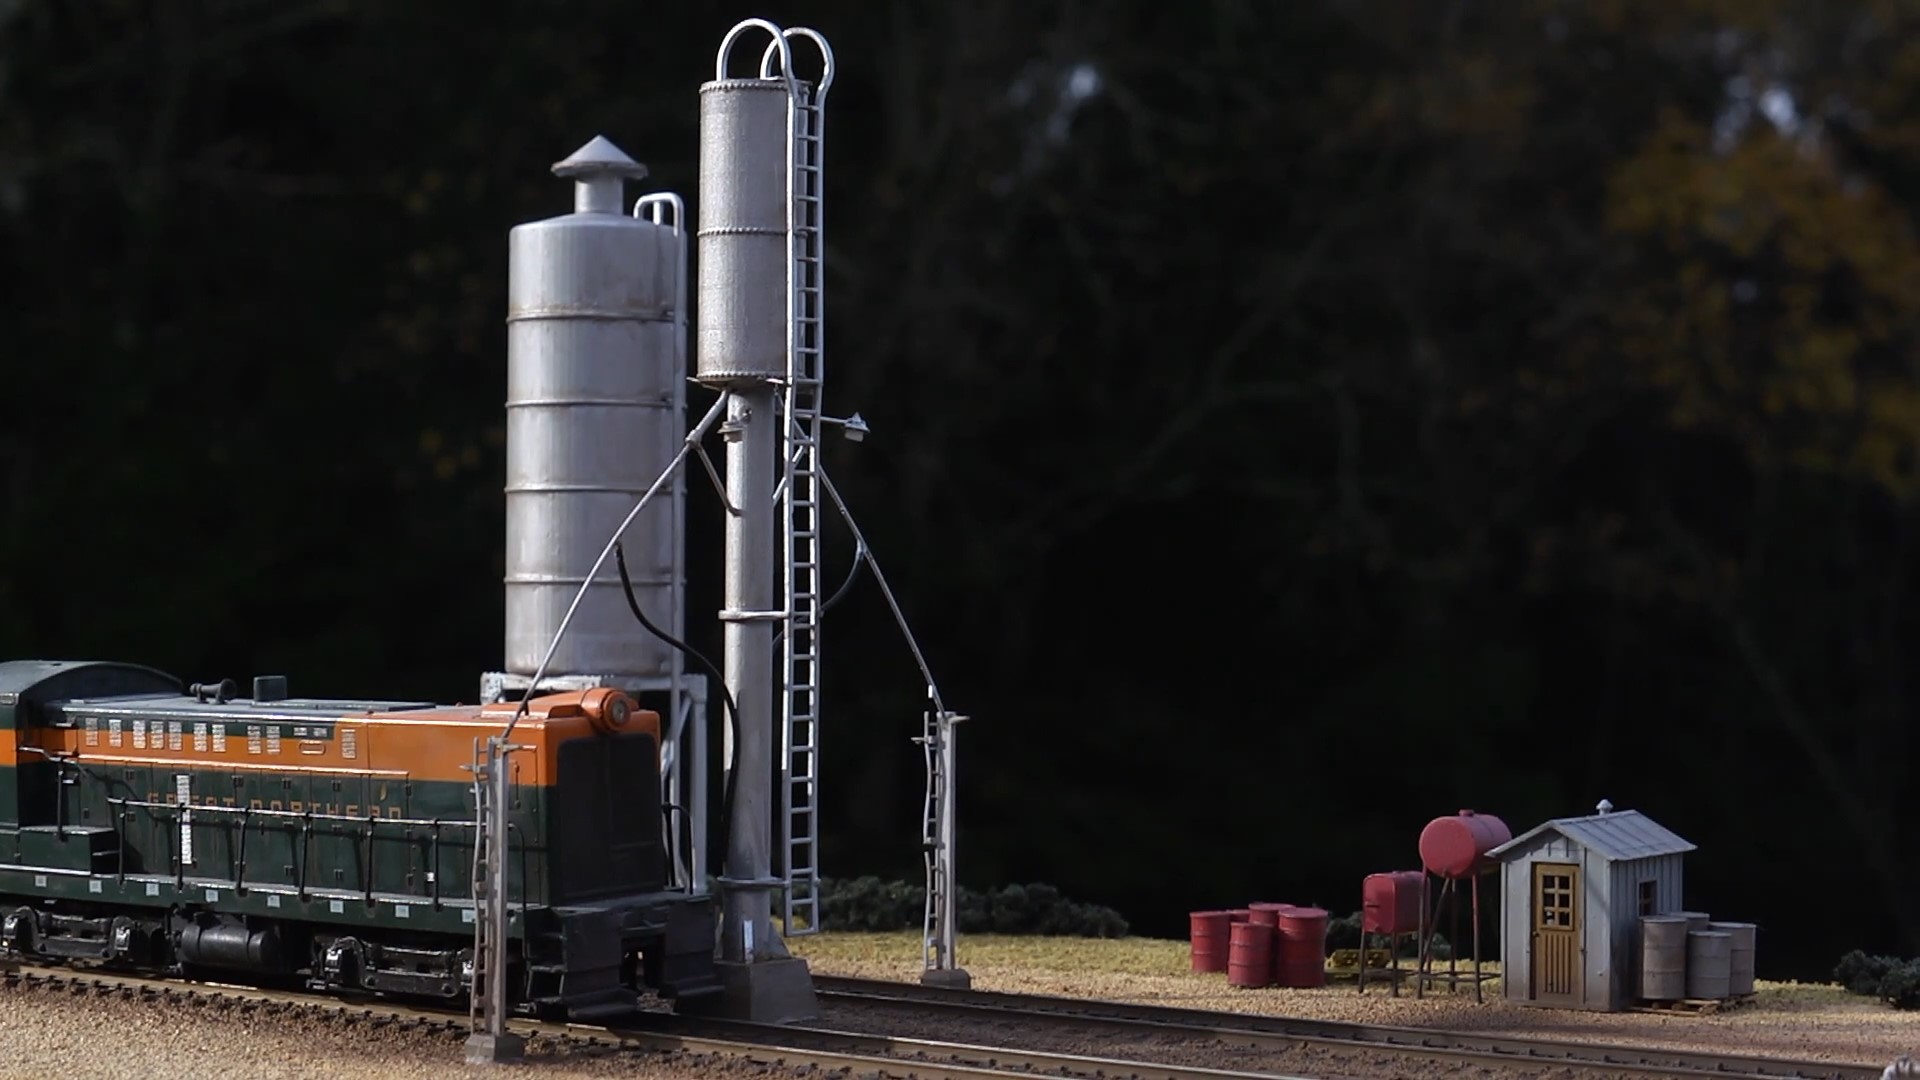
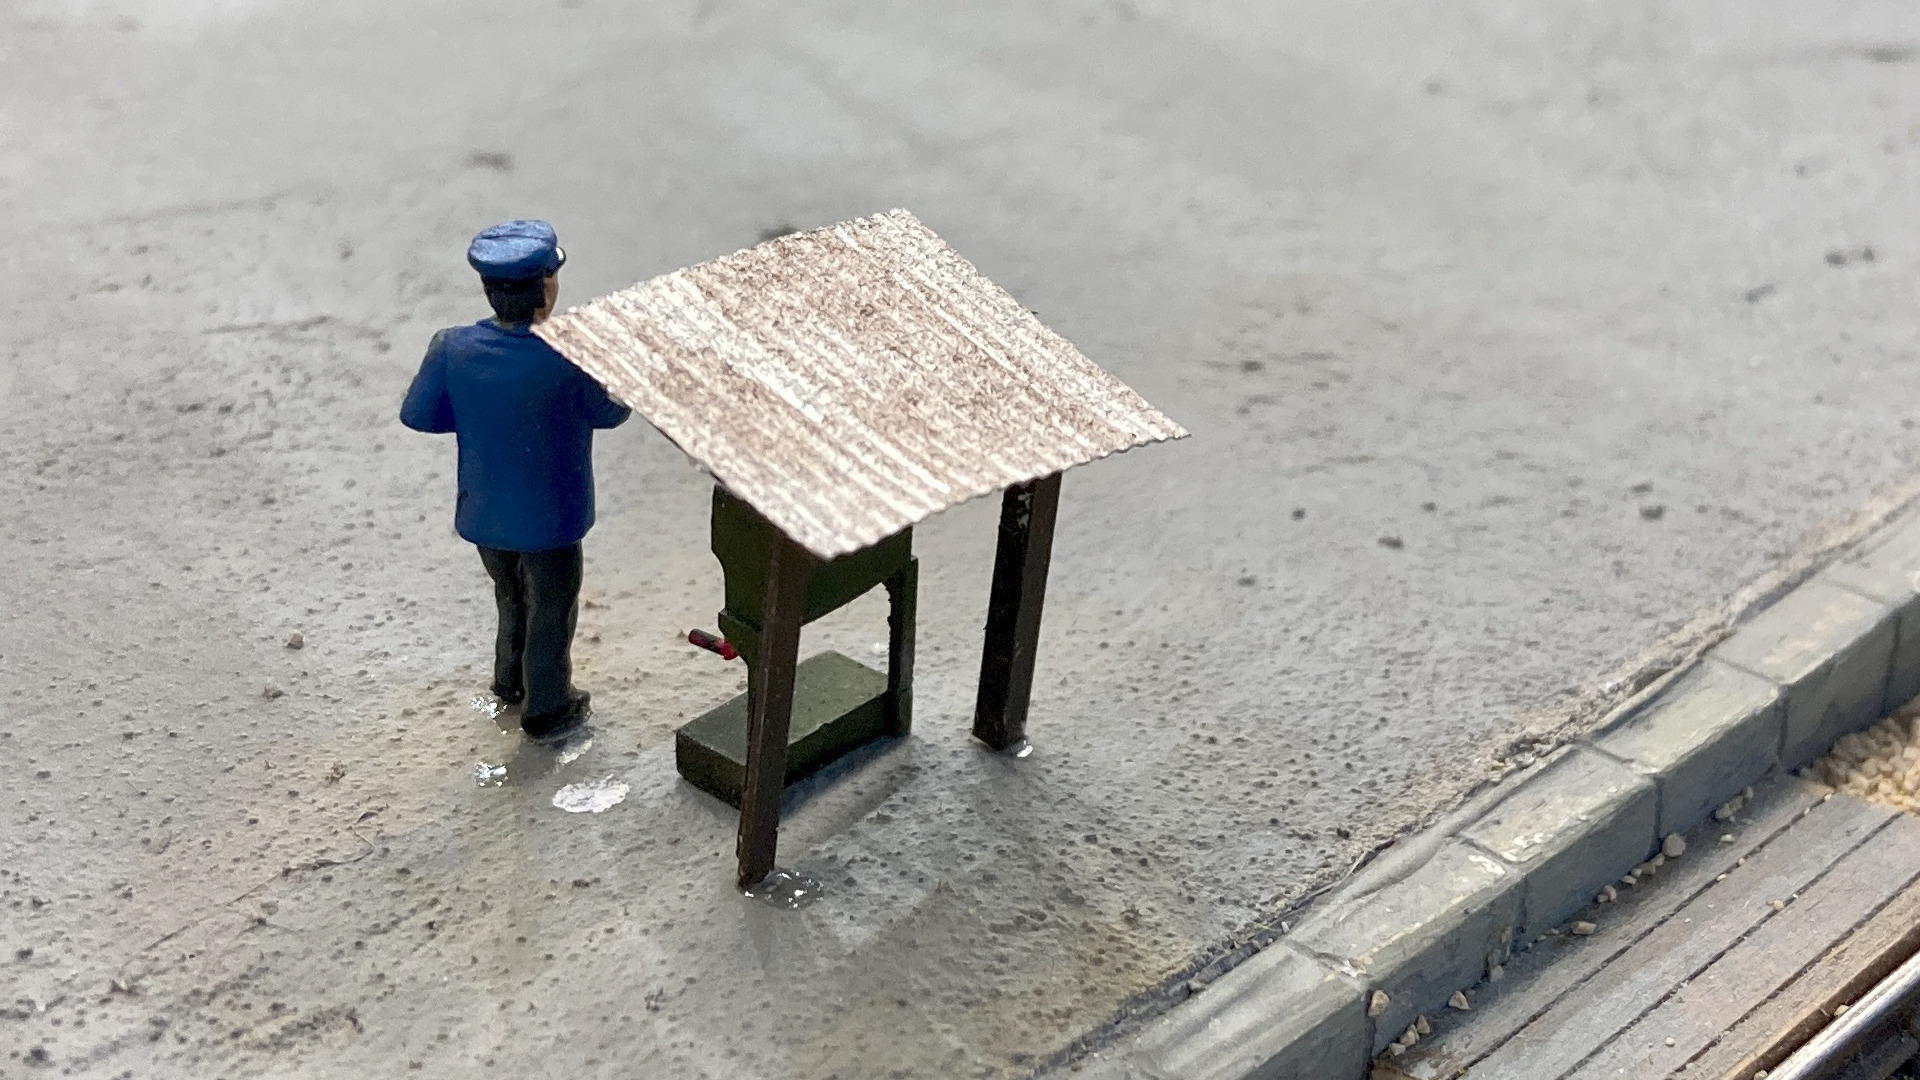
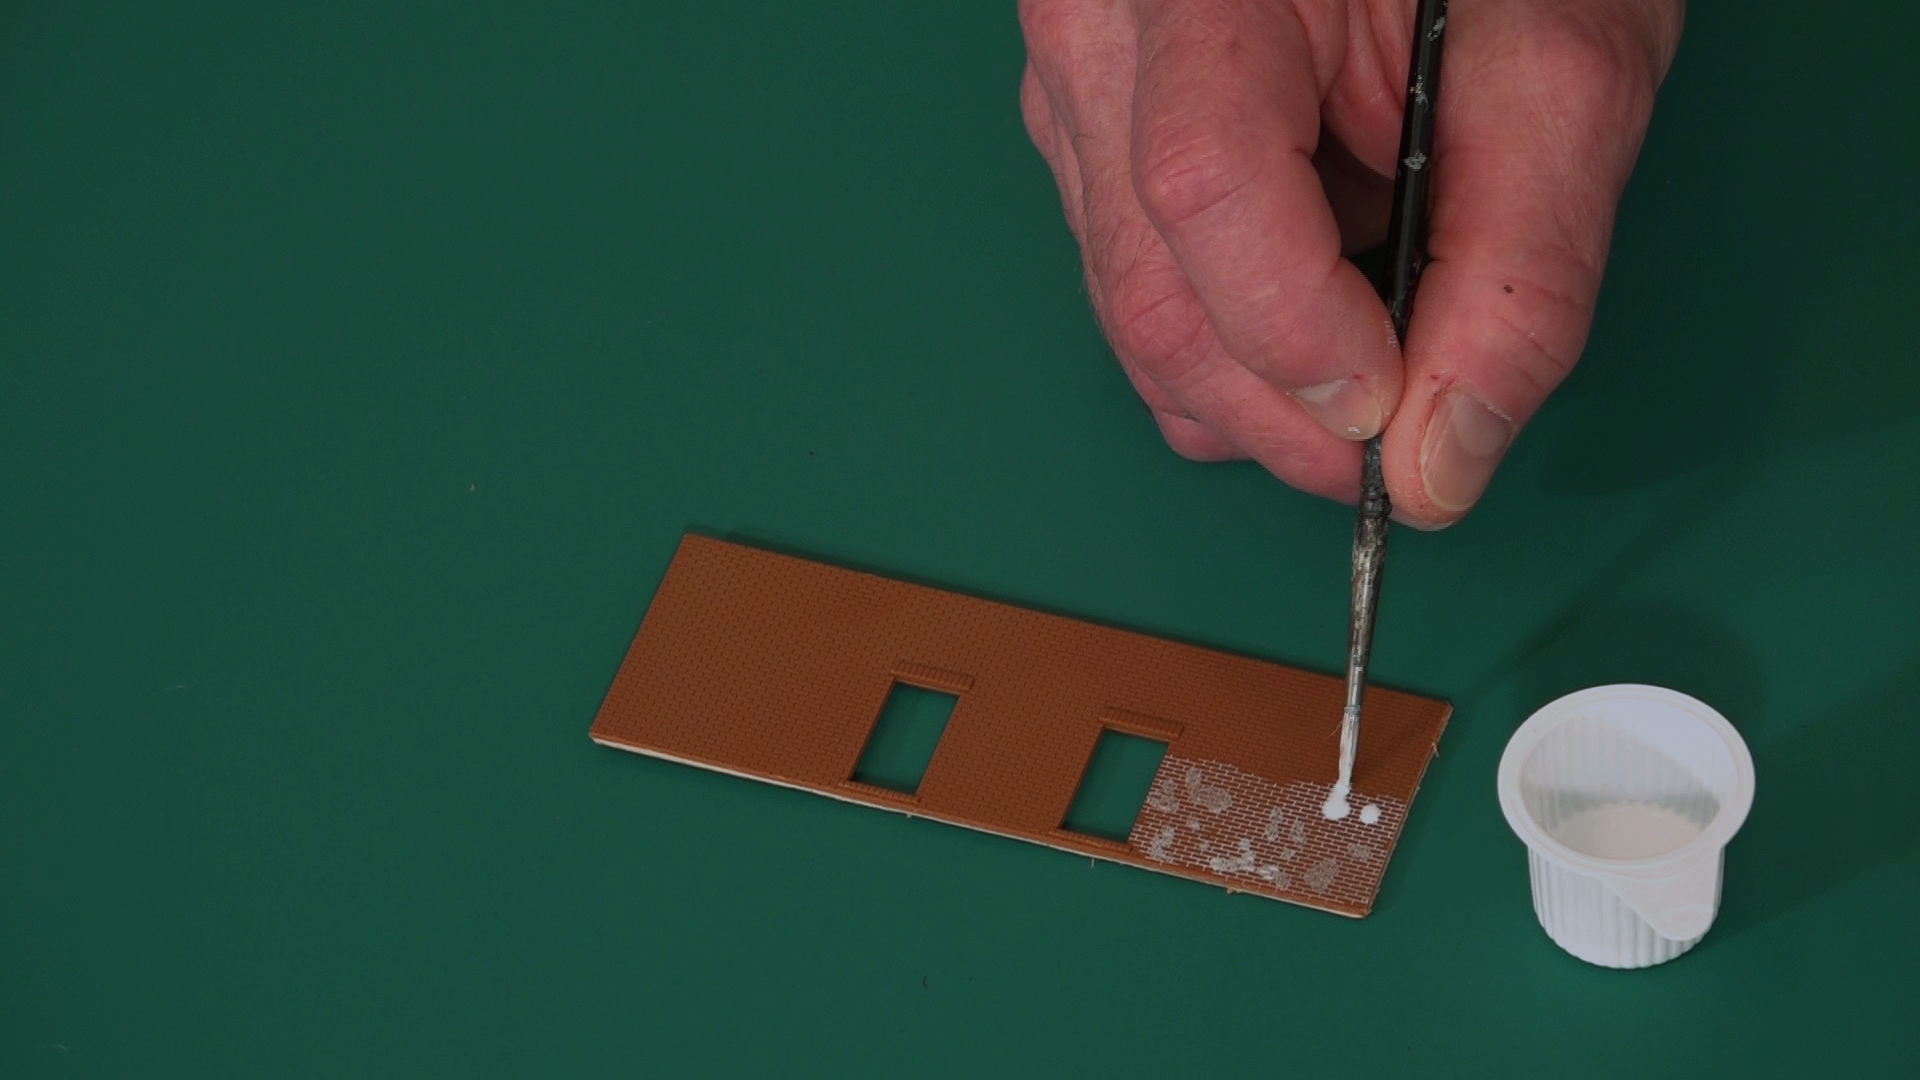
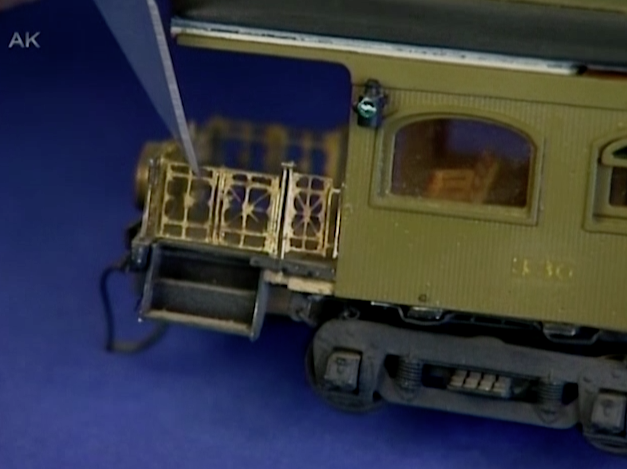
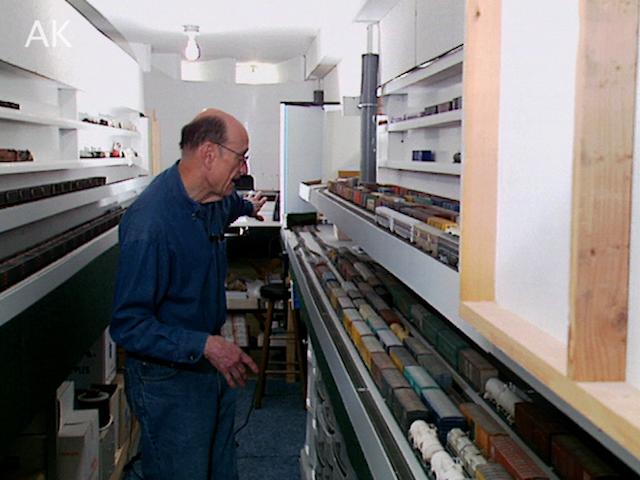
Martin TärnrotIn this video, modeler Martin Tärnrot will paint, assemble, and weather a resin and etch model railroad kit. These kits require special attention for cleaning and priming. The model will be a Ford TT truck from the 1920s. The kit contains both resin modeled parts and etched based parts. He is using a kit from Artitech, a Netherlands brand from his local hobby store. The first step is to trim away the mold burr with an exacto blade. All modeled parts in resin have an invisible layer of release agent to remove the casting from the mold. However, this release agent will also prevent the paint from sticking. Luckily, this agent is easy to remove.

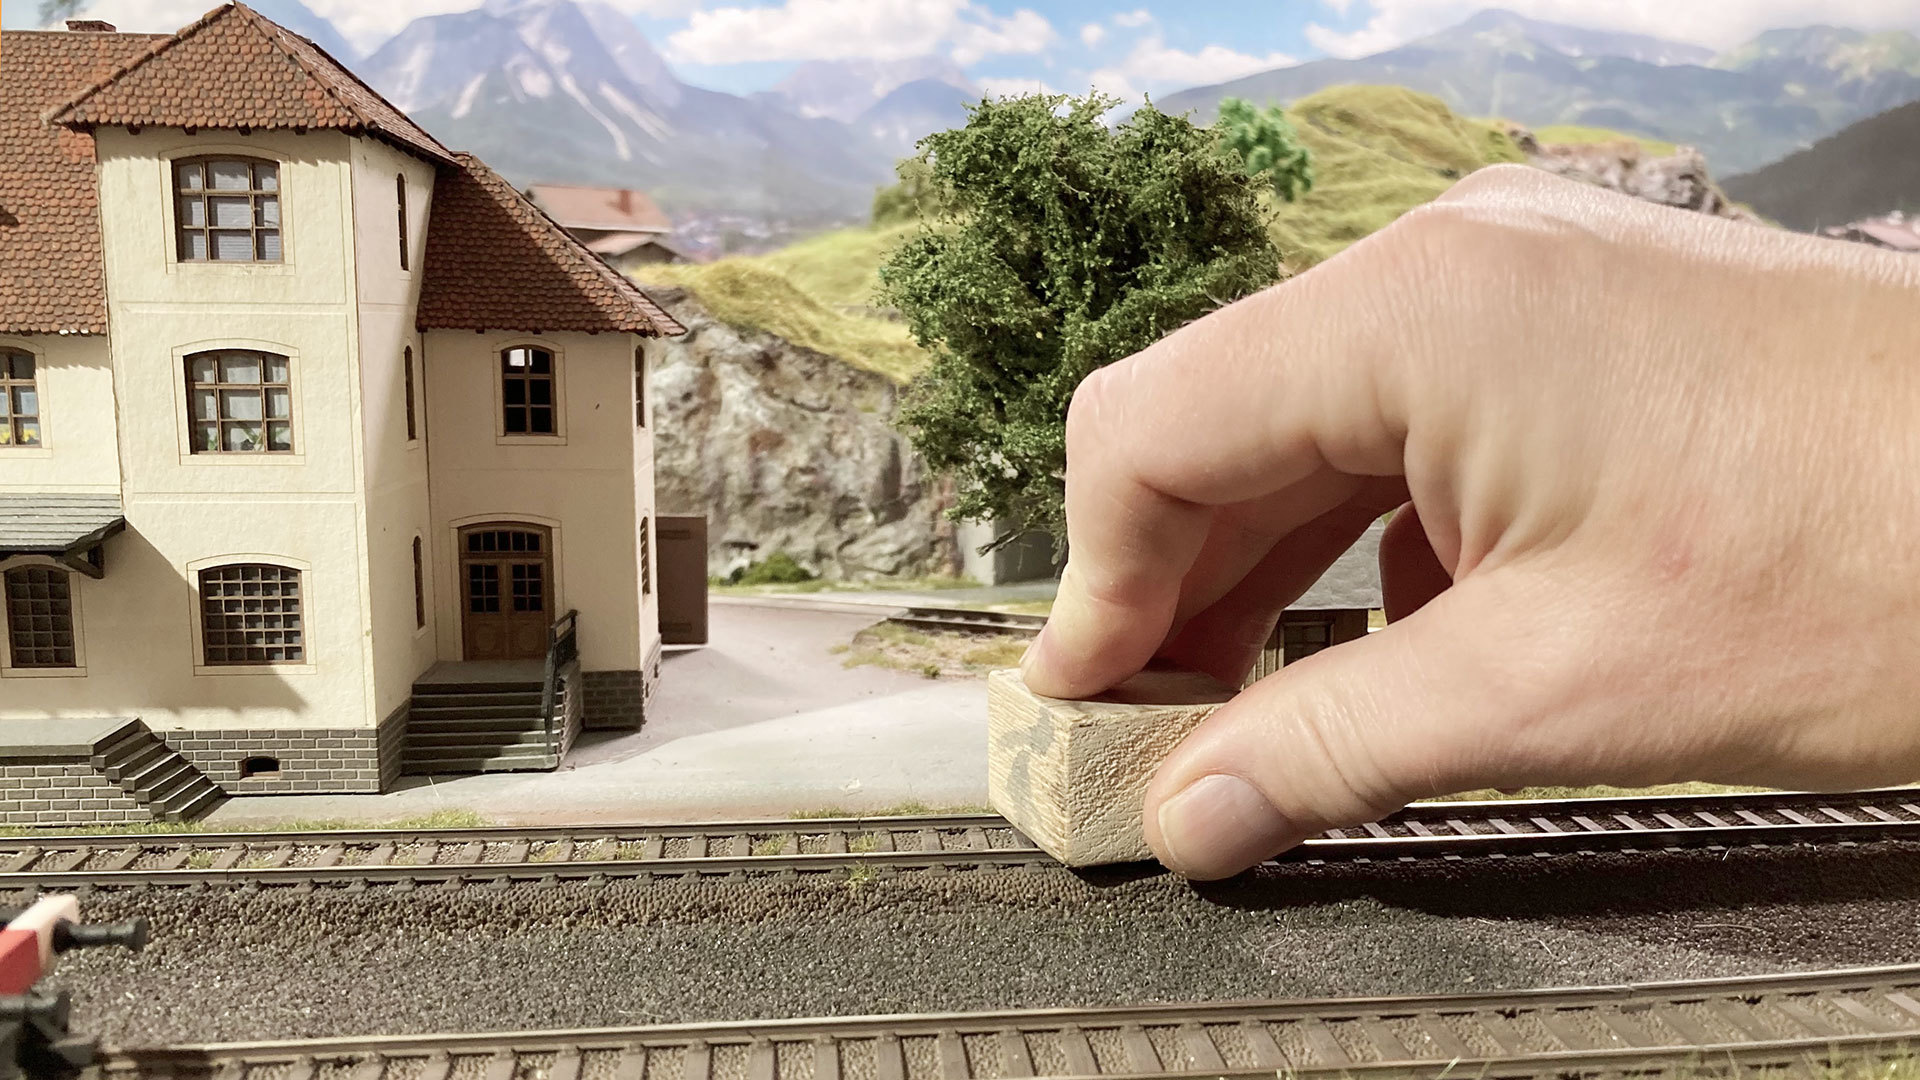
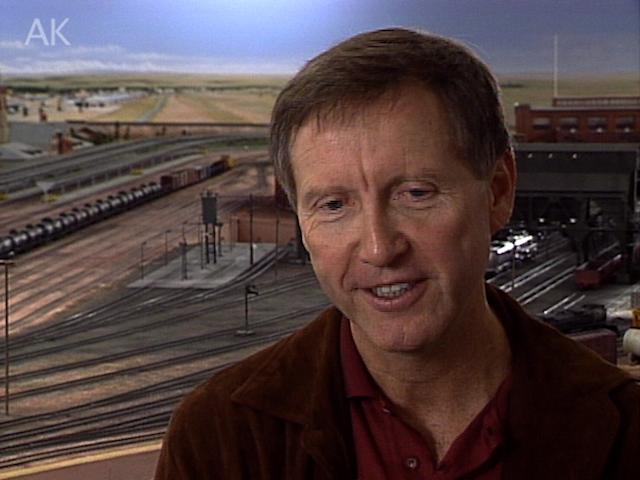
Martin uses a toothbrush with soap and water to wash both the resin and etched parts. He prefers to paint all the parts using a solvent-based foundation of black, brown, and turpentine, which sticks best to the resin surface. This mix must be thin to leave no paintbrush lines, so airbrushing the paint on is also a great option. With the primer in place, Martin moves onto painting with standard acrylic paints. He likes to paint details like the rims with a small brush and then moves onto airbrushing the black paint on. A piece of balsa wood and sticky rubber is a good anchor to keep the model in place to avoid messy fingers. He goes on to add paint on the flatbed of the truck, which would have been wood. Next he moves onto the etched parts of the kit. Watch the full video for more tips and tricks for assembly and weathering. For tips for modifying model railways scenery kits, visit the Model Railroad Academy archives.
Explore videos by Martin Tärnrot


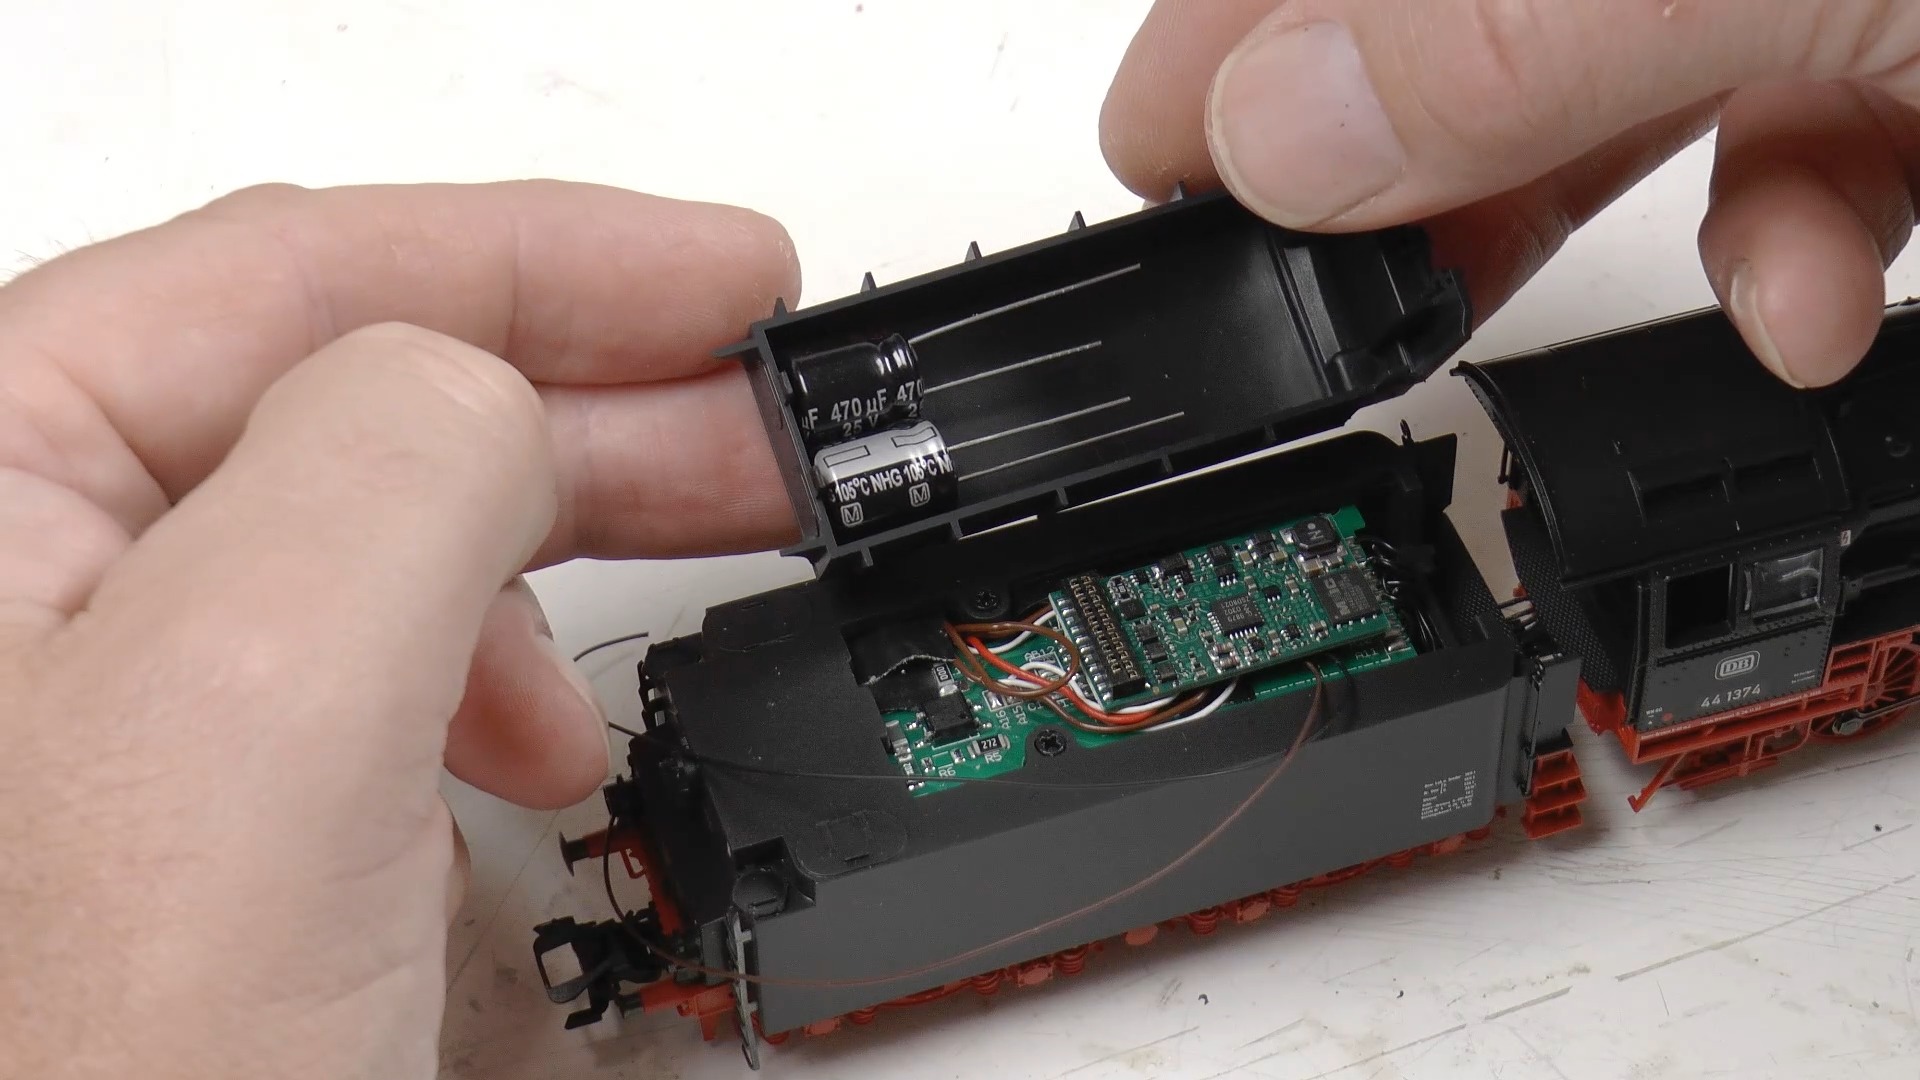

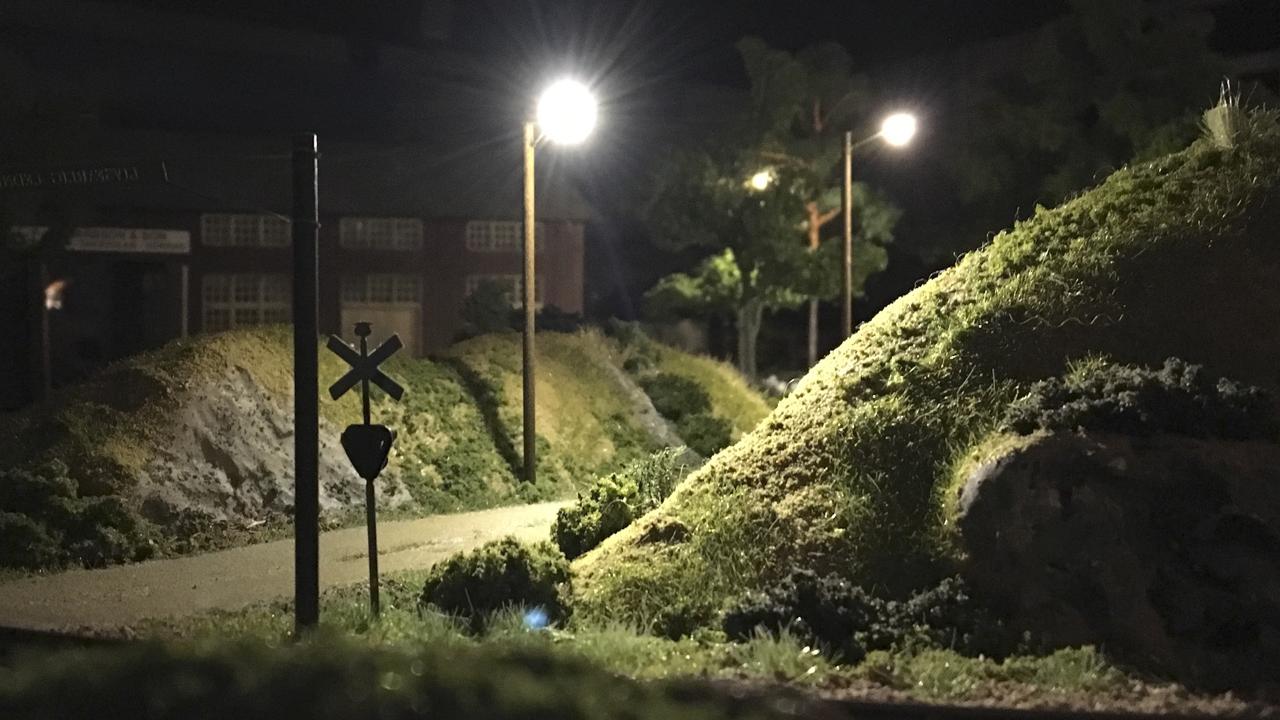
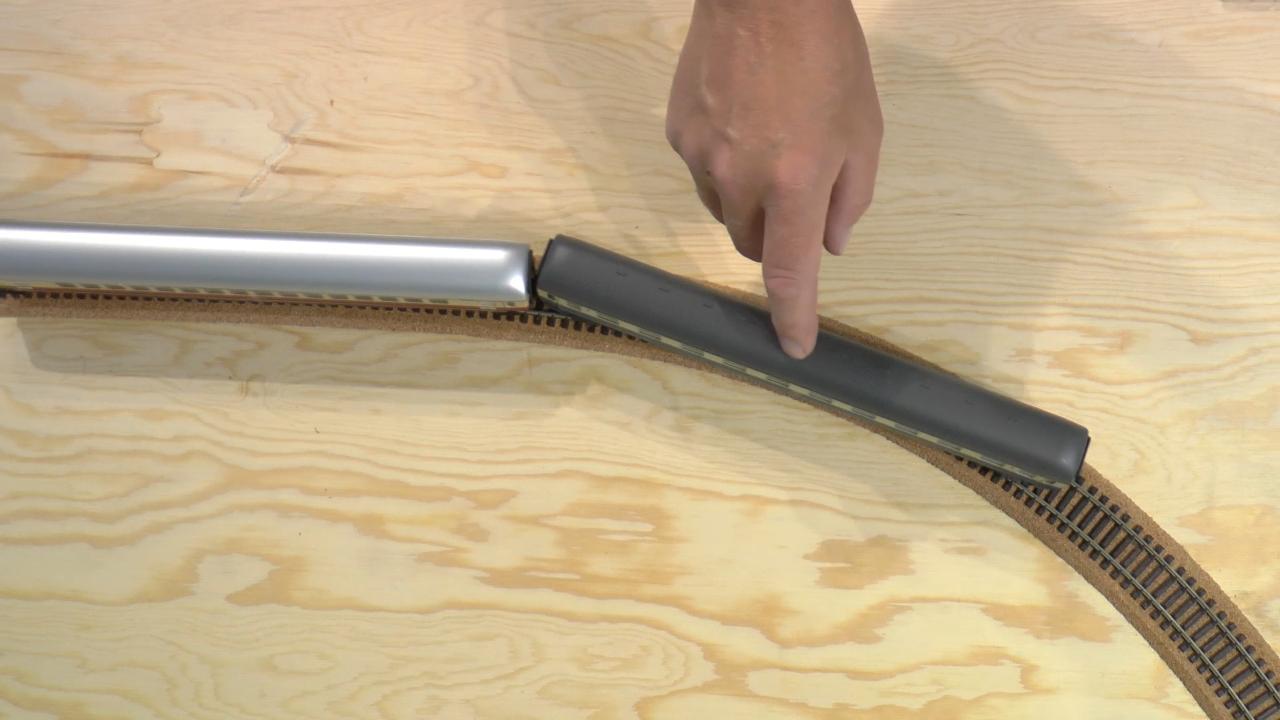
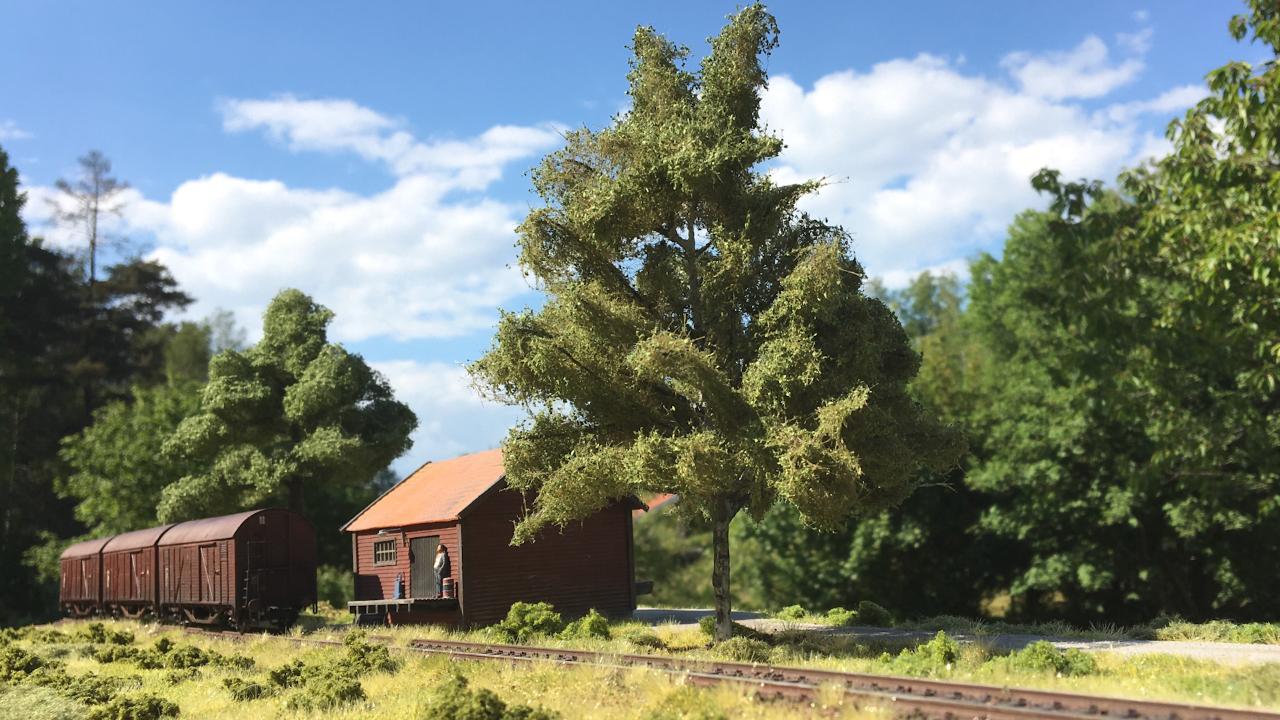
You may be interested in


Premium Membership
Unlock exclusive member content from our industry experts.
- 24/7 Access to Premium Model Railroading Videos, Projects, and Tips
- Step-by-Step Instructional Guides & Layout Plans
- 50% Off Video Downloads Purchased in the Model Railroad Academy Shop
- Access to Ask the Expert Program
Unlock exclusive member content from our industry experts.
- 24/7 Access to Premium Model Railroading Videos, Projects, and Tips
- Step-by-Step Instructional Guides & Layout Plans
- 3 Full-Length Video Downloads to Watch Offline
- 50% Off Video Downloads Purchased in the Model Railroad Academy Shop
- Access to Ask the Expert Program
Gold Membership
$326 Value
Get everything included in Premium plus exclusive Gold Membership benefits.
- 24/7 Access to Premium Model Railroading Videos, Projects, and Tips
- Step-by-Step Instructional Guides & Layout Plans
- 9 Full-Length Video Downloads to Watch Offline
- 2 Full-Length Classes to Keep for Life
- 2 Downloadable Guides
- Discounts on Purchase-to-Own Content in the Model Railroad Academy Shop
- Access to Ask the Expert Program
- Exclusive GOLD LIVE Streaming Events
Share tips, start a discussion or ask one of our experts or other students a question.
Already a member? Sign in
No Responses to “Techniques for Resin and Etch”