Tips on Detailing Model Railway Roads
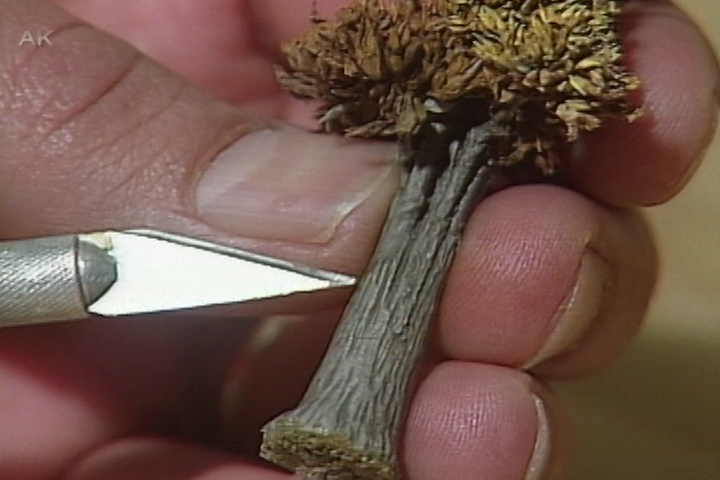
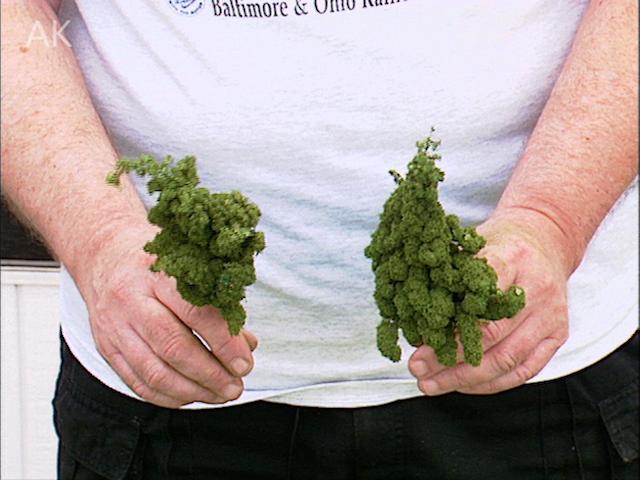
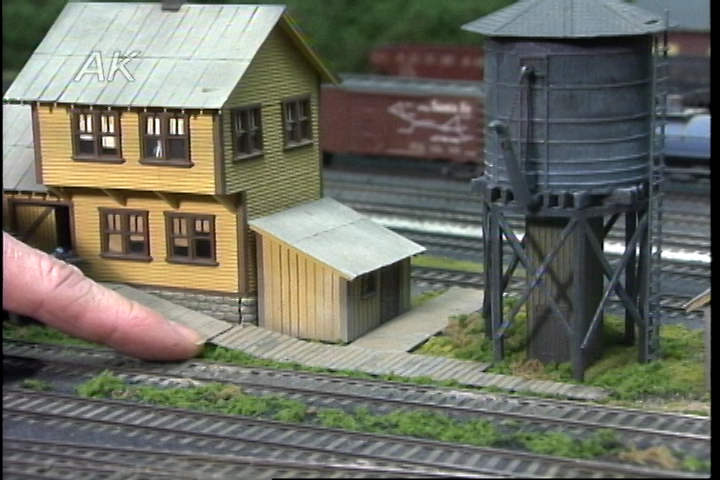
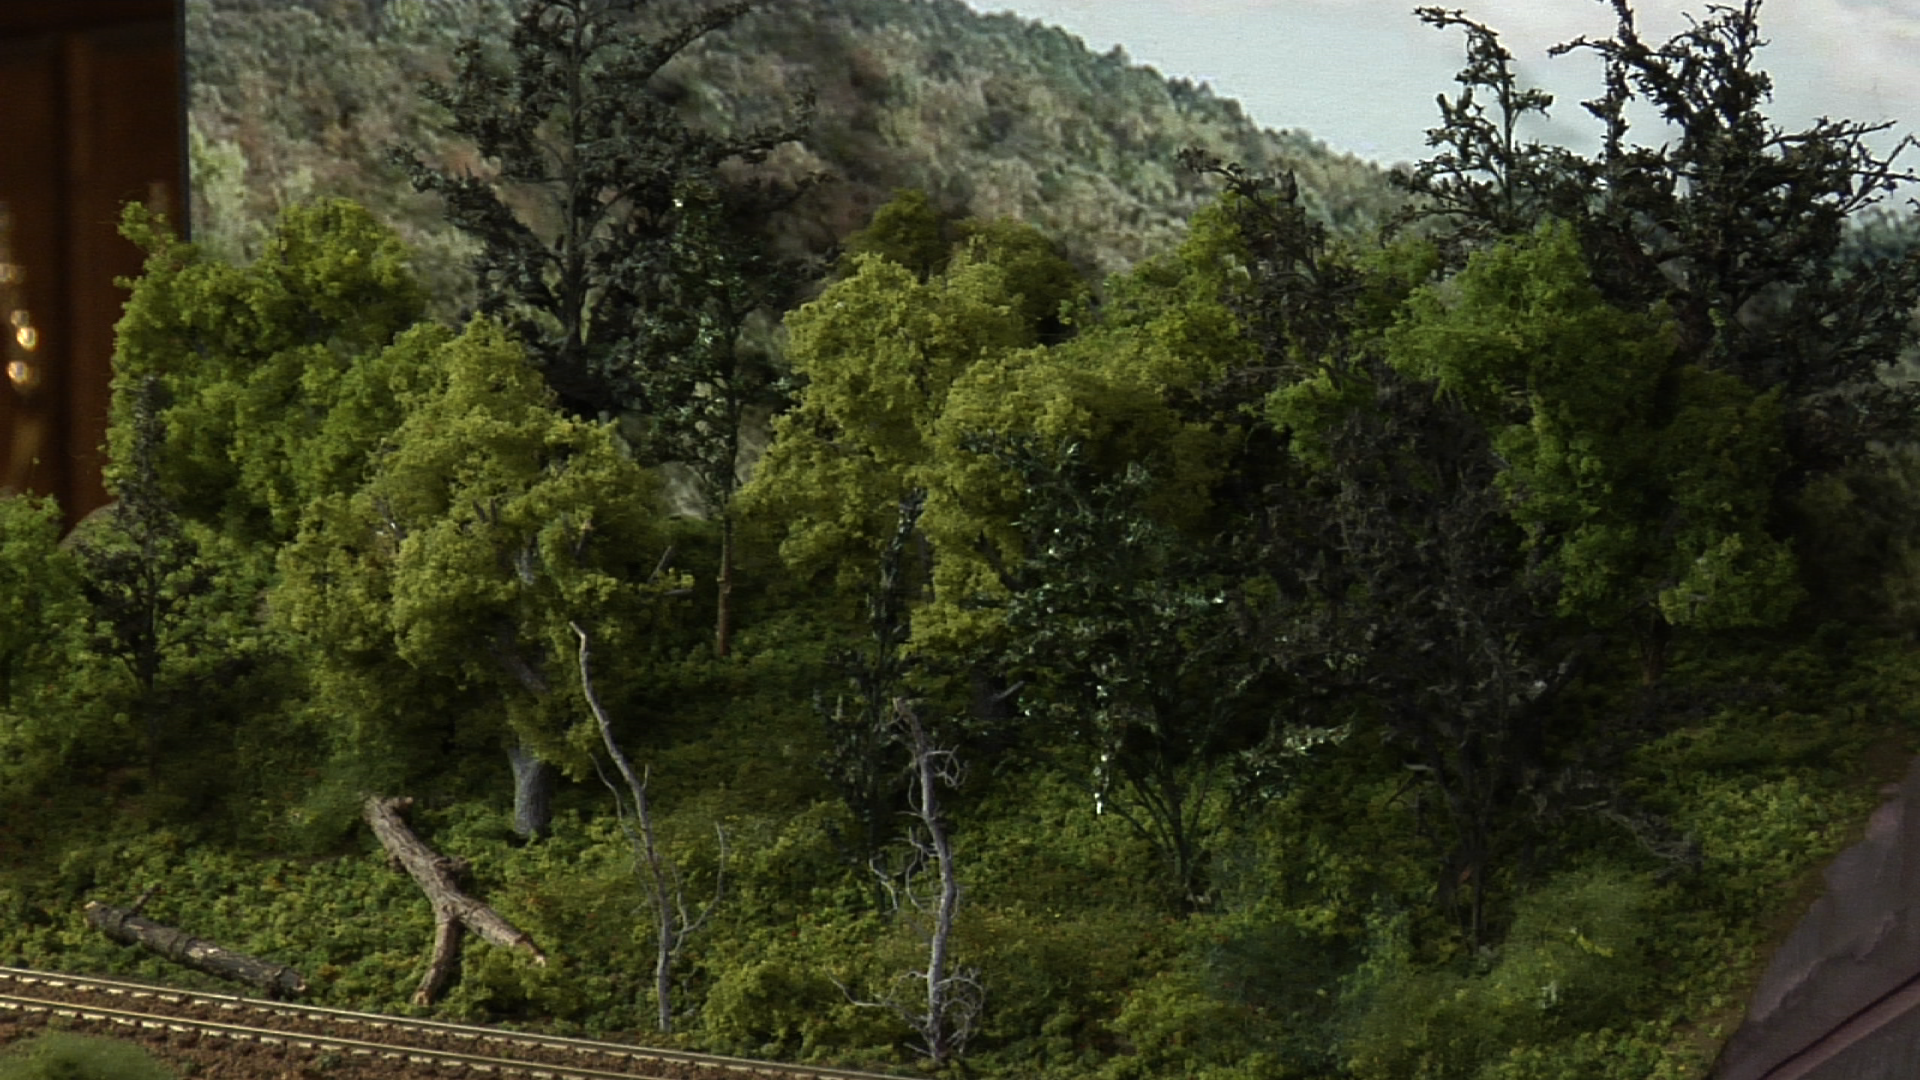
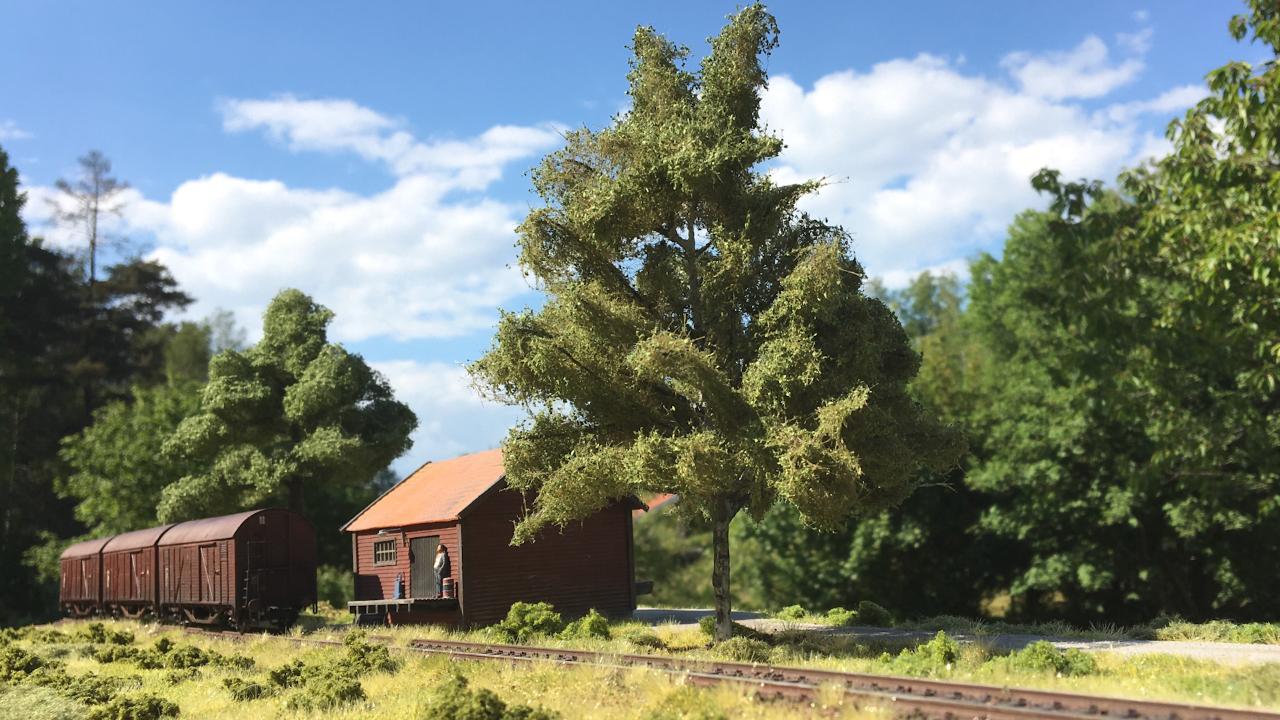
Dick ElwellAll the scenic material used on the Hoosac Valley Railroad comes from Dick Elwell’s backyard. Using natural materials such as soil from the earth on your model railway roads enhances your layout and brings the realism to new levels. You can purchase materials from a craft store to create model railway roads, but why not use free and easily accessible materials?
Detailing Model Railway Roads
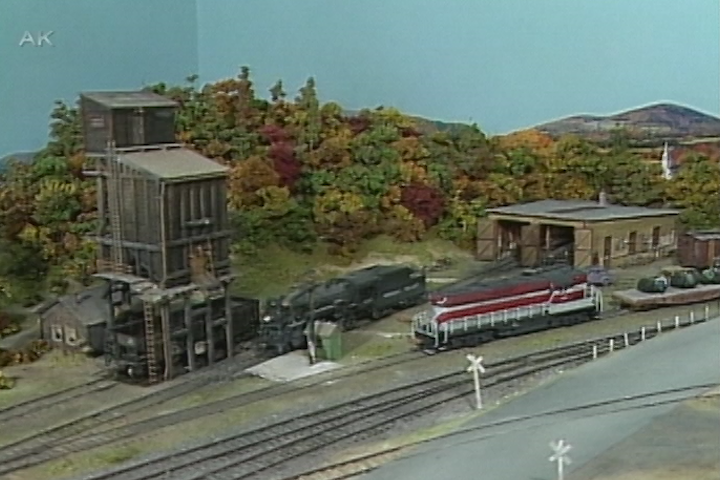
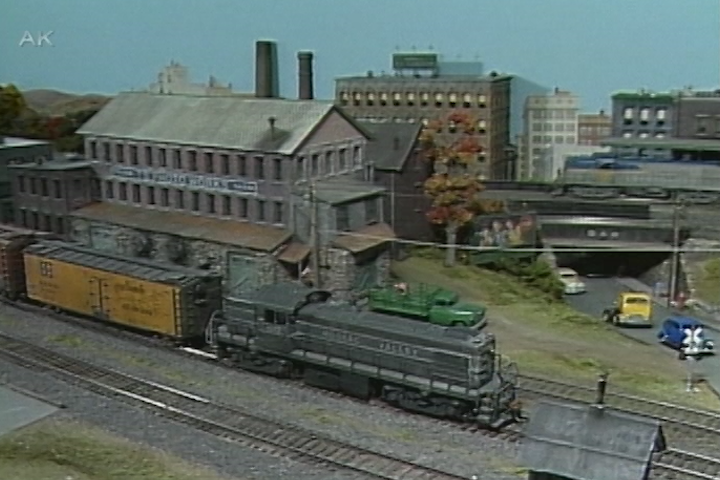
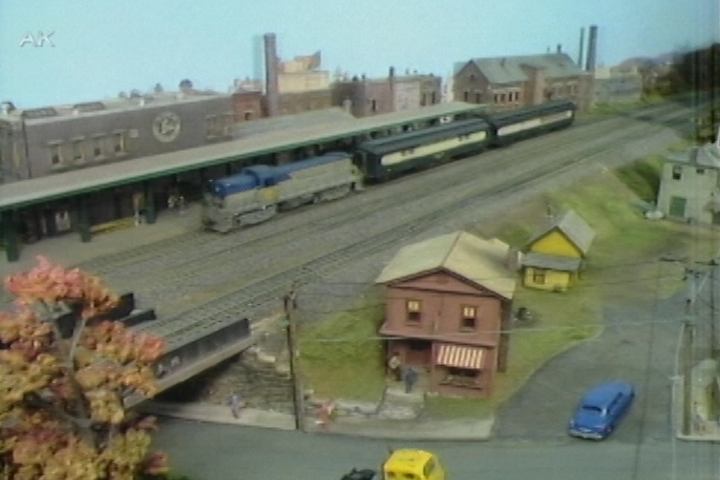
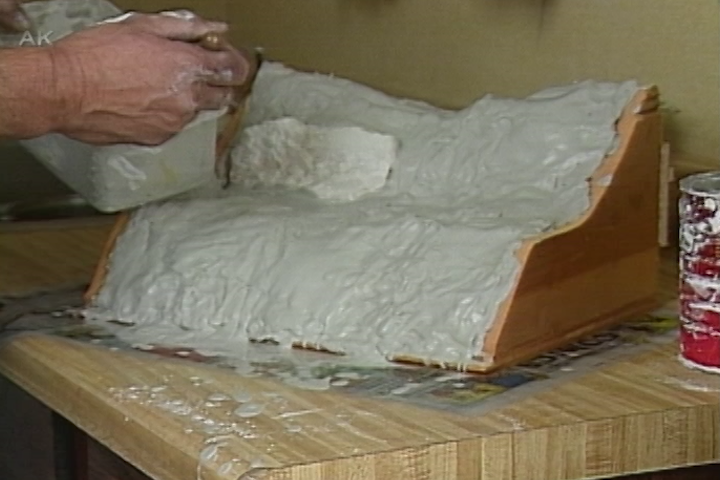
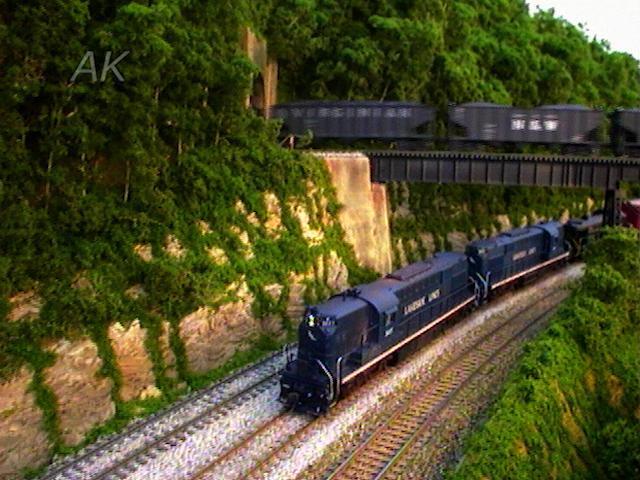
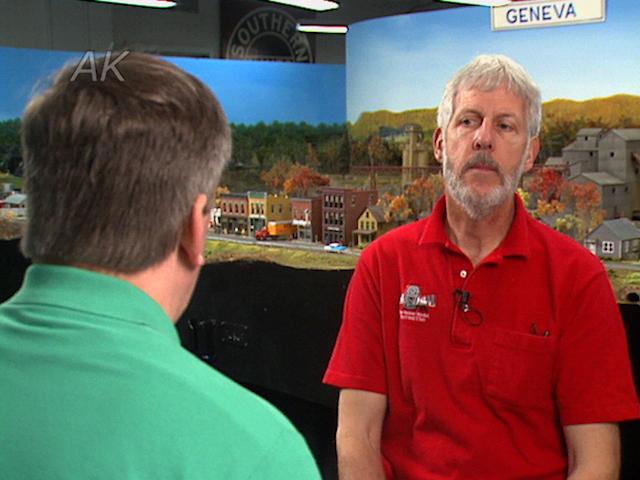
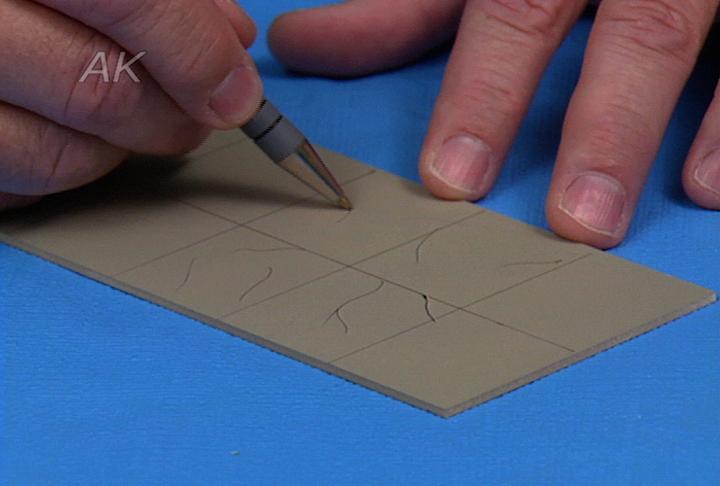
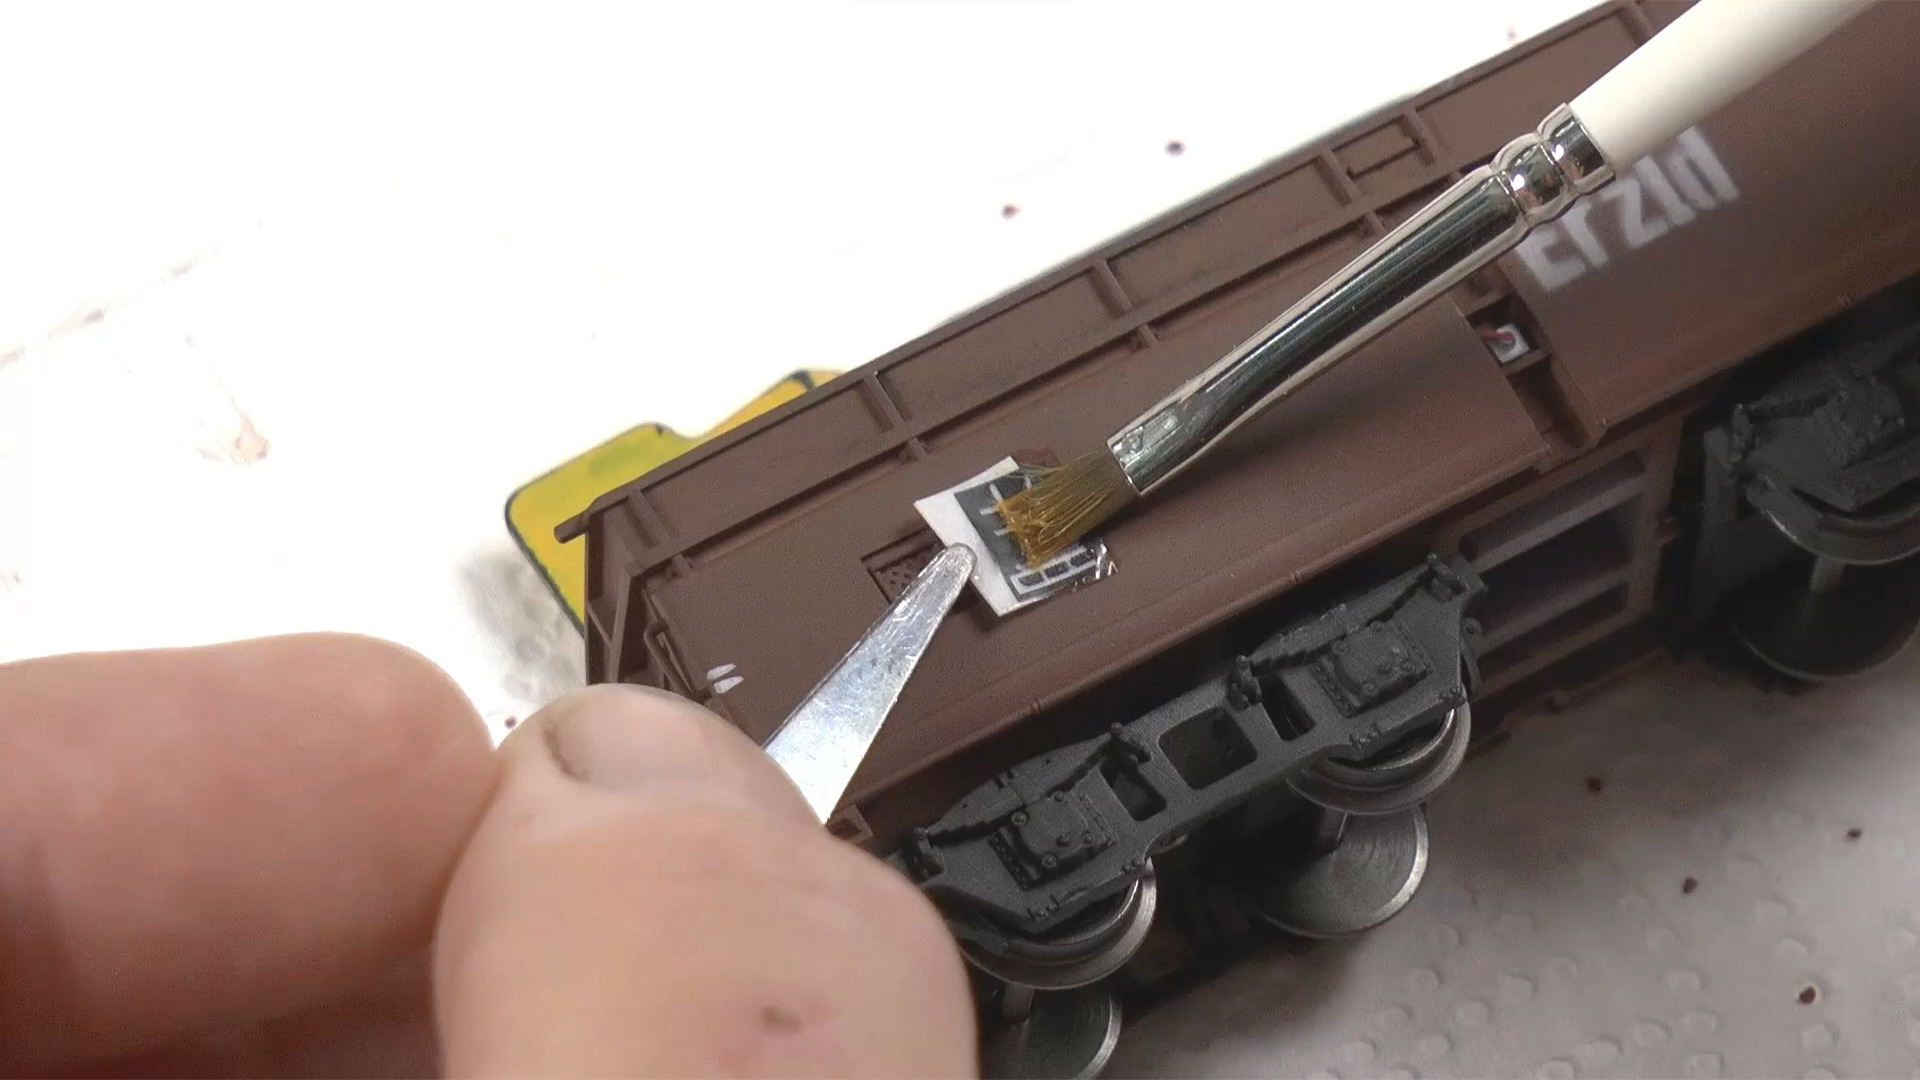
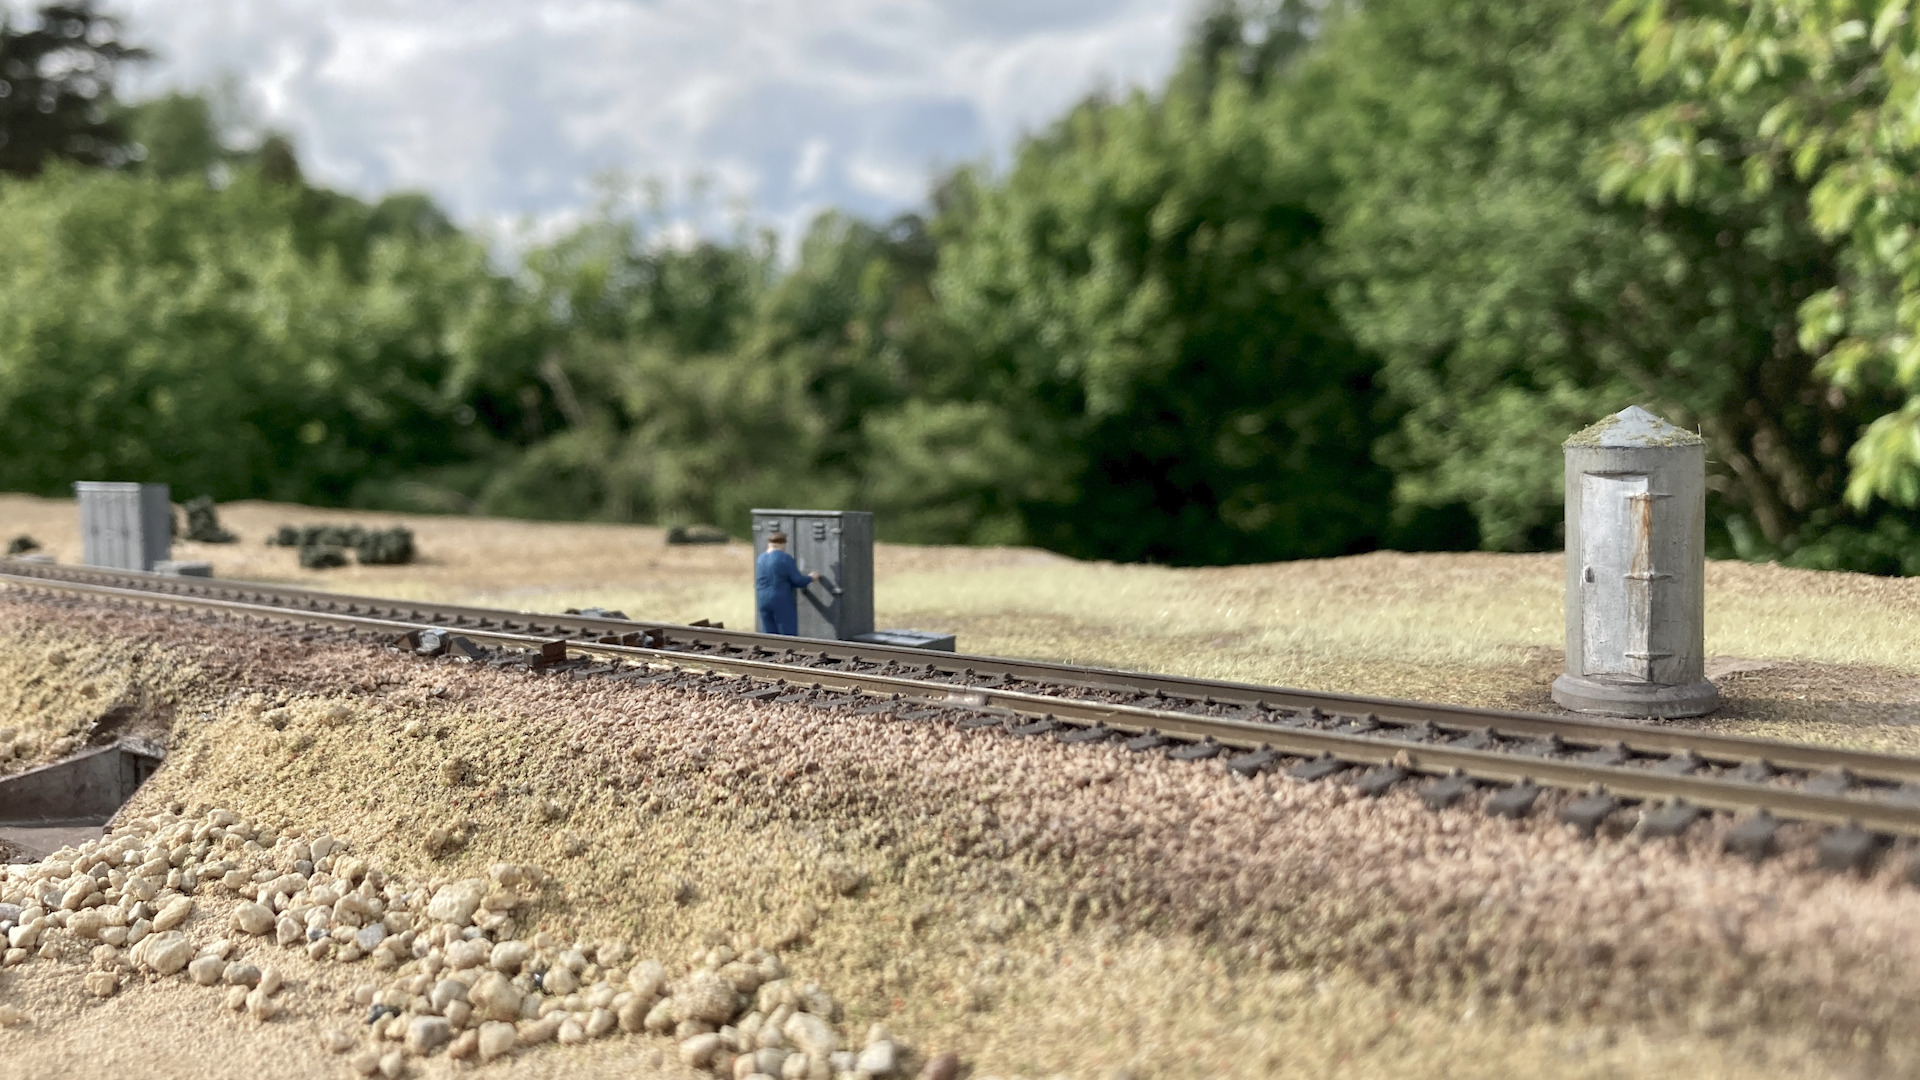
In part eight of the 10-part Hoosac Valley series, Dick Elwell gives a tutorial on detailing dirt roads for your model railroad. He creates the dirt road on top of the previous mountain mold he demonstrated in episode six of the series. Allen guides the tutorial by asking questions as Dick builds the road.
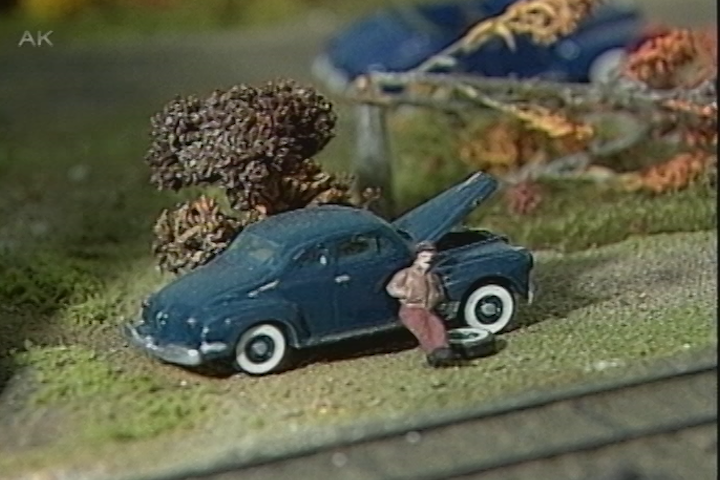
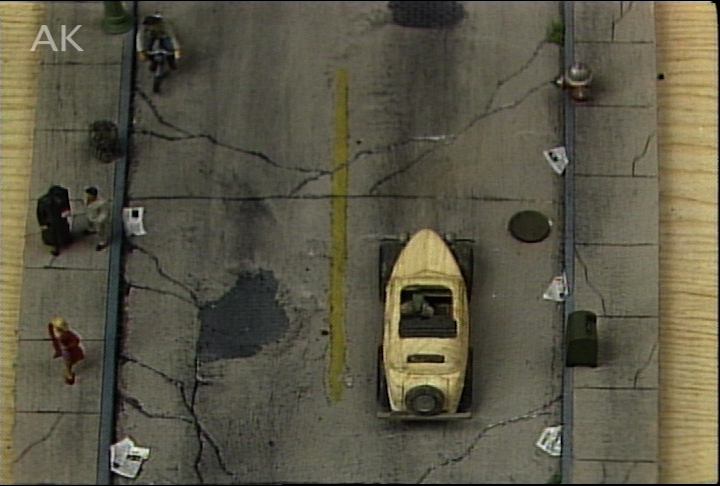
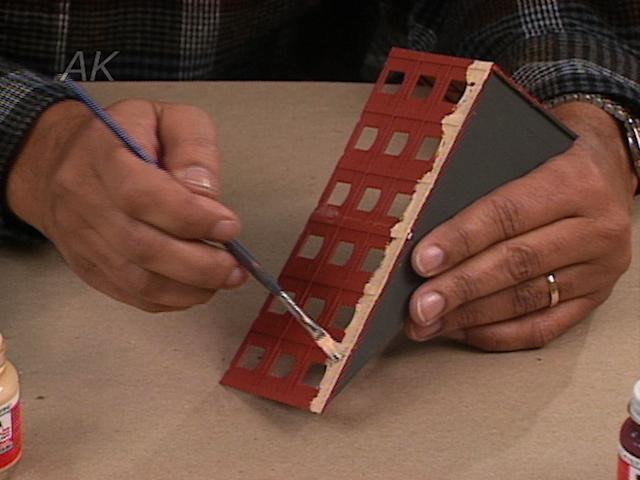
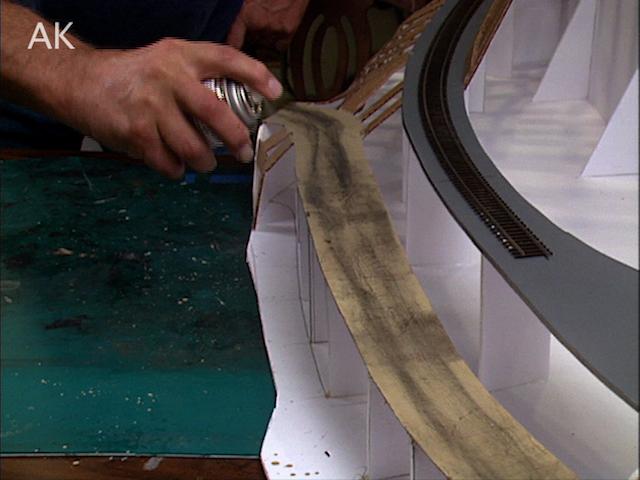
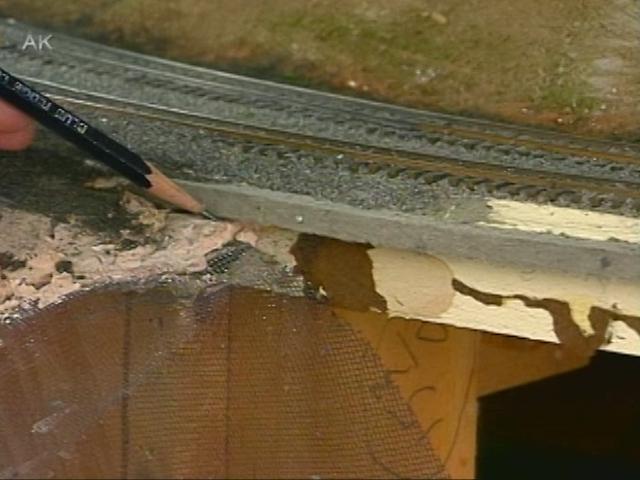
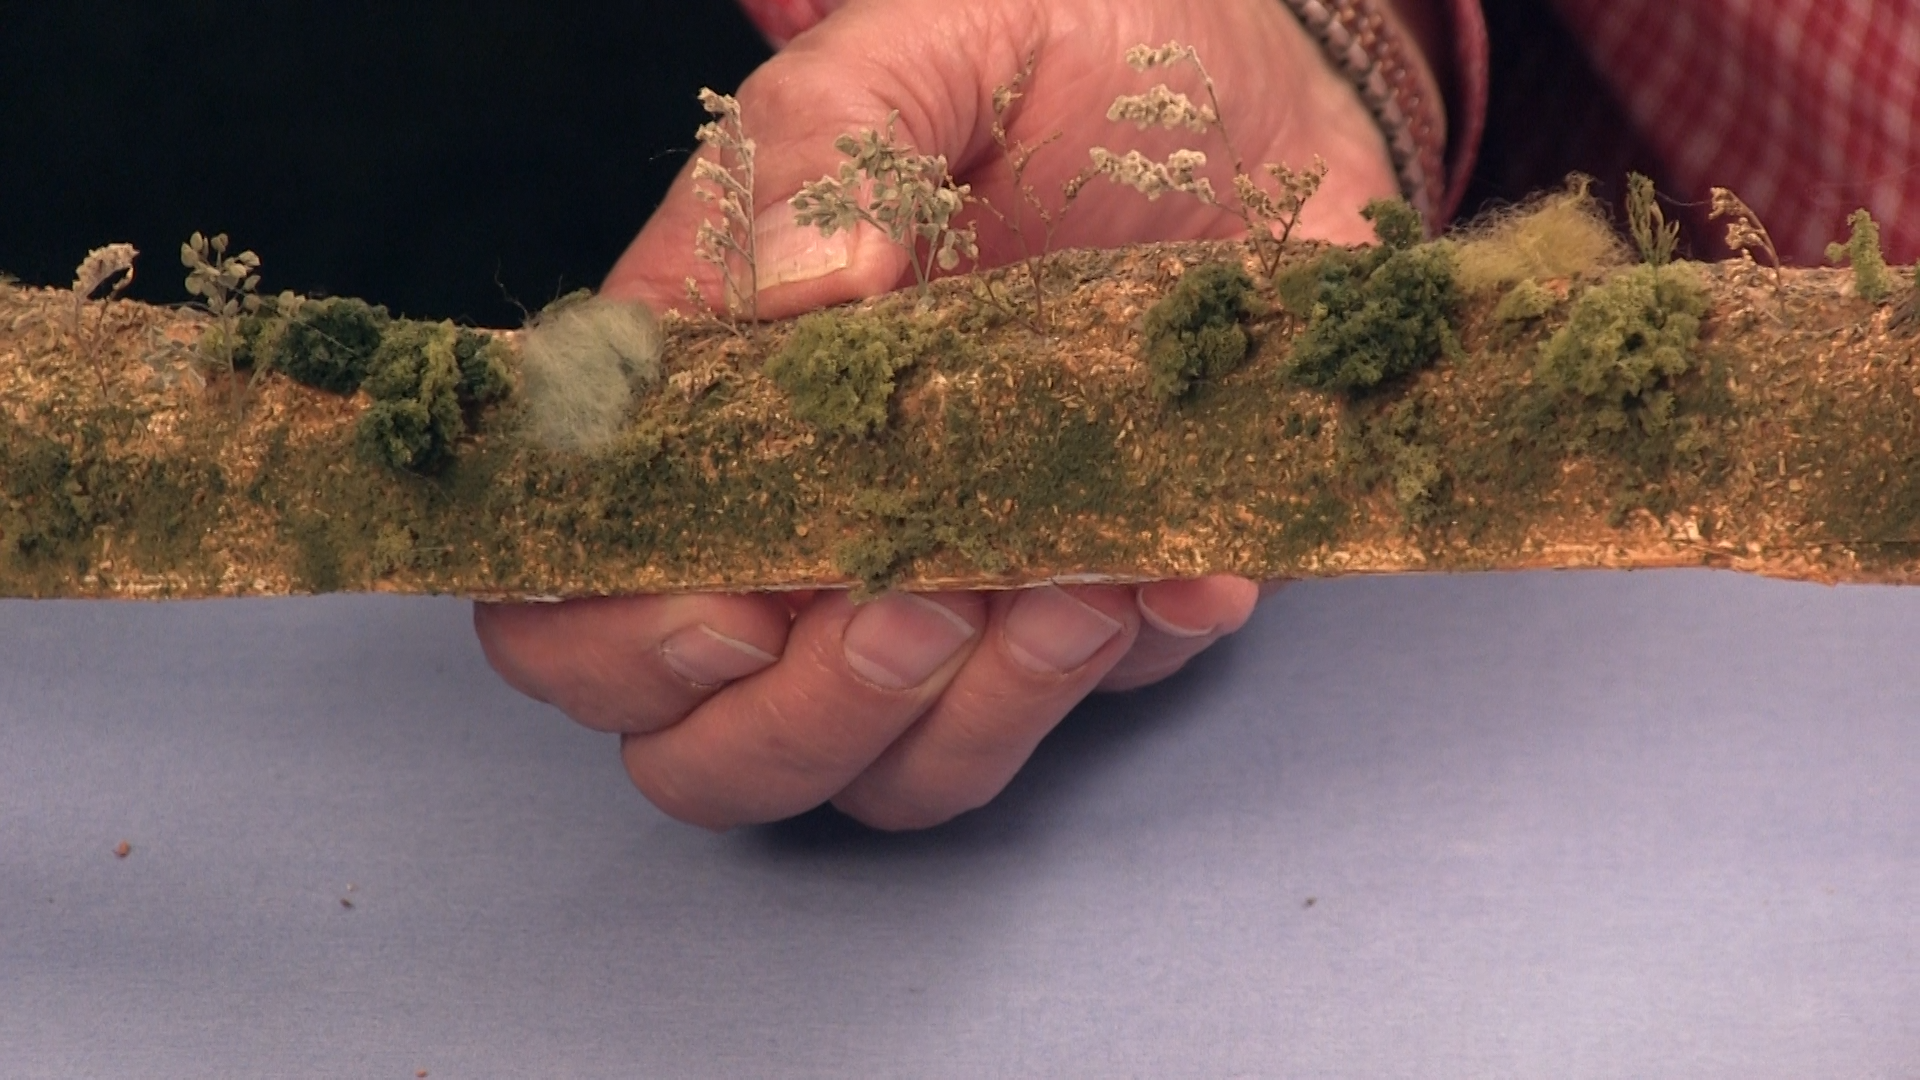
Model railway roads are formed using several layers of sand, white glue, water, and dry paint. Dick begins with a base of heavy-grade sand to smooth out the road. He wets the sand down before placing a layer of white glue. Then, Dick places a layer of dark dirt to cover the sand. A layer of lighter dirt serves as the top coat. After letting the road dry overnight, Dick dry brushes the dirt to highlight the rock. The final step is to sand down the lumps and then sprinkle down a layer of cement-color dry paint. This tutorial results in rough and muddy model railway roads.
Give this tutorial a try and make your very own model railway roads. Keep watching, as there are only two episodes left of the Hoosac Valley series. Allen and Dick still have a bulk of expertise to share through guidance in model railroading tutorials.
Explore videos by Dick Elwell

You may be interested in


Premium Membership
Unlock exclusive member content from our industry experts.
- 24/7 Access to Premium Model Railroading Videos, Projects, and Tips
- Step-by-Step Instructional Guides & Layout Plans
- 50% Off Video Downloads Purchased in the Model Railroad Academy Shop
- Access to Ask the Expert Program
Unlock exclusive member content from our industry experts.
- 24/7 Access to Premium Model Railroading Videos, Projects, and Tips
- Step-by-Step Instructional Guides & Layout Plans
- 3 Full-Length Video Downloads to Watch Offline
- 50% Off Video Downloads Purchased in the Model Railroad Academy Shop
- Access to Ask the Expert Program
Gold Membership
$326 Value
Get everything included in Premium plus exclusive Gold Membership benefits.
- 24/7 Access to Premium Model Railroading Videos, Projects, and Tips
- Step-by-Step Instructional Guides & Layout Plans
- 9 Full-Length Video Downloads to Watch Offline
- 2 Full-Length Classes to Keep for Life
- 2 Downloadable Guides
- Discounts on Purchase-to-Own Content in the Model Railroad Academy Shop
- Access to Ask the Expert Program
- Exclusive GOLD LIVE Streaming Events