
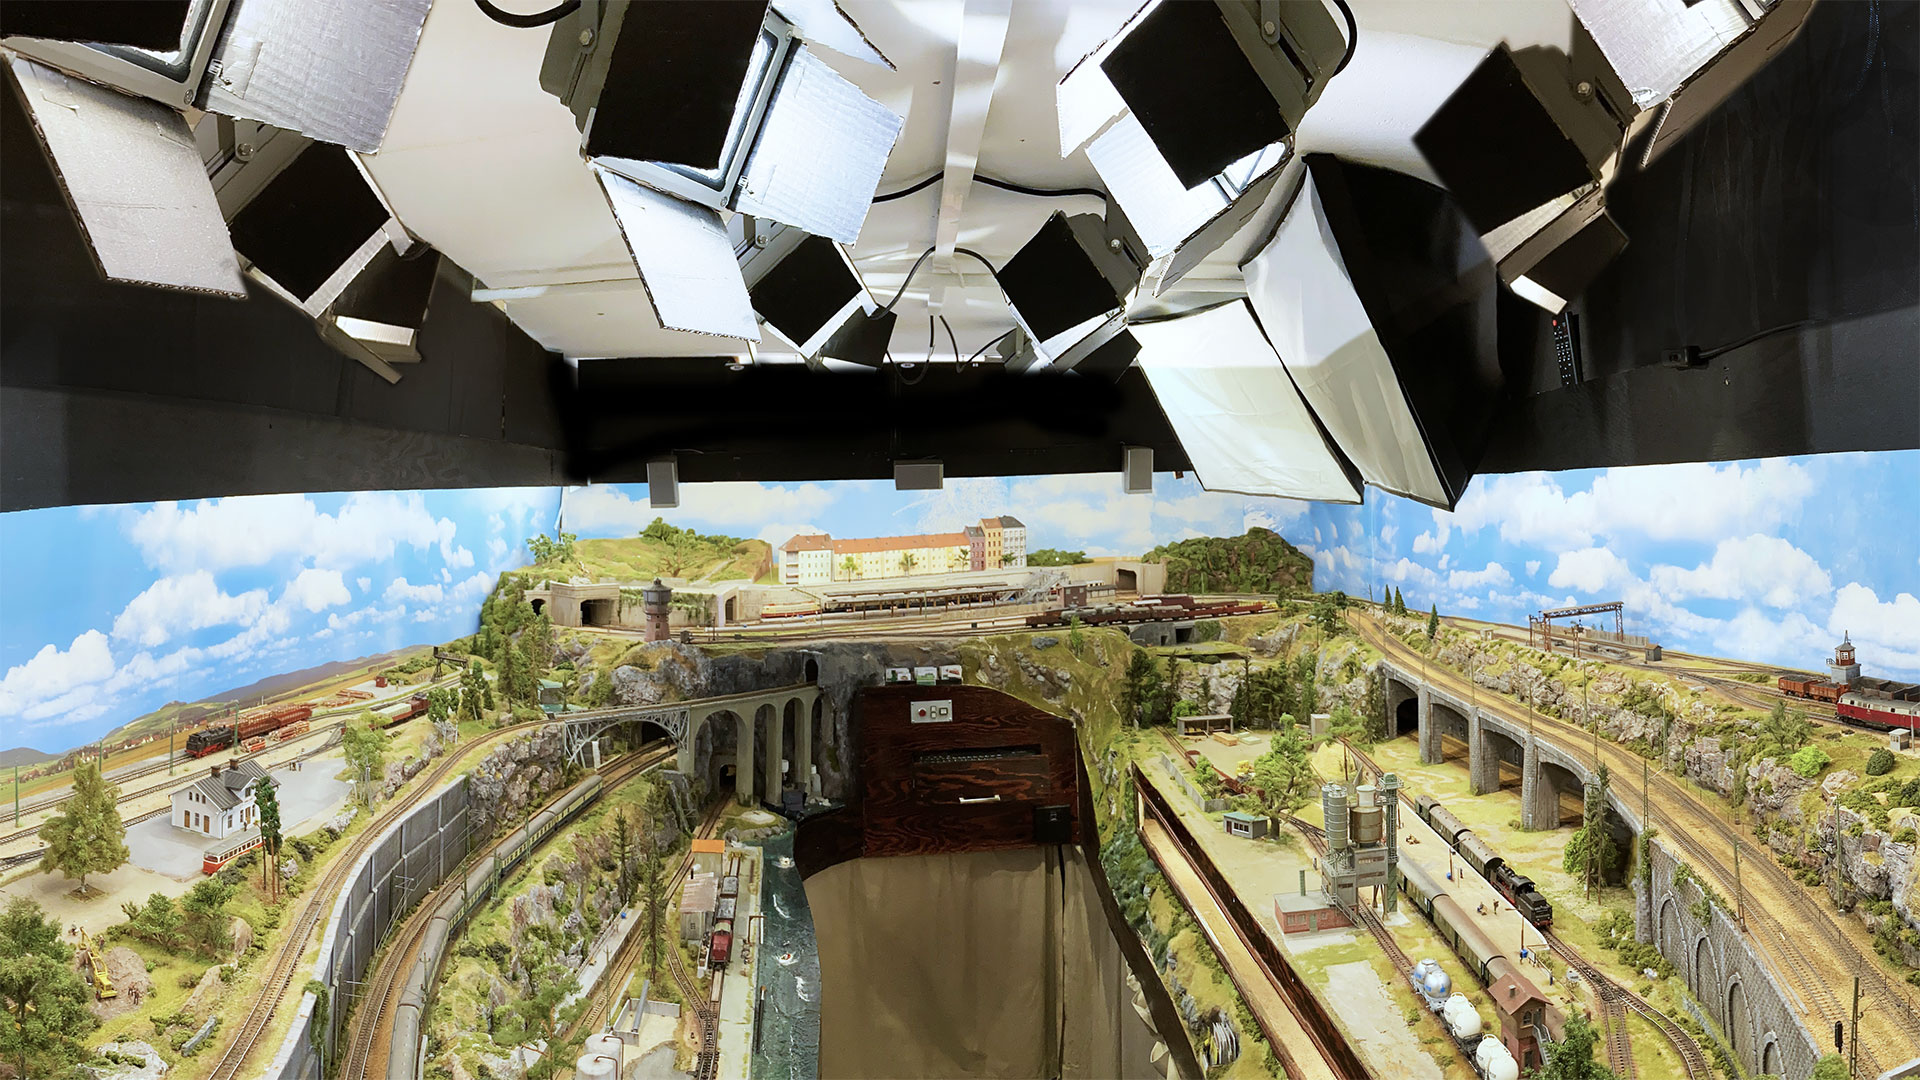
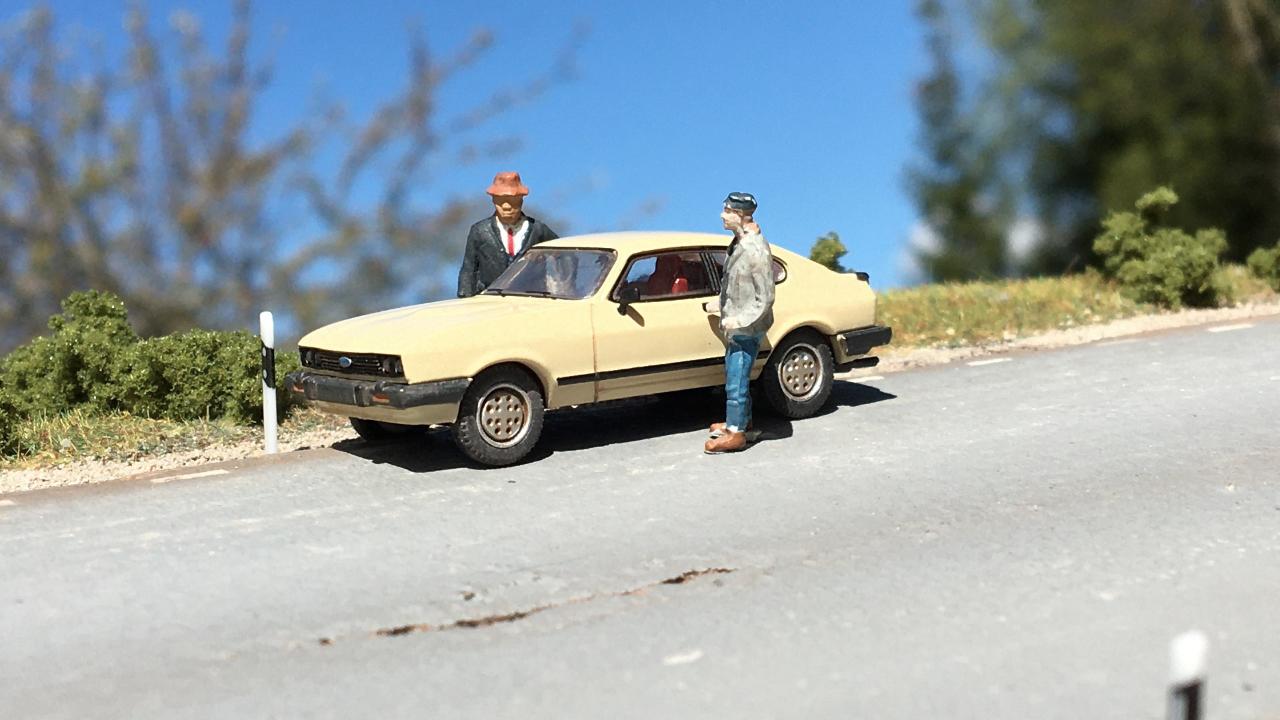
Static Grass Fundamentals with Martin Tarnrot
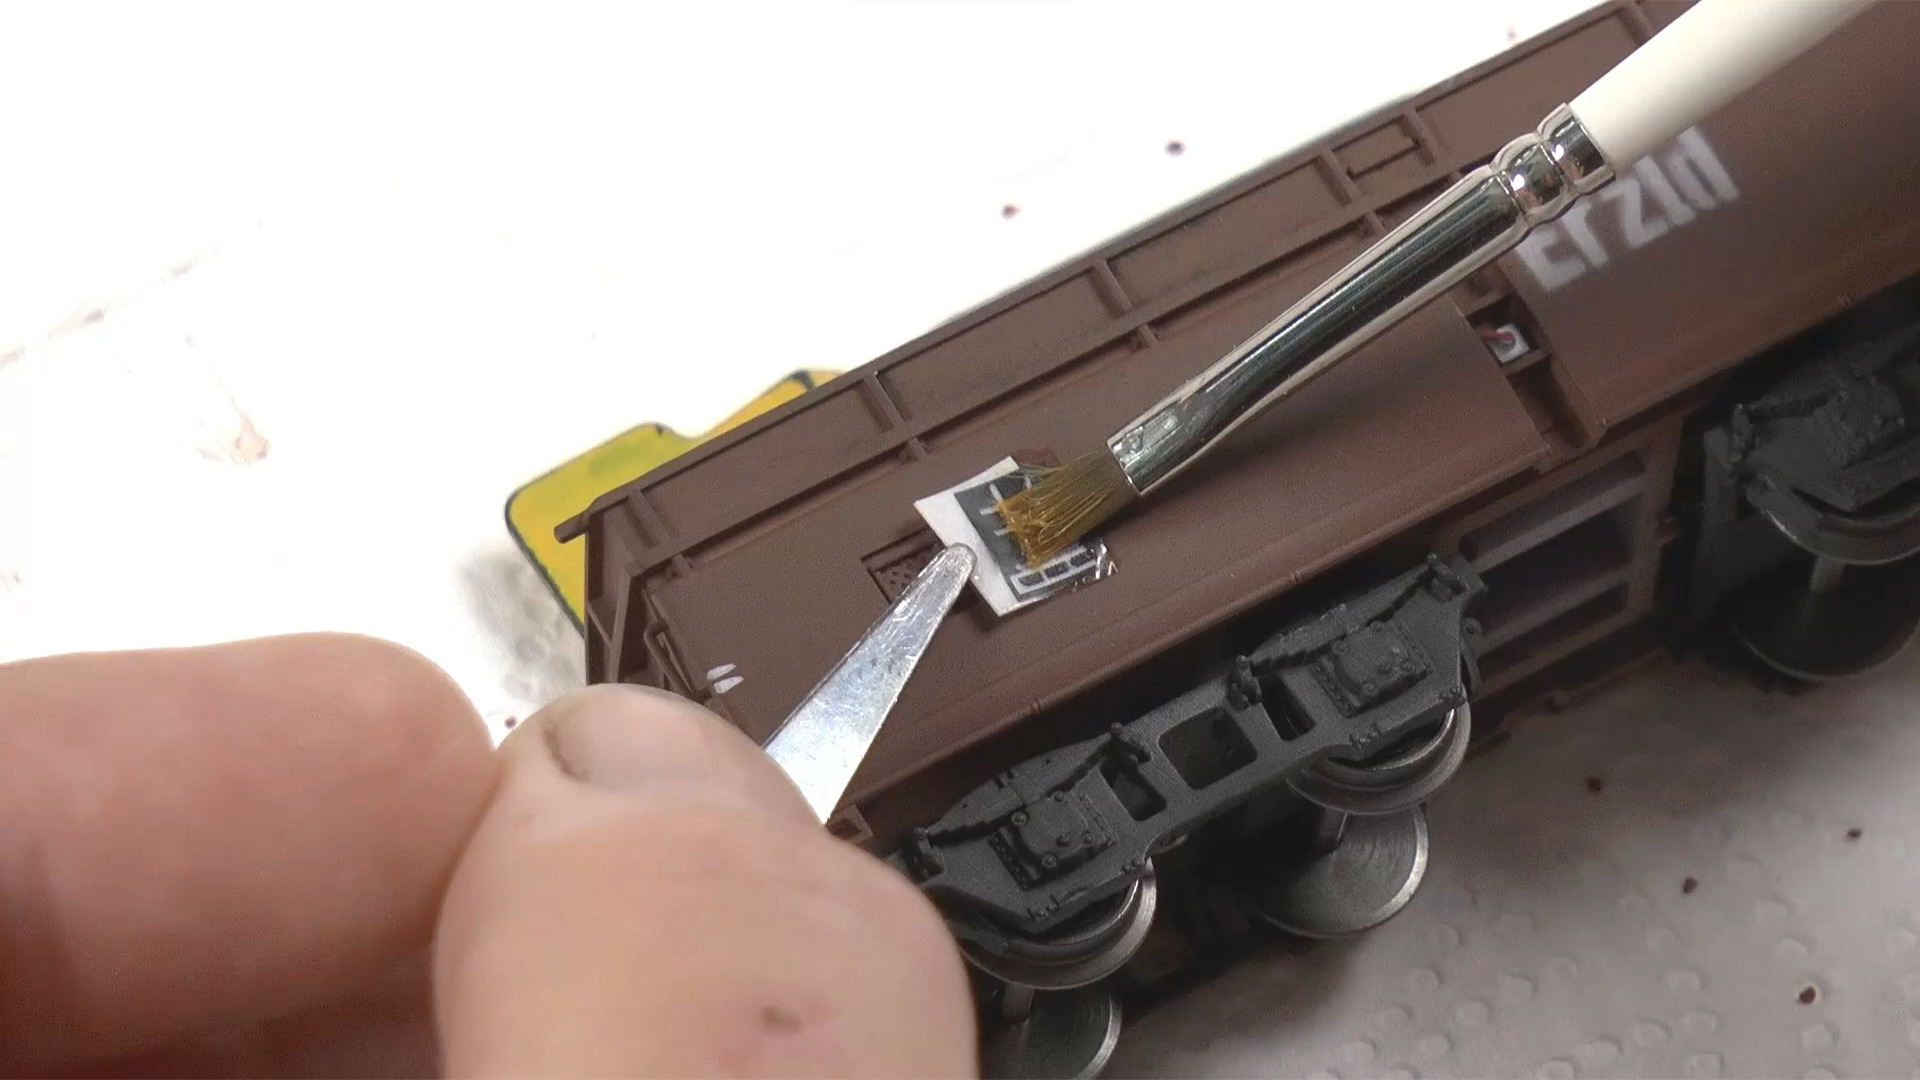
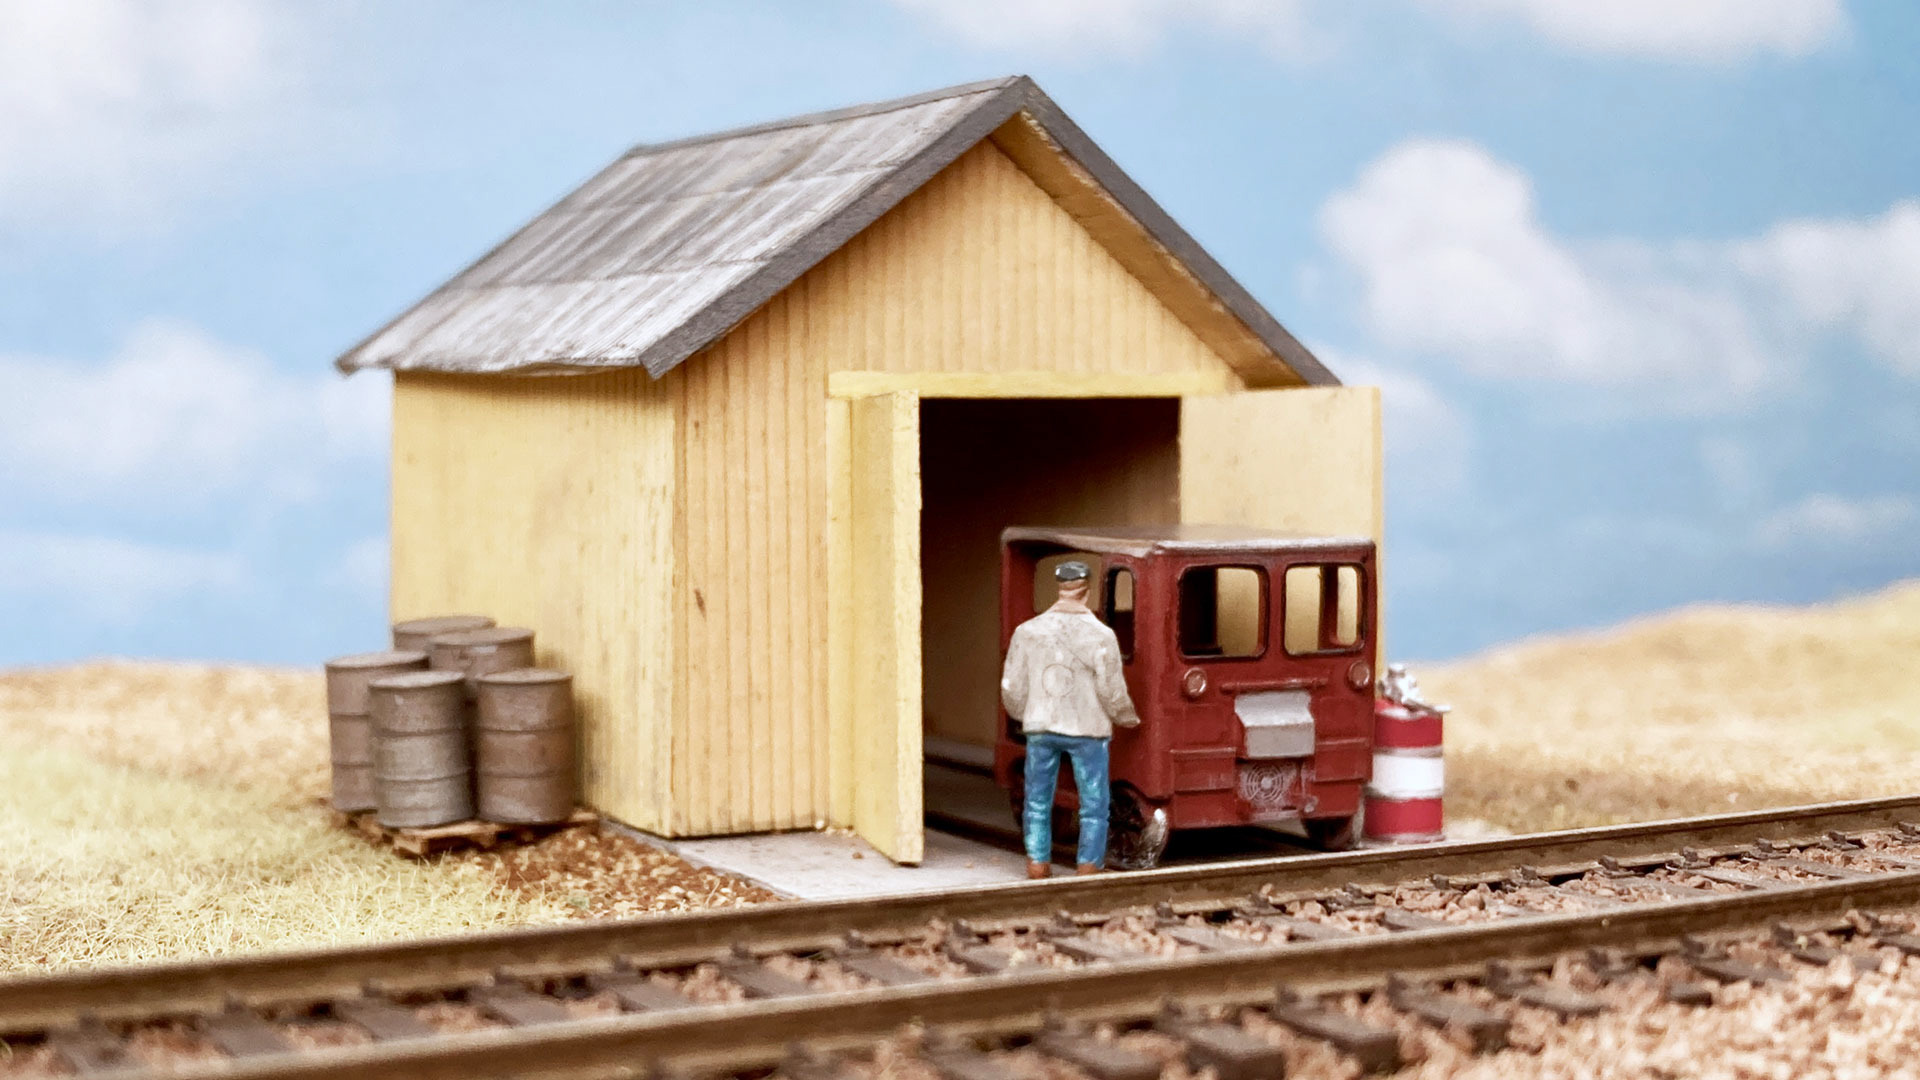
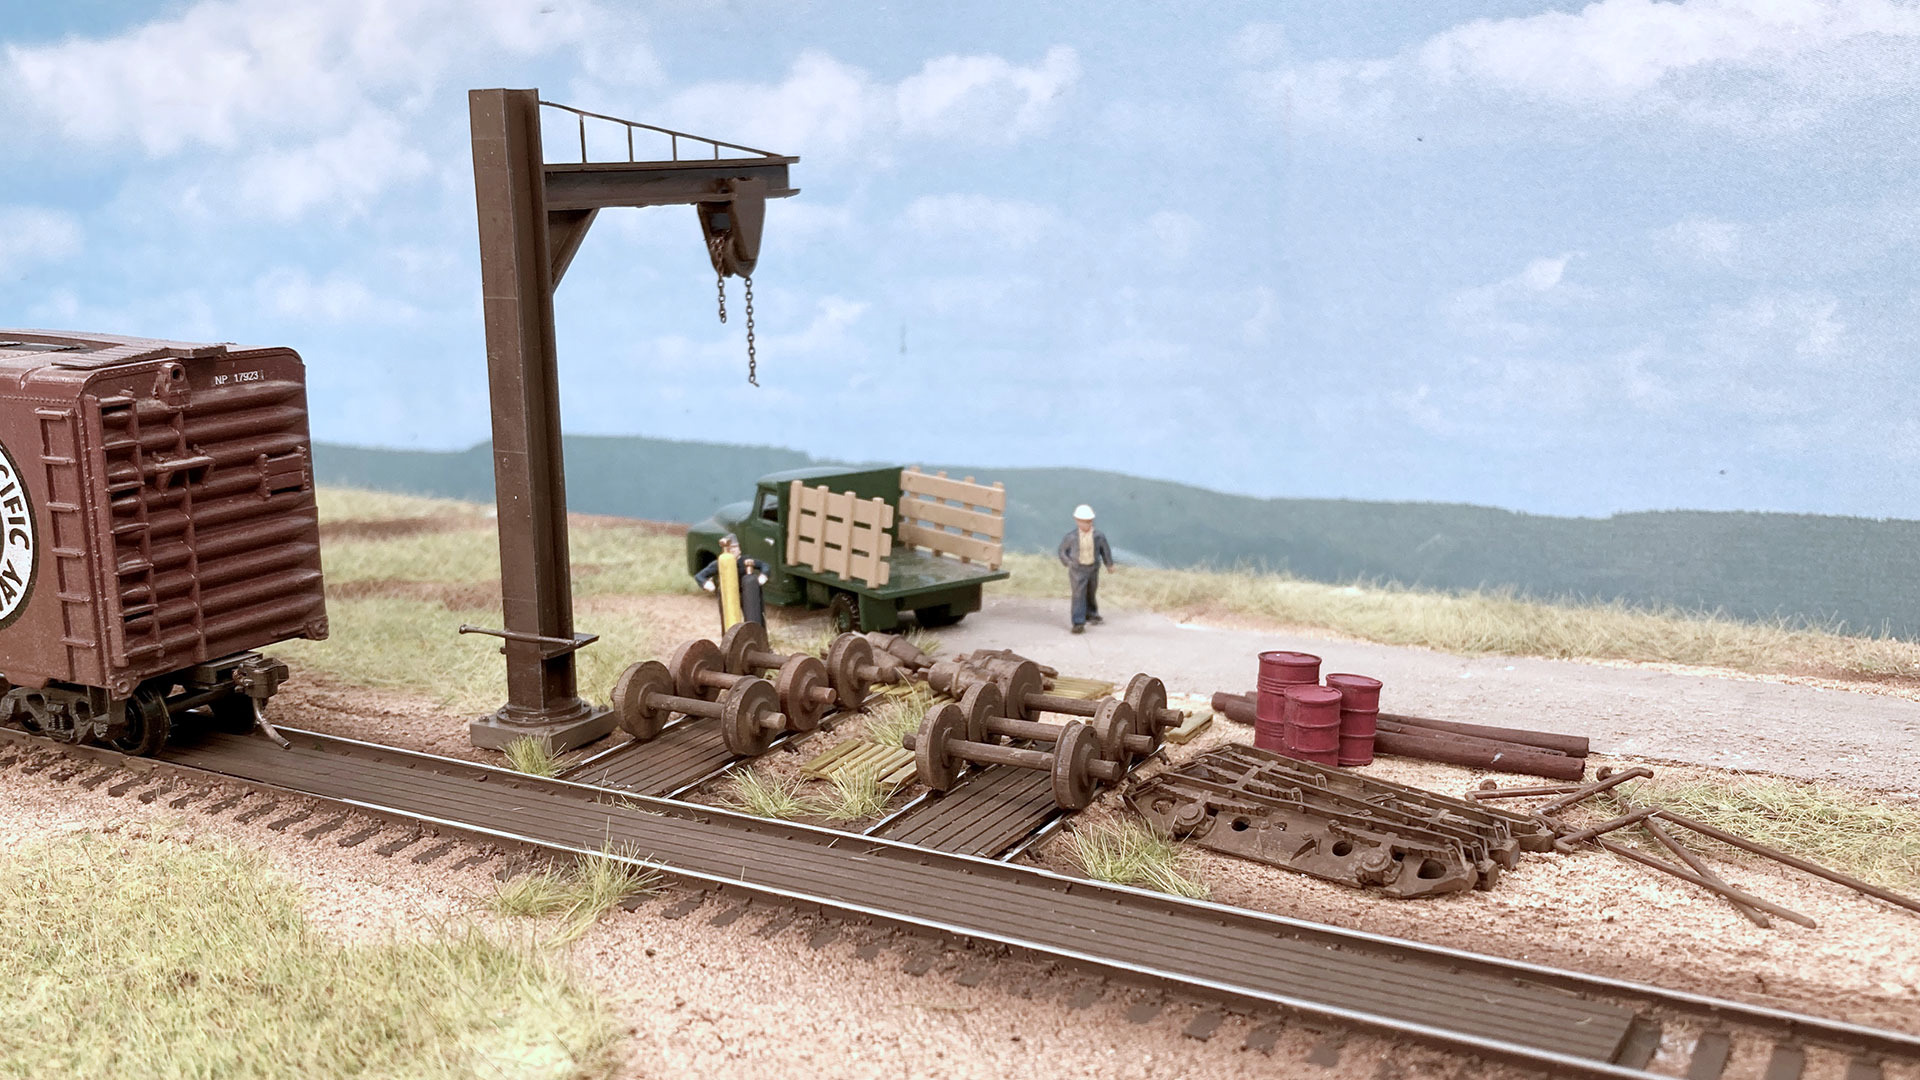
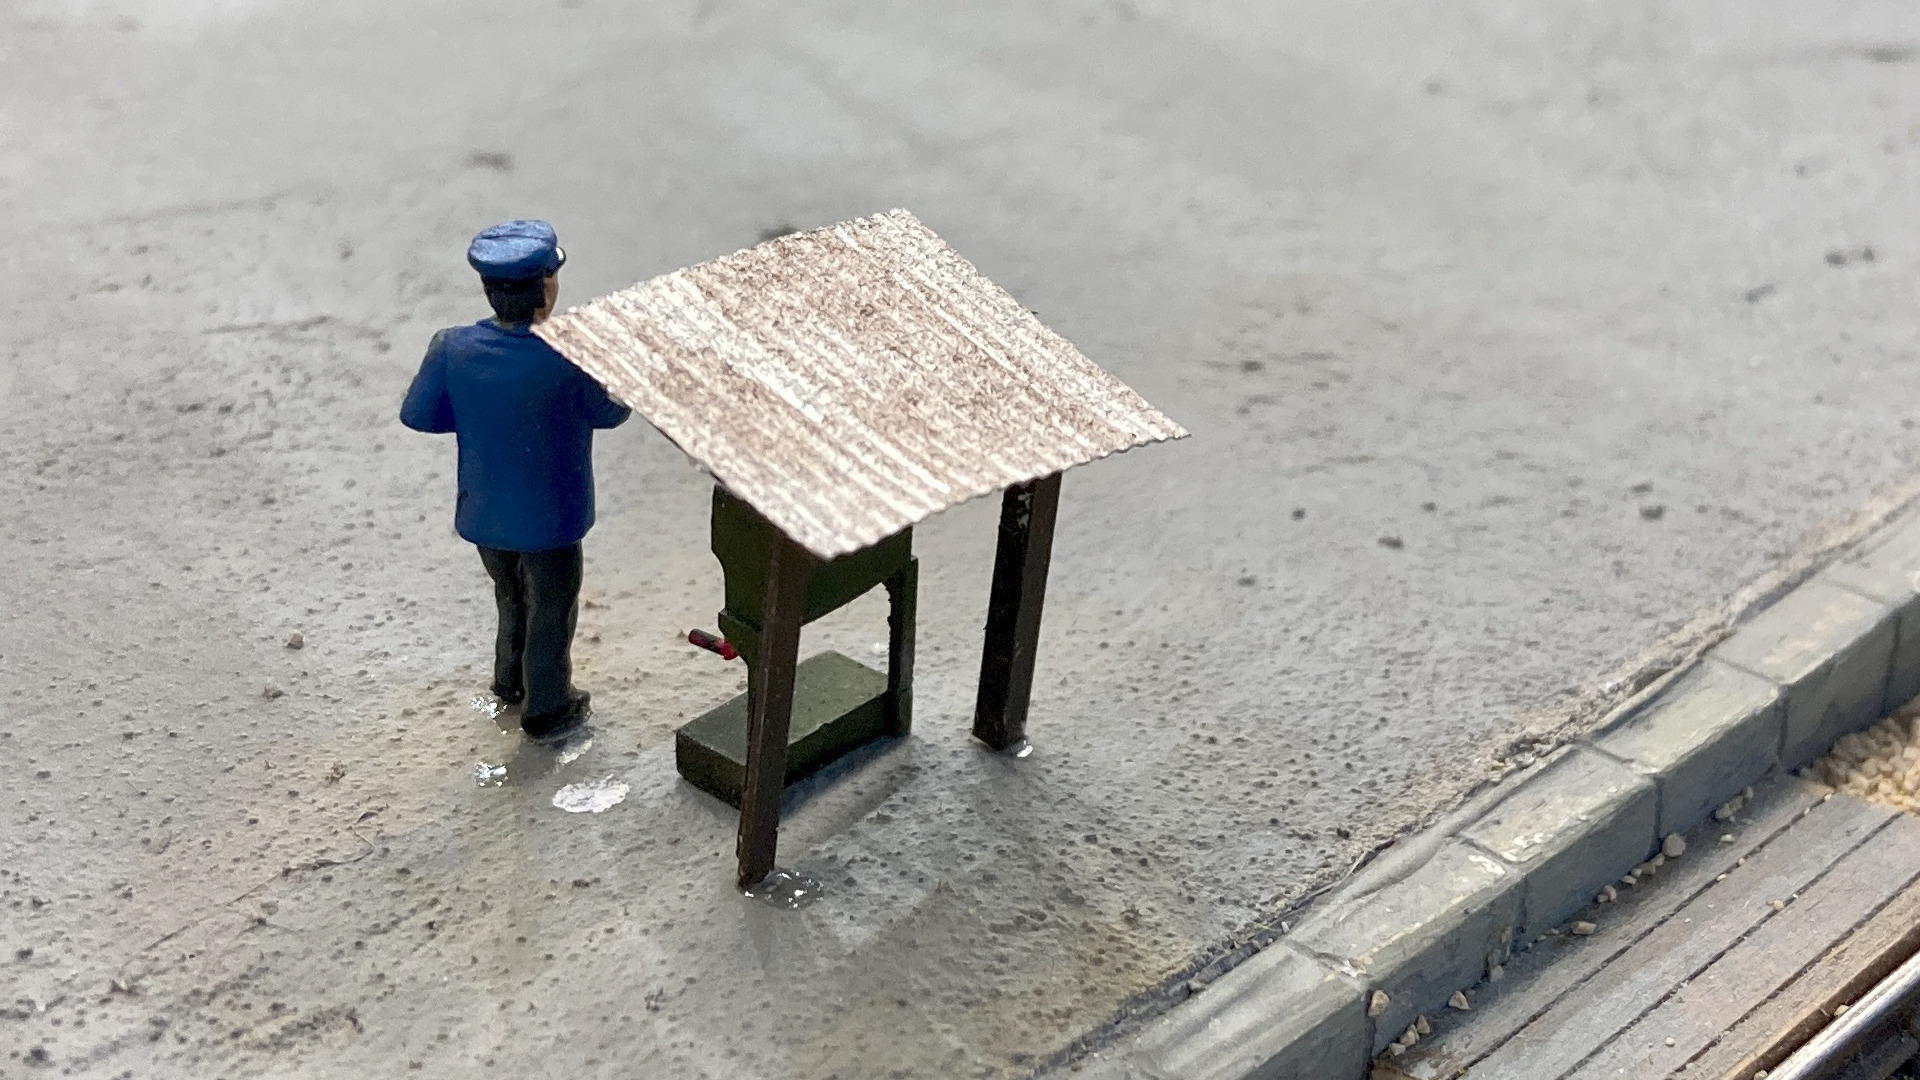
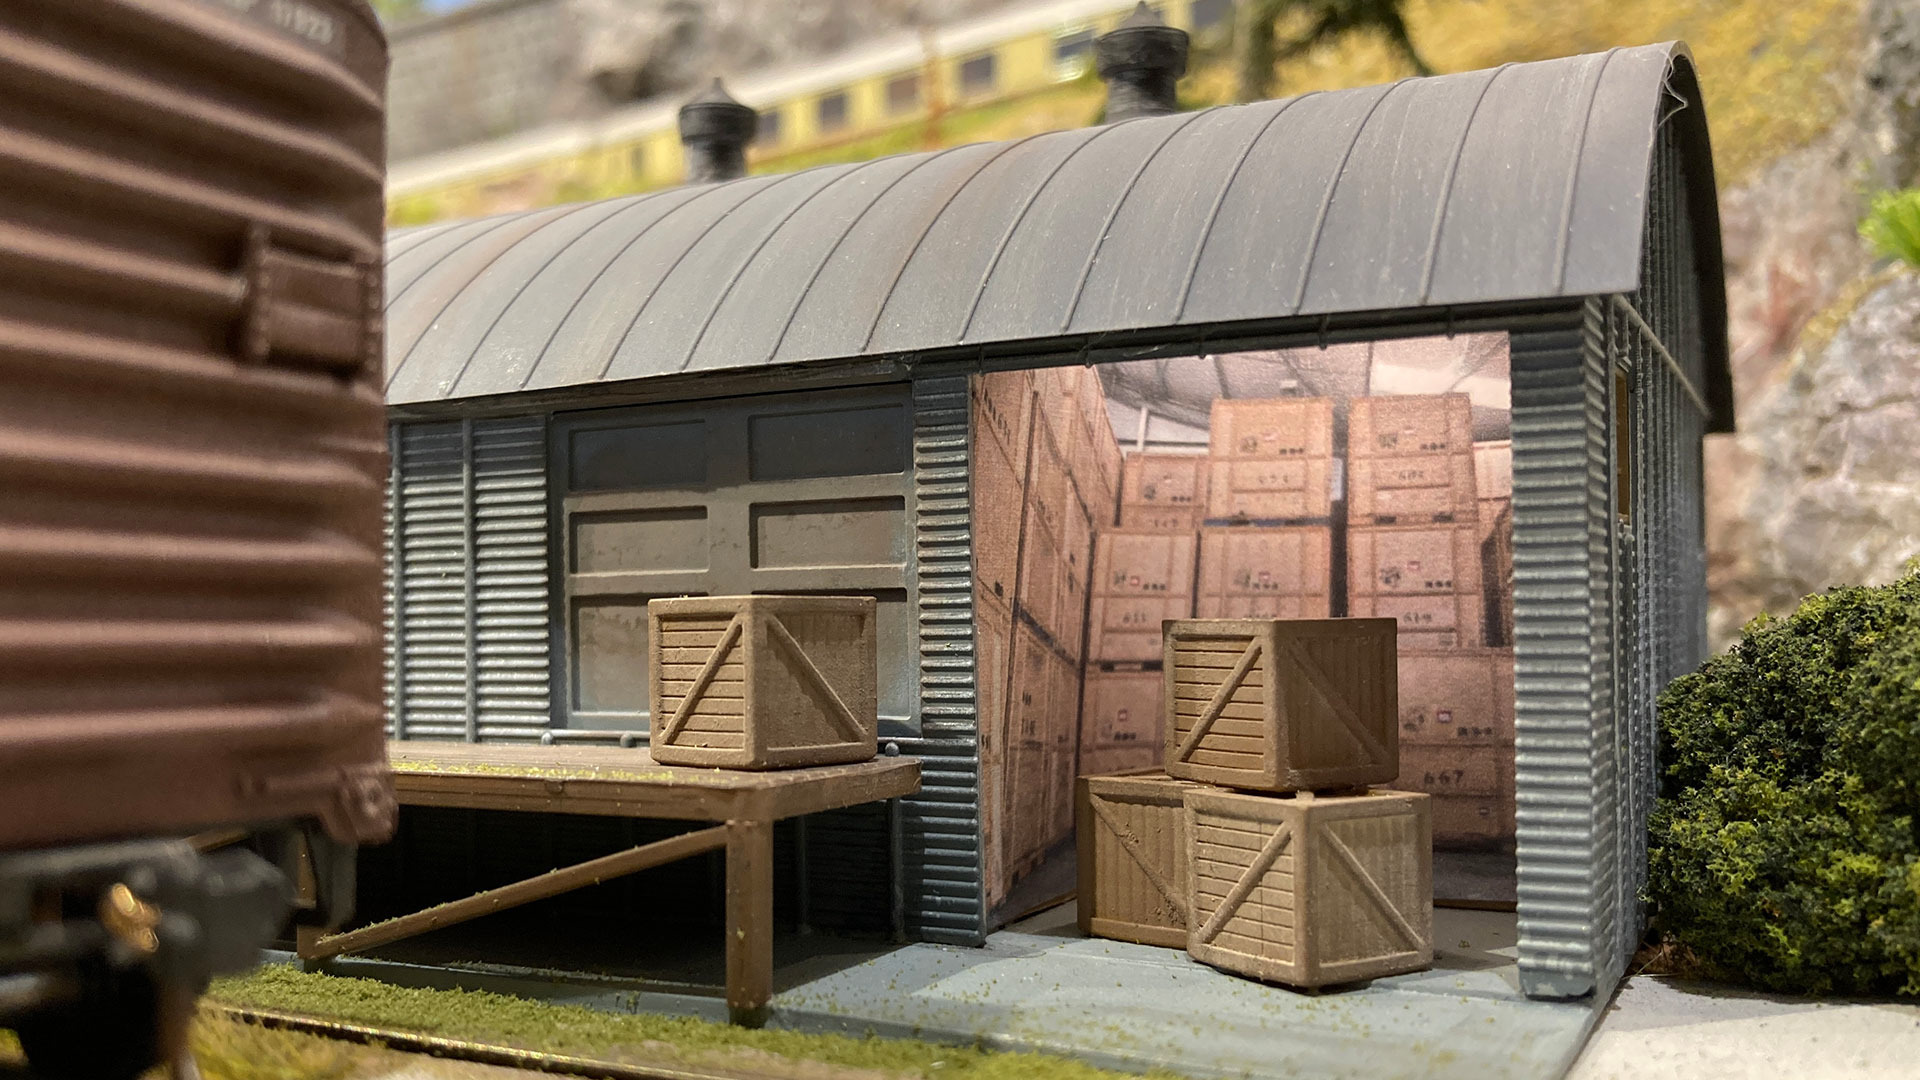
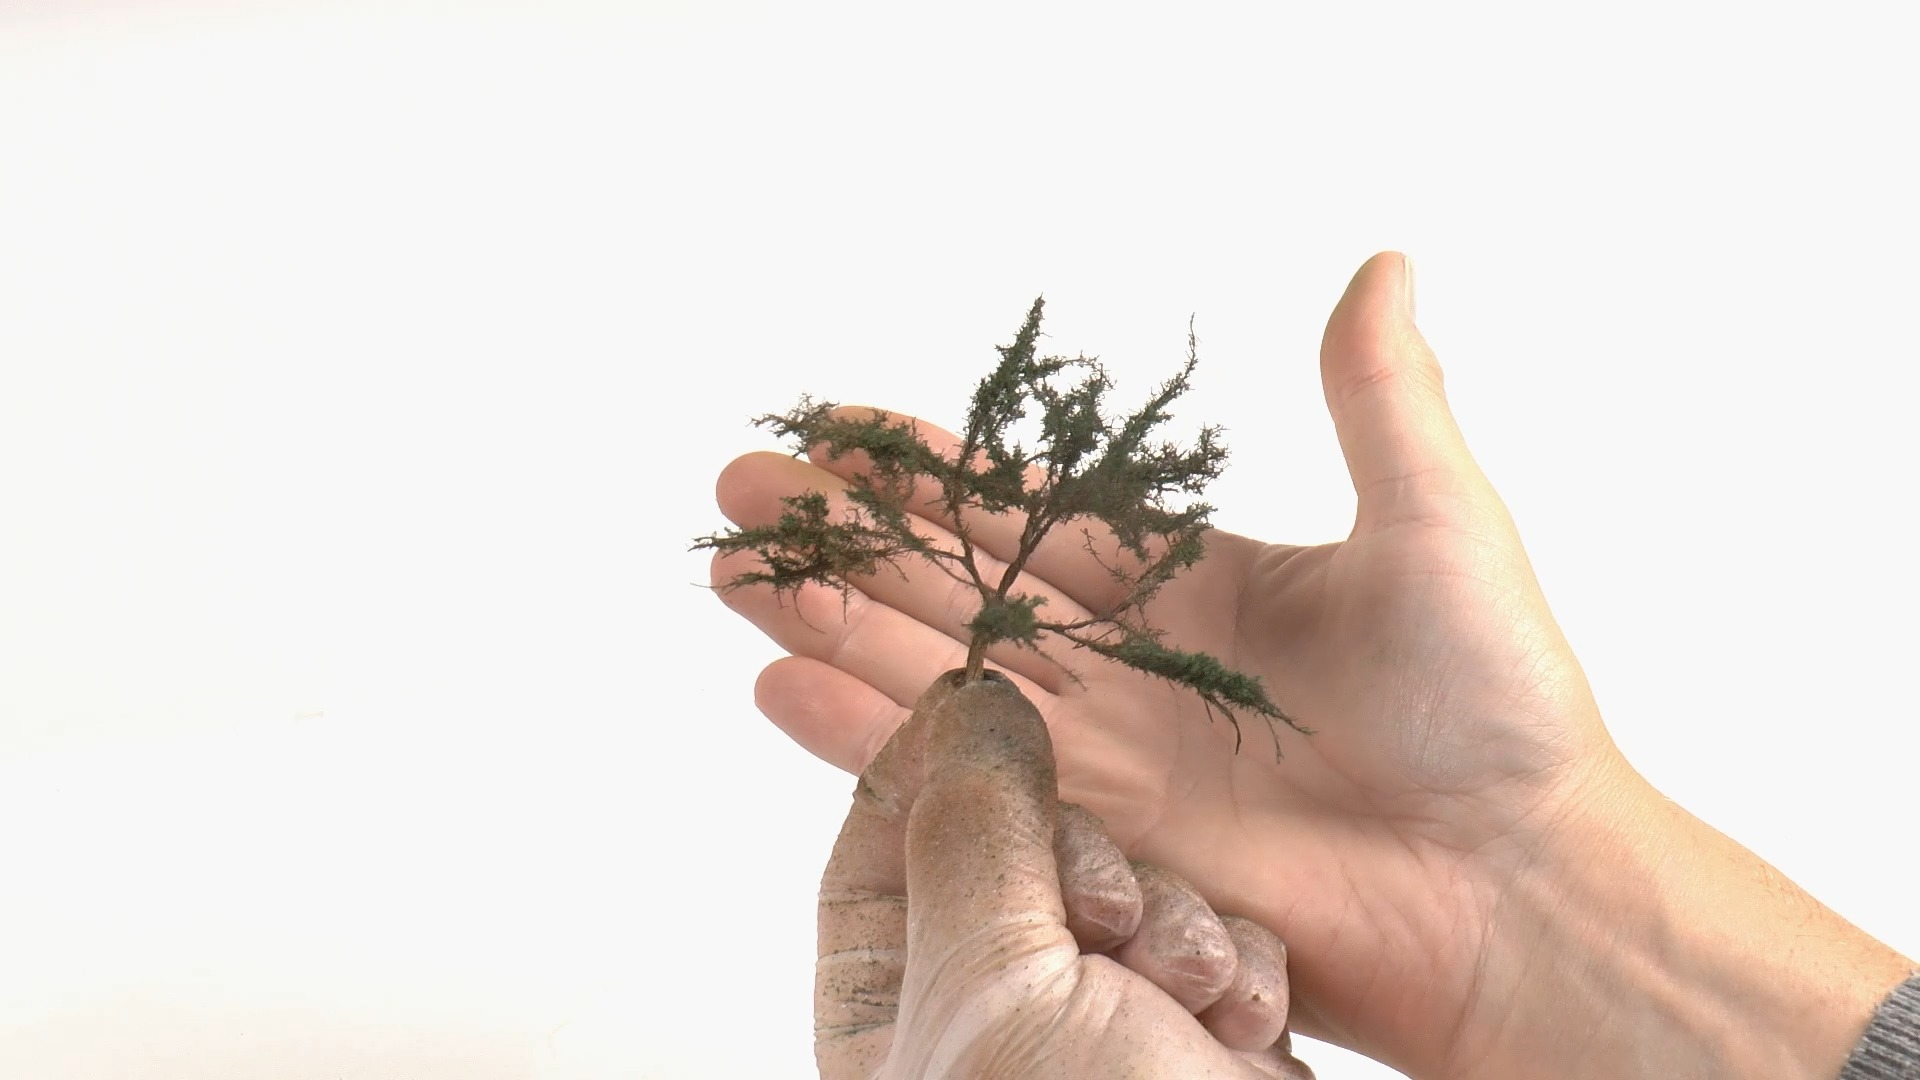
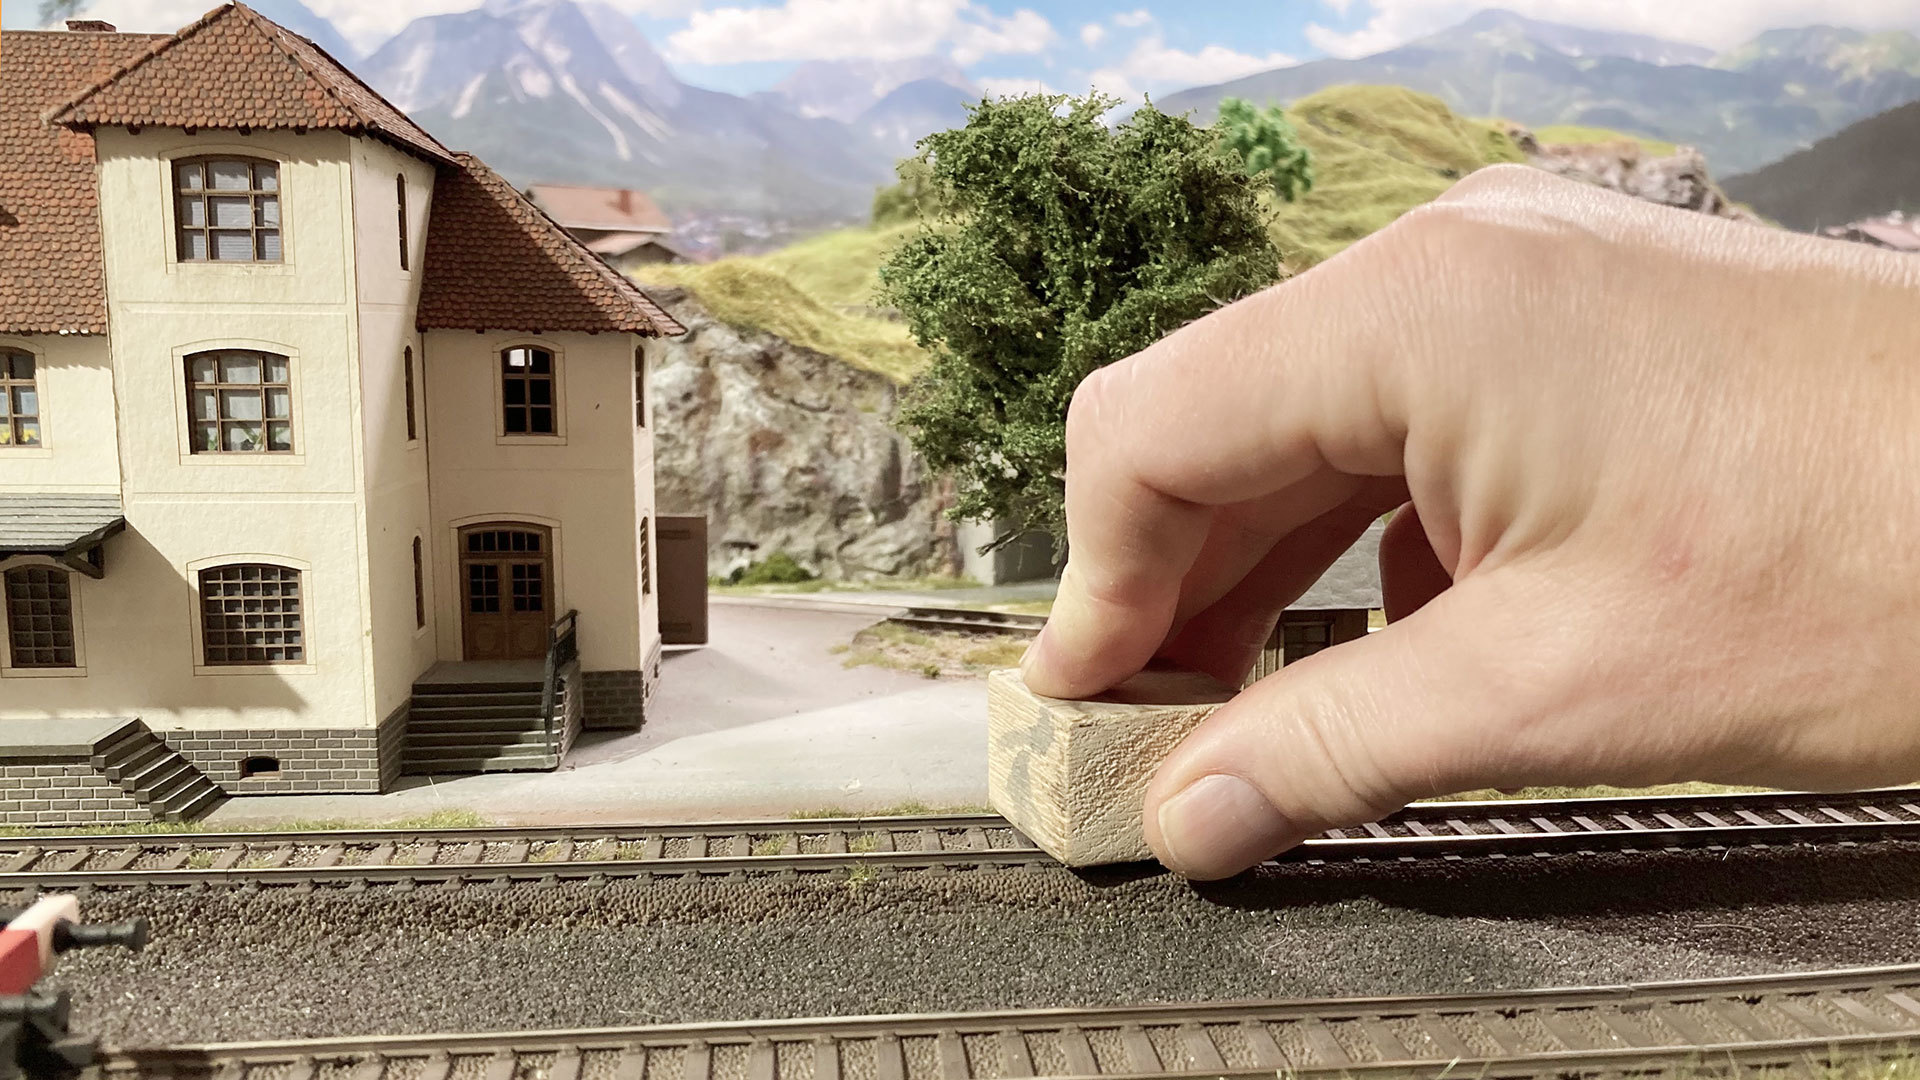
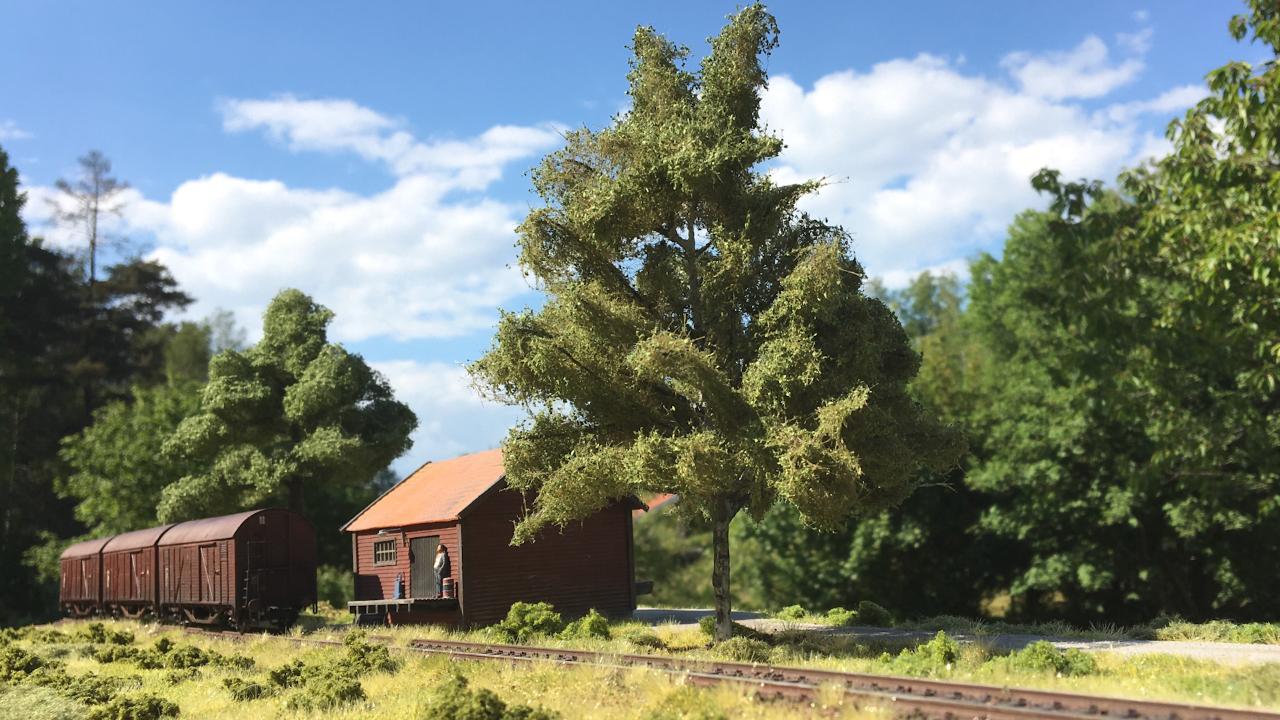
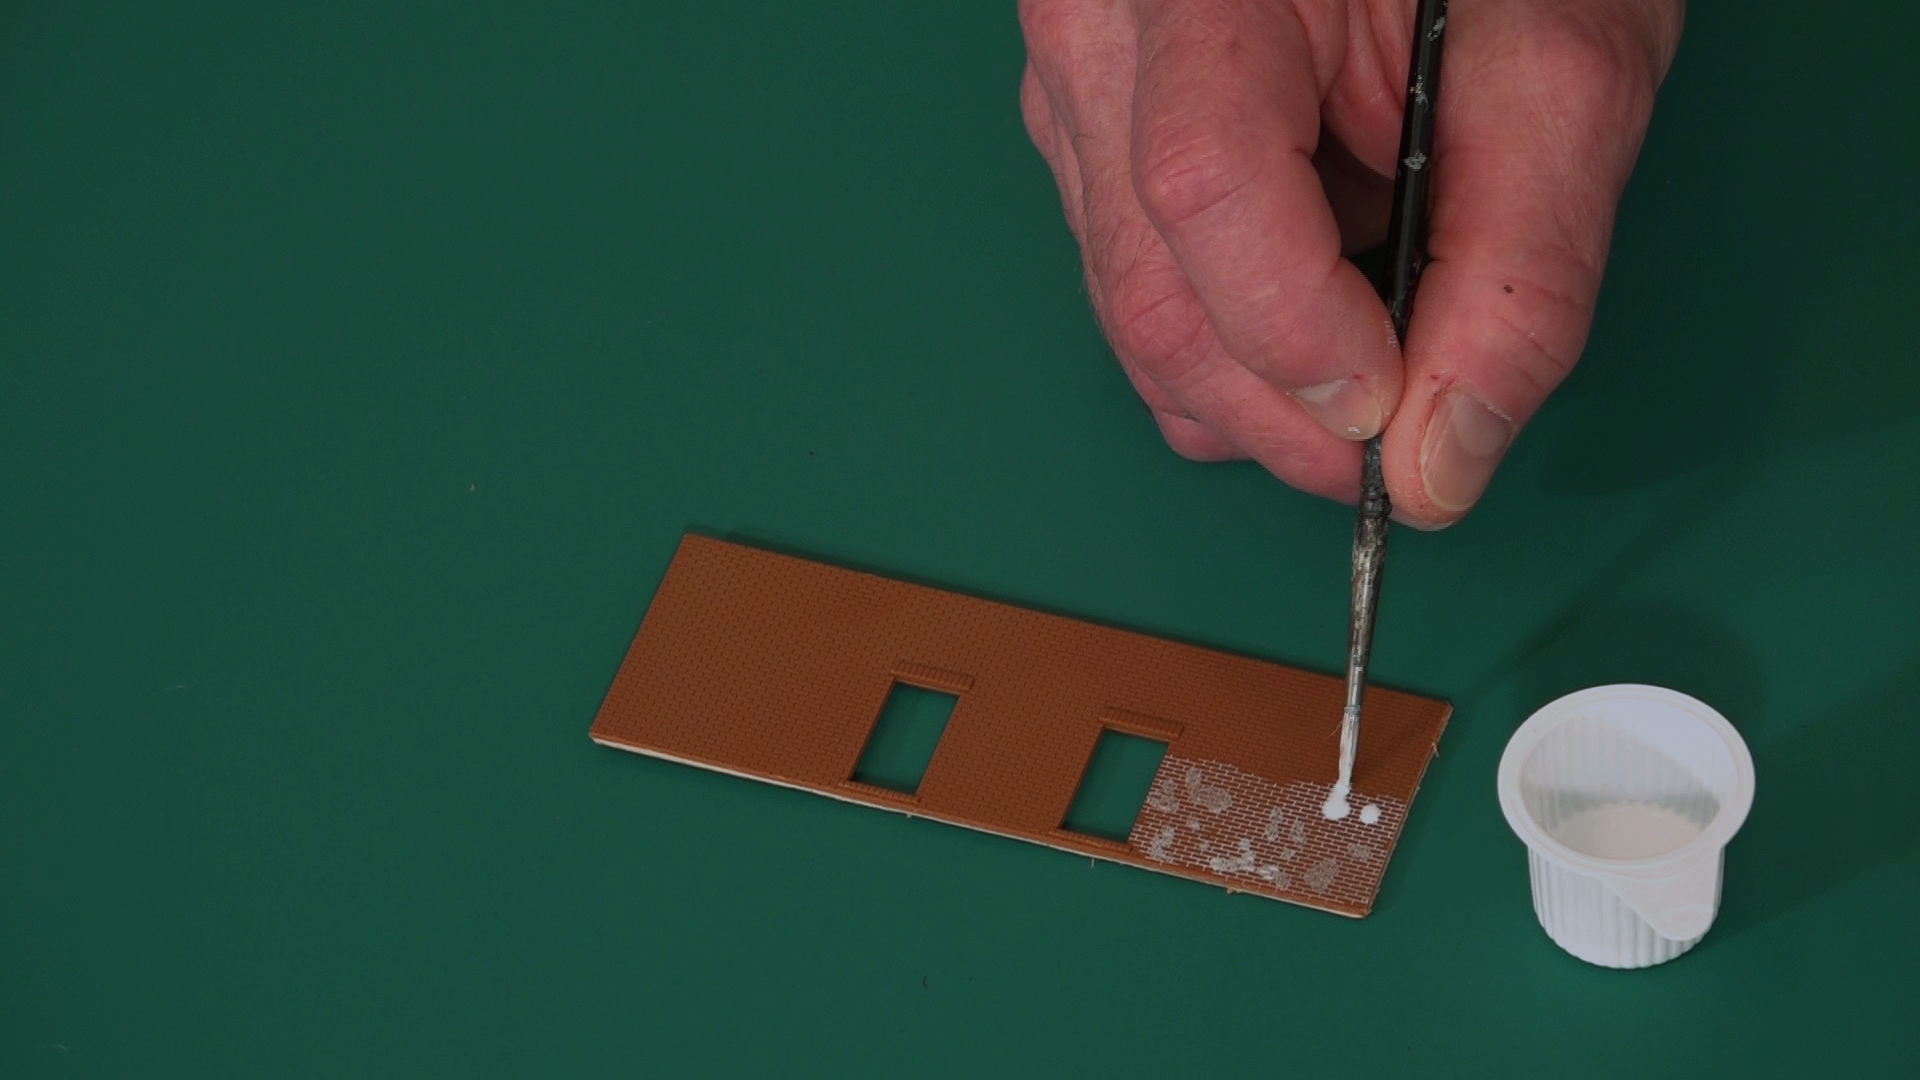
Martin TärnrotIn this video, modeler Martin Tarnrot discusses the creation of grass covered ground surfaces on model railroad layouts. This will include a look back at techniques of the past and what is done currently. Before the static grass that modelers commonly use today, grass was made from fake fur. To color them, Martin uses a toothbrush with an artist acrylic or oil paint in green. To apply it to the layout he cuts out the piece he needs and glues it down onto the layout with a wood glue. He hides the cloth the fur is connected to by tucking it under another element of the layout. For a more realistic result, he varies the color and size of the pieces.
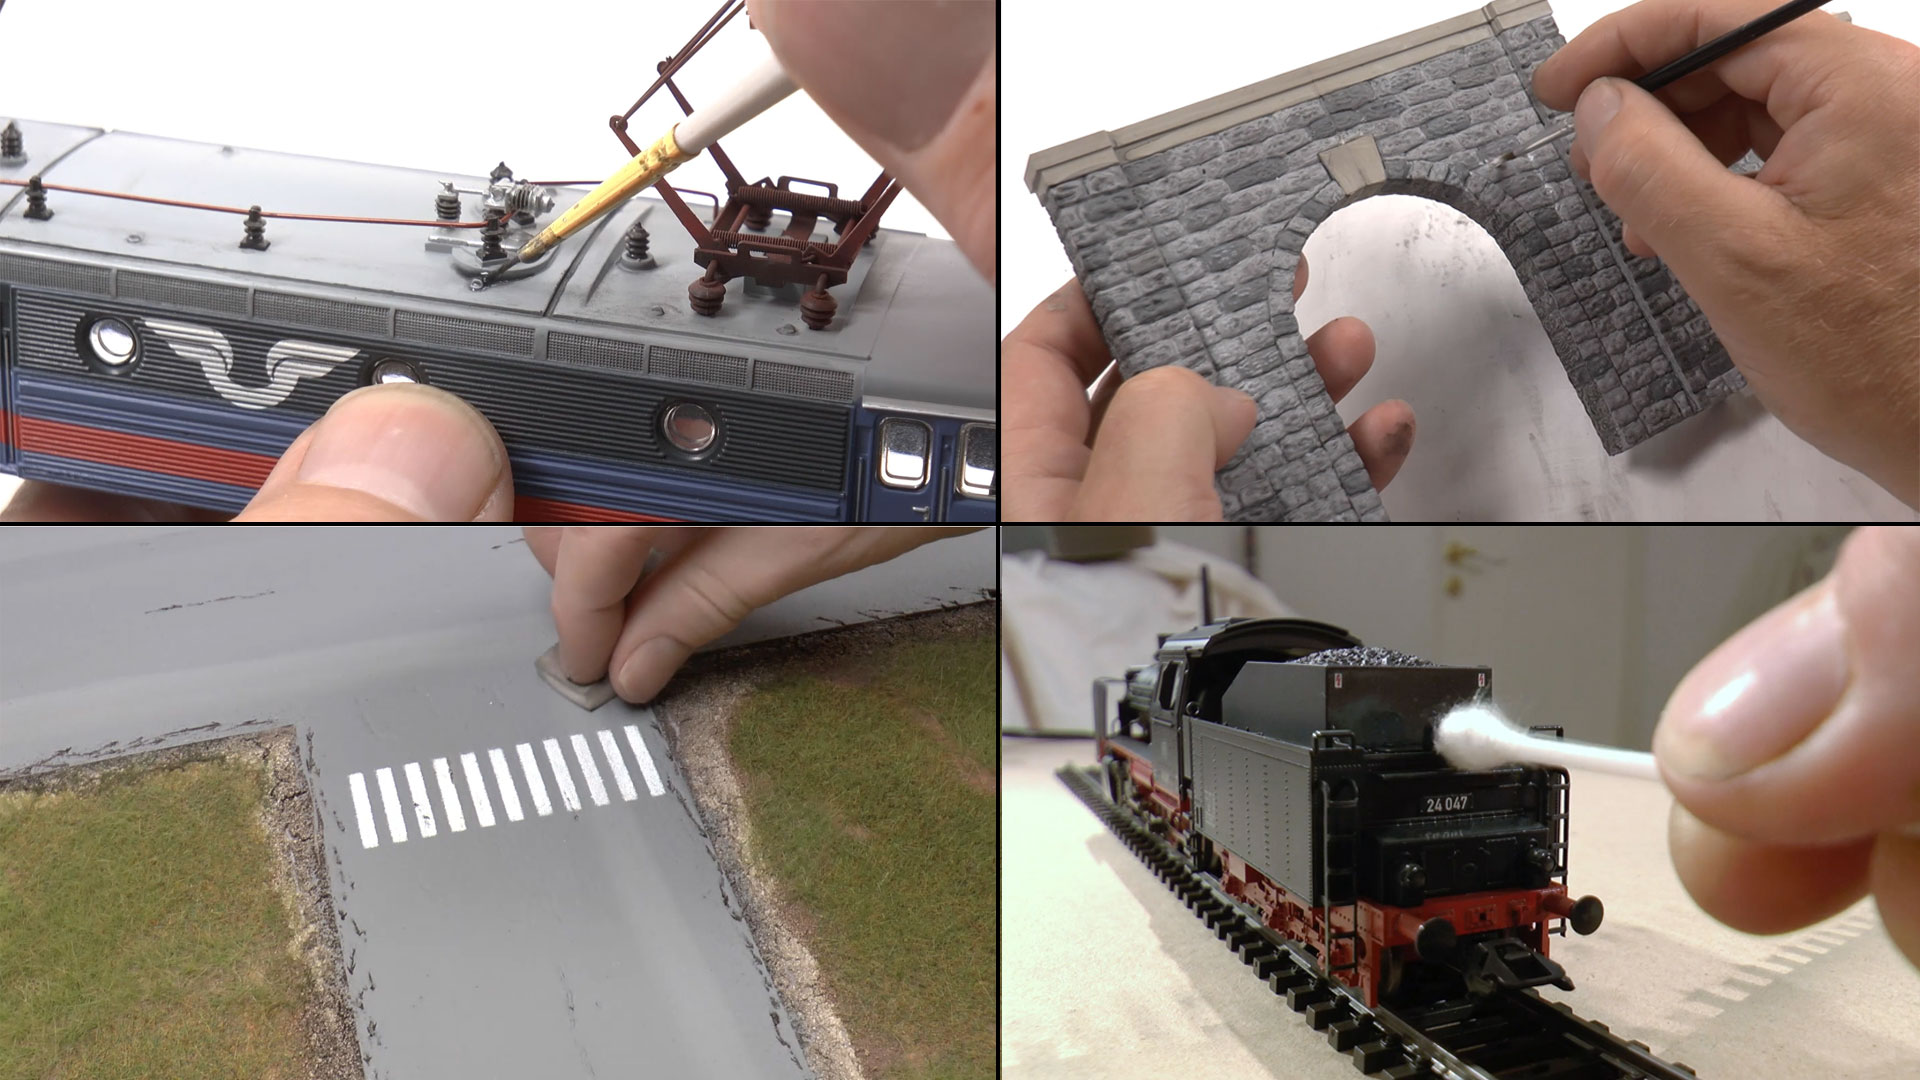
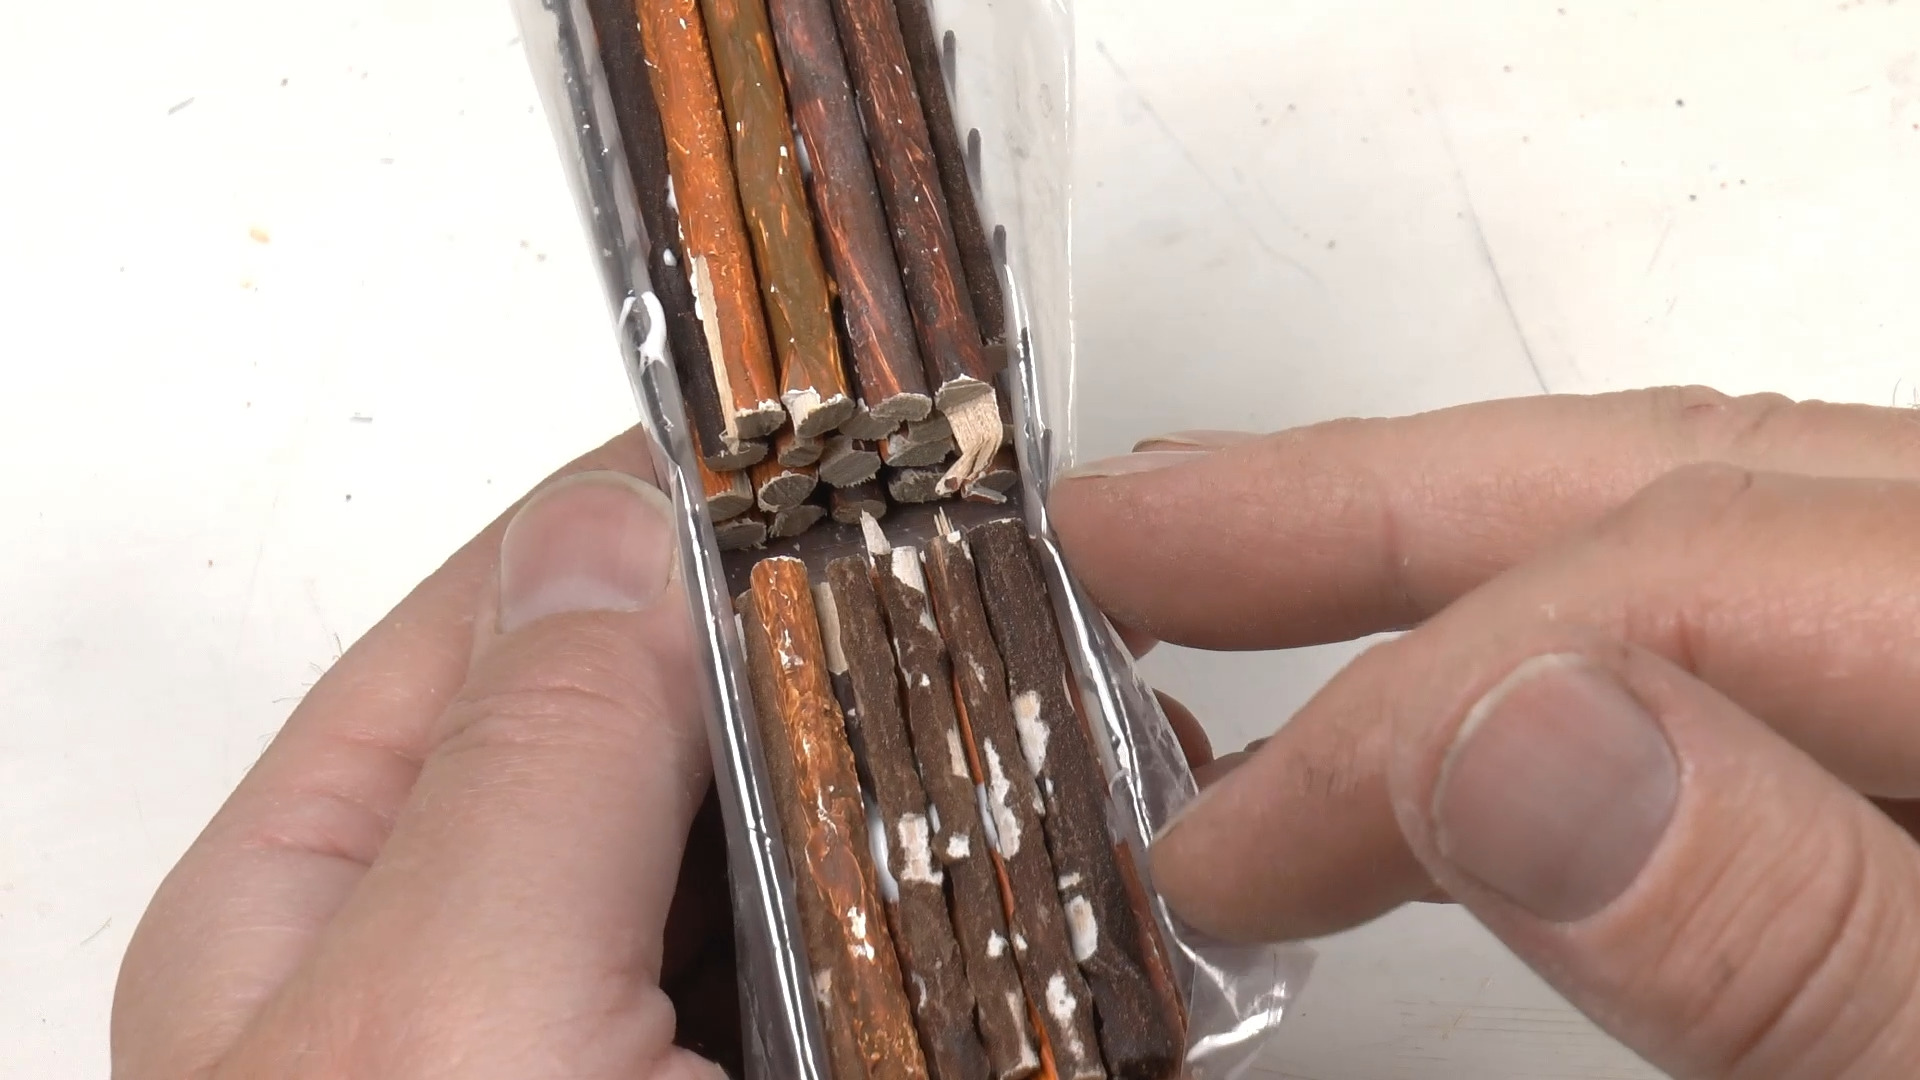
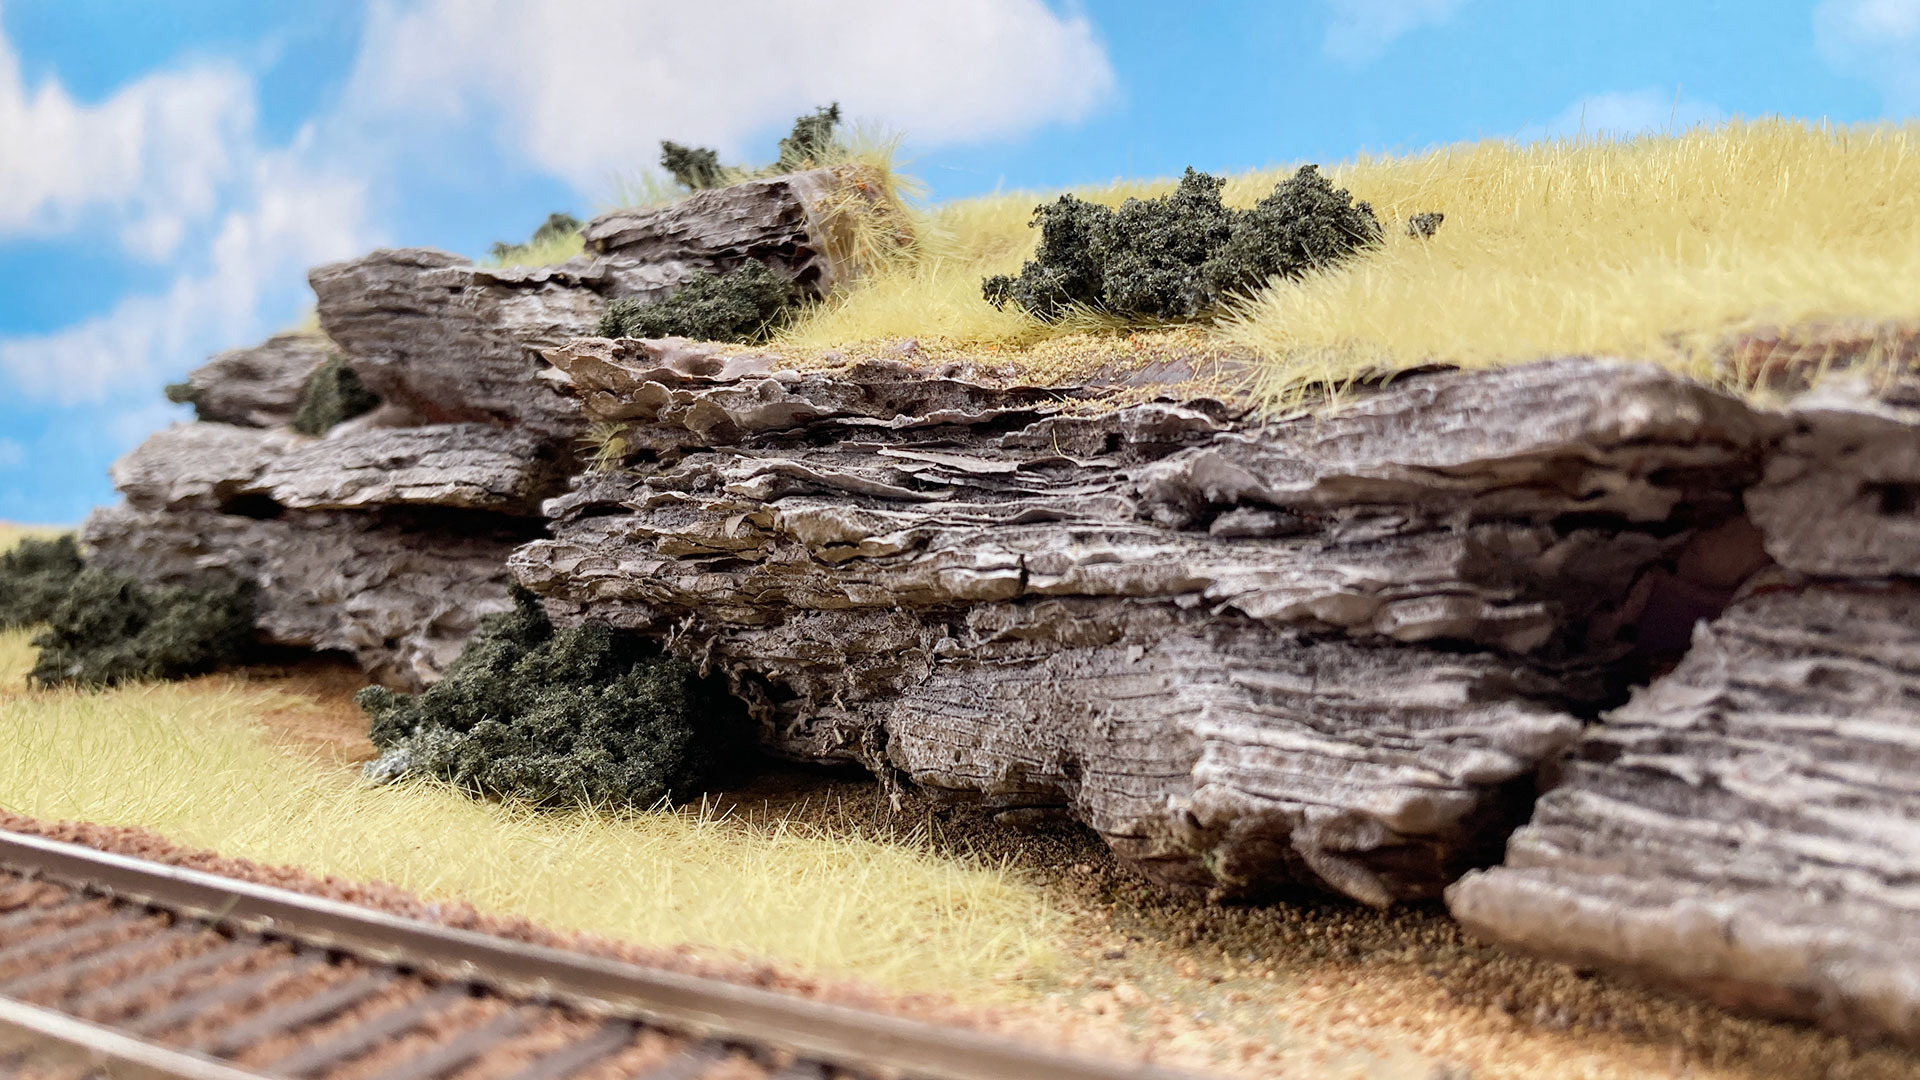
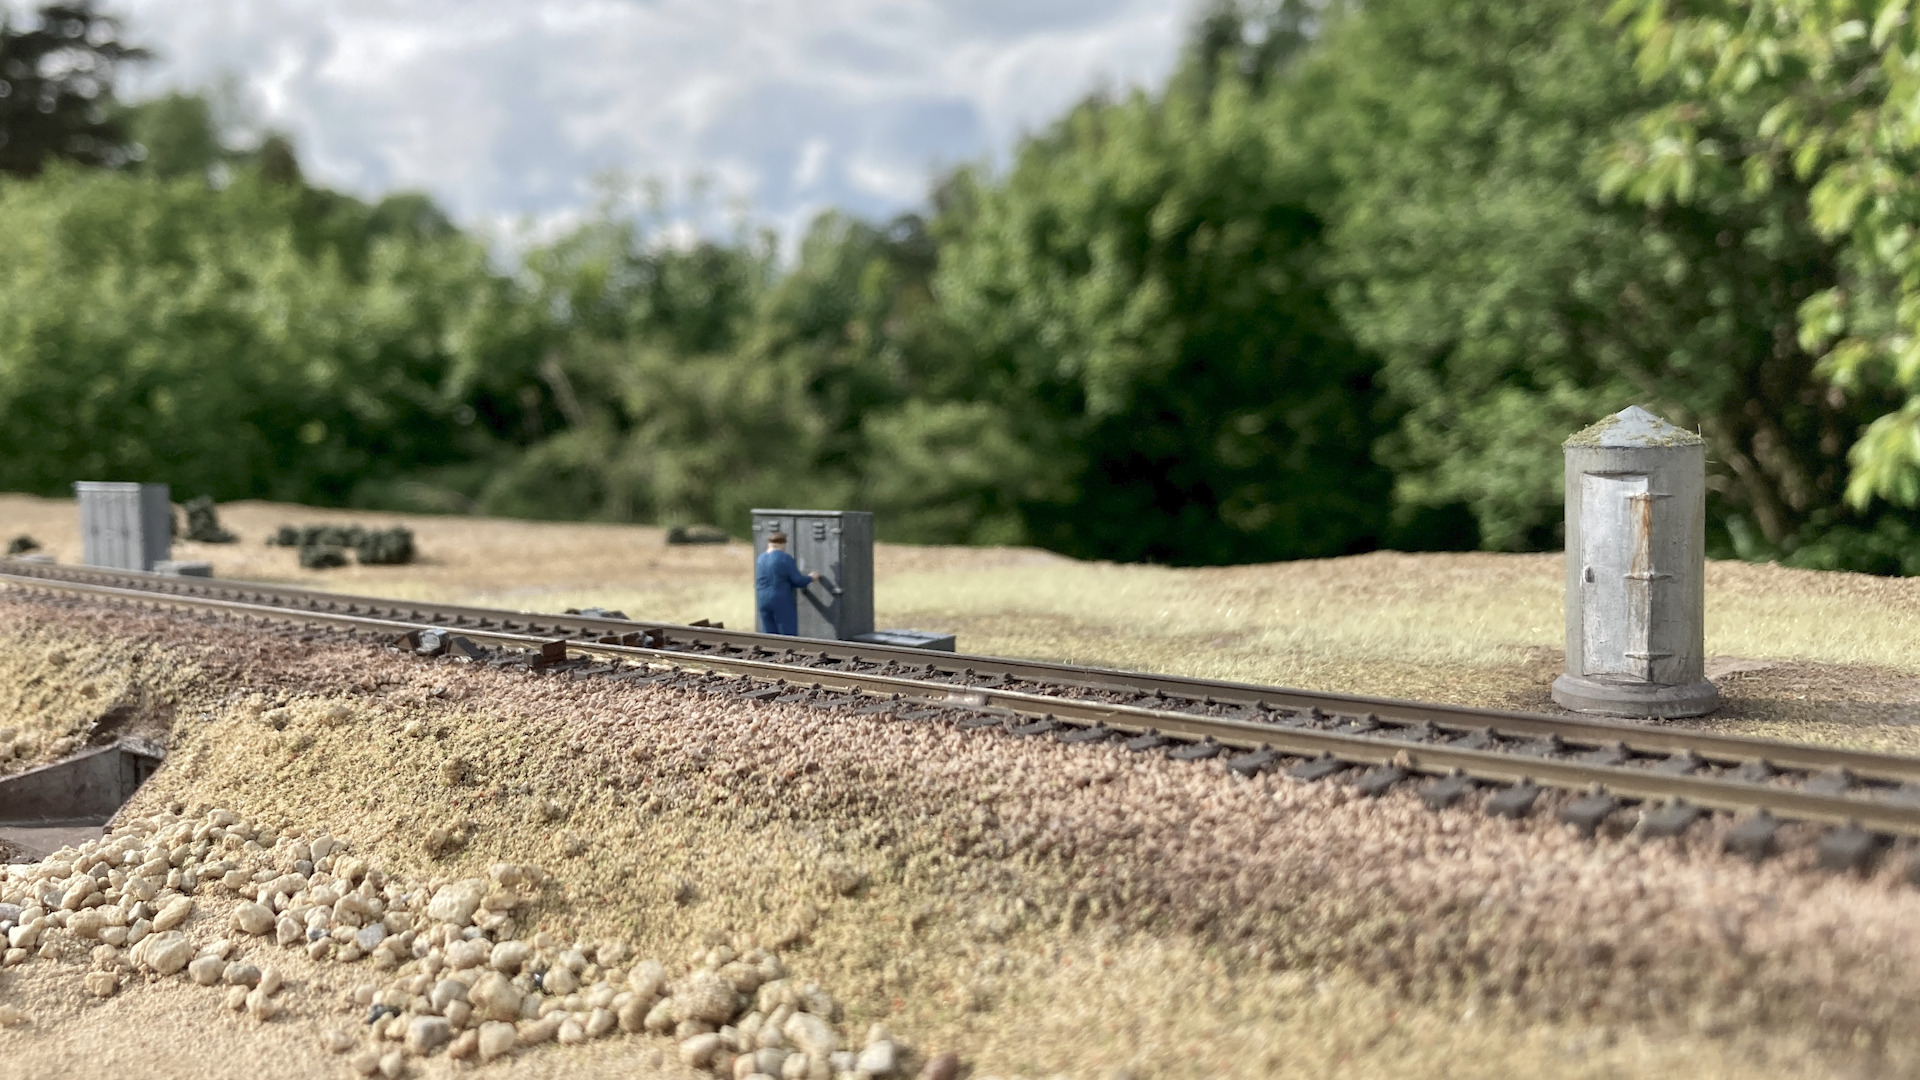
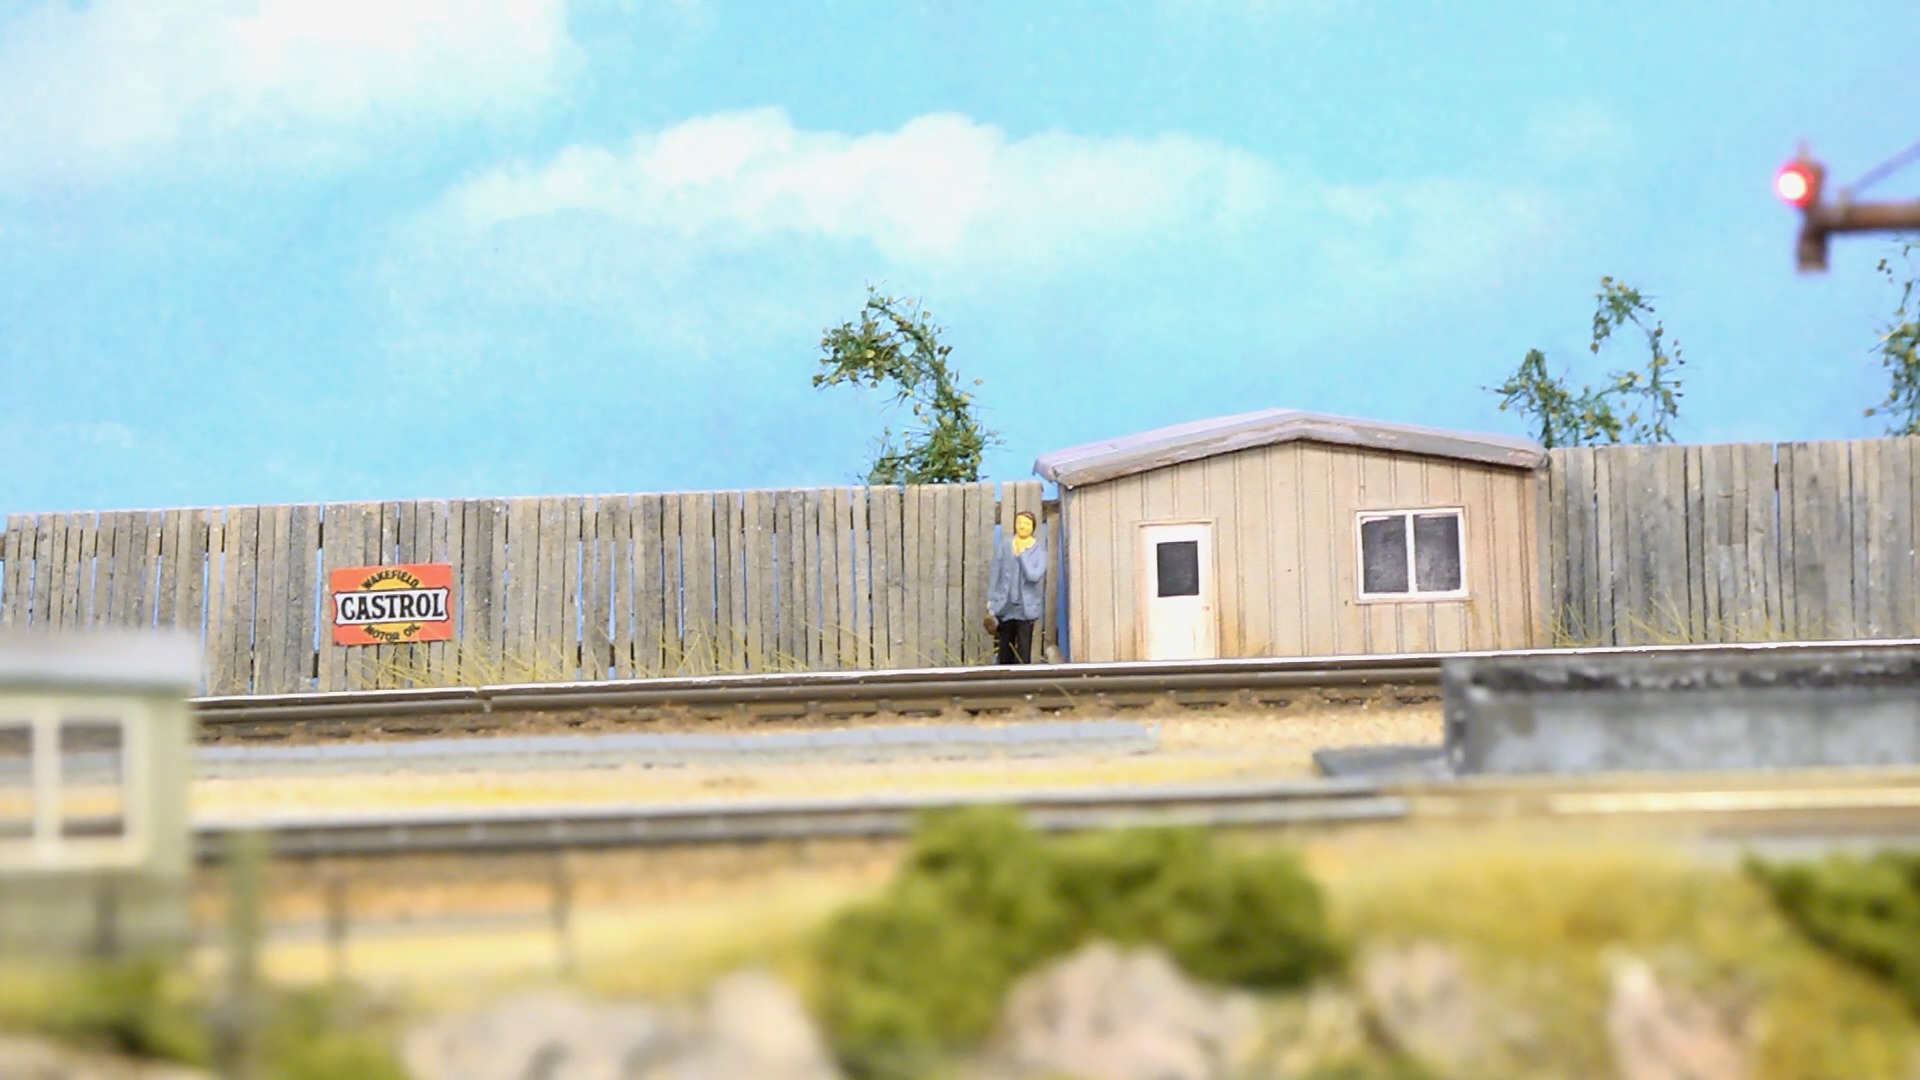
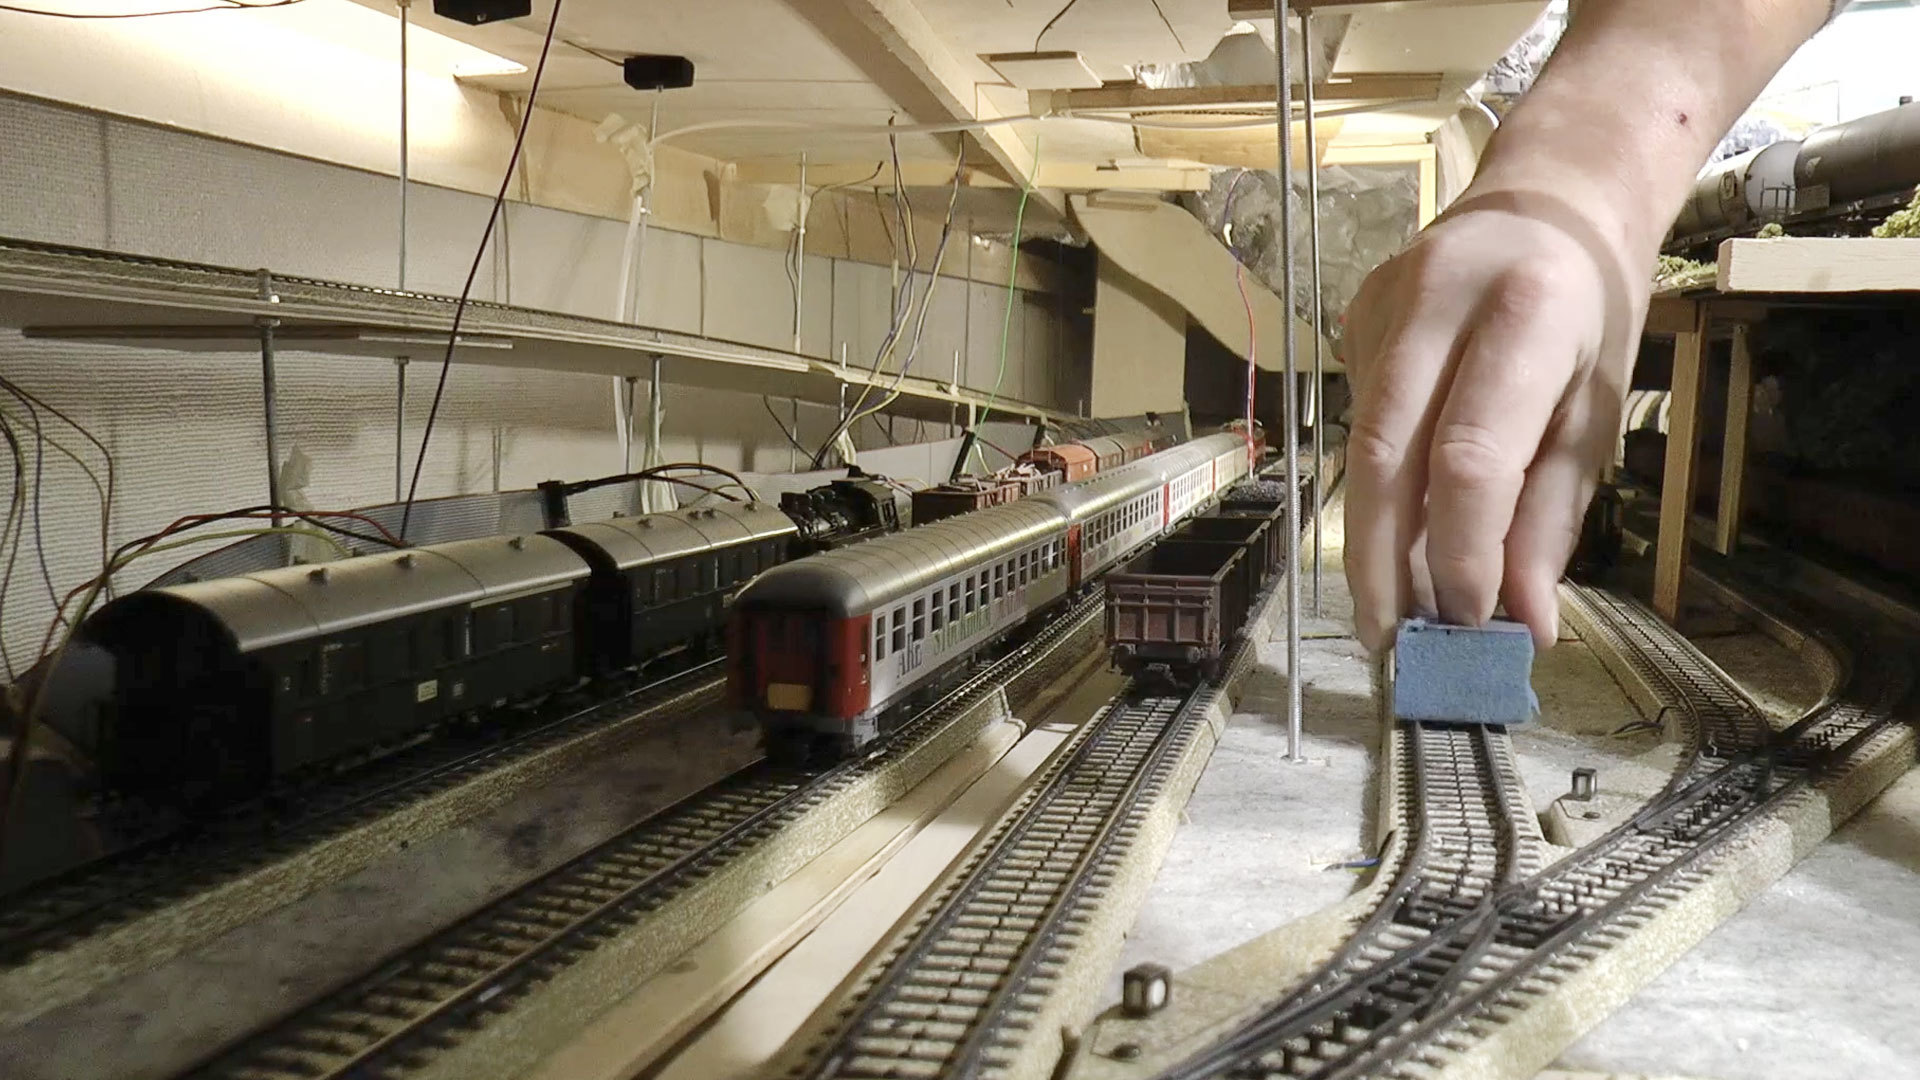
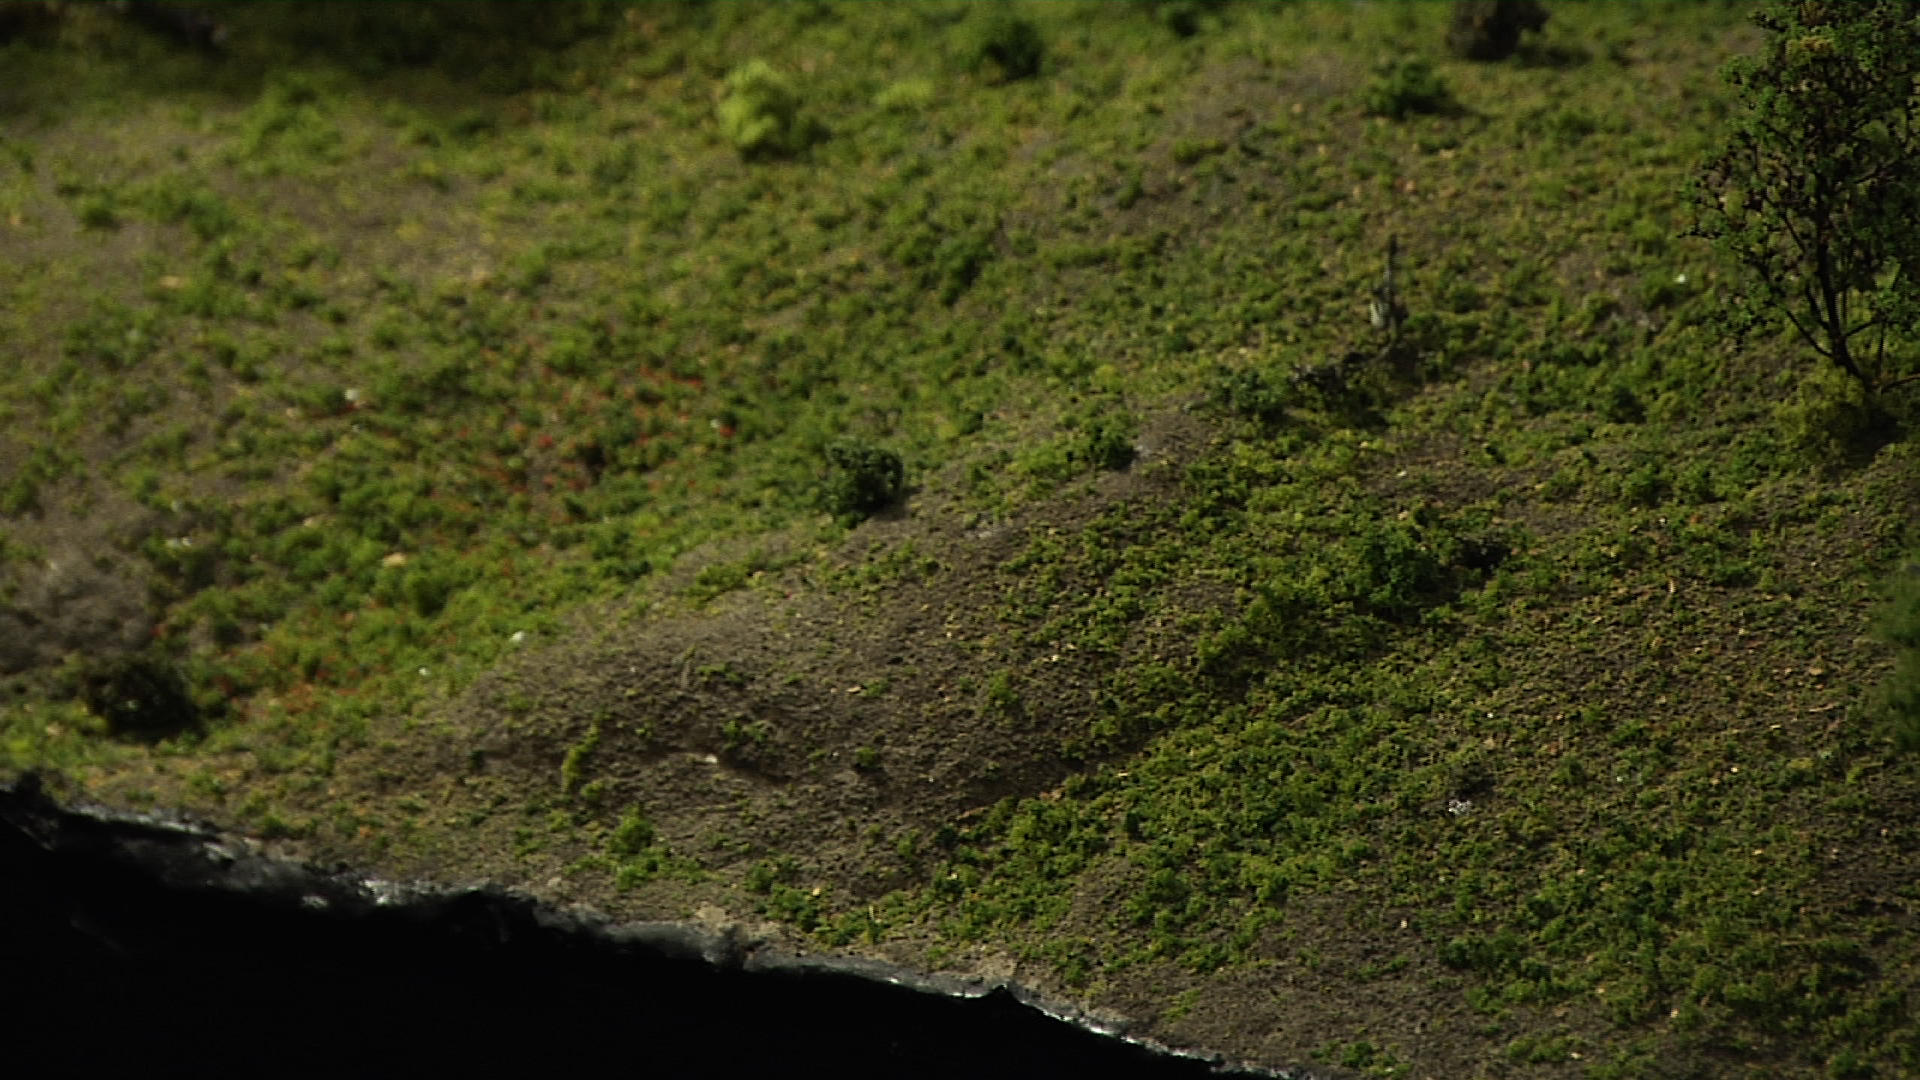
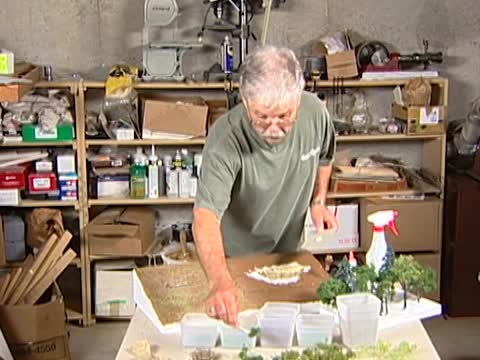
For the static grass method, it is helpful to have a static grass applicator that transfers electrostatic voltage to the grass. Martin’s trick is to not fill the applicator all the way full. Vacuuming after application with the static grass applicator will tidy up the site where the static grass is laid since the application is not very accurate. Before vacuuming, Martin puts a sock over the nozzle to collect the vacuumed grass to reuse later. About 20% of the grass truly gets stuck on the glue, so vacuuming the excess will greatly reduce waste. Static grass is available in a range of colors, thicknesses, lengths and finishes. Martin reminds modelers that bent grass is poor quality and should be returned. He goes on to demonstrate high density application of grass.
For more on using fake fur for grass or techniques for laying model grass with Lance Mindheim, visit the Model Railroad Academy archives.
Explore videos by Martin Tärnrot


You may be interested in


Premium Membership
Unlock exclusive member content from our industry experts.
- 24/7 Access to Premium Model Railroading Videos, Projects, and Tips
- Step-by-Step Instructional Guides & Layout Plans
- 50% Off Video Downloads Purchased in the Model Railroad Academy Shop
- Access to Ask the Expert Program
Unlock exclusive member content from our industry experts.
- 24/7 Access to Premium Model Railroading Videos, Projects, and Tips
- Step-by-Step Instructional Guides & Layout Plans
- 3 Full-Length Video Downloads to Watch Offline
- 50% Off Video Downloads Purchased in the Model Railroad Academy Shop
- Access to Ask the Expert Program
Gold Membership
$326 Value
Get everything included in Premium plus exclusive Gold Membership benefits.
- 24/7 Access to Premium Model Railroading Videos, Projects, and Tips
- Step-by-Step Instructional Guides & Layout Plans
- 9 Full-Length Video Downloads to Watch Offline
- 2 Full-Length Classes to Keep for Life
- 2 Downloadable Guides
- Discounts on Purchase-to-Own Content in the Model Railroad Academy Shop
- Access to Ask the Expert Program
- Exclusive GOLD LIVE Streaming Events
Share tips, start a discussion or ask one of our experts or other students a question.
Already a member? Sign in
No Responses to “Static Grass Fundamentals with Martin Tarnrot”