
Installing an Engine Decoder Power Pack with Martin Tärnrot
Martin TärnrotIn this video, modeler Martin Tärnrot will demonstrate how to assemble a cheap model train power pack. Using cheaper power packs can save a modeler a lot of money, and the assembly is the same for most packs. Model train power packs, or batteries onboard locomotives, have grown in popularity in the hobby.
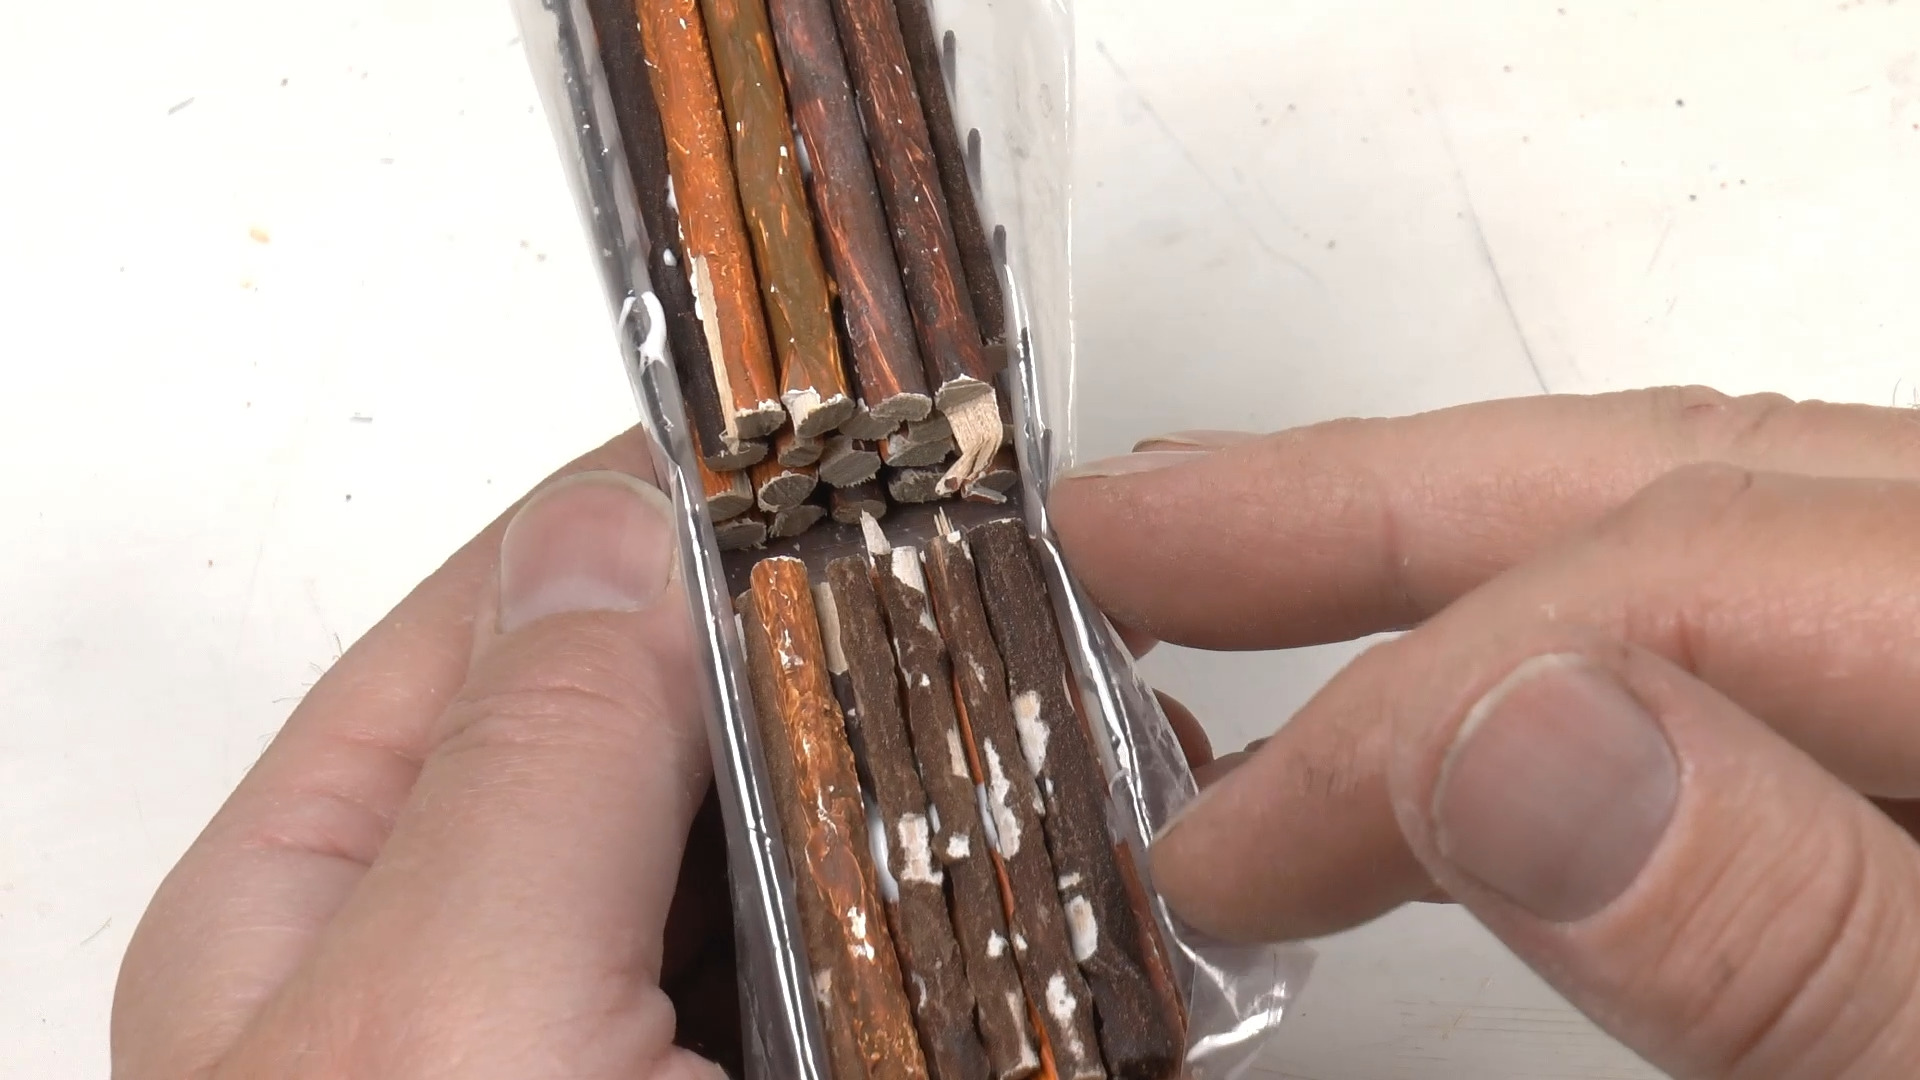
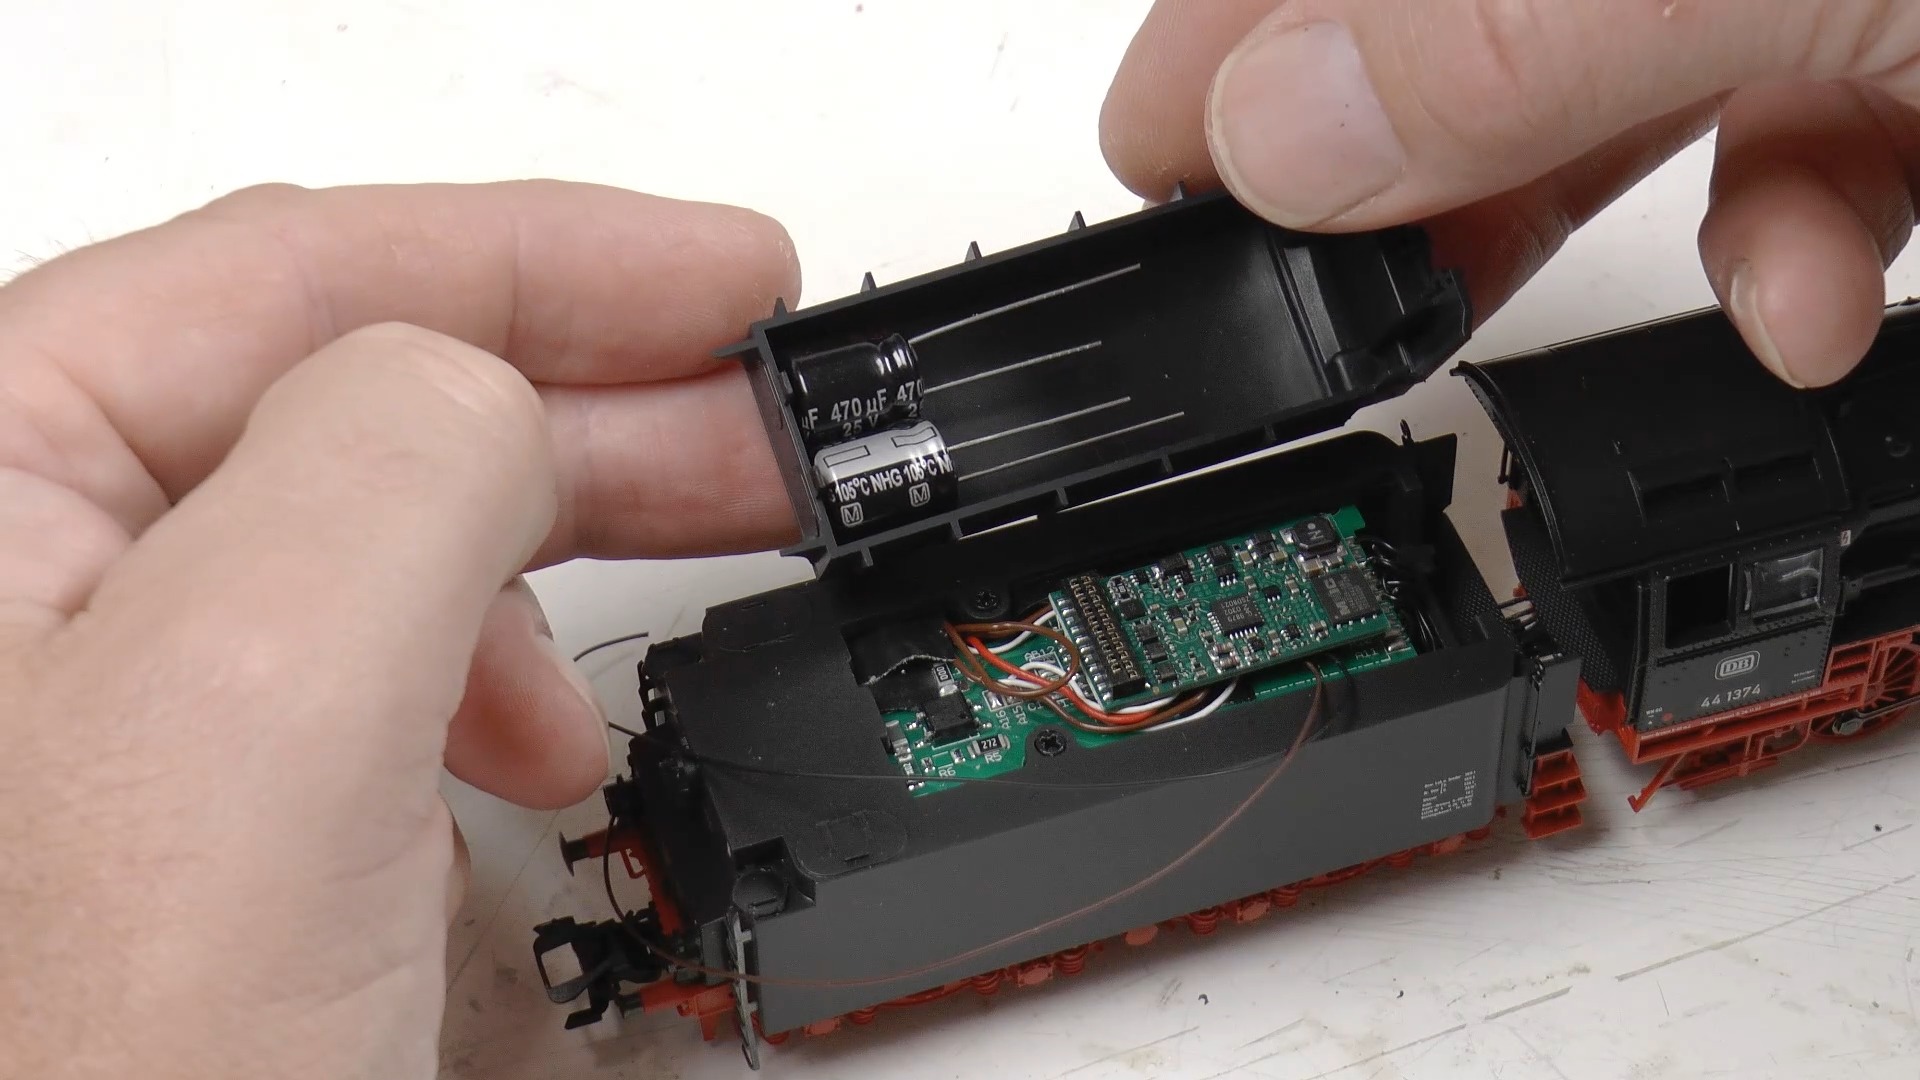
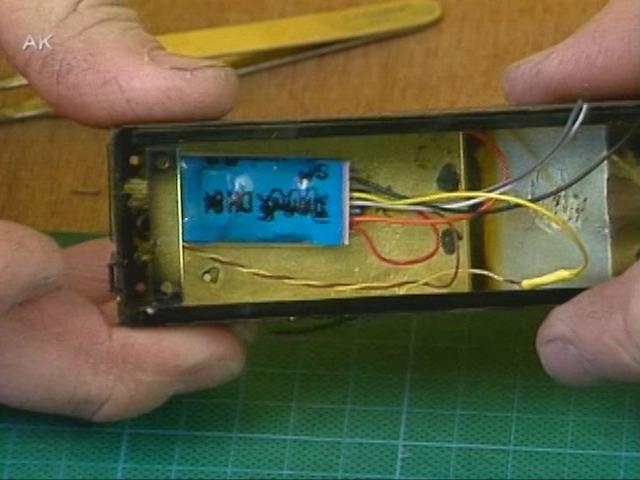
Specifically in this video, Martin will demonstrate how to install a power pack on a 21-pole decoder connector on the NEM 660 or 21 MTC. The power pack he will install has three main components. A capacitor stores electric energy, and the charging goes on through the resistor and discharges through the diode. Sometimes it is necessary to use multiple small capacitors in order to make it fit inside the locomotive or engine. He shows the resistor in the charging network, which is connected to the diode below it. Martin solders them together.
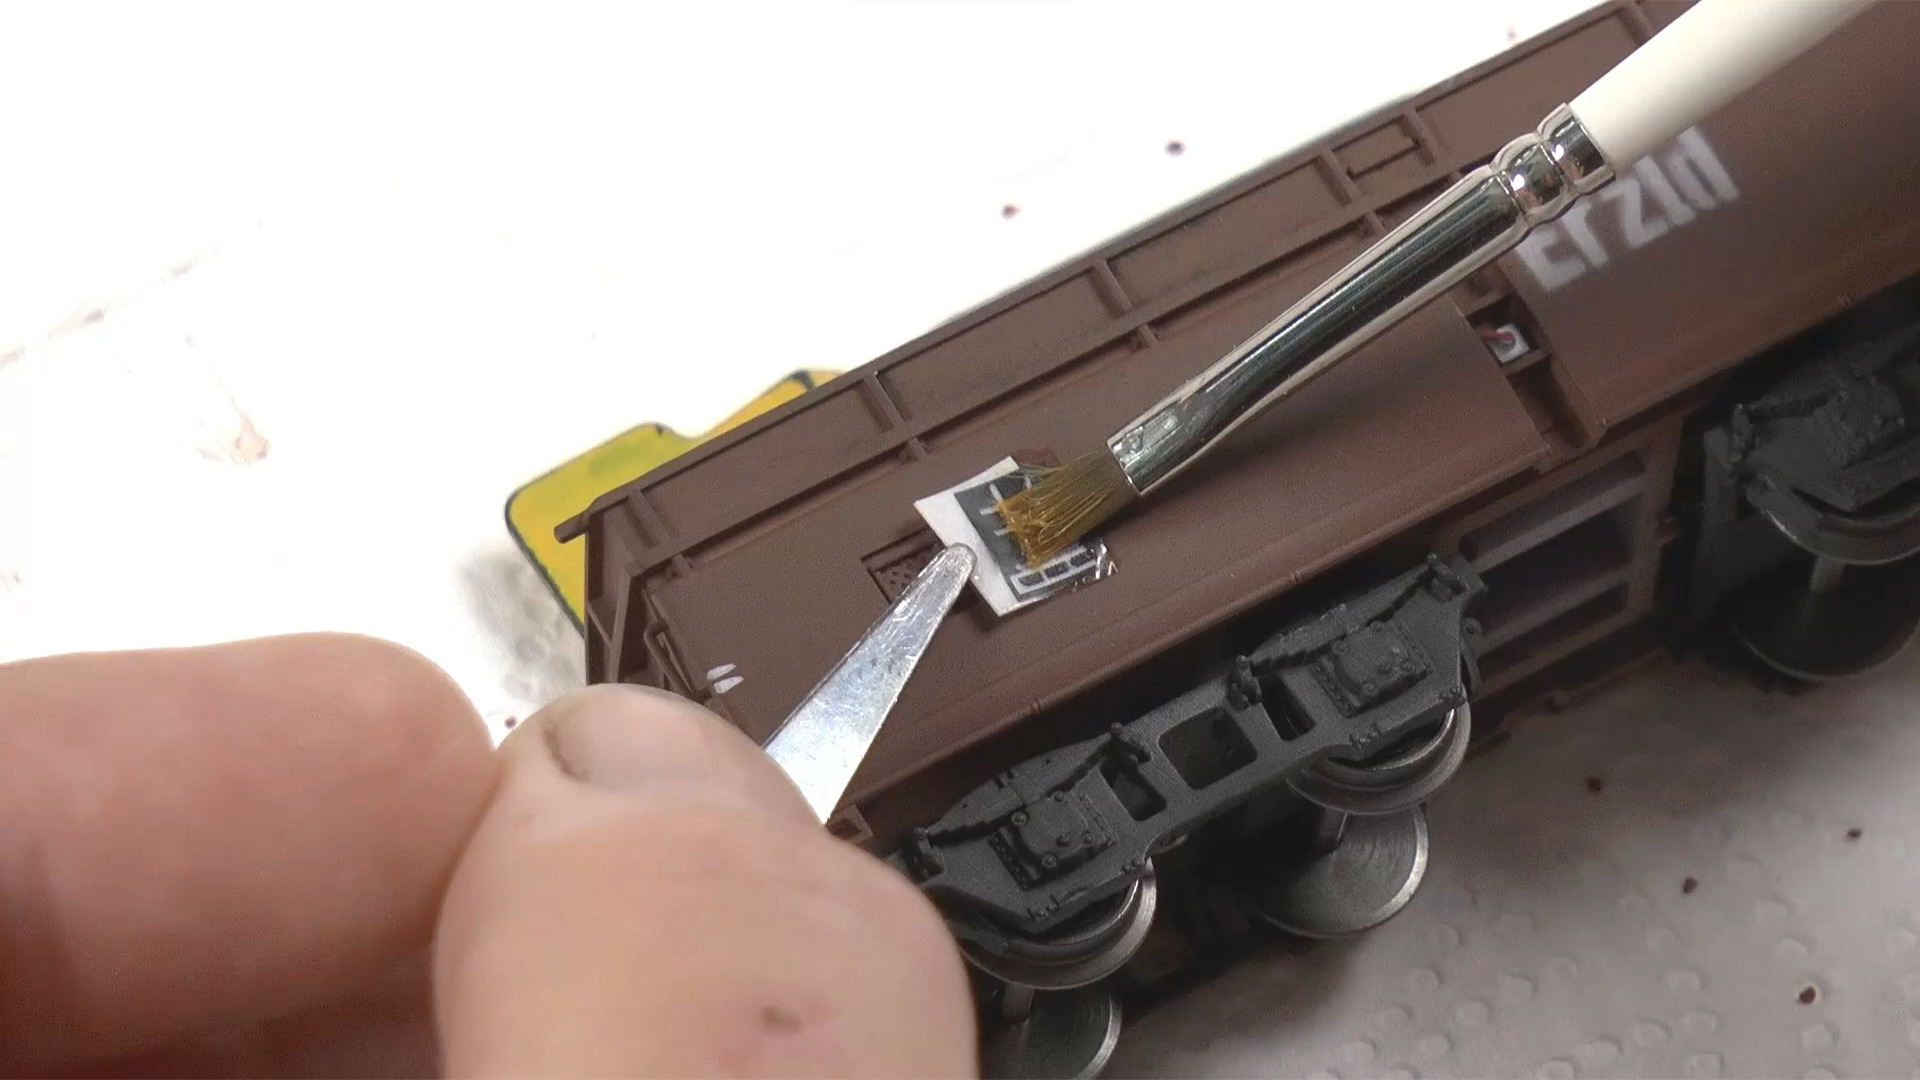
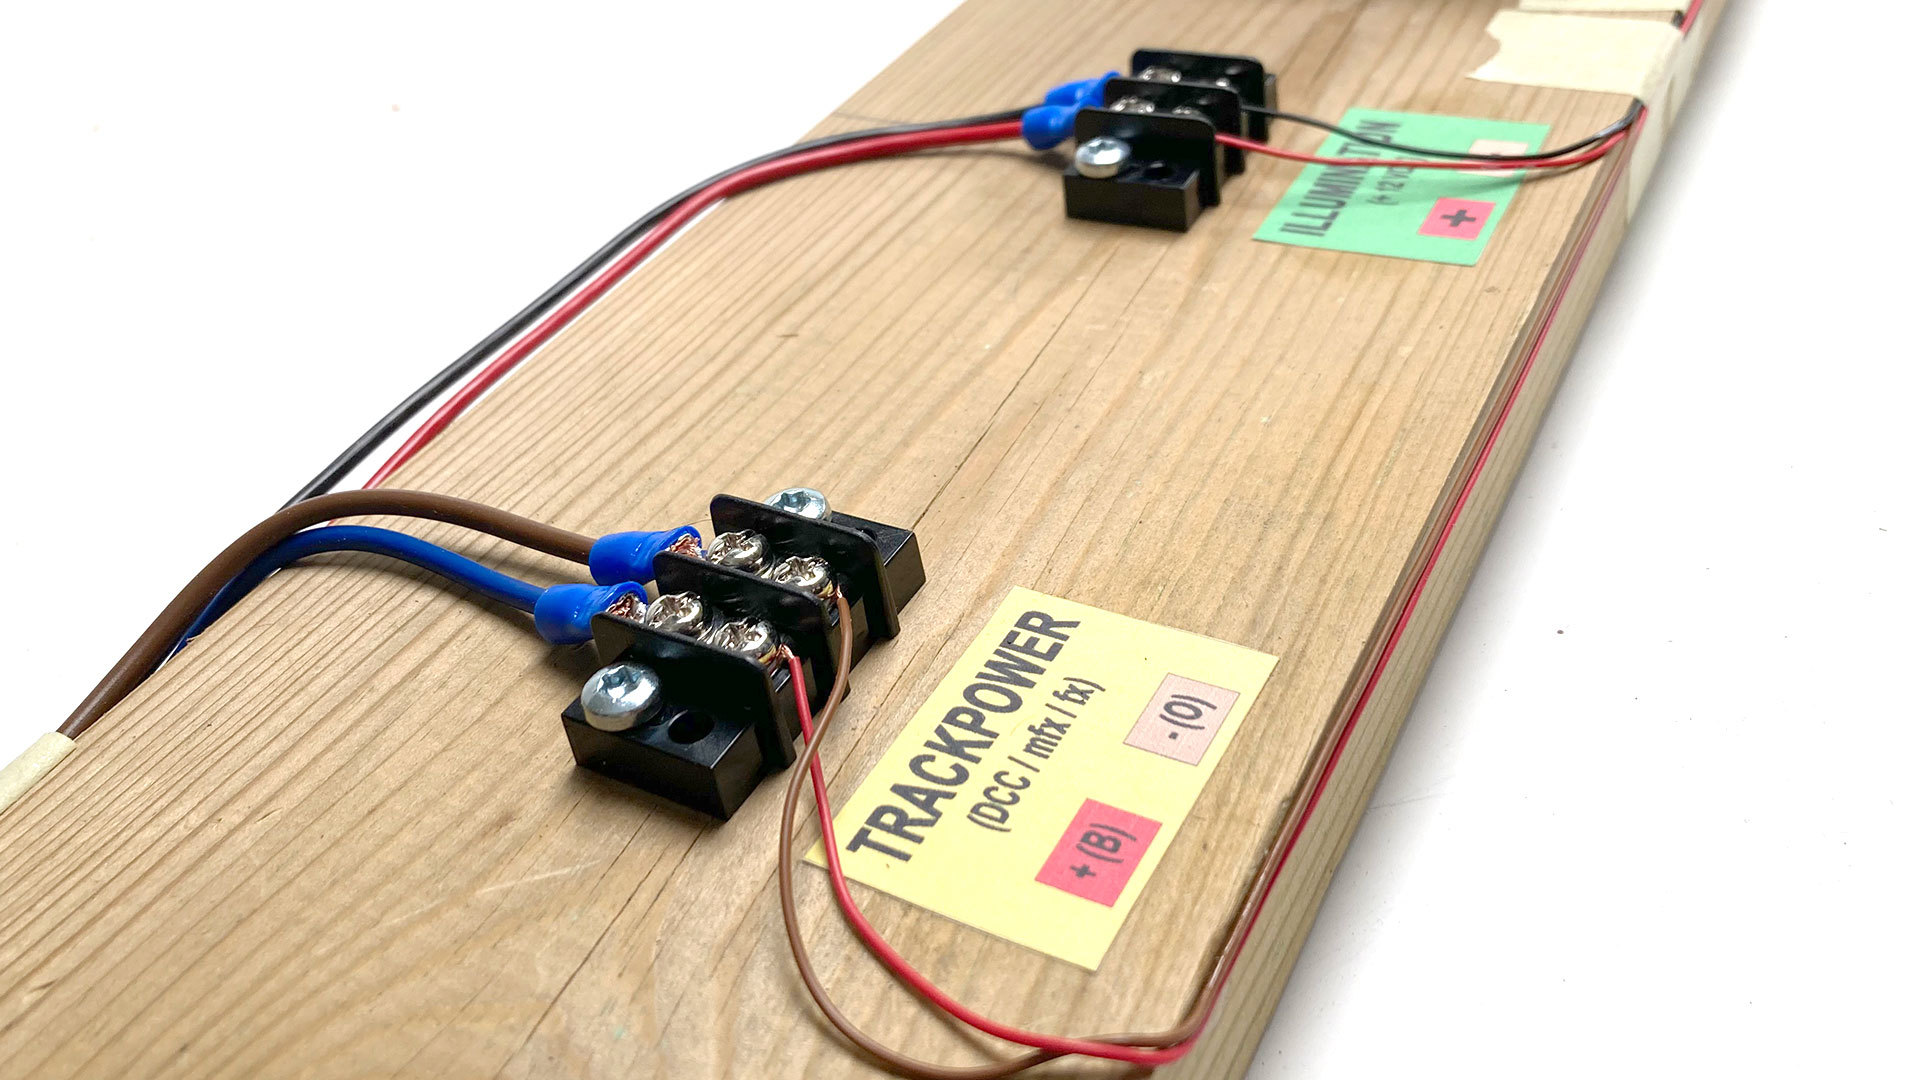
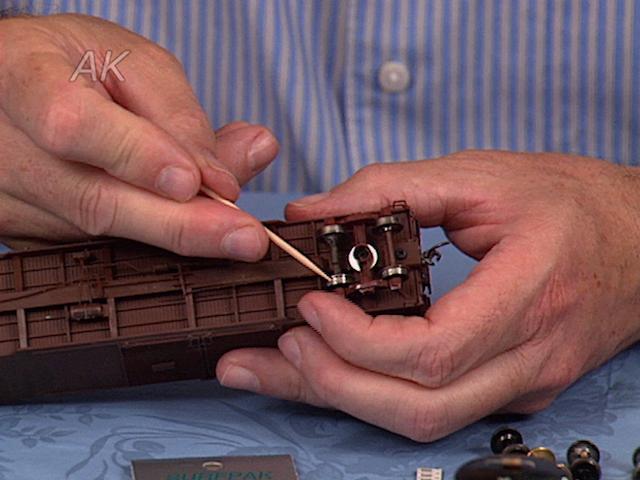
Next it is time to remove the decoder from the engine. To do so, he uses a wrist strap that is grounded to avoid electrostatic discharges that might damage the electronics. There are paths already available on the motherboard for a power pack. Unfortunately, this is not true in many cases, so he recommends soldering the cables directly to the connector.
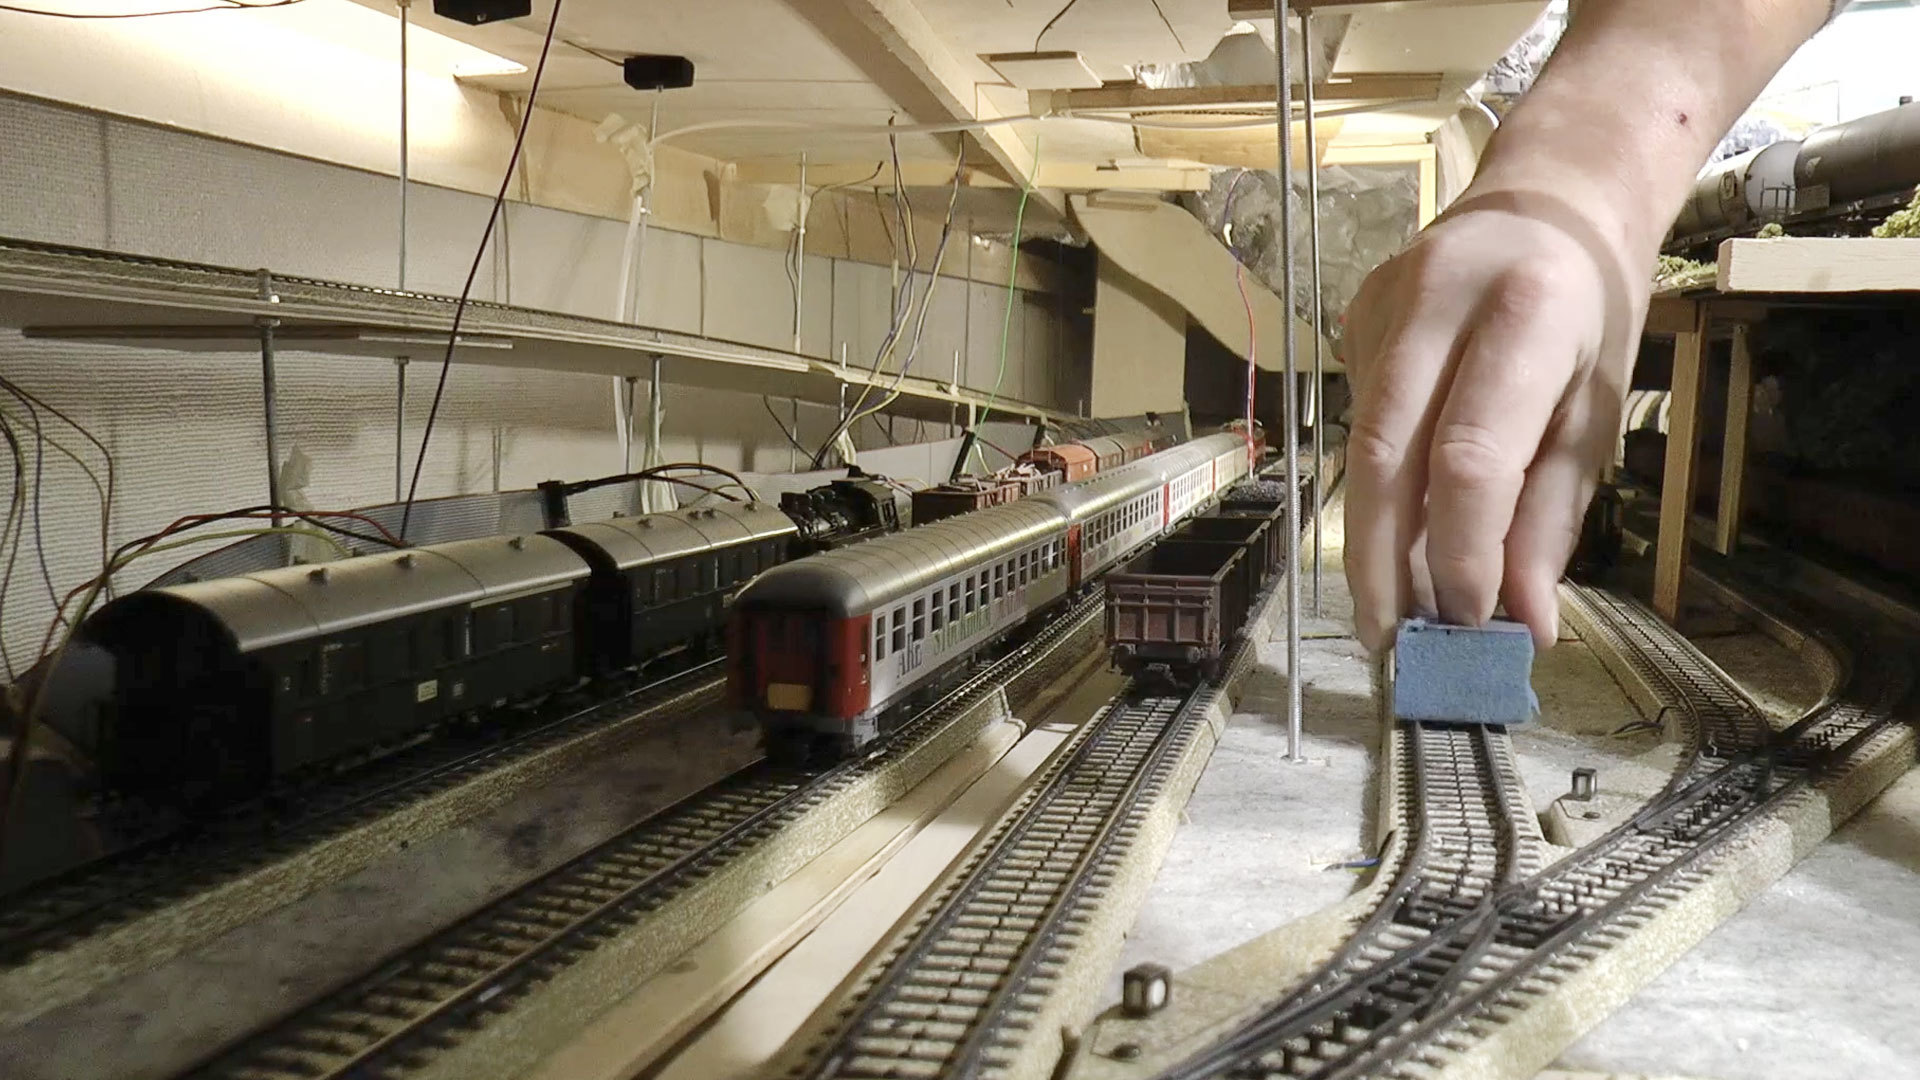
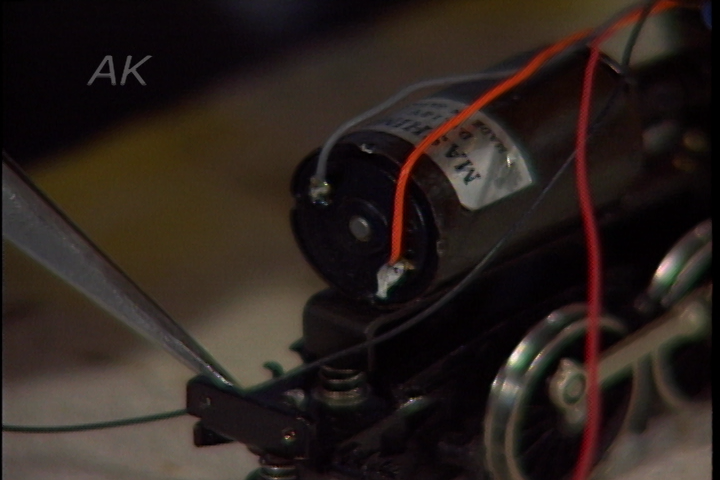
These wires are then connected to the power pack, starting with the negative side of the capacitor. When both are connected, he isolates with some plastic tape. The last step is to fix the capacitor somewhere. Model train power packs are great for any disruptions in sound over dirt spots.
For more on locomotive decoder installation or to learn how to use decoders on model railroad DCC systems, visit the Model Railroad Academy archives.
Explore videos by Martin Tärnrot


You may be interested in


Premium Membership
Unlock exclusive member content from our industry experts.
- 24/7 Access to Premium Model Railroading Videos, Projects, and Tips
- Step-by-Step Instructional Guides & Layout Plans
- 50% Off Video Downloads Purchased in the Model Railroad Academy Shop
- Access to Ask the Expert Program
Unlock exclusive member content from our industry experts.
- 24/7 Access to Premium Model Railroading Videos, Projects, and Tips
- Step-by-Step Instructional Guides & Layout Plans
- 3 Full-Length Video Downloads to Watch Offline
- 50% Off Video Downloads Purchased in the Model Railroad Academy Shop
- Access to Ask the Expert Program
Gold Membership
$326 Value
Get everything included in Premium plus exclusive Gold Membership benefits.
- 24/7 Access to Premium Model Railroading Videos, Projects, and Tips
- Step-by-Step Instructional Guides & Layout Plans
- 9 Full-Length Video Downloads to Watch Offline
- 2 Full-Length Classes to Keep for Life
- 2 Downloadable Guides
- Discounts on Purchase-to-Own Content in the Model Railroad Academy Shop
- Access to Ask the Expert Program
- Exclusive GOLD LIVE Streaming Events