
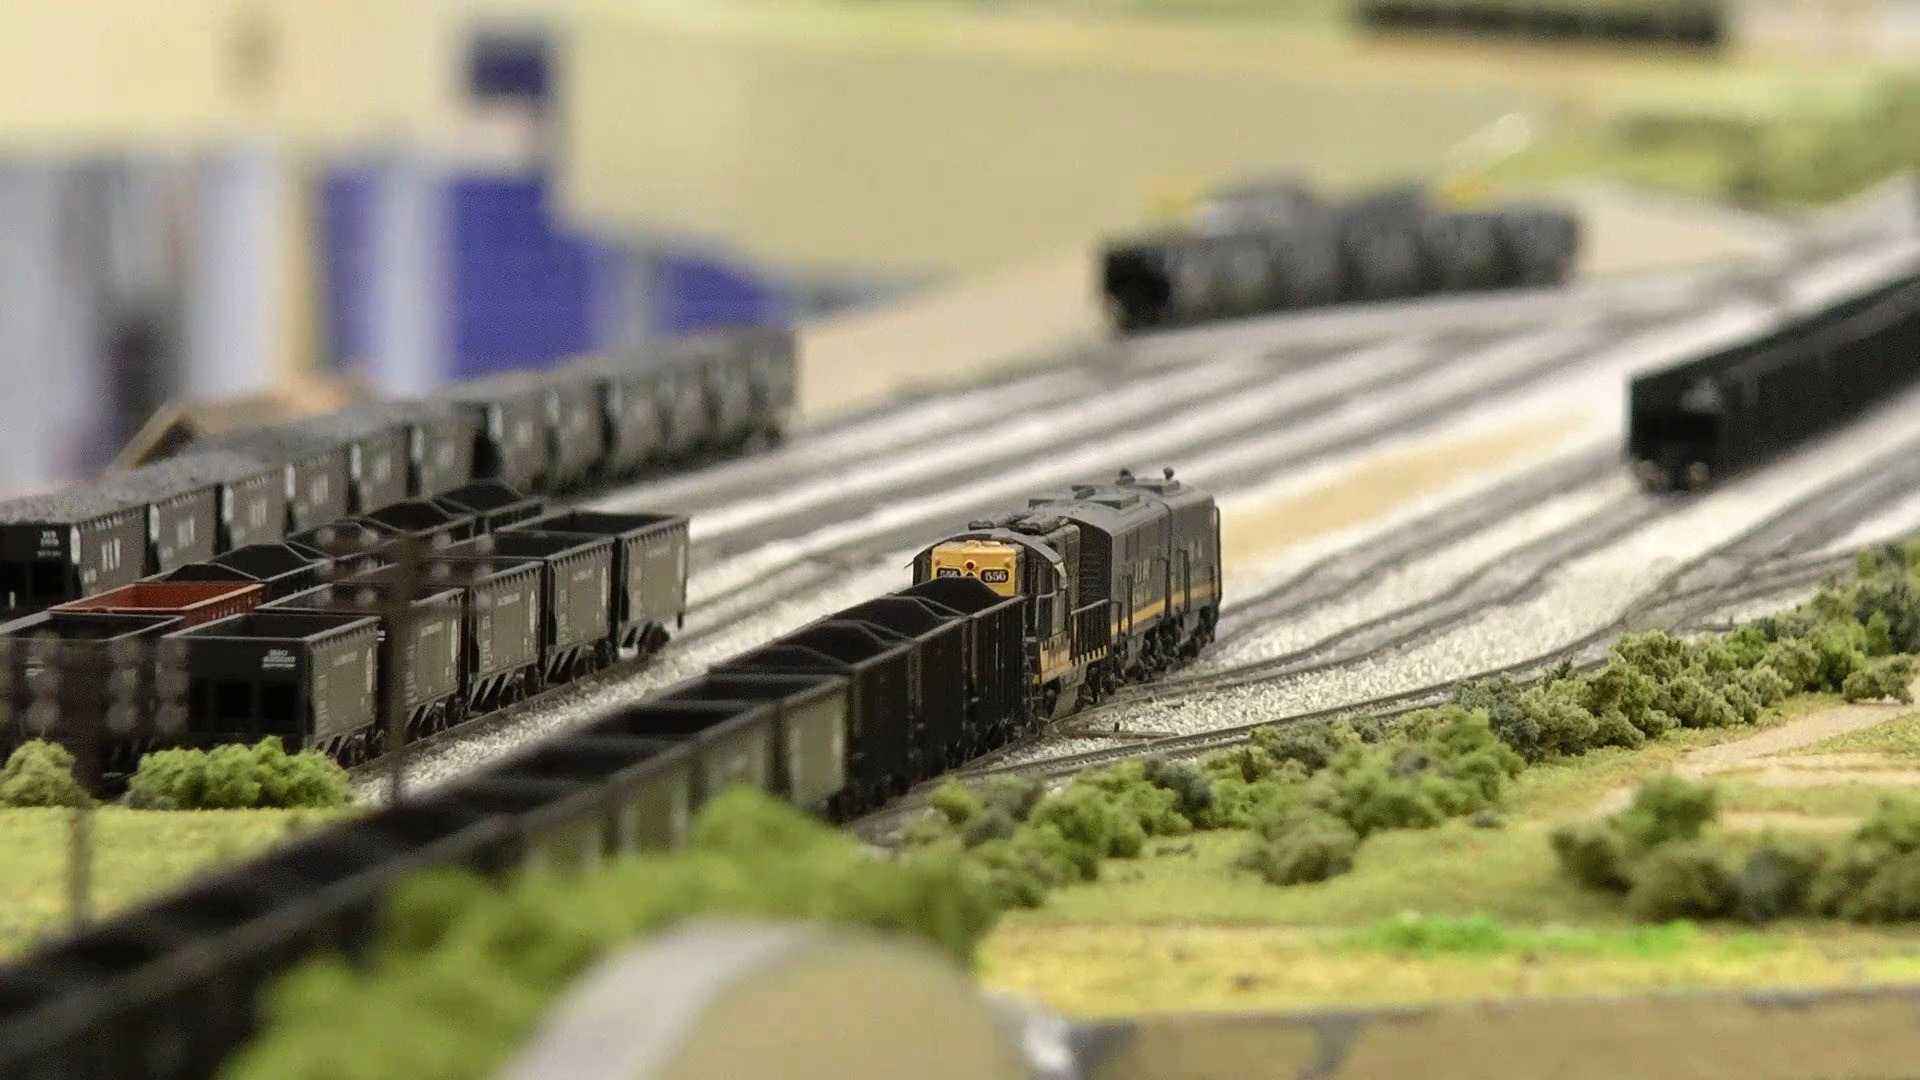
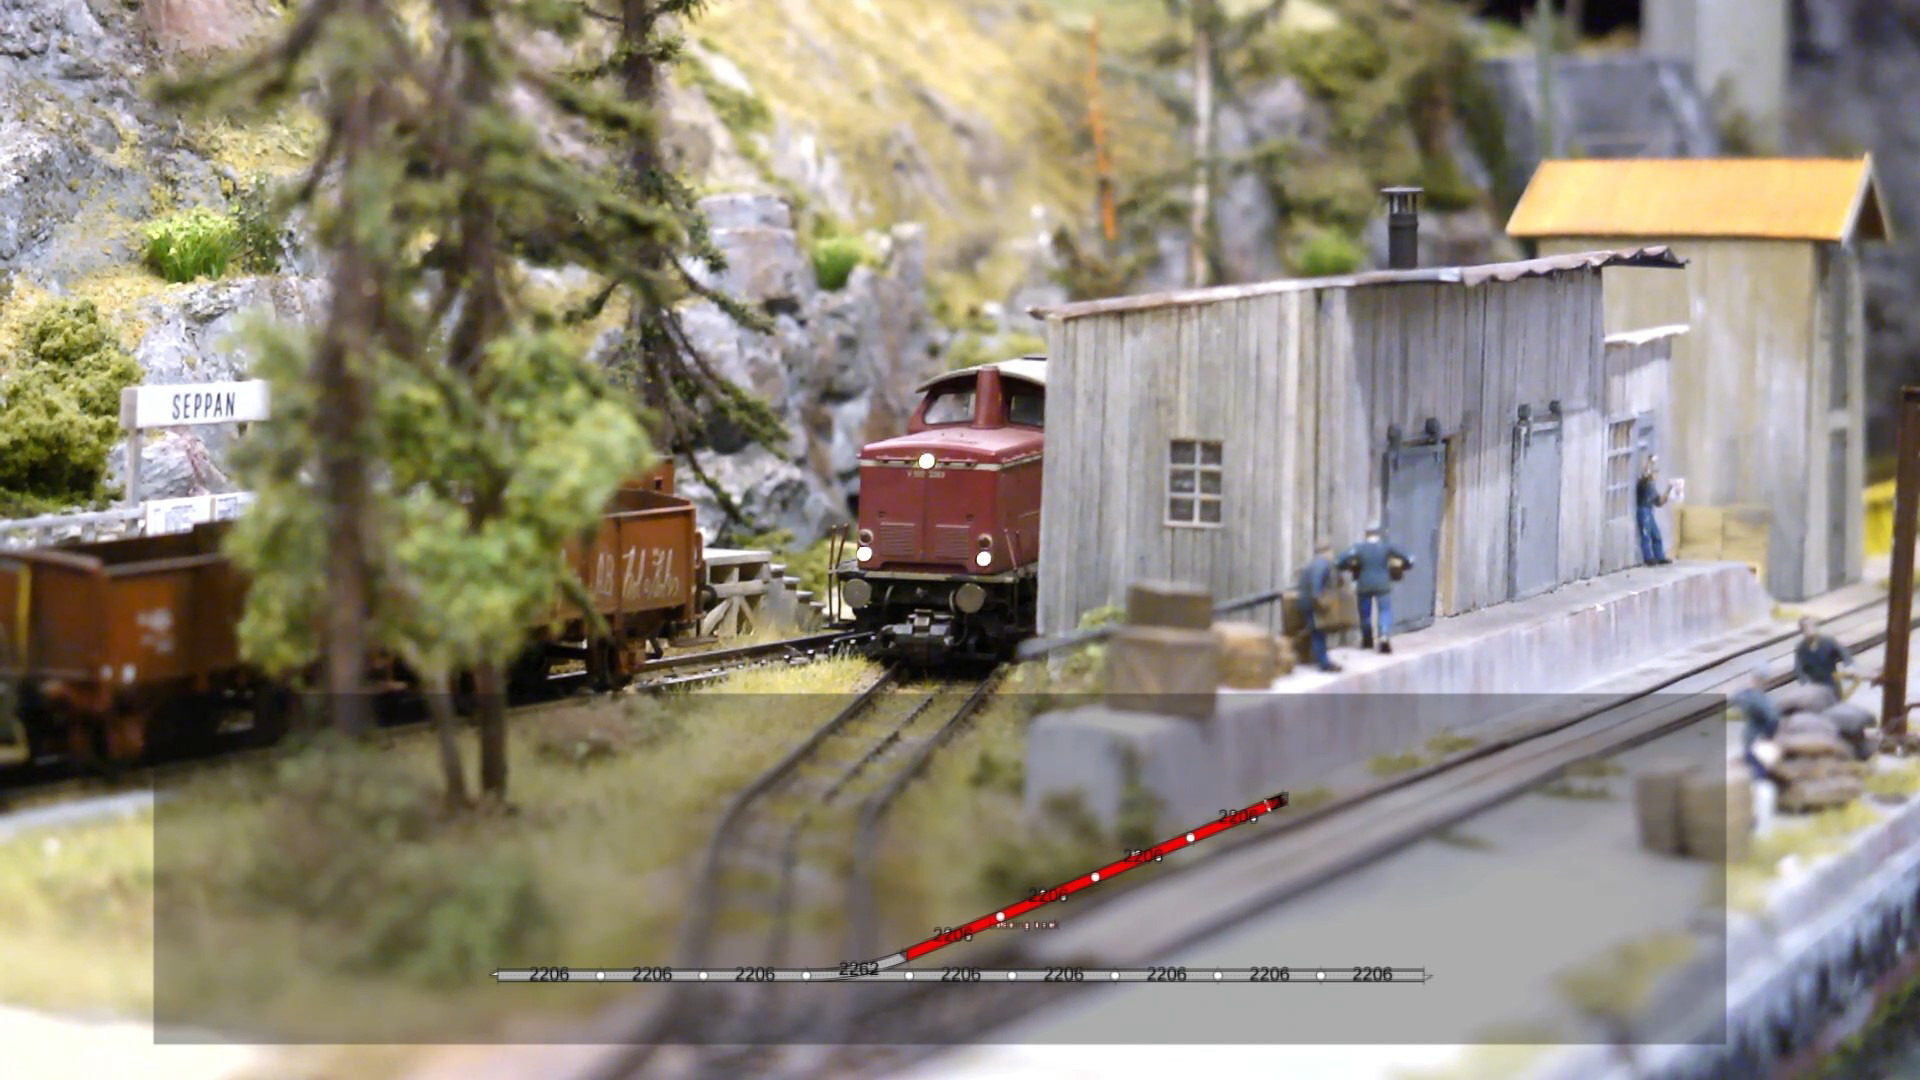
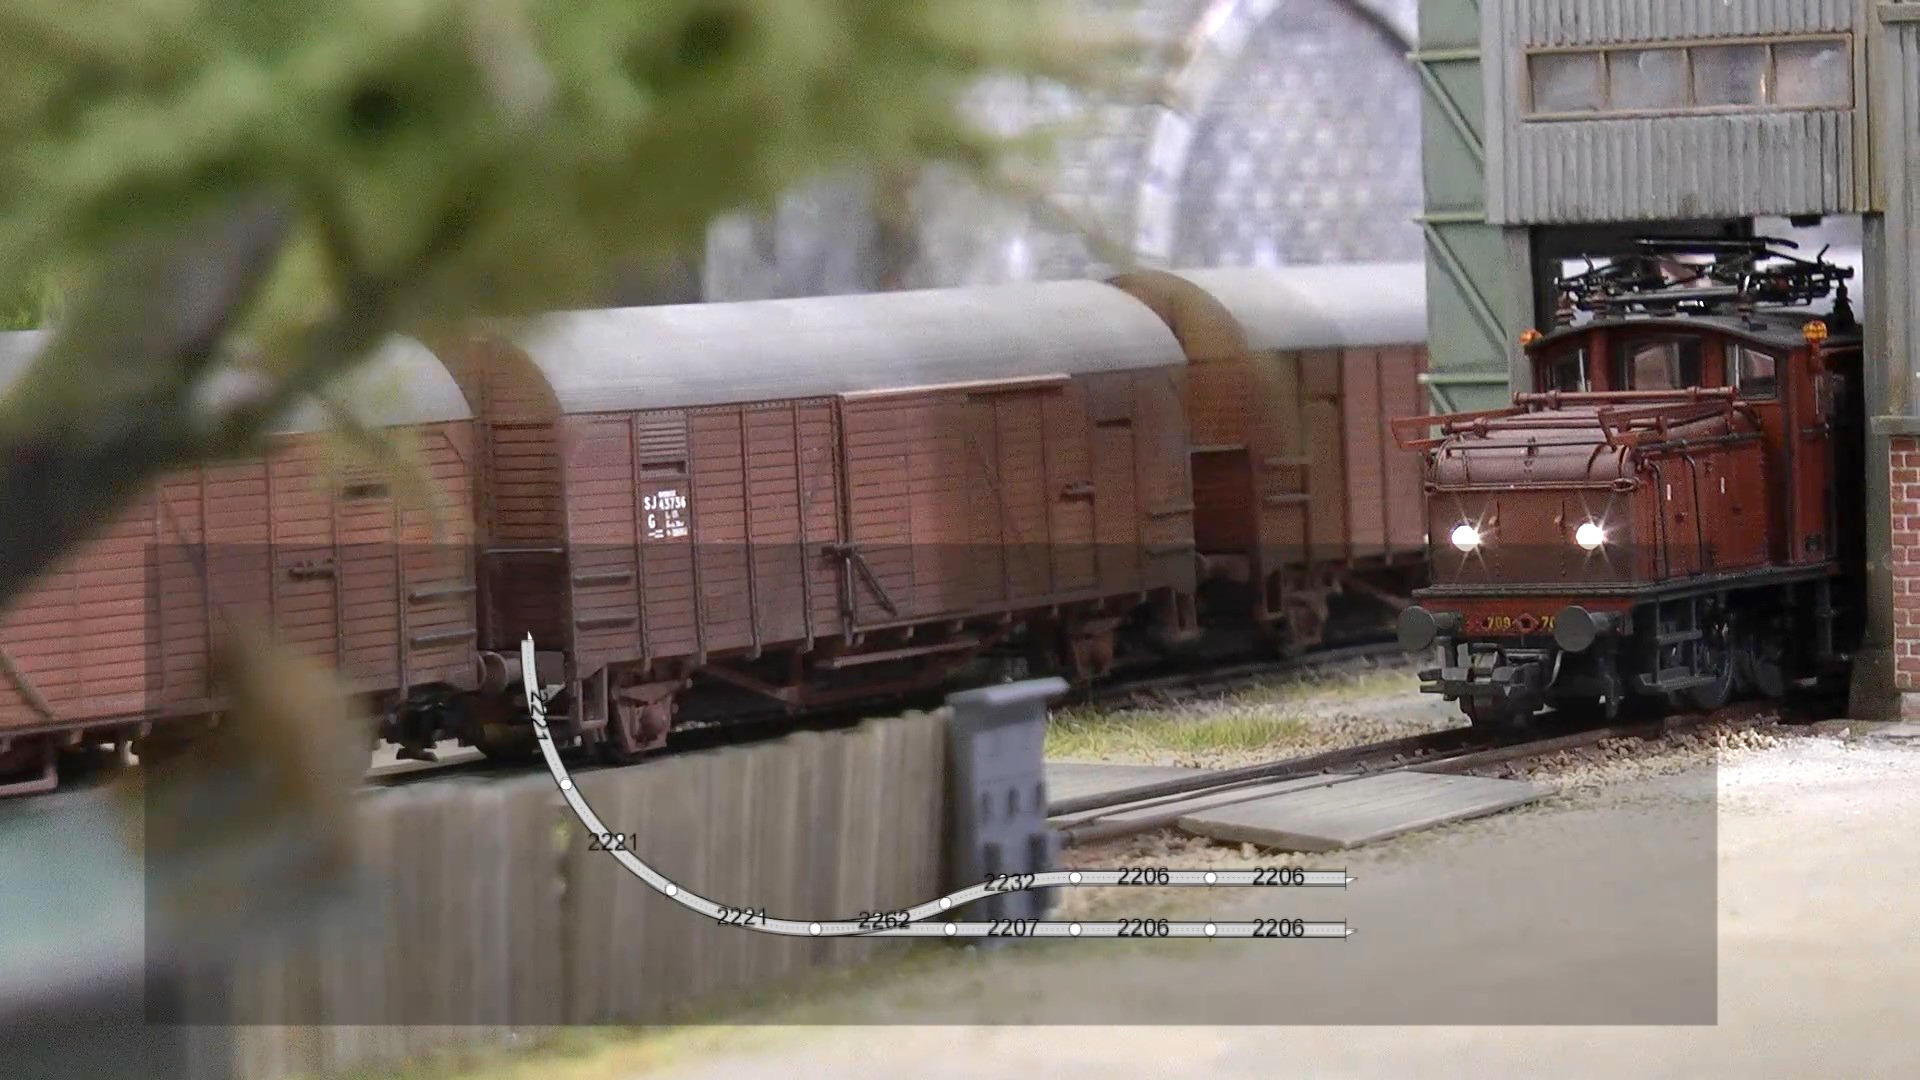
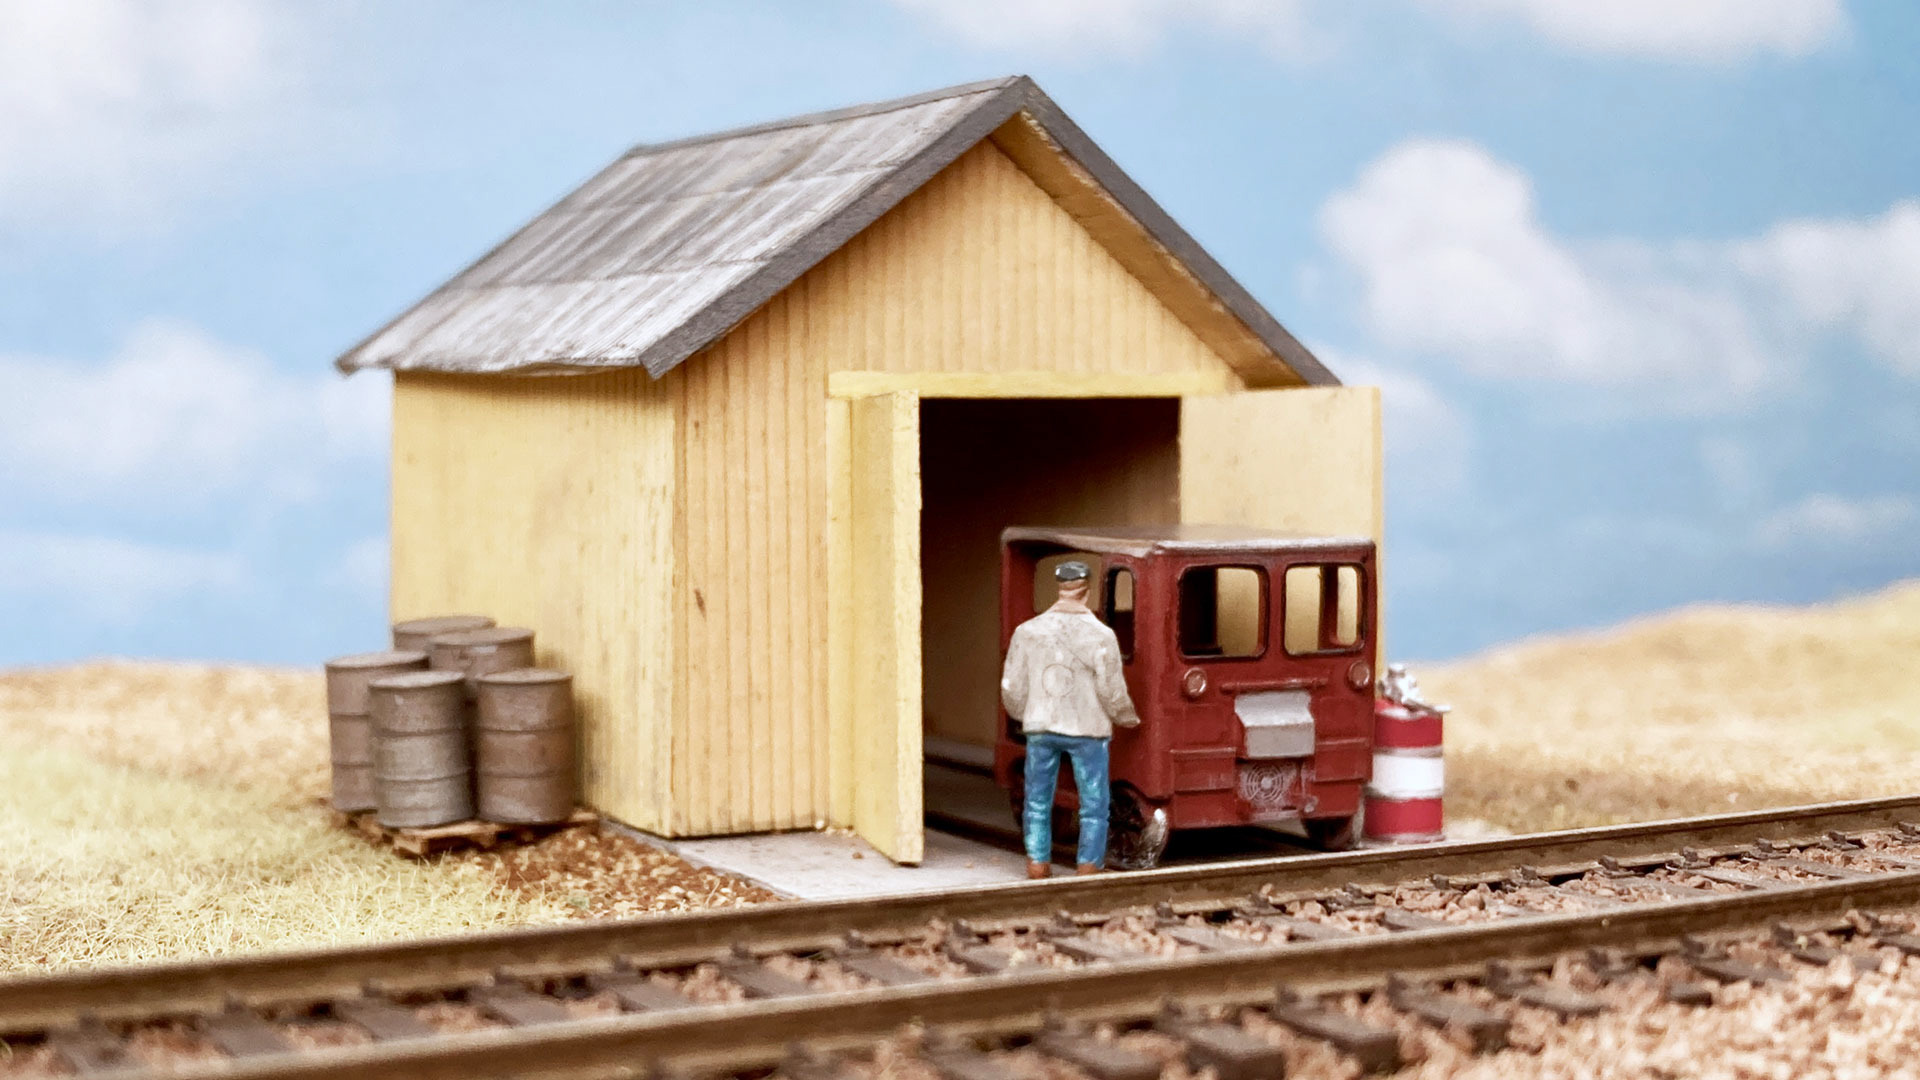
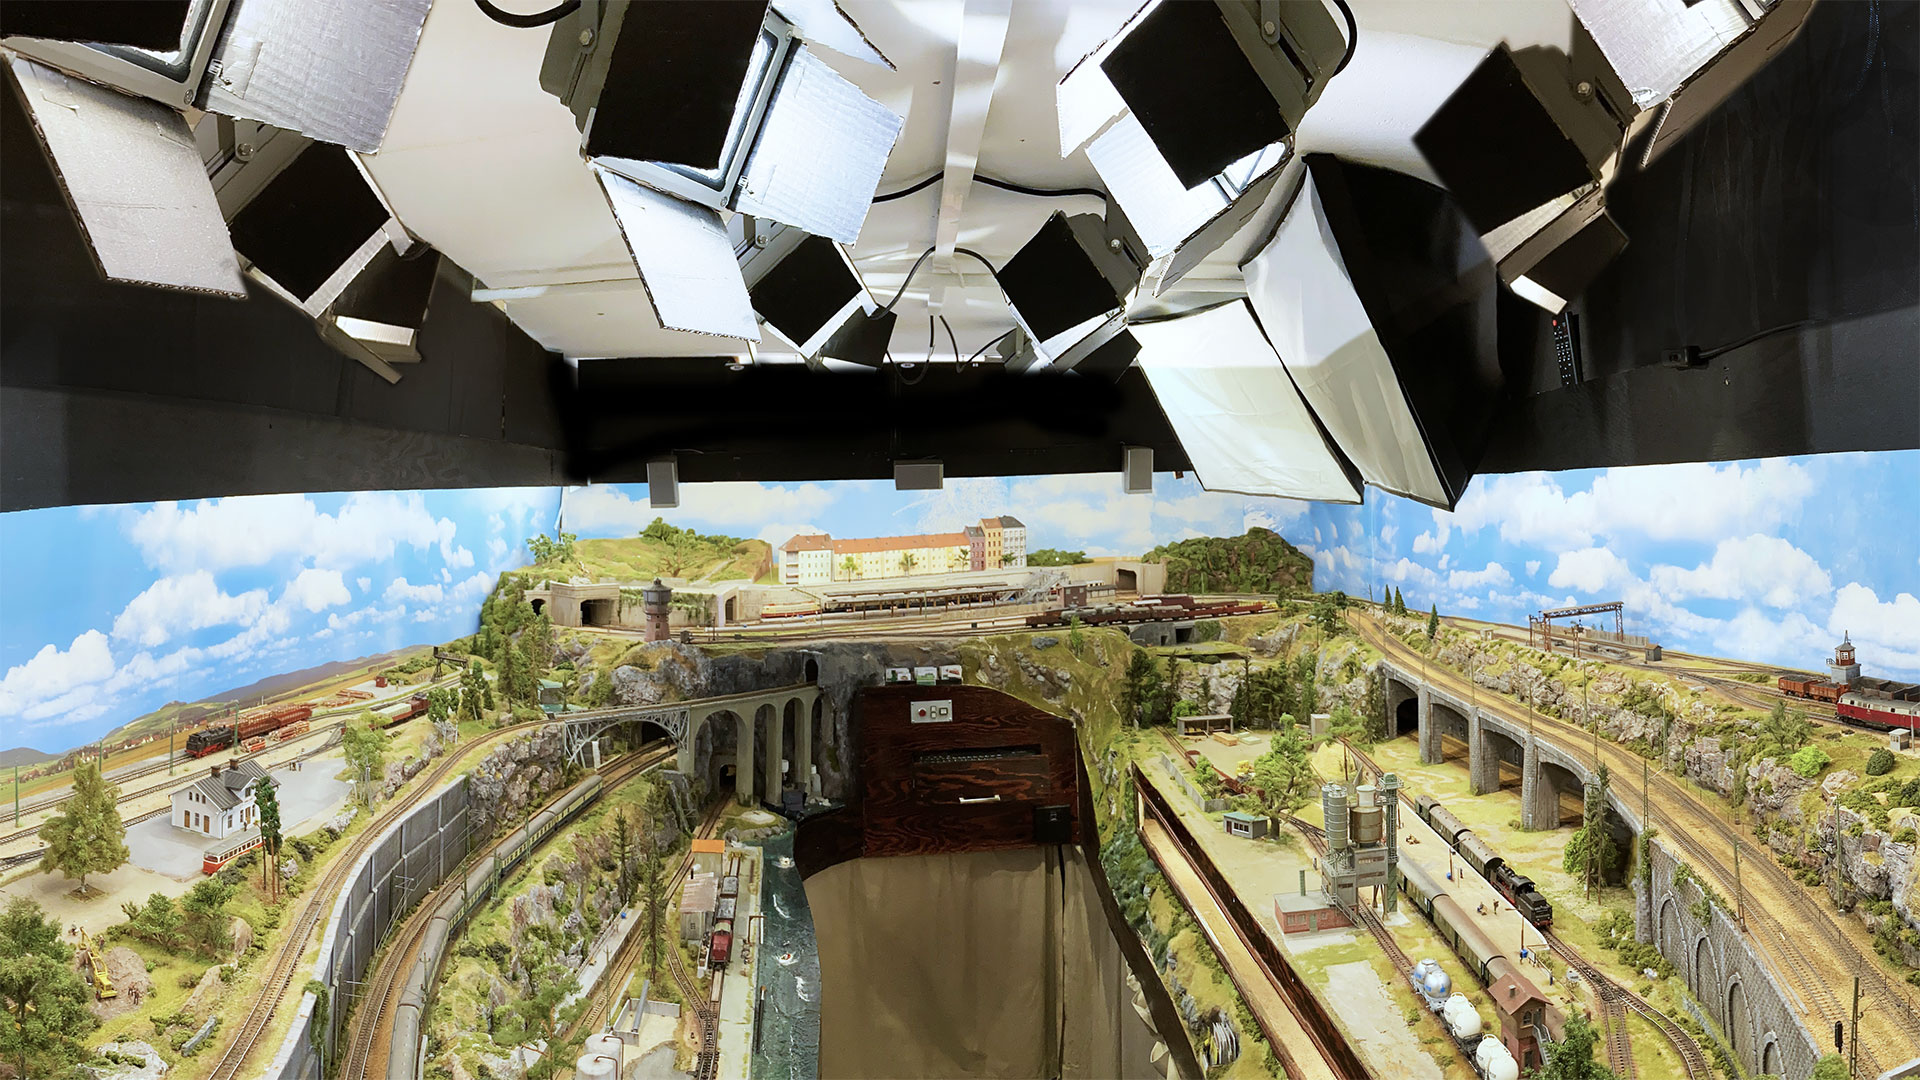
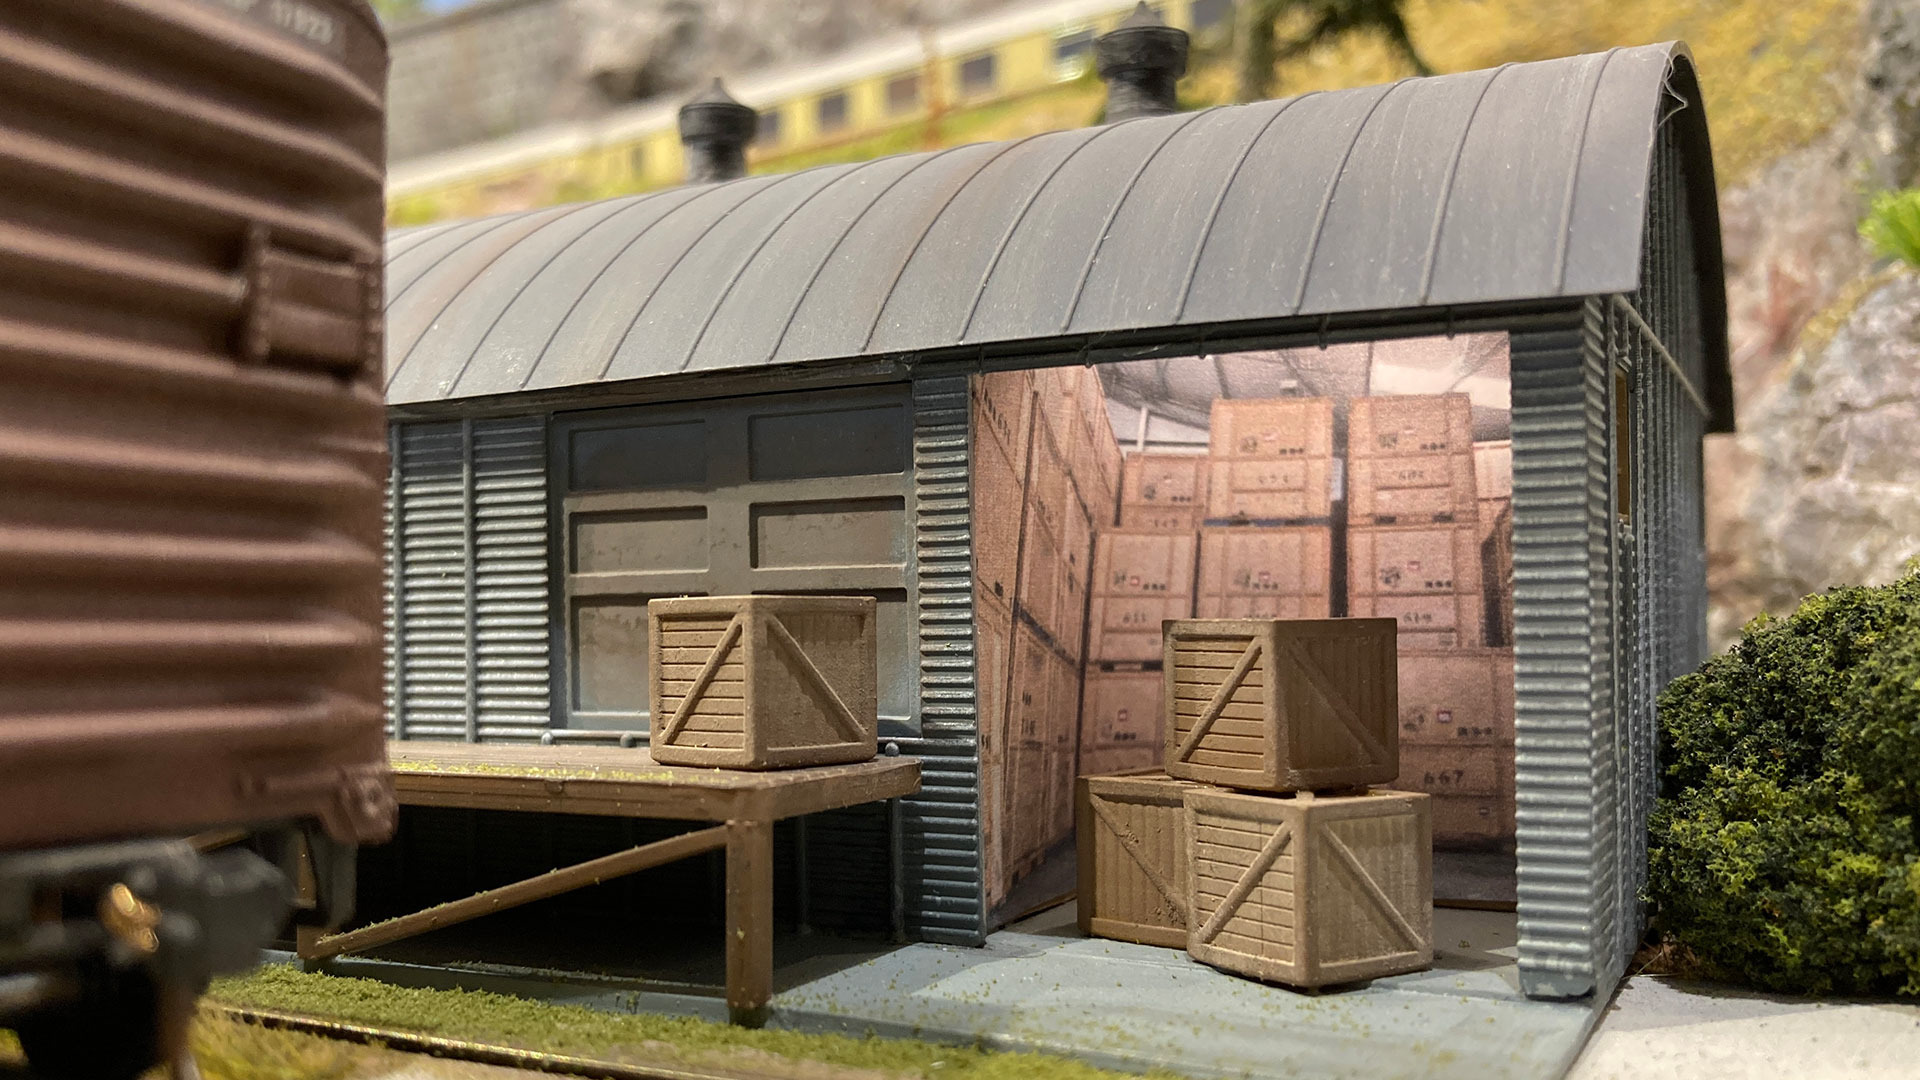
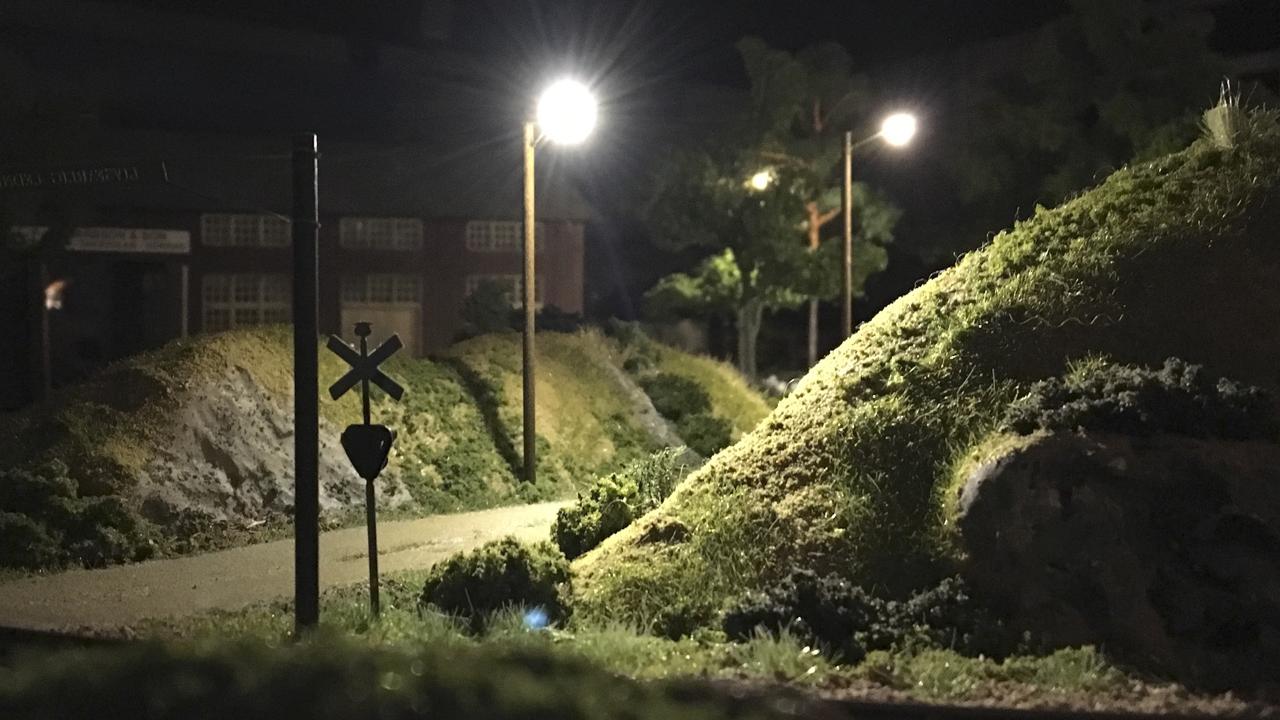
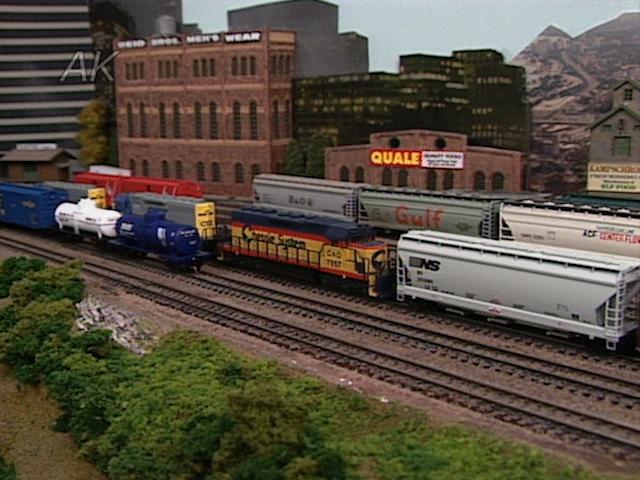
Roundhouse Interior
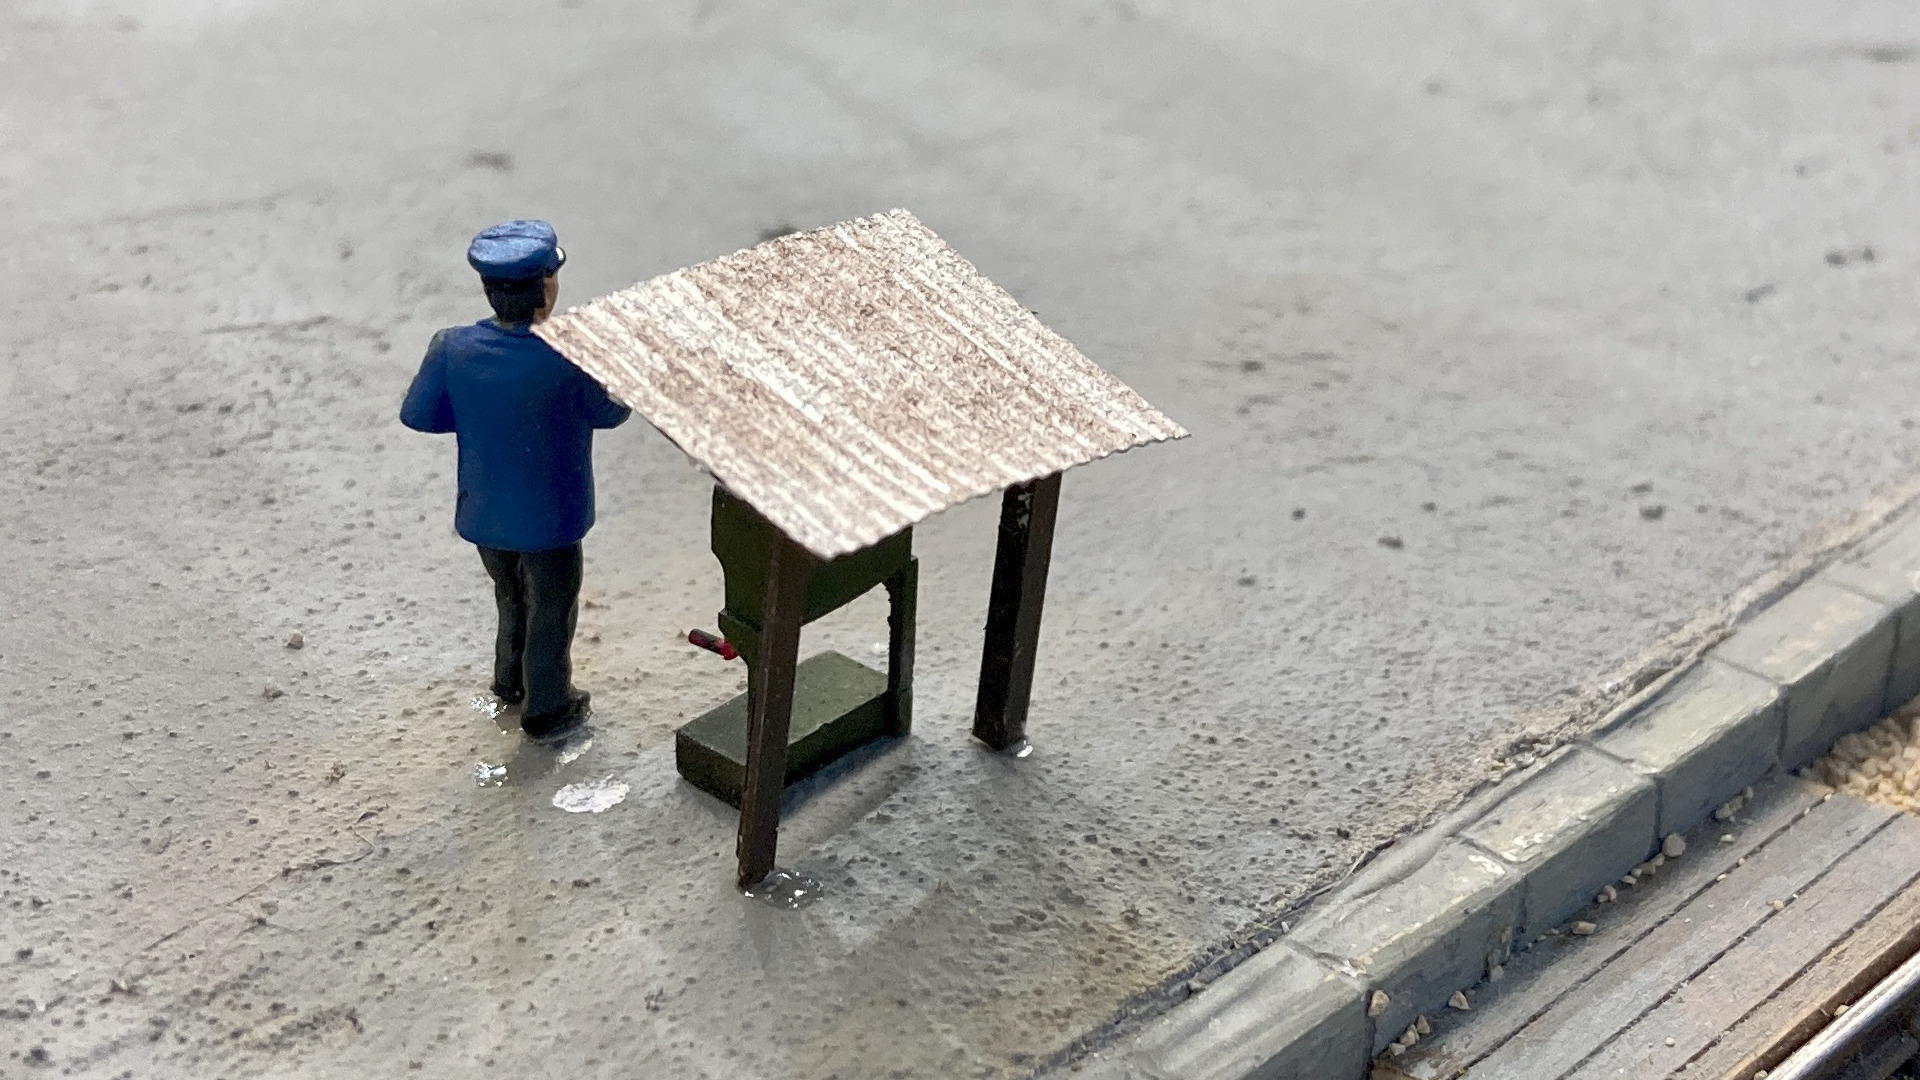
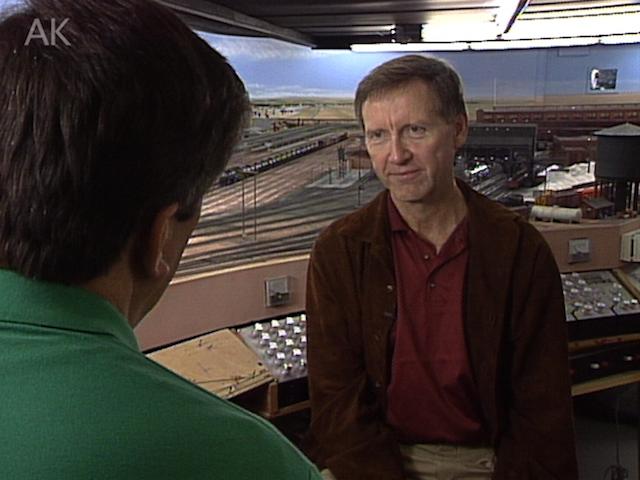
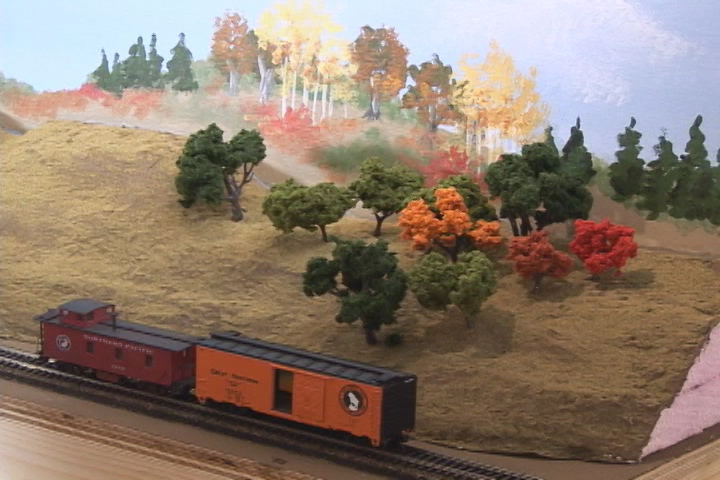
Martin TärnrotTo detail or not to detail? MRA Contributing Editor Martin Tärnrot answers this question with a resounding yes if we’re talking about a roundhouse interior. Every time an engine goes in or out, the doors of the roundhouse open. Martin even has a roundhouse whose doors are open all the time. Let’s detail it!
Before we start, if you have not made a roundhouse on your layout yet, watch our video on creating a roundhouse first, then come back to this video.
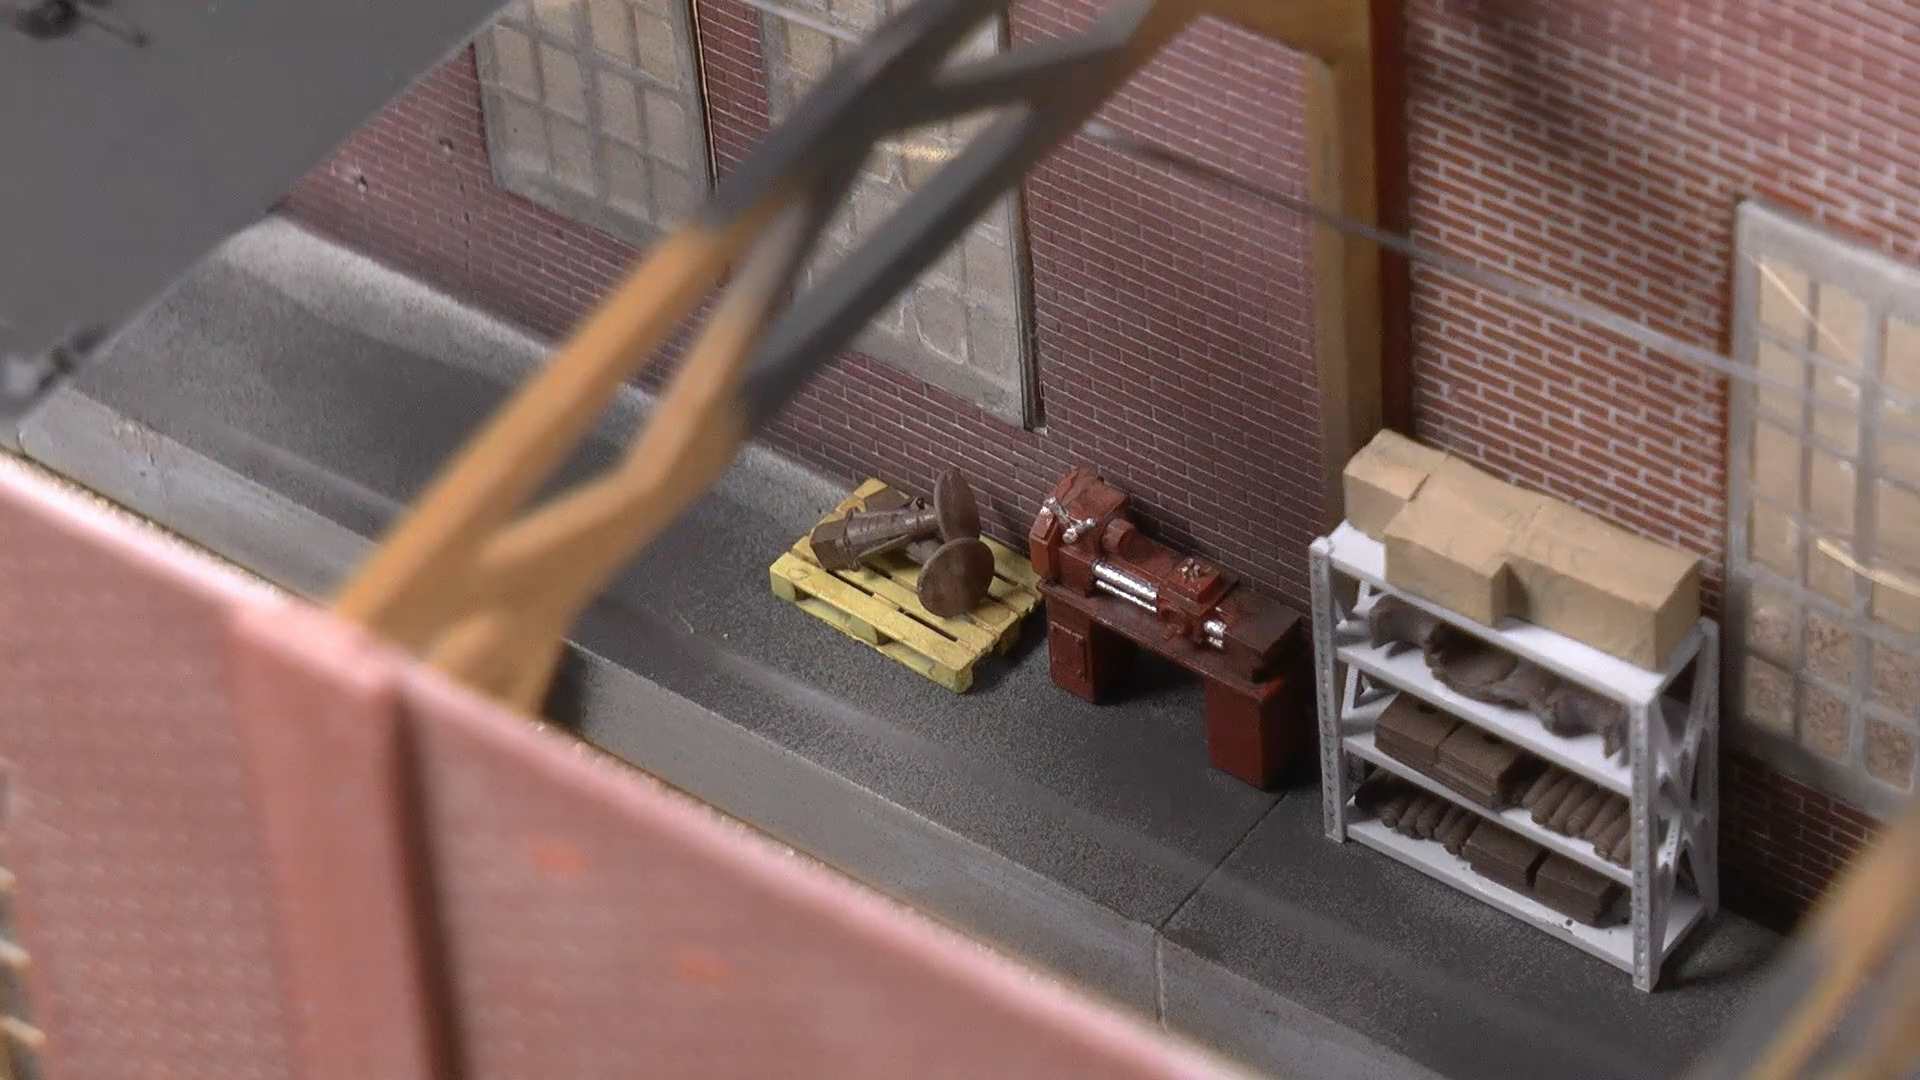
WHAT’S INSIDE A ROUNDHOUSE?
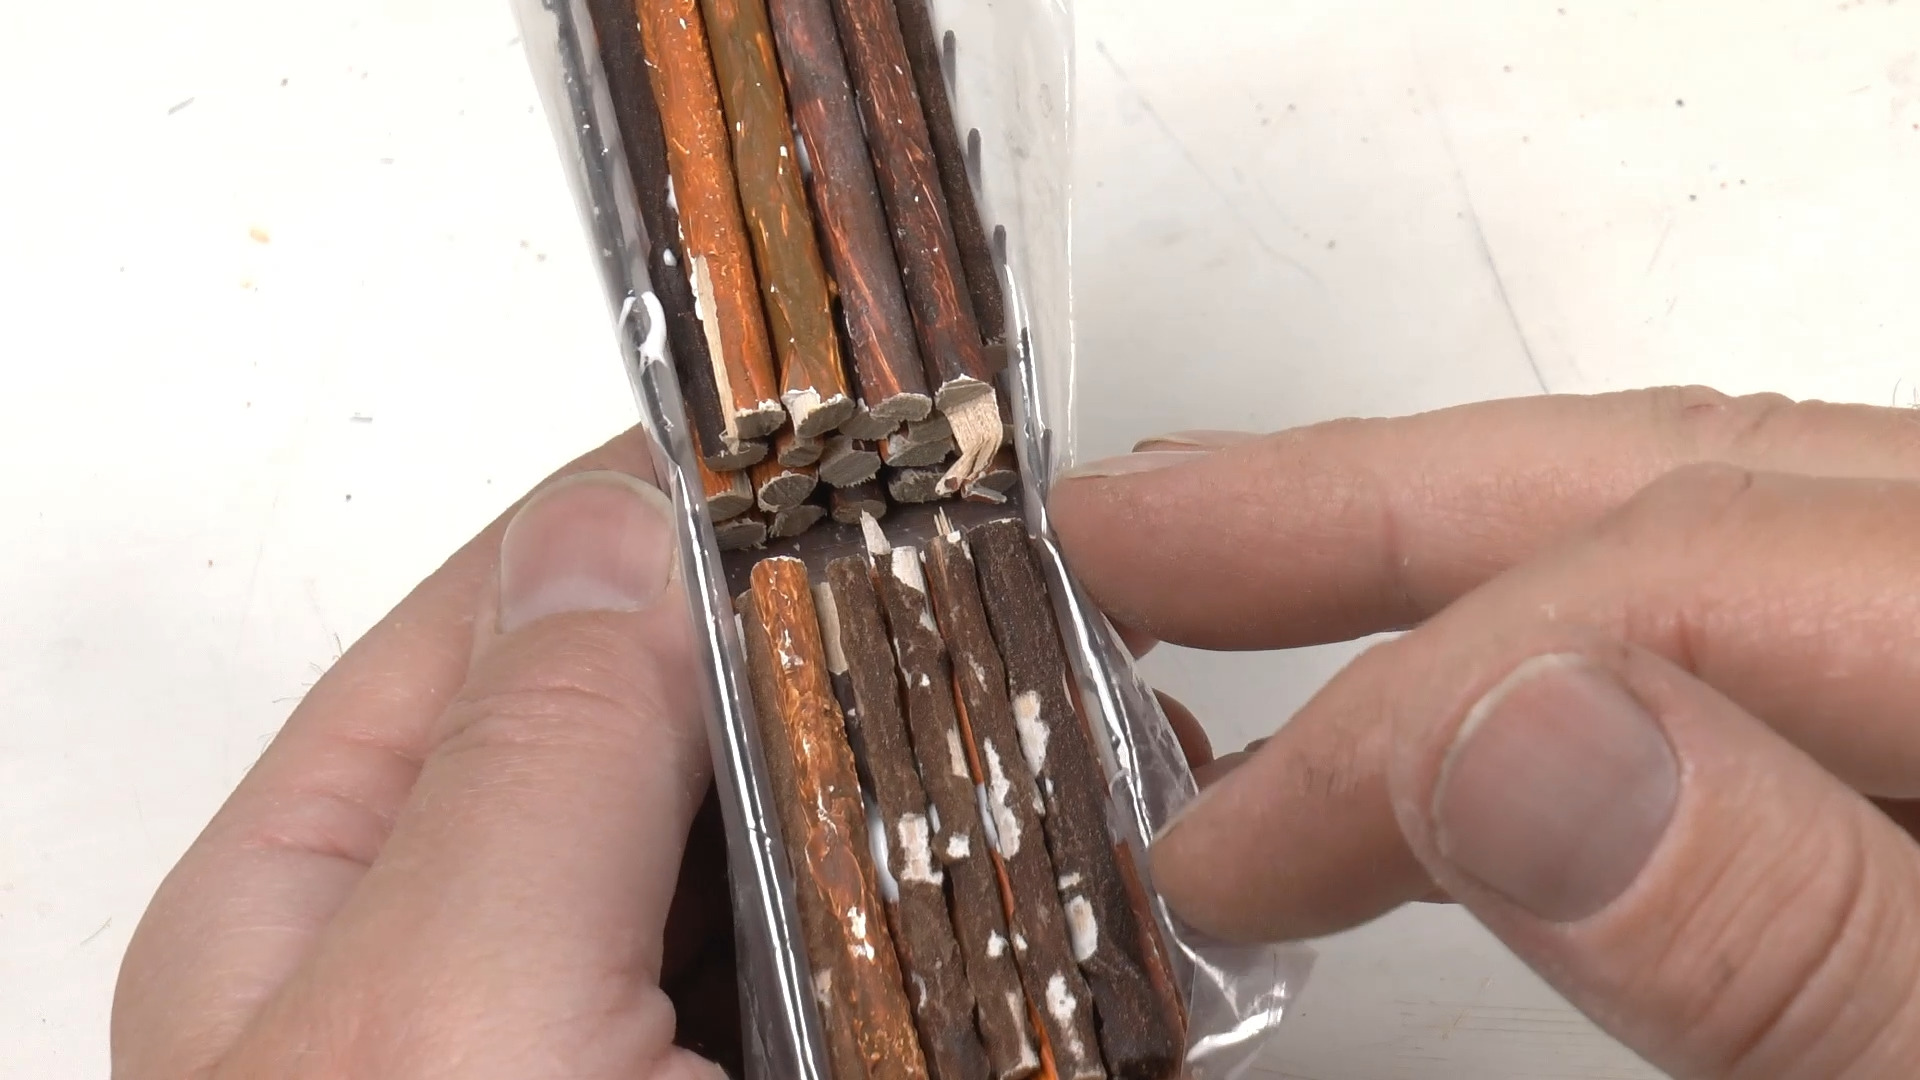
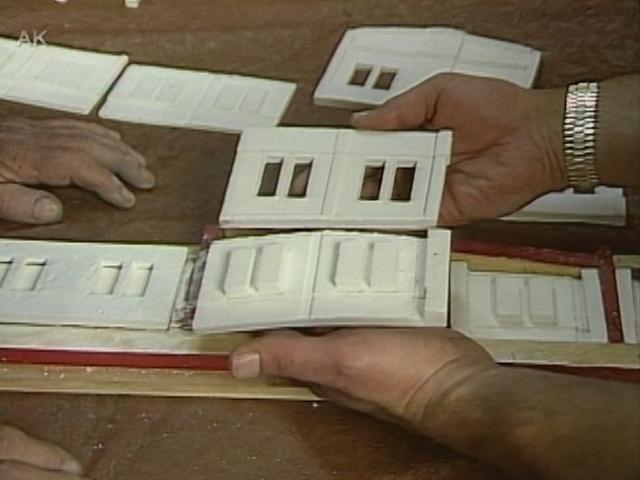
Martin toured some roundhouses that are still in operation and took photos of their interiors for reference as to what items are stored inside. Martin shows some of these photos, which include lots of steel shelving, tool boxes, boxes of bolts, bent pipes, cones, blocks with holes, and many other parts. It’s possible to buy these at dealers, or you can 3D print them using 3D-Model Set “DET-0007” from cgtrader.com.
THE DETAILING
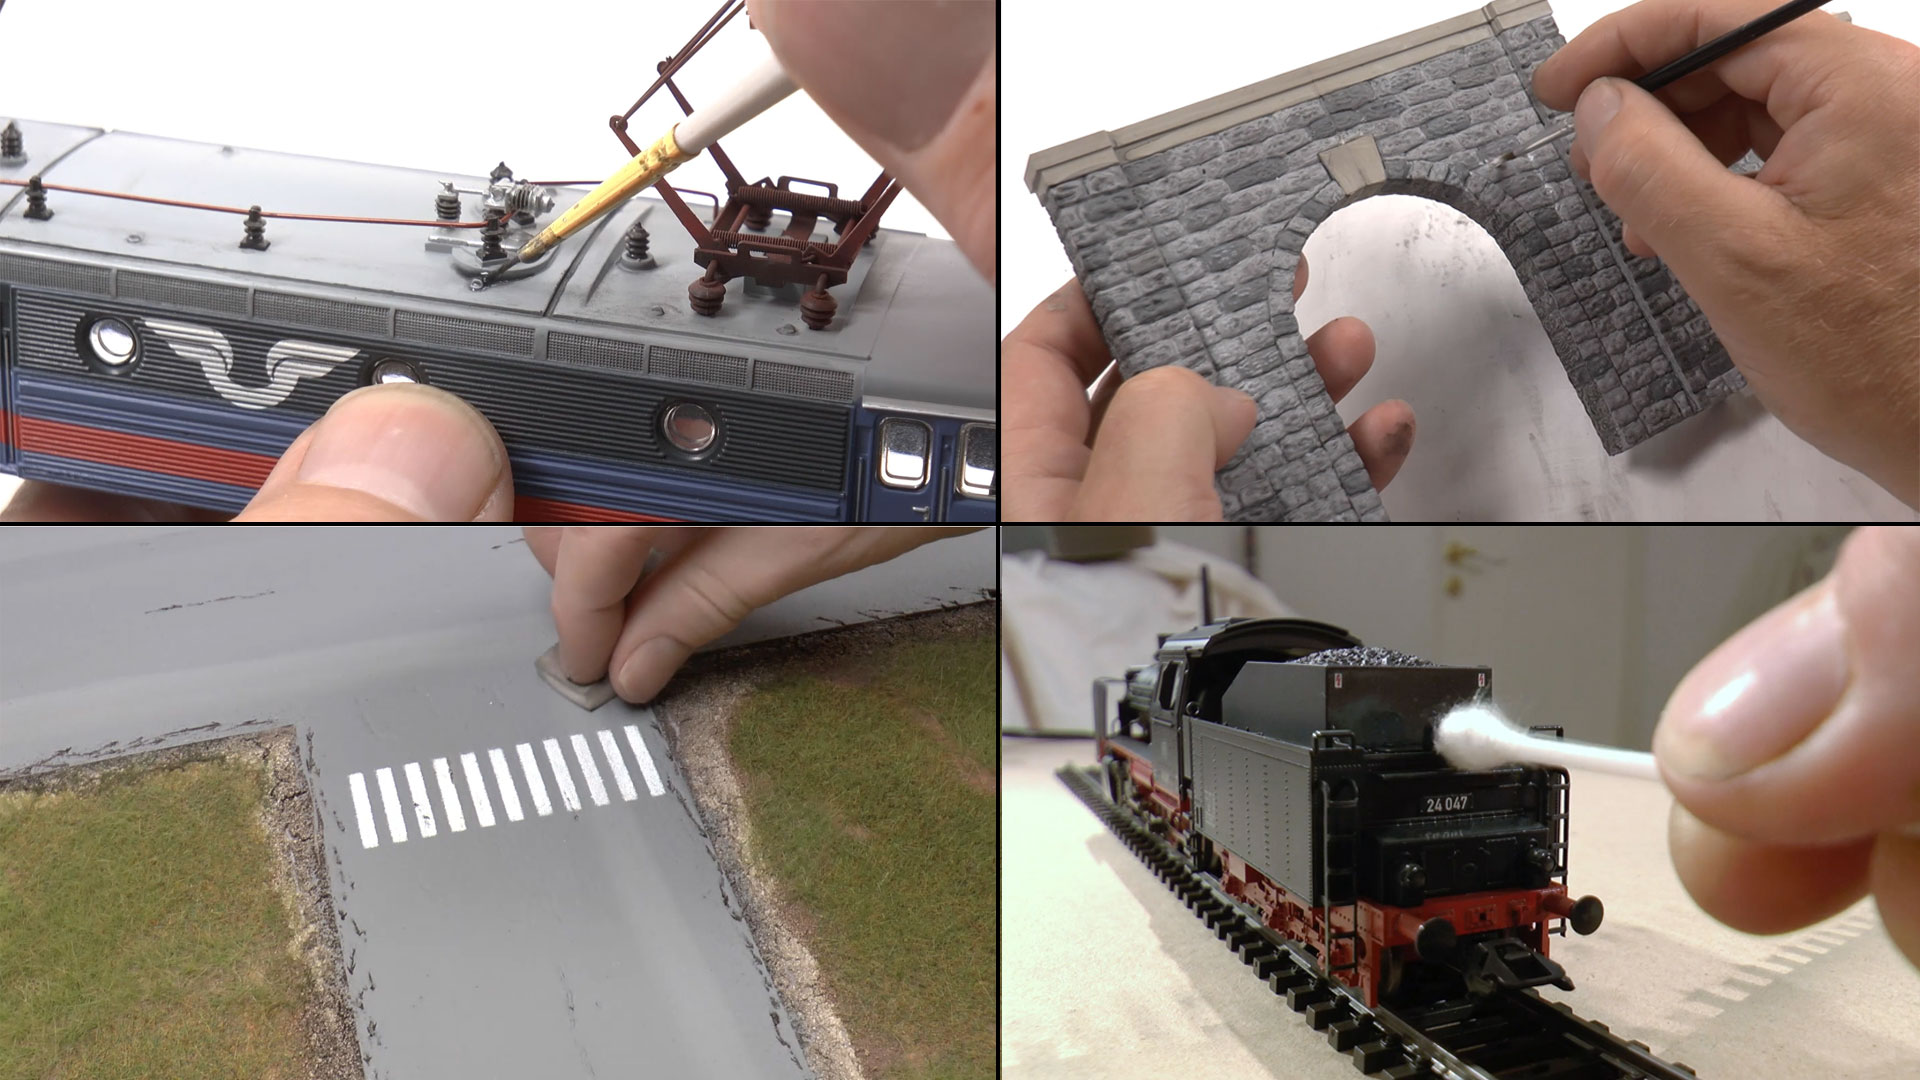
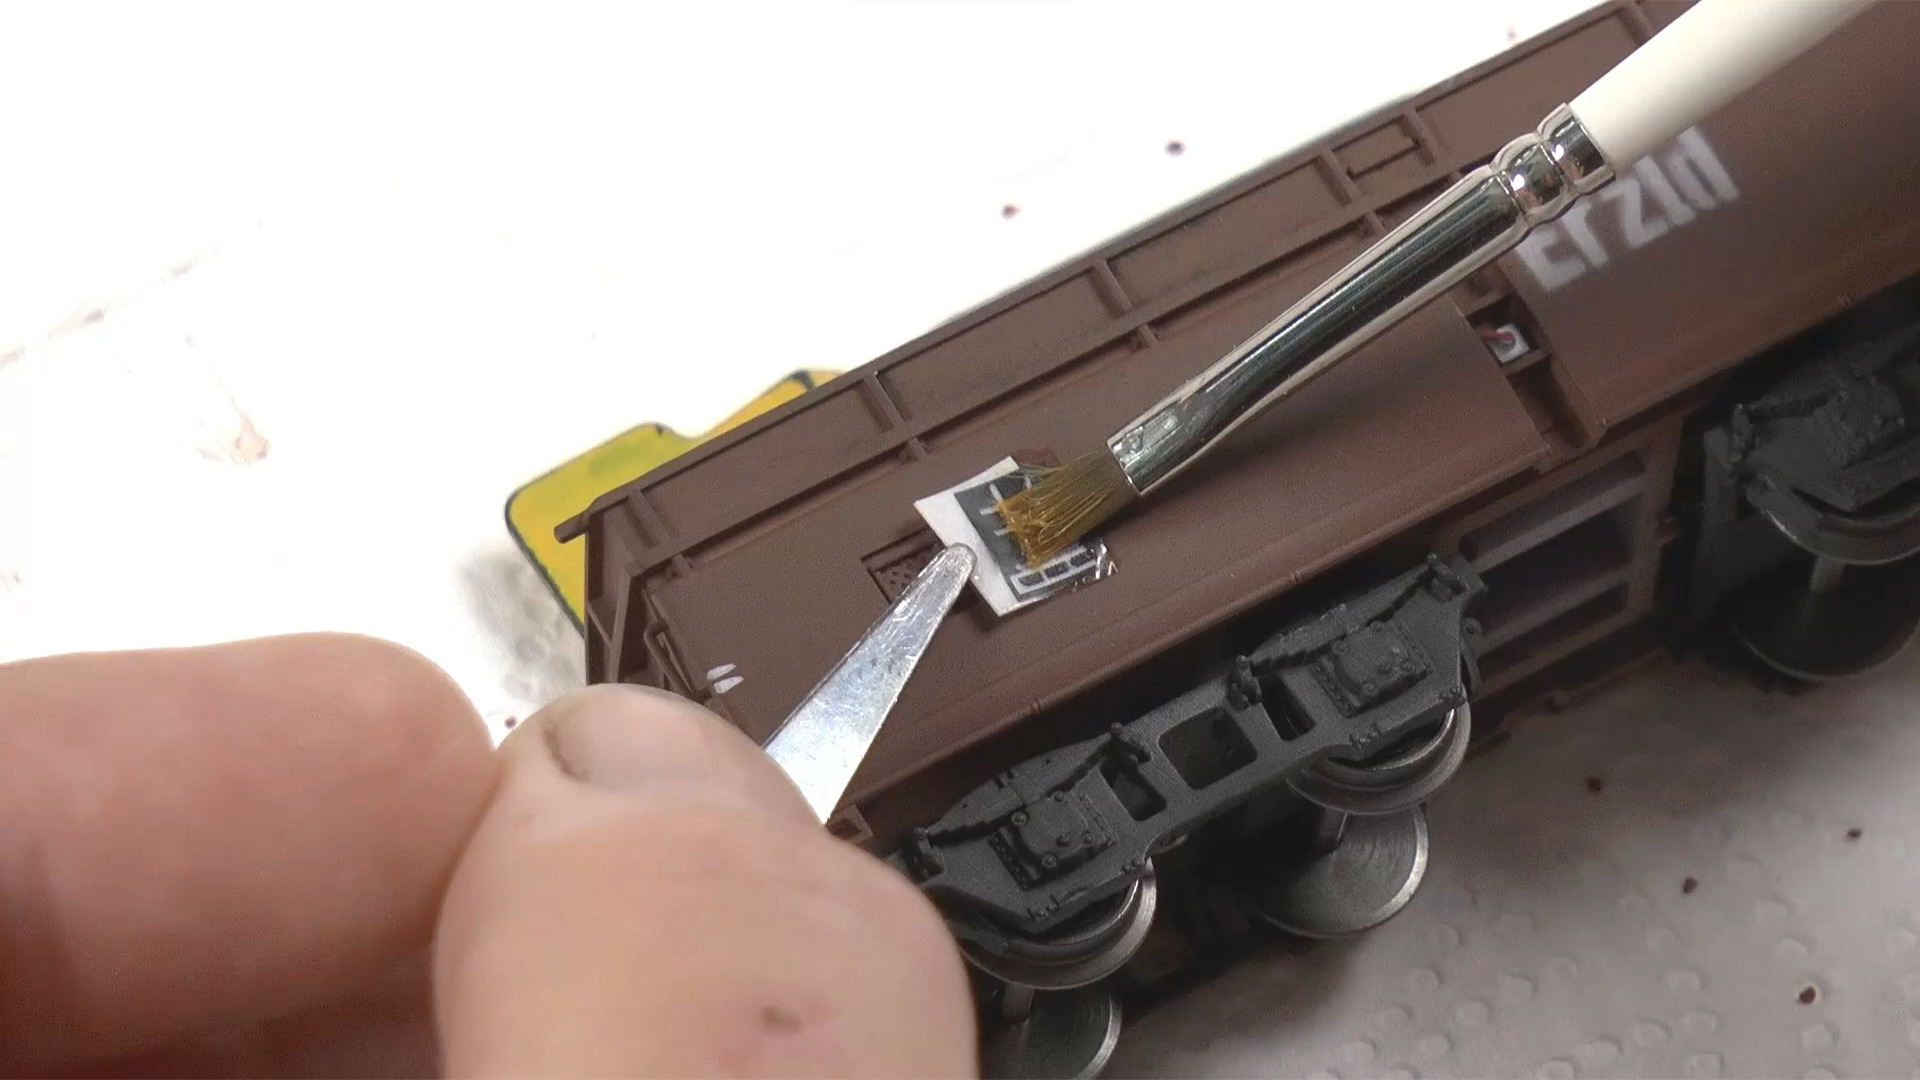
With a 3D-printed set, you can print as many items as you need. Martin prints lots of shelving, then sprays them with a layer of fine surface primer in light gray color to give them a good foundation for the paint and to prevent moisture from warping the plastic. Next he adds a black wash to the shelving.
For the cardboard boxes that will be placed on the shelves, Martin mixes flat earth and white acrylic paints and adds some thinner. For items that are supposed to be made of metal, he adds a high-gloss varnish on top of the paint to simulate the metal shine.
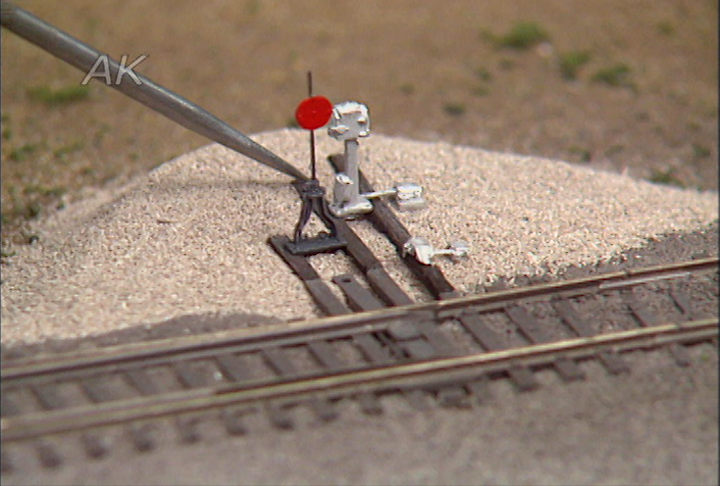
After the paint has dried, it’s time to place the items inside the roundhouse using tweezers. Affix them to the floor with fast-set glue. When everything is secured, place the roof back on the roundhouse.
For modelers who enjoy detailing, Martin has a full class on the subject: Super Detailing a Layout.
Explore videos by Martin Tärnrot


You may be interested in


Premium Membership
Unlock exclusive member content from our industry experts.
- 24/7 Access to Premium Model Railroading Videos, Projects, and Tips
- Step-by-Step Instructional Guides & Layout Plans
- 50% Off Video Downloads Purchased in the Model Railroad Academy Shop
- Access to Ask the Expert Program
Unlock exclusive member content from our industry experts.
- 24/7 Access to Premium Model Railroading Videos, Projects, and Tips
- Step-by-Step Instructional Guides & Layout Plans
- 3 Full-Length Video Downloads to Watch Offline
- 50% Off Video Downloads Purchased in the Model Railroad Academy Shop
- Access to Ask the Expert Program
Gold Membership
$326 Value
Get everything included in Premium plus exclusive Gold Membership benefits.
- 24/7 Access to Premium Model Railroading Videos, Projects, and Tips
- Step-by-Step Instructional Guides & Layout Plans
- 9 Full-Length Video Downloads to Watch Offline
- 2 Full-Length Classes to Keep for Life
- 2 Downloadable Guides
- Discounts on Purchase-to-Own Content in the Model Railroad Academy Shop
- Access to Ask the Expert Program
- Exclusive GOLD LIVE Streaming Events