
Working with Curved Easements with Martin Tärnrot
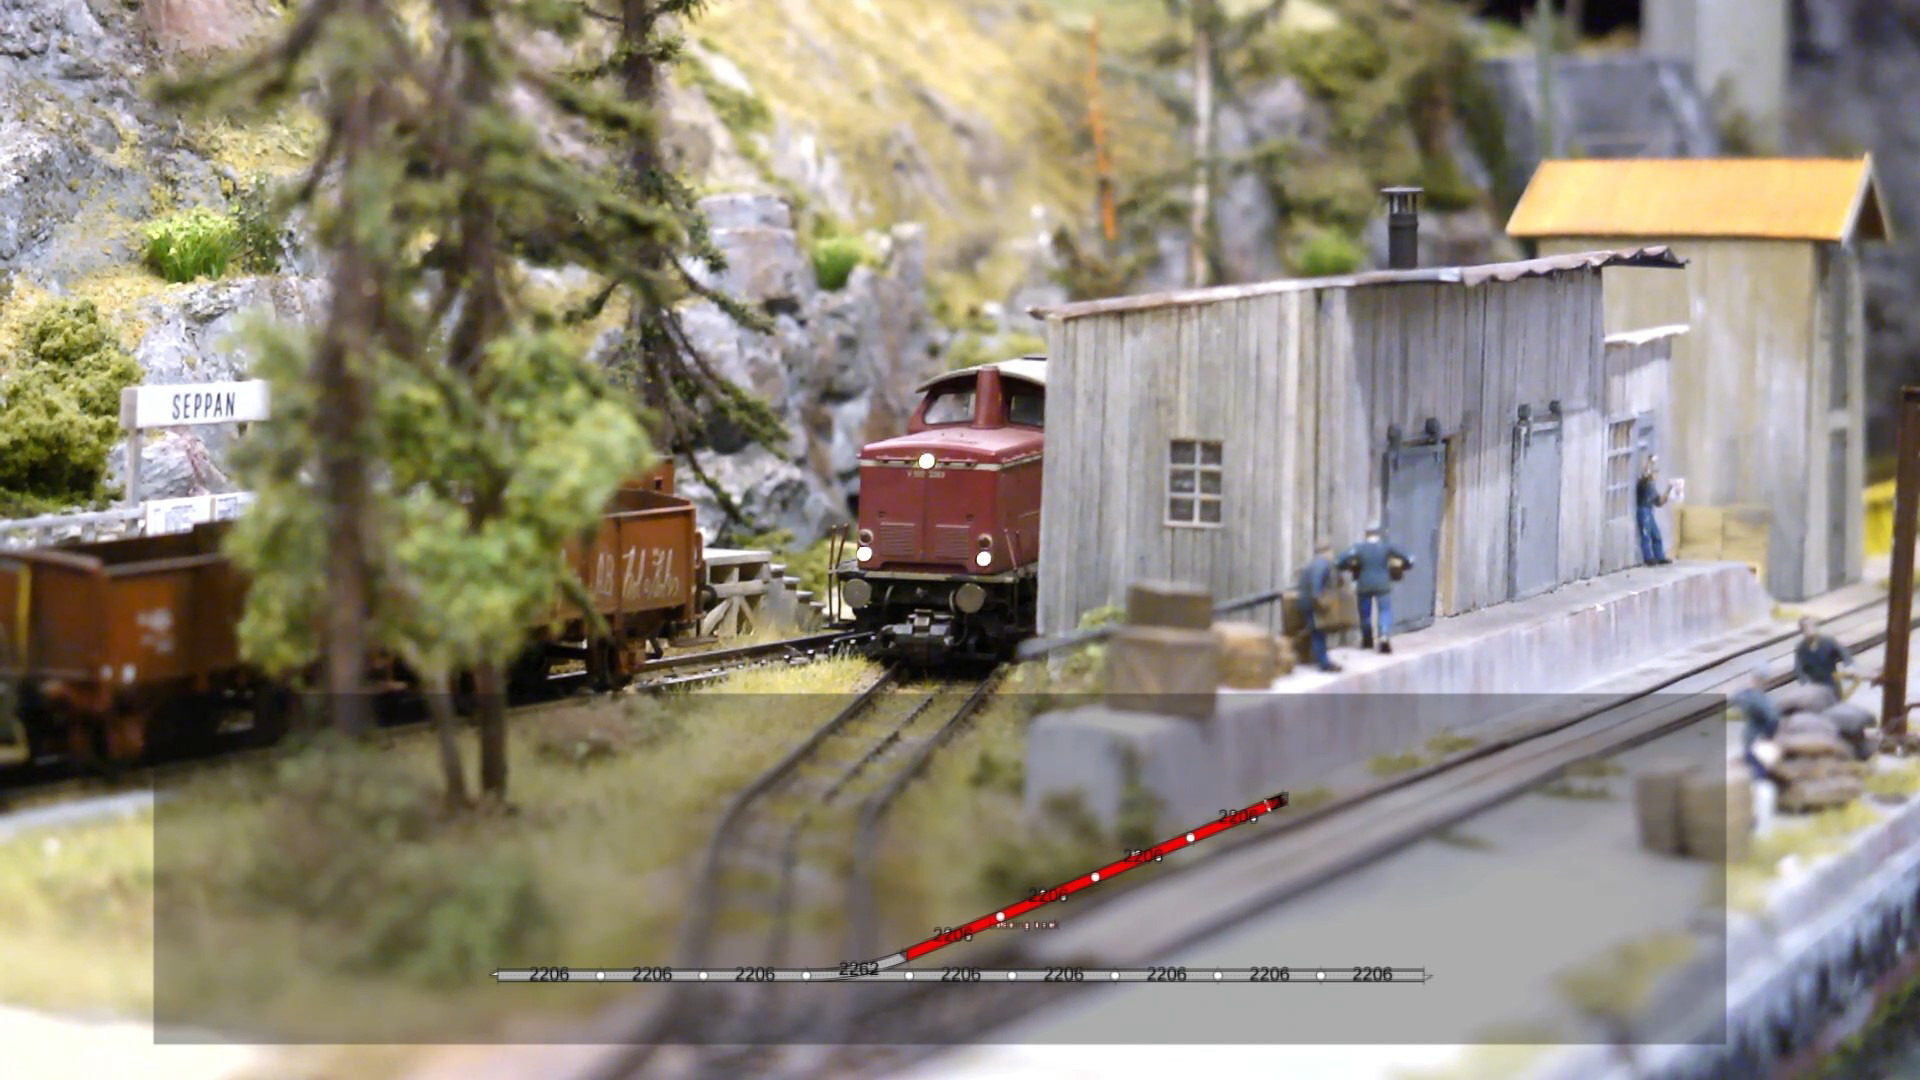
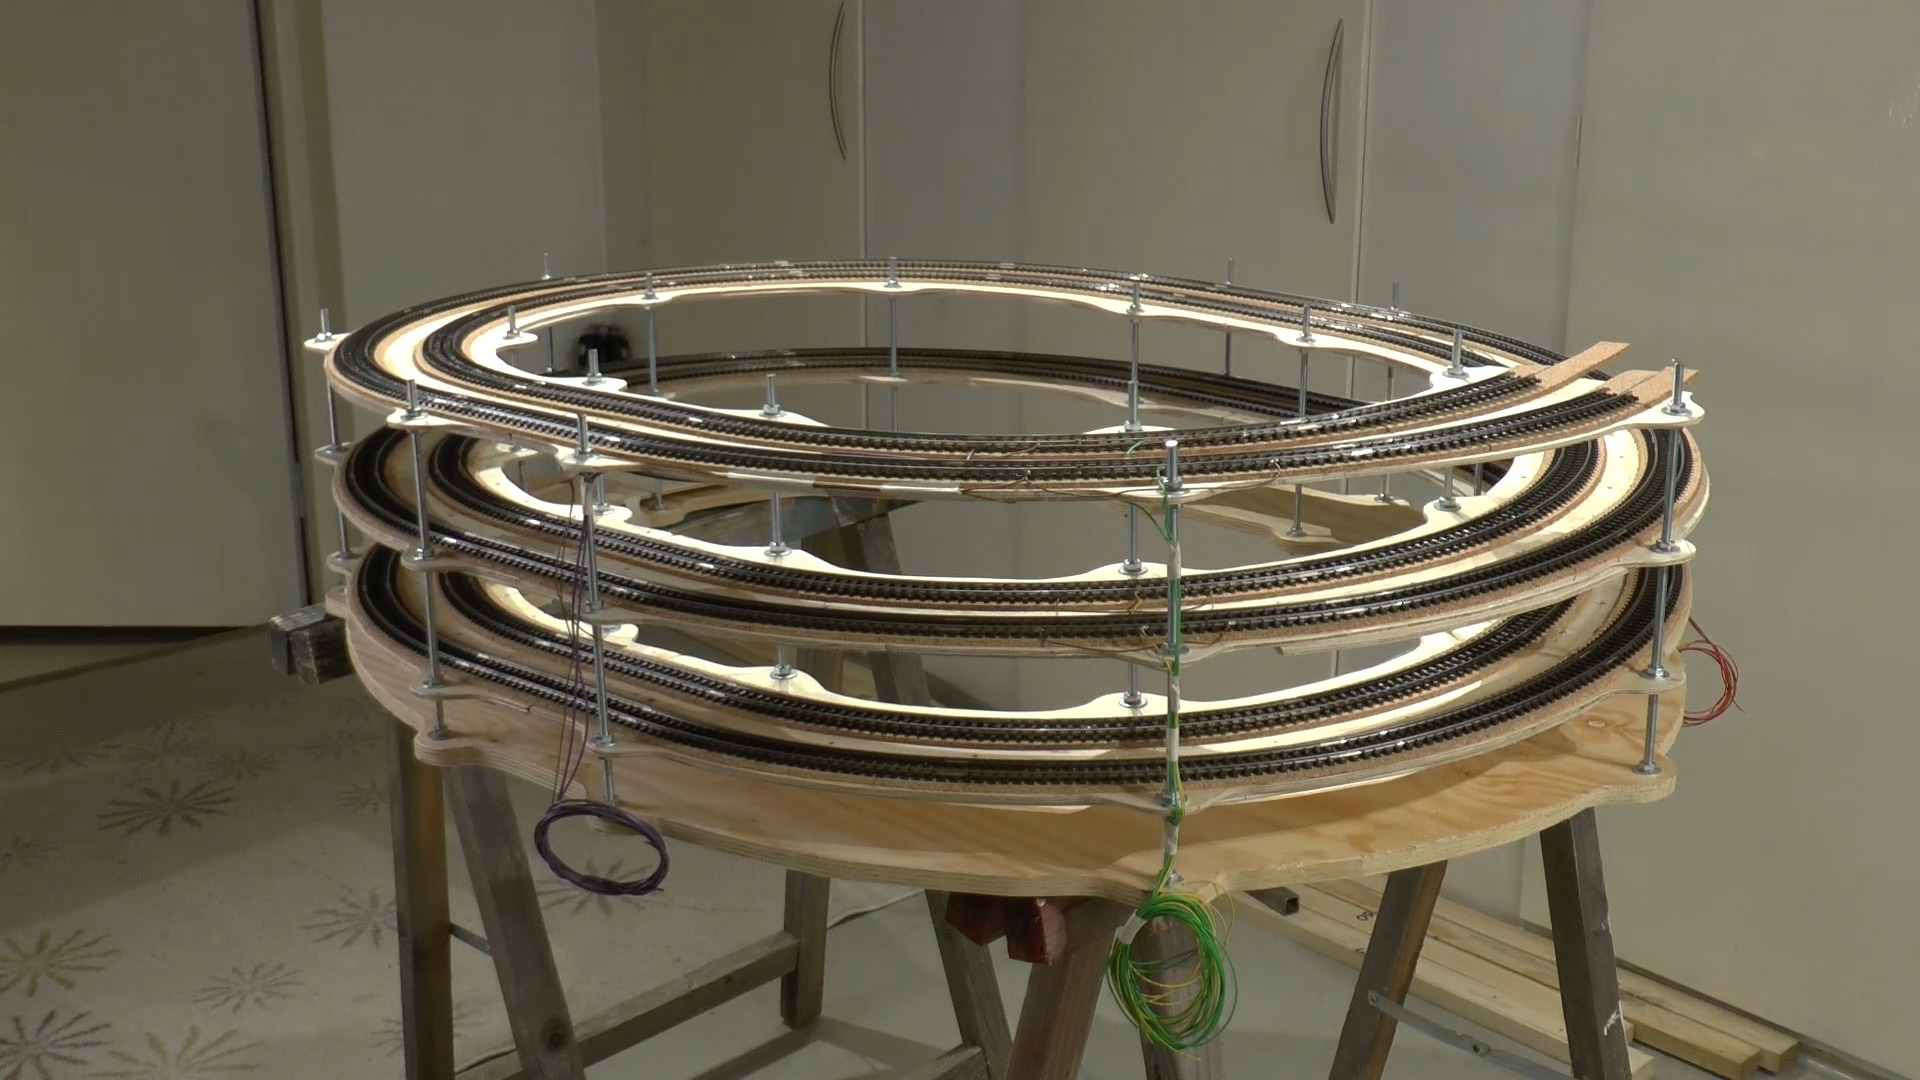
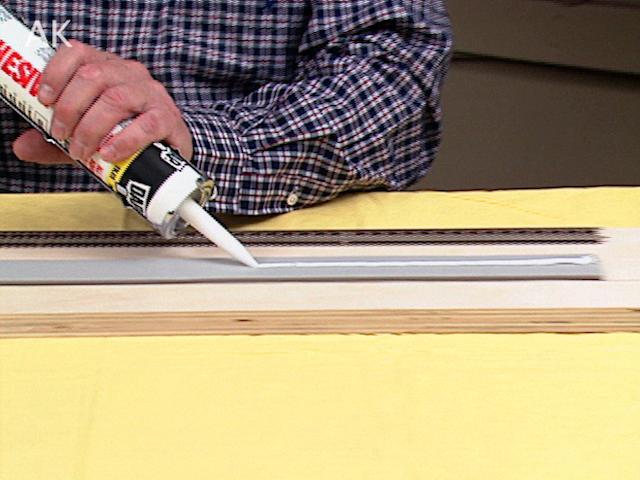
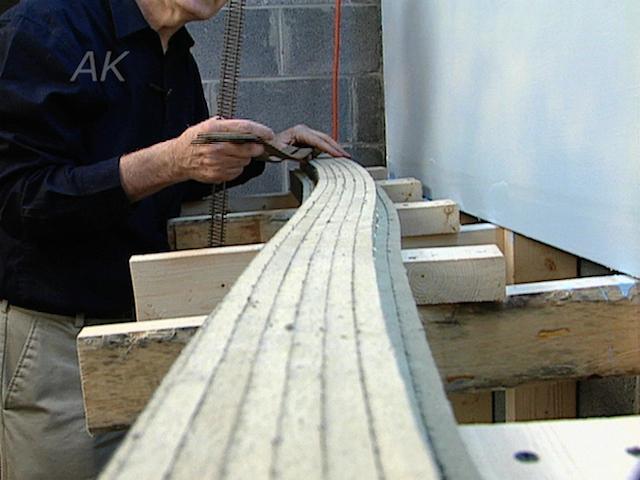
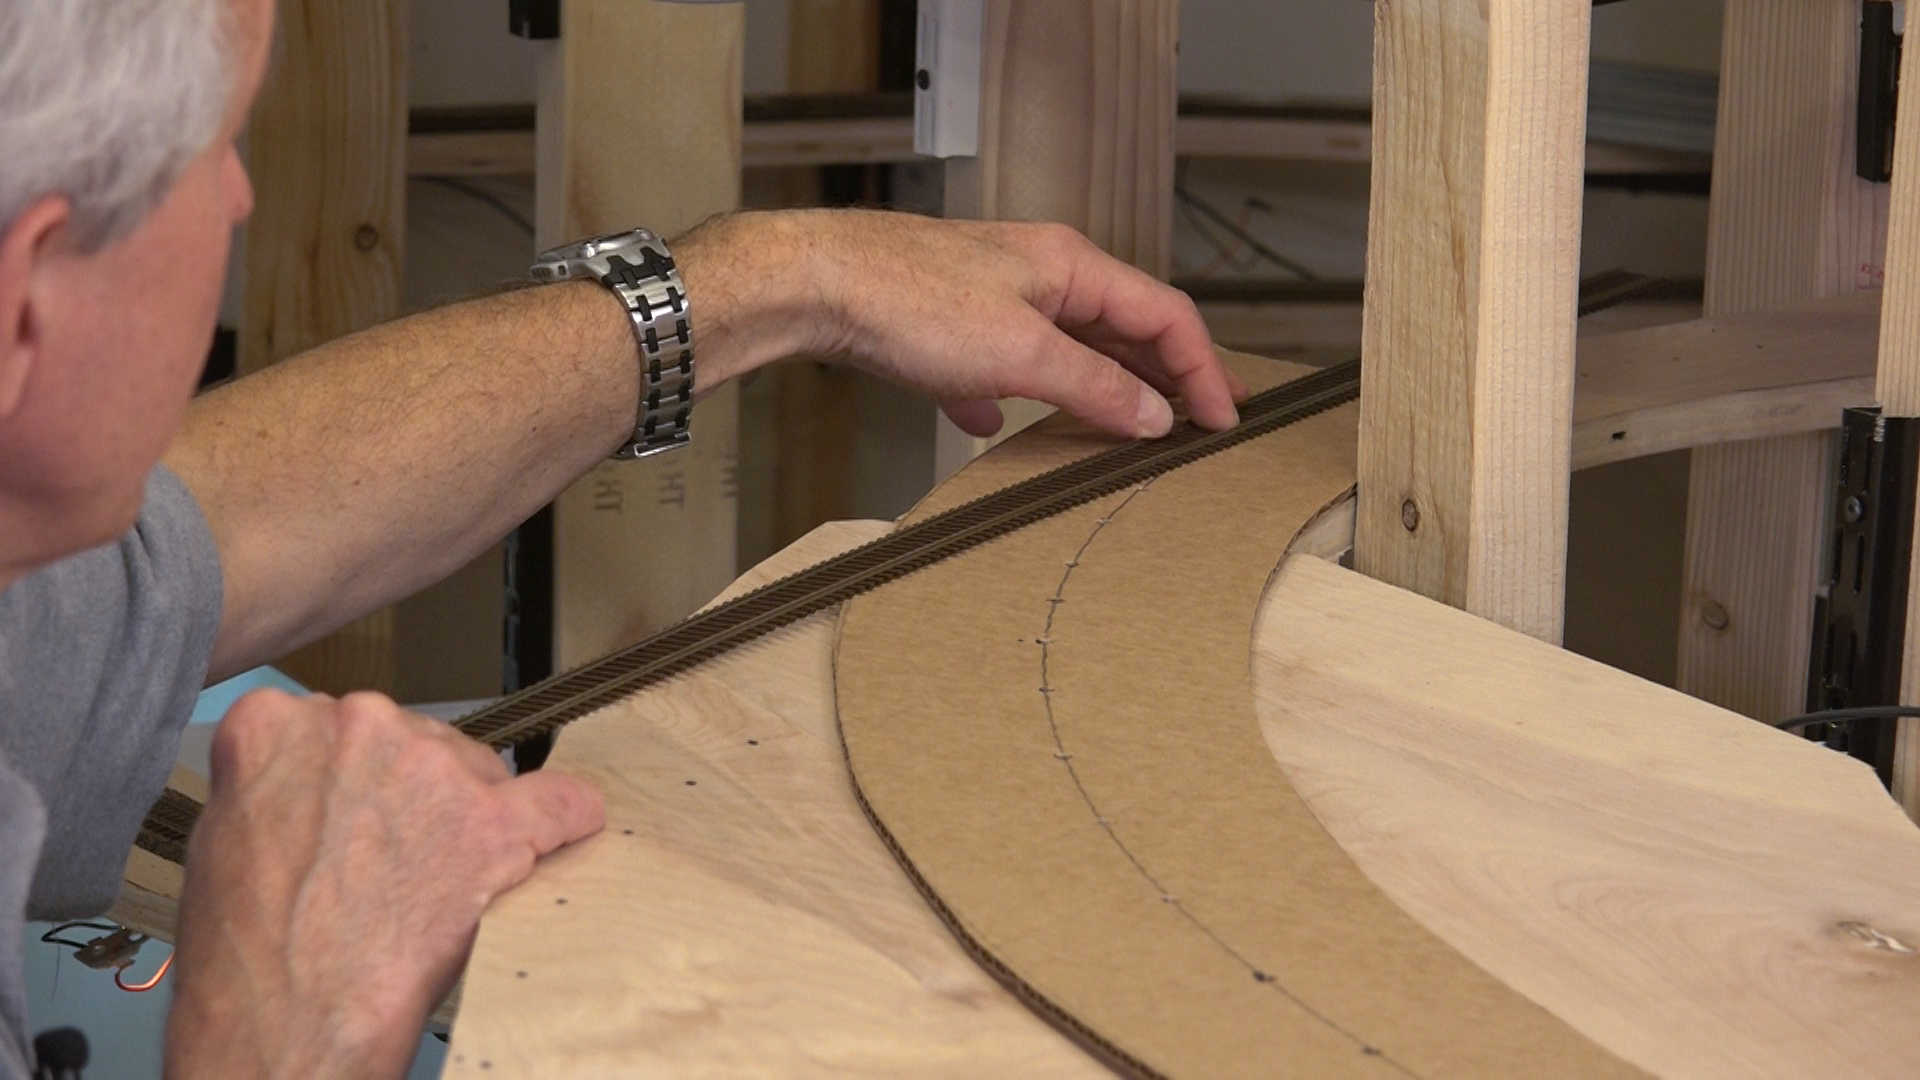
Martin TärnrotIn this video with modeler Martin Tärnrot, he will discuss how to add curved easements. This adds to the appearance of the railroad and the functional reliability. The subroadbed is a 12mm-thick plywood sheet. This first step in laying the track is to mark the centerline of the track. He uses a homemade compass made from a sharp screw for the pivot point and pre-drilled holes for the common curve radiuses Martin uses on his railroad. To use the pivot stick, he gently presses the screw into the center point on the material and adds the tip of the pencil to the hole needed. A smooth transition to a circular curve from a straight track is made with a spiral curve.
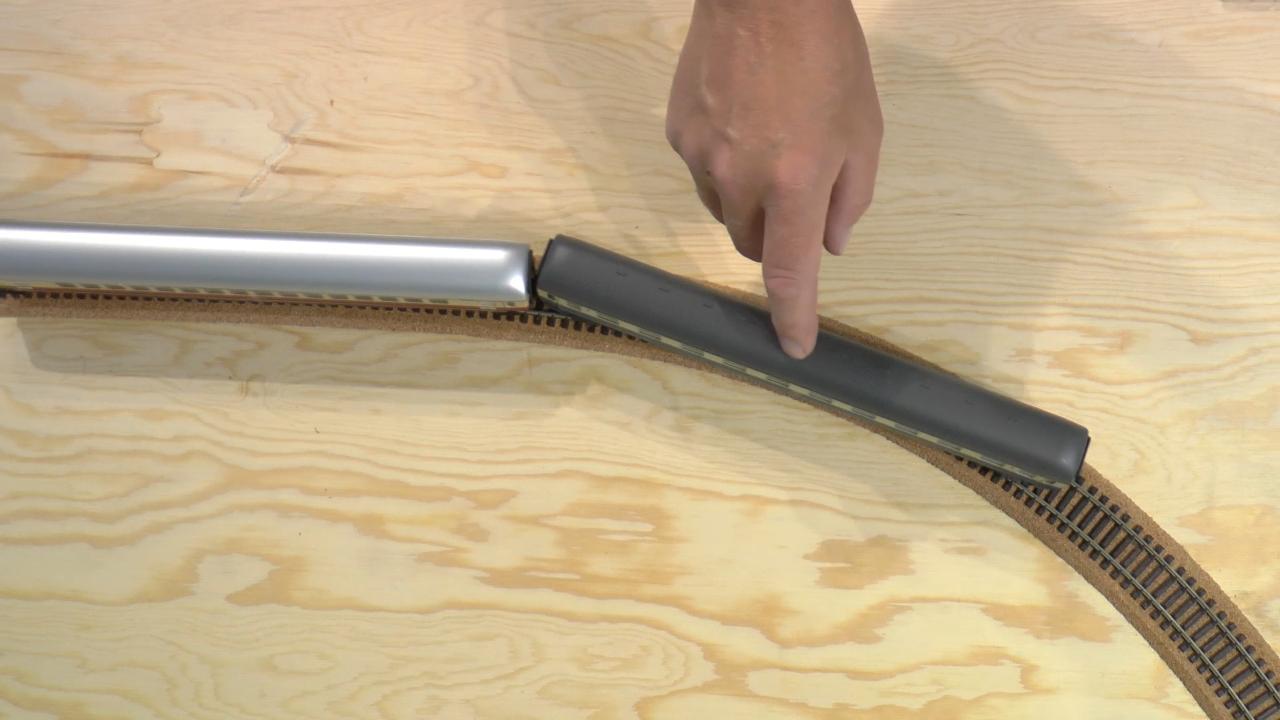
To begin on the track, Martin needs a steel scale, a carpenter’s square, his homemade compass, and a flexible stick. For the stick he is using a 1⁄8th-inch-thick piece of spruce, which is painted black for clarity in this example. At the center line for the straight section of the track, the main radius is 18 inches with a 2-inch clearance on the outside of the curve.
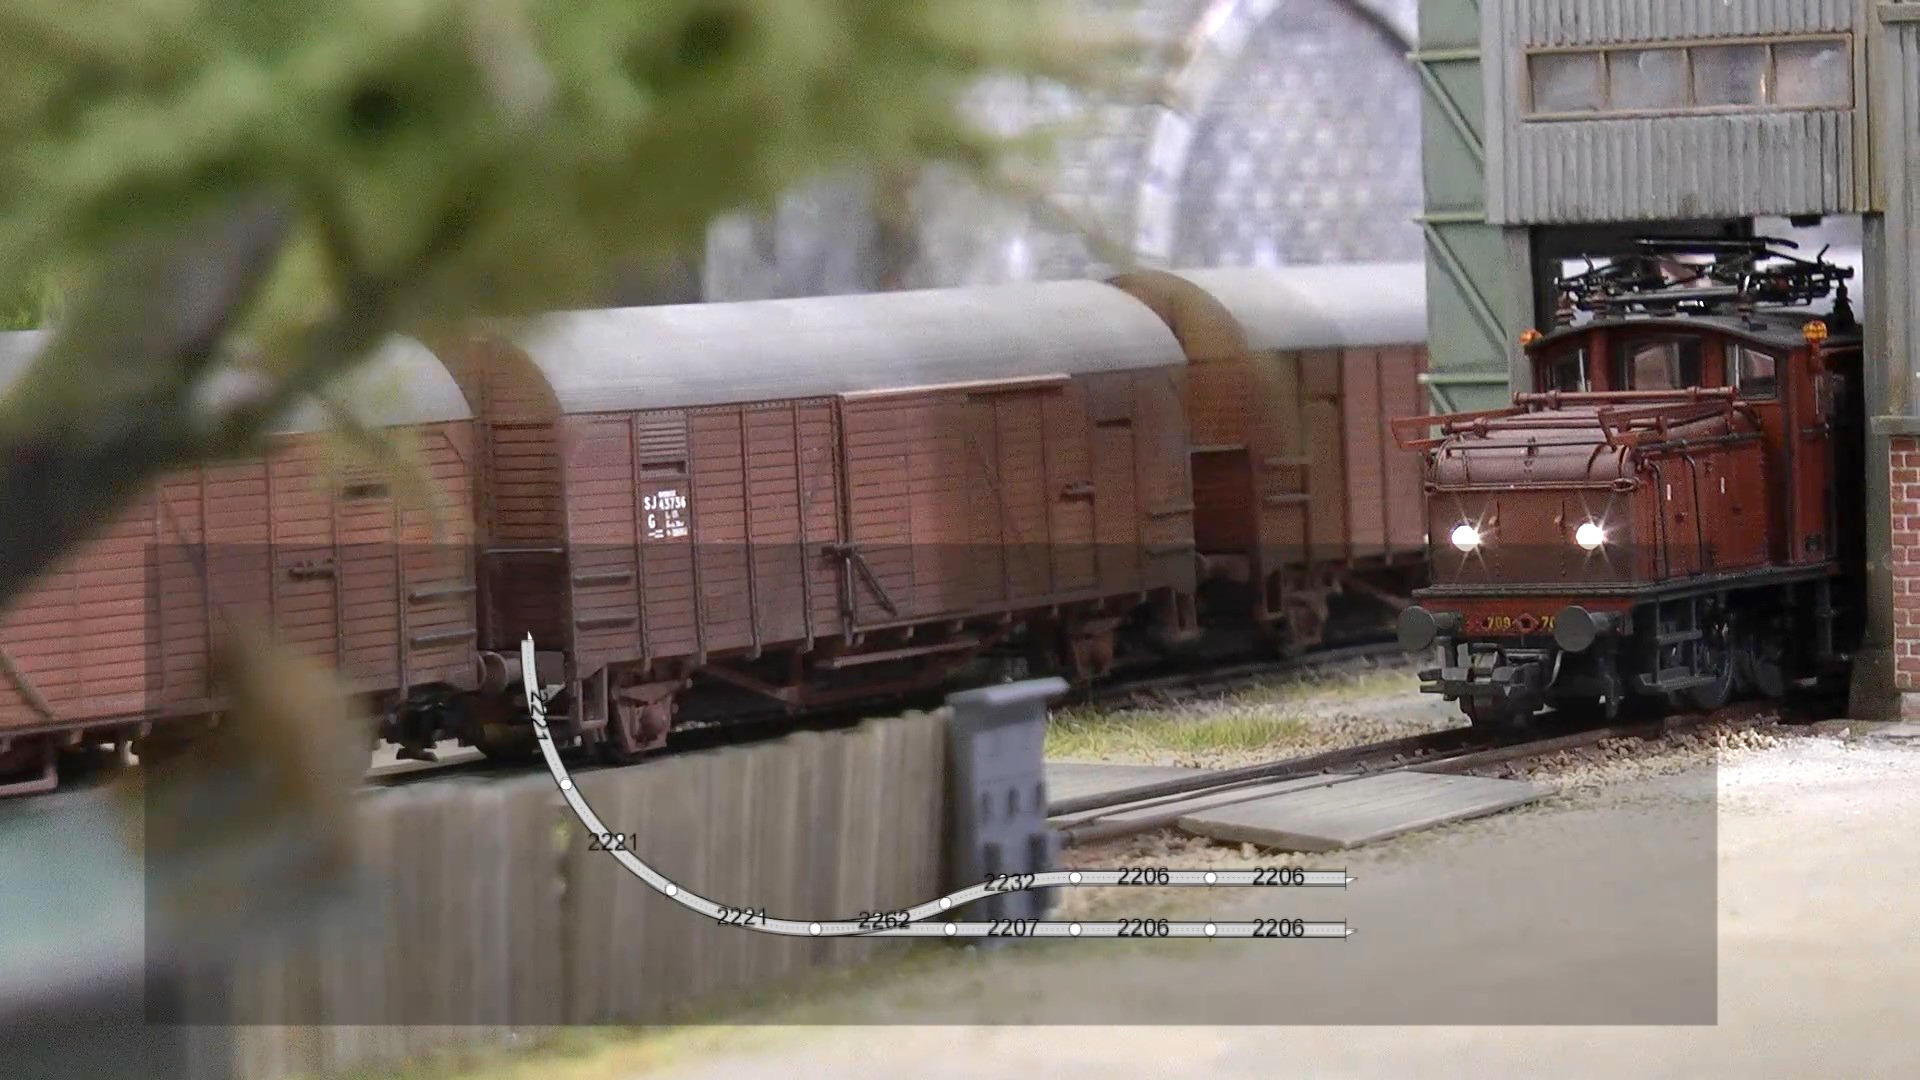
Using his carpenter’s square, he creates a 90-degree extension before marking the pivot point. An offset needs to be added to allow for a smooth transition into the curve. A good rule of thumb Martin uses for an offset is to determine the chosen curve radius divided by 64. With his compass, he draws in the 18-inch curve. Martin reminds viewers that to attain an effective and smooth transition, it must be longer or at least as long as your longest car and the easement should be 60% of the curve radius. Watch the full video to see the track fully laid.
For more on designing curved track sections or creating curved model railroad track templates, visit the Model Railroad Academy archives.
Explore videos by Martin Tärnrot


You may be interested in


Premium Membership
Unlock exclusive member content from our industry experts.
- 24/7 Access to Premium Model Railroading Videos, Projects, and Tips
- Step-by-Step Instructional Guides & Layout Plans
- 50% Off Video Downloads Purchased in the Model Railroad Academy Shop
- Access to Ask the Expert Program
Unlock exclusive member content from our industry experts.
- 24/7 Access to Premium Model Railroading Videos, Projects, and Tips
- Step-by-Step Instructional Guides & Layout Plans
- 3 Full-Length Video Downloads to Watch Offline
- 50% Off Video Downloads Purchased in the Model Railroad Academy Shop
- Access to Ask the Expert Program
Gold Membership
$326 Value
Get everything included in Premium plus exclusive Gold Membership benefits.
- 24/7 Access to Premium Model Railroading Videos, Projects, and Tips
- Step-by-Step Instructional Guides & Layout Plans
- 9 Full-Length Video Downloads to Watch Offline
- 2 Full-Length Classes to Keep for Life
- 2 Downloadable Guides
- Discounts on Purchase-to-Own Content in the Model Railroad Academy Shop
- Access to Ask the Expert Program
- Exclusive GOLD LIVE Streaming Events